How to Prevent Your Cake Layers From Sinking
I 100% thought I already had a post about how to prevent your cake layers from sinking, but apparently I don’t! What, the what?! For as much as I talk about it in my classes and on the Gram, you’d think it would have a home on here too.
Well, it’s time to fix that!
How to Prevent Your Cake Layers From Sinking
The first time I experienced my cake layers sinking and not rising properly, was when we moved to Utah five years ago. Of course, the altitude here caused some of my issues, but it was the catalyst to a deep dive into why cakes sink at all, high altitude or not.
I learned a lot about how ingredients, ovens, mixing and so much more plays a role in how our cake layers bake. As I’ve used those learnings over the years during my recipe development, I’ve come up with a list of sure-fire ways to make sure you get a good rise out of your cakes – no matter where you live.
Know Your Oven
First things first, get to know your oven. Often times our cakes sink in the middle while baking or after we’ve removed them from the oven because they haven’t baked properly. Here are a few tips for getting to know your oven and for ensuring you bake the layers to the perfect “doneness.”
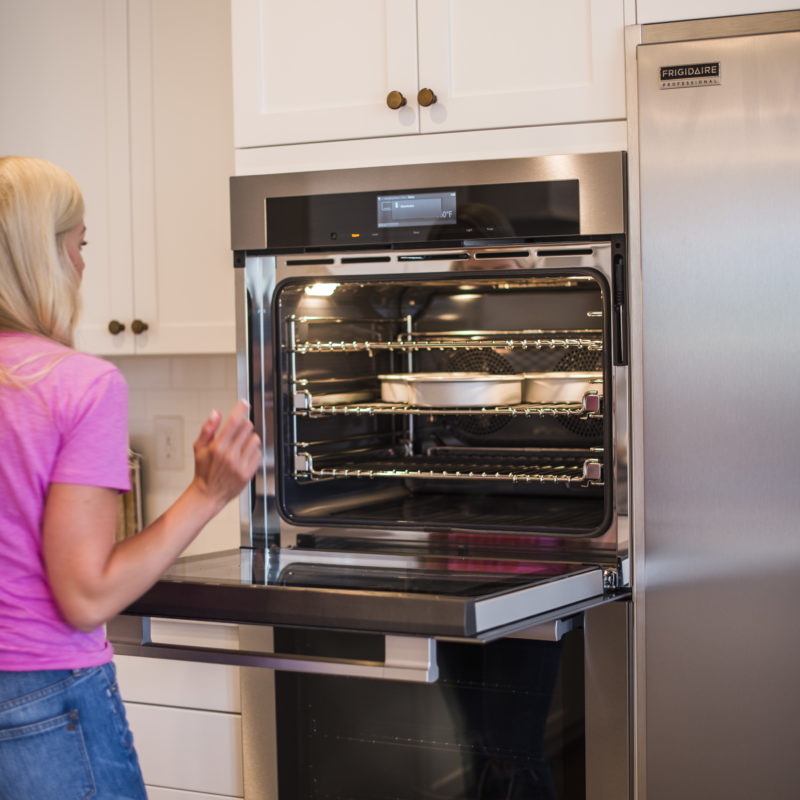
- Oven Thermometer: Use an oven thermometer to make sure your internal temperature matches what your oven screen is telling you. Even just a few degrees off in one direction can change the way your cake bakes. Adjust your oven accordingly to get the internal oven thermometer to the right temperature.
- Don’t Open the Oven Door Too Much: opening the oven door over and over again, during the baking process, allows cool air to get in the oven and this affects the way the cake bakes. There’s really no need to open the door until about 75% of the bake time has passed. If you need to rotate your pans, this is the time to do it.
- Test Doneness: When you test your cake layers, insert a toothpick in the center of the cake. Your cake is done when the toothpick comes out with a few moist crumbs on it. Testing the cake layers doesn’t need to be done before the last few minutes of the bake time.
- Middle Rack Only: whether your oven is big enough to fit all of your pans on one rack or not, we always want to bake our cake layers on the middle rack with about 1 inch between each pan. If your oven can’t fit all of your cake layers at once, it’s TOTALLY okay to leave some pans on the counter while the other layers bake. Just make sure to cover the pans with plastic wrap while they wait their turn.
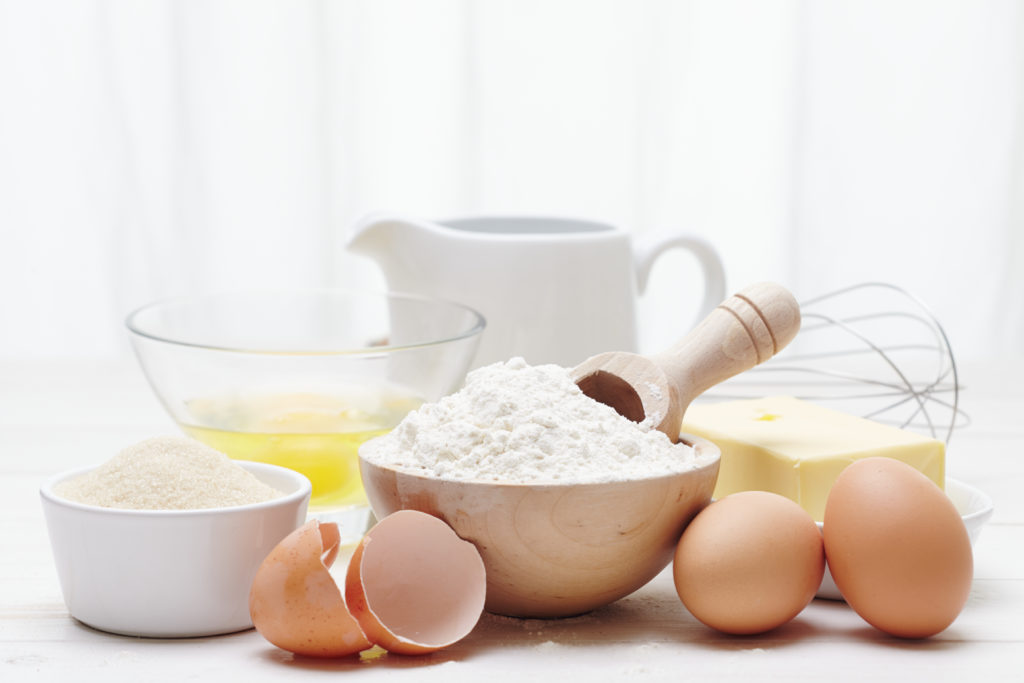
Room Temperature Ingredients
The difference between using cold ingredients and room temperature ingredients in your cake batter is HUGE! It’s such a make or break rule, that I created THIS Instagram video for you to show you the difference in my layers after using cold ingredients in one batch and room temperature ingredients in another batch. It’s a must-watch!
Basically, when you allow your wet ingredients (anything coming from the fridge) to get to room temperature before you add them to the cake batter, it allows the dry ingredients to better absorb the wet ingredients. This quality absorption process helps your cakes to rise higher and more evenly.
I typically leave my ingredients on the counter for one to two hours before I start making my cake layers.
Fresh Ingredients
Did you know that baking powder AND baking soda expire? It’s true and I’ve found that not many people know that. Baking powder and baking soda are going to produce the best rise in your cakes if they are less than 6 months old, from the time you buy them. This is when the ingredients are at their absolute freshest and will create the exact reaction in the ingredients we need for our cakes to rise.
My friends over at Orson Gygi did a great comparison of old and new baking soda. You can catch the entire test HERE. It’s amazing the difference these ingredients make when they’re fresh.
Mixing Speed
When you add butter and sugar together, you want to mix them on a medium-high speed to get a light and fluffy texture. As you add the eggs or egg whites in a recipe, again, you’re mixing on a medium-high speed to ensure you dissolve all the sugar granules.
However, once you start adding your dry ingredients (which include the leavening agents), you want to turn your mixer to low speed and mix just until the dry ingredients are incorporated. Your cake layers will sink and have a dense texture if you overmix your cake batter at this point.
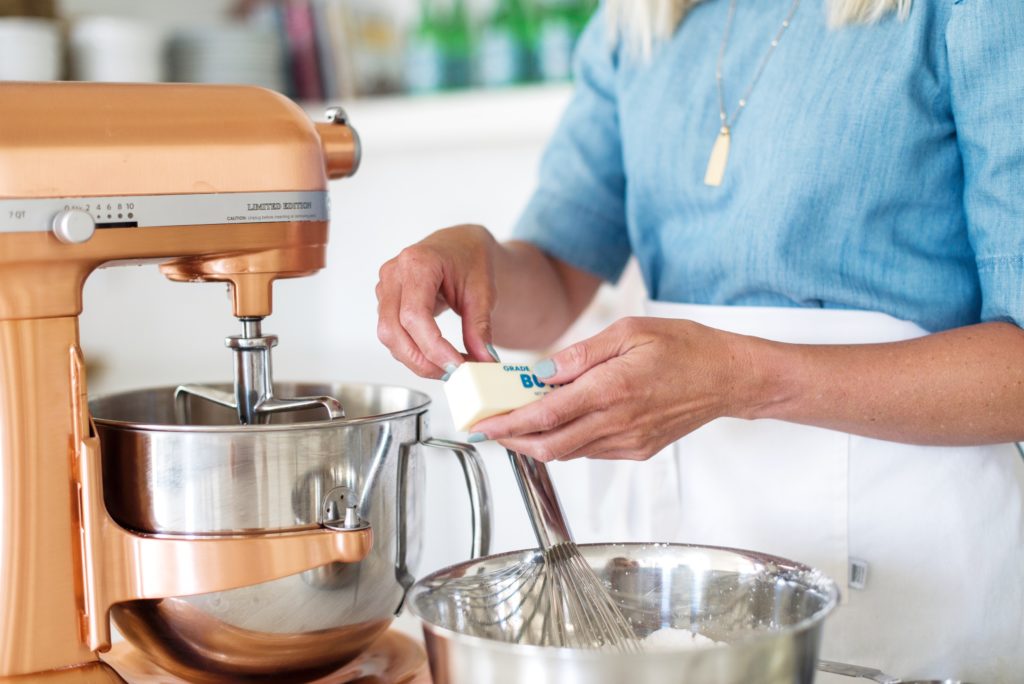
I also recommend not doubling a recipe in your mixing bowl if it’s a 5 qt. or 6 qt. bowl. There’s simply not enough room in the bowl for your ingredients to mix evenly and you’ll run the risk of over-mixing if you try to jam too much into your mixing bowl.
Use Quality Pans
I think most people are surprised to find out that the type of pans they use to bake their cakes in makes a huge difference in how the cake layers bake. To ensure an even bake, meaning the cake rises well and doesn’t get too dark around the edges or top, you want a pan that has been anodized well. For a good price point, I think Fat Daddio does this the best. They are experts in cake pans and the cost won’t break your bank. I use THESE pans – both in 6″x2″ and 8″x2″.
Bake Even Strips
I get a lot of questions about bake even strips. I don’t use them. I’ve tried several times and feel like the bake even strips change the way my cake bakes (usually takes a lot longer), and they change the texture of the cake (my chocolate cake turned out like a brownie).
If you’re not already using them, I don’t think there’s any need to if you’re following the guidelines above. However, if you use them and love them, by all means, continue! It’s always good to experiment a little on your own to determine what works best for you.
Happy Baking!
Do I need to adjust your recipes for baking at lower altitudes? Thanks😊
Great post!
No.
I love baking..thank you
These tips are so helpful! I always wondered why my cakes taste stale when I defrost the cake in room temperature straight from the freezer…I never keep the cake wrapped in cling film while defrosting!
I’m so glad it was helpful!
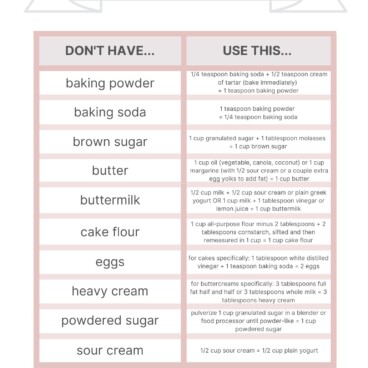
Thanks for the beautiful graphic in your email! I just printed it and putting it in your cookbook I just got for quick reference! Your cookbook is gorgeous and everything I ever wanted. Love the pictures, love seeing inside of the cake, and love all the helpful hints. You outdid yourself and poured so much love into it! Thank you for making it and sharing it! <3
This was so nice! Thank you!
I bought your beginner class a year or so ago. Am I able to view it again? If so how do I find it?
Email [email protected]