How To Use The CakeSafe
Time to take a look at how to use the CakeSafe box for easy and stress-free transportation of your cakes.
THE CAKESAFE
As you may have read in my post “How to use Acrylic Cake Disks,” I first learned about the CakeSafe brand trying to find reusable cake disks. While looking at their products, I found the CakeSafe cake box, a box that promises a safe transport of your cakes. I immediately started watching their videos to learn more about this box.
After watching videos of how to use the CakeSafe box and put it together, I started watching their videos of actually transporting the cakes. You guys! I couldn’t believe my eyes! They actually took a multi-tiered cake on a plane, across the country. Don’t believe me? Watch it HERE. You really do have to see it to believe it.
At this point I knew I had to get my hands on the acrylic disks AND the CakeSafe! If I can find a way to make your life easier when it comes to decorating and then transporting your cakes, I’m going to do it. I reached out to Rachel from CakeSafe and asked if I could test out the products. She was so kind and immediately sent me both products to try.
CAKESAFE TEST RUN
About a week ago I gave the CakeSafe a test run. I wanted to assemble the CakeSafe for the first time on video so you could see how easy it is to assemble. I also wanted to practice using the centering dowel on a dummy cake before trying it out on a real cake. Then, just this weekend, I used the CakeSafe to transport a real 8-layer, 2-tiered wedding cake an hour and twenty minutes to a venue.
You can see it all right here!
MY THOUGHTS
First, I want to remind you that I reached out to CakeSafe and this isn’t a sponsored post. I was truly interested in figuring out if this would be a product that would be helpful for you.
Here’s what I think…
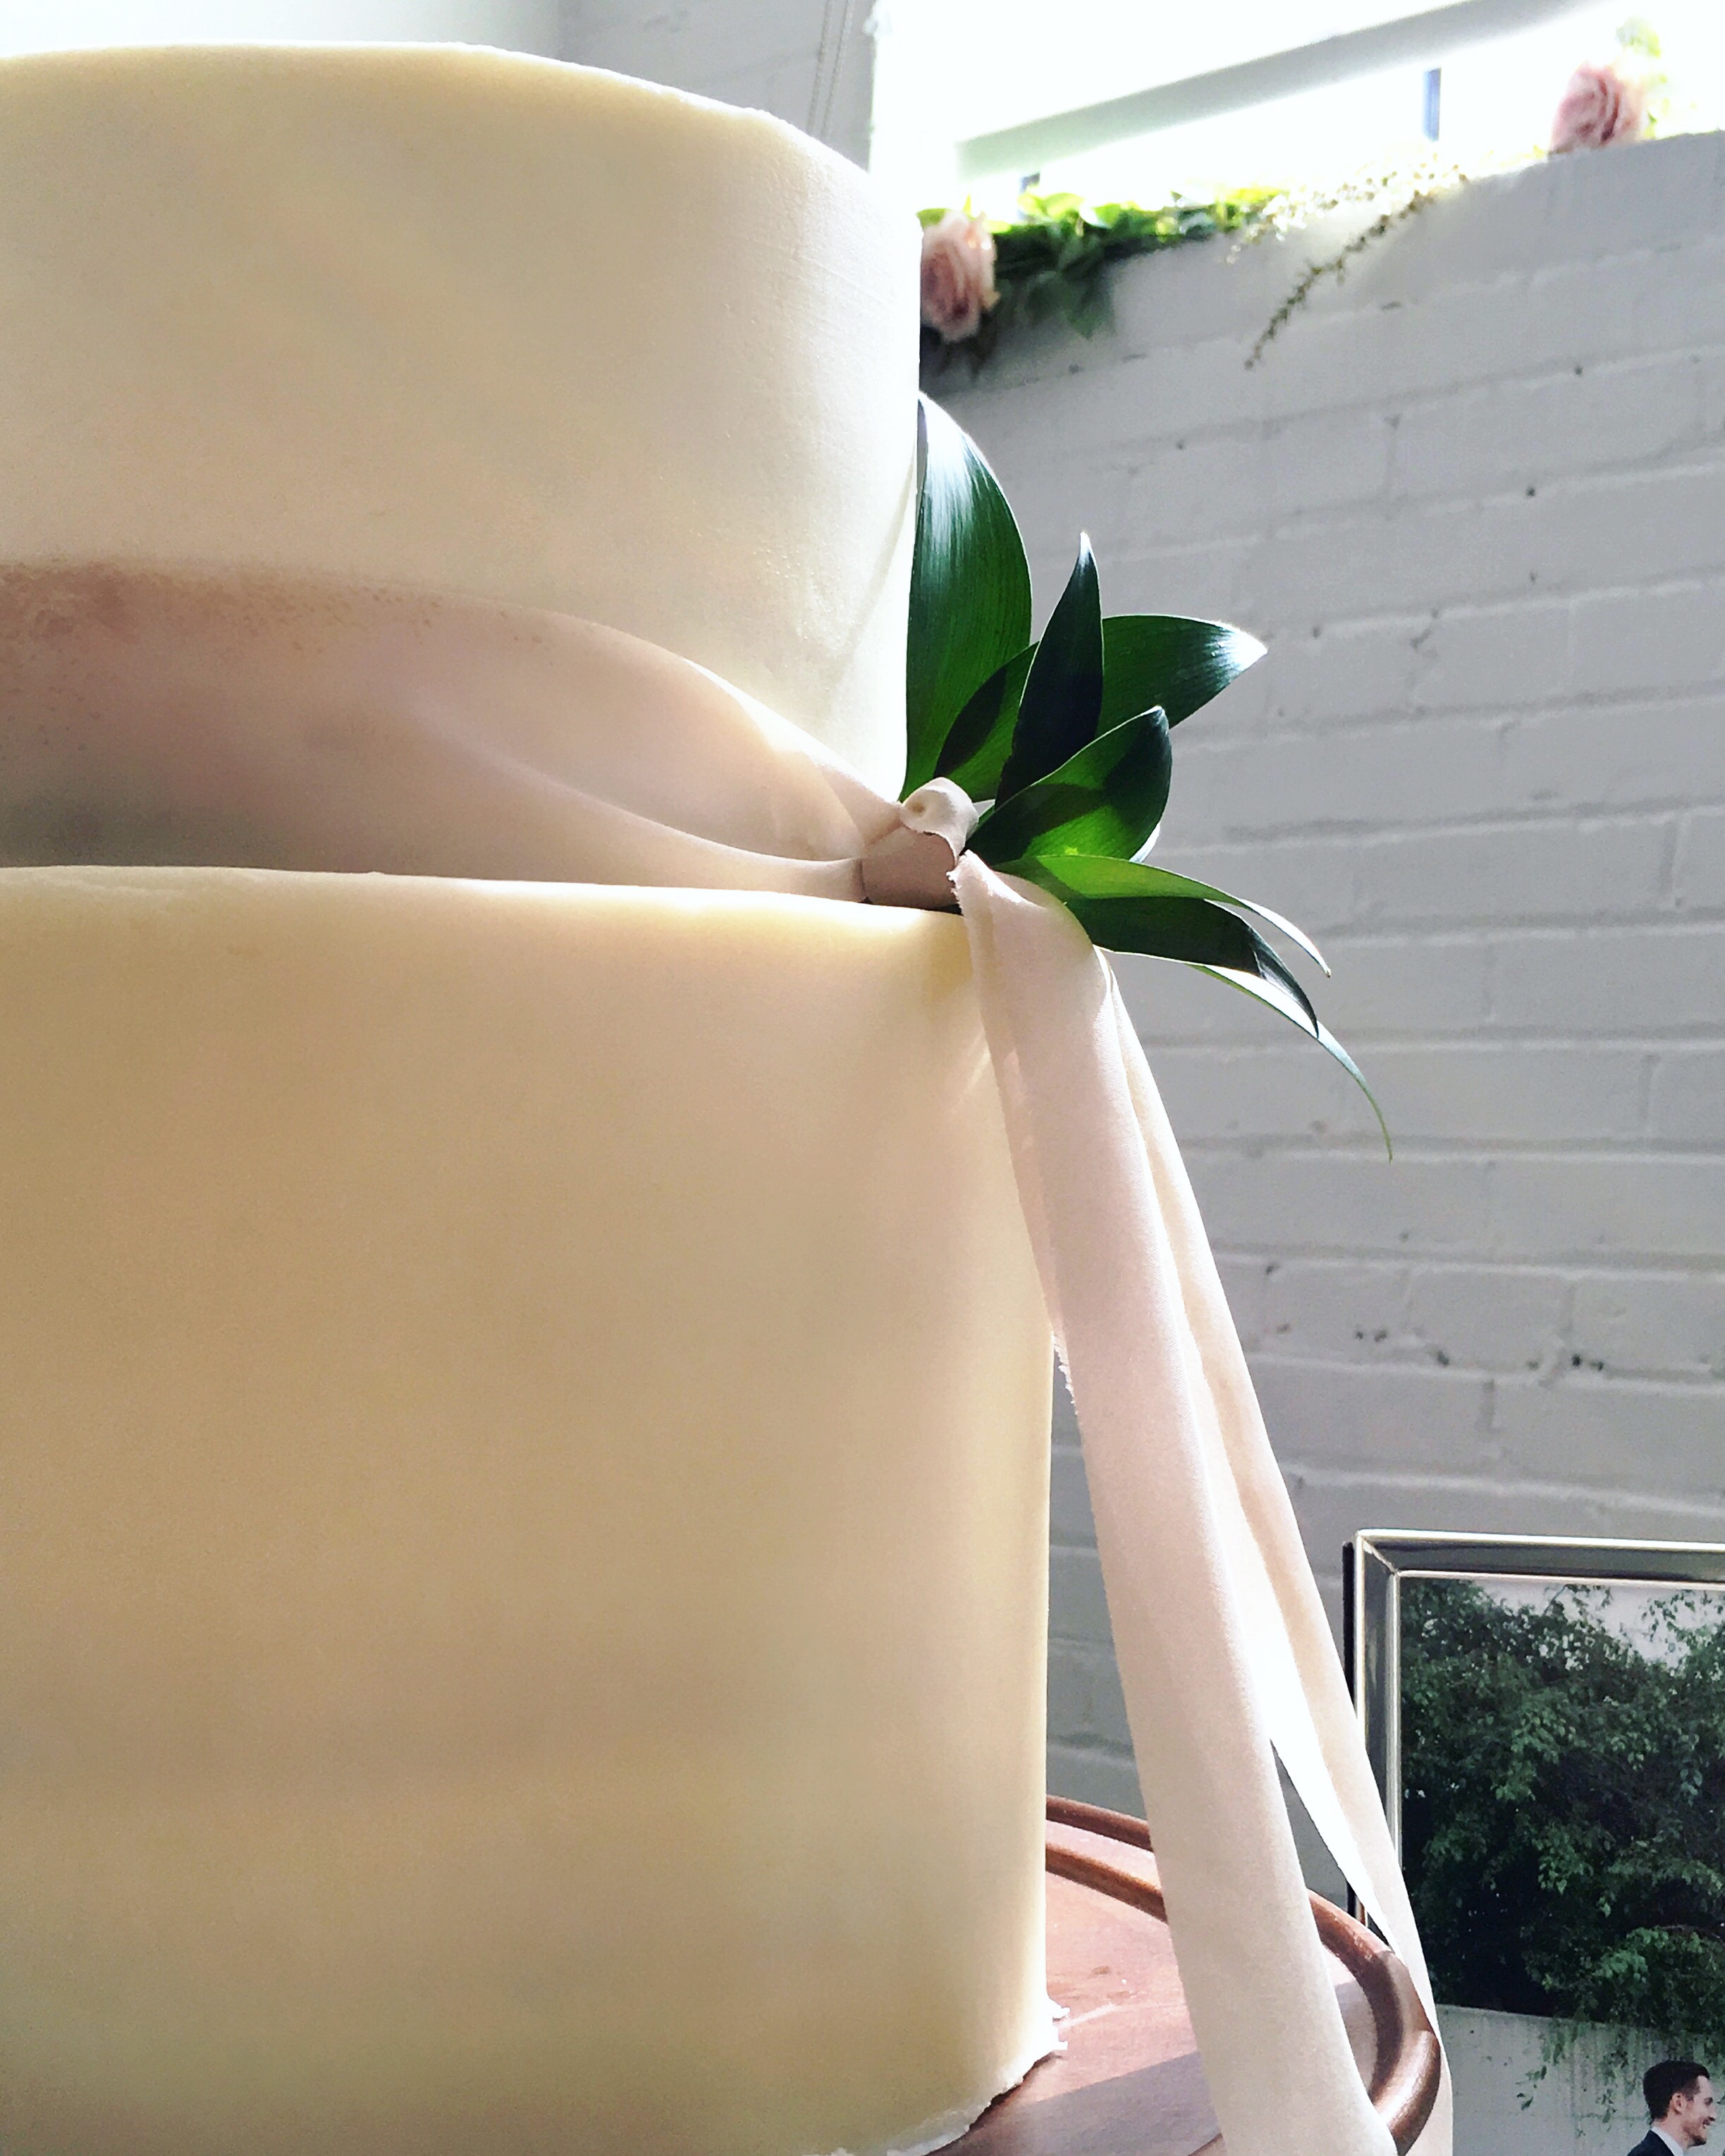
The CakeSafe really is an impressive product and completely took away the stress of transporting a large cake. Once my cake was secure in the box and placed in my car, I really didn’t worry about it during that long drive.
As you saw in the video, I struggled with getting the centering dowel through the bottom hole on the real cake (second half of the video). That may have been my fault, though. I placed the cake on two cake boards, one 8-inch and one 10-inch. I poked out the center holes on both boards, but probably didn’t do a good enough job centering the cake on the bottom of the box. The instructions also tell you to push “hard and fast.” I thought I did, but I still think I was a little nervous and didn’t push as hard as I was supposed to. The center dowel should have even gone through cardboard had I pushed down harder.
The dowel was super easy to slide through the real cake and I did feel it hit the bottom of the box. I decided not to wiggle my cake around too much just to get the dowel through the box. Instead, I trusted that the cake was stable enough and let it be. And it was. The cake didn’t move at all during the drive.
AT THE VENUE
Taking the CakeSafe box apart at the wedding venue was just as easy as it looks on the video. I also thought taking the dowel out of the center of the cake was fairly simple too. The CakeSafe videos make pulling the dowel out super quick, but I was a bit nervous and pulled mine out much slower. The dowel did build up some crumbs on it, and in the last seconds of pulling it out of the cake, it left some crumbs on top of the cake. I scraped the crumbs off the best I could and used extra frosting to fill in the hole and level it off. Most likely, you’ll be adding flowers or some kind of cake topper to your cake and this little fix won’t be noticeable.
DO YOU NEED THE CAKESAFE?
In my opinion, the CakeSafe is for someone who is making multi-tiered cakes or really tall or large single tiered cakes. If you’re making a basic three or four layered cake, there are other boxes and cake carriers that will work just fine for transporting your cakes. However, if you’re making large cakes, the CakeSafe is definitely something I’d recommend. I know many professional bakers who have stressed over the delivery of their cakes. I have even heard stories of cakes falling over during a delivery because of slammed breaks and instability. For me, driving an hour and twenty minutes on the freeway and side roads didn’t affect my cake at all. I even had a few times where I had to hit my breaks quickly. The cake didn’t slide or tilt one bit.
There are several sizes of CakeSafe boxes to choose from. Click HERE to take a look. I used the “Itsy Bitsy,” the smallest CakeSafe. It fits a cake about 24-inches tall, which was about the size of my cake in the video.
And, if you use code “KEEPITSAFE10,” you’ll get 10% off your first CakeSafe (the box) purchase.
You can also still use “CakebyCourtney” to get 10% off acrylic cake disks.
If you get a CakeSafe, I’d love to hear your review too!

Can’t wait to try it!