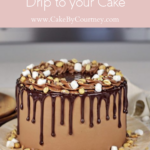
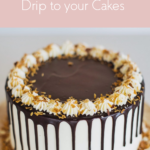
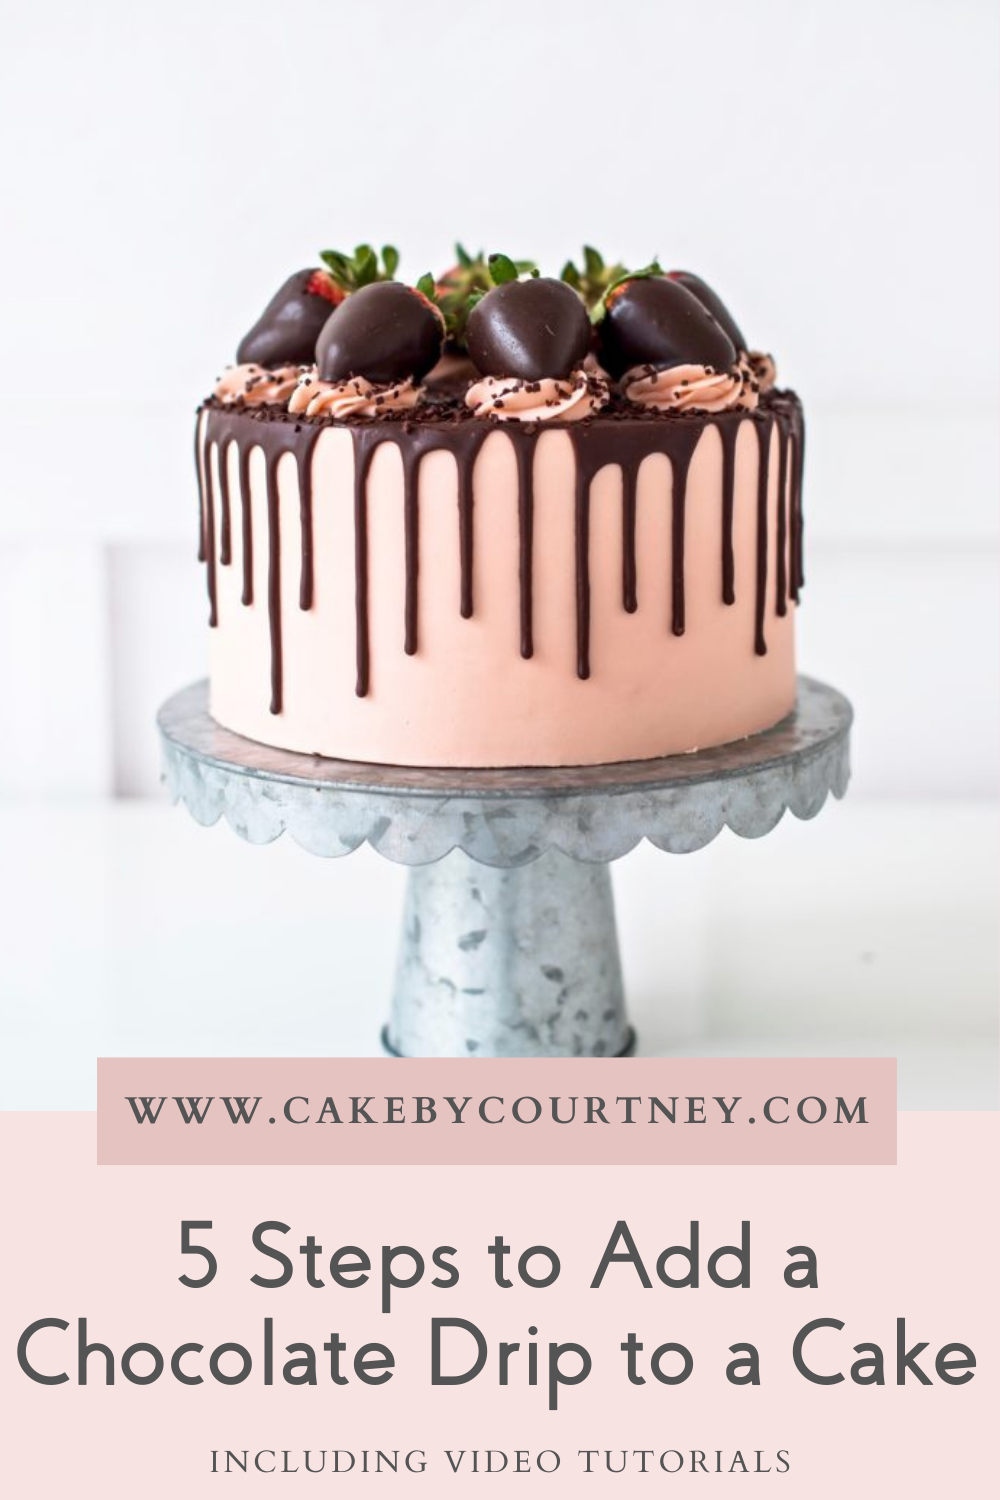
5 Steps to Add a Chocolate Drip to a Cake
5 Steps to Add a Chocolate Drip to a Cake
Are you ready to brave the chocolate drip for your cake? I know the chocolate drip can seem intimidating, but once you practice it a few times you’ll be a natural! Plus, I’m going to share my tips and tricks for adding a chocolate drip to your cakes that will get you started on the right foot. So, here are my 5 steps to add a chocolate drip to a cake!
Before you can begin adding chocolate drip to your cakes, you want to make sure you have the proper tools to make it happen. I LOVE this drip bottle that I use every single time I add a chocolate drip to my cake. It makes it super easy to prep the drip and for decorating the cake too.
I know getting the perfect consistency for your chocolate drip can be tricky, so hopefully, these 5 steps will help clear up any issues you’ve had in the past! Or, if this will be your first time adding chocolate drip to your cake, help you start with a successful drip right off the bat. Whether you’ve done a chocolate drip before or this is your very first time, these 5 steps include the tips you need to nail the recipe and application for it!
5 Steps to Add a Chocolate Drip to a Cake
Chocolate Drip Step #1: Mix your heavy cream and chocolate chips together.
The best way to mix your heavy cream and chocolate chips together is to heat up your cream in the microwave for about one minute. And then pour the cream over the chocolate chips and let it sit for a couple of minutes. Then you can stir until the chocolate is all melted and you have a silky, smooth texture. If needed, you can heat the mixture for another 30 seconds to melt the chocolate chips completely.
Whenever you are using dark chocolate or semi-sweet chocolate, I recommend starting with ¾ cup of heavy cream per 1 cup of chips. You may need an extra ¼ cup of cream to make it a little thinner. For any other type of baking chip, you’ll only need ¼ to ⅓ cup of heavy cream per 1 cup of chips.
Chocolate Drip Step #2: Before decorating your cake, heat up the extra cream if needed and add it to your drip.
If you’re using the drip in between your cake layers, you want it to be at room temperature. That will keep the warm drip from melting your buttercream when assembling your cake. However, you’ll want to heat up your drip again when you add the chocolate drip to the outside of your cake.
I usually boil an extra ¼ cup of heavy cream and pour it into my chocolate drip mixture. This heats it up again and it makes the mixture a little bit thinner which makes for better drips on my cake. Try to avoid heating up the chocolate chips and the cream together in the microwave because it may seize the chocolate.

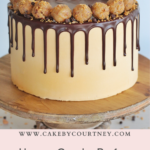
Chocolate Drip Step #3: Hold the drip bottle at an angle when adding the chocolate drip.
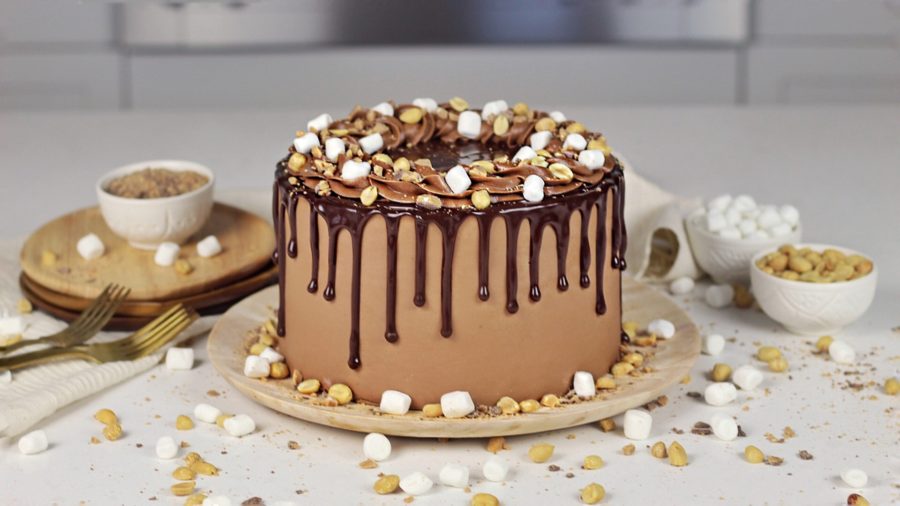
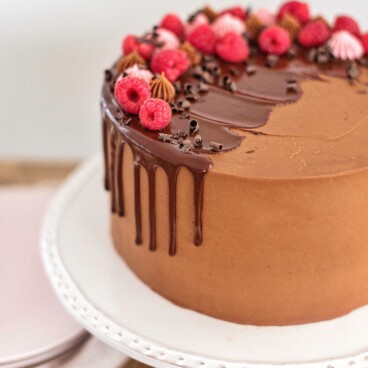
When you’re ready to add the drip to your cake, make sure to hold your drip bottle at an angle, so the drip falls off the cake like a waterfall. This will help create an amazing definition for each drip along the border of your cake. I linked a few cake tutorials at the bottom of this post, so you can see in live action how I hold the drip bottle when I’m applying the chocolate drip to my cakes.
Chocolate Drip Step #4: Pull back the drip bottle in certain places to add variety.
If you want to add a nice variety of lengths for each drip, just pull back the drip bottle a bit, so the drips don’t fall as long as the others. I always like doing this because I think it makes the cake look even more beautiful and appetizing.
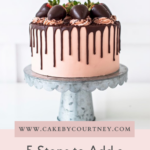
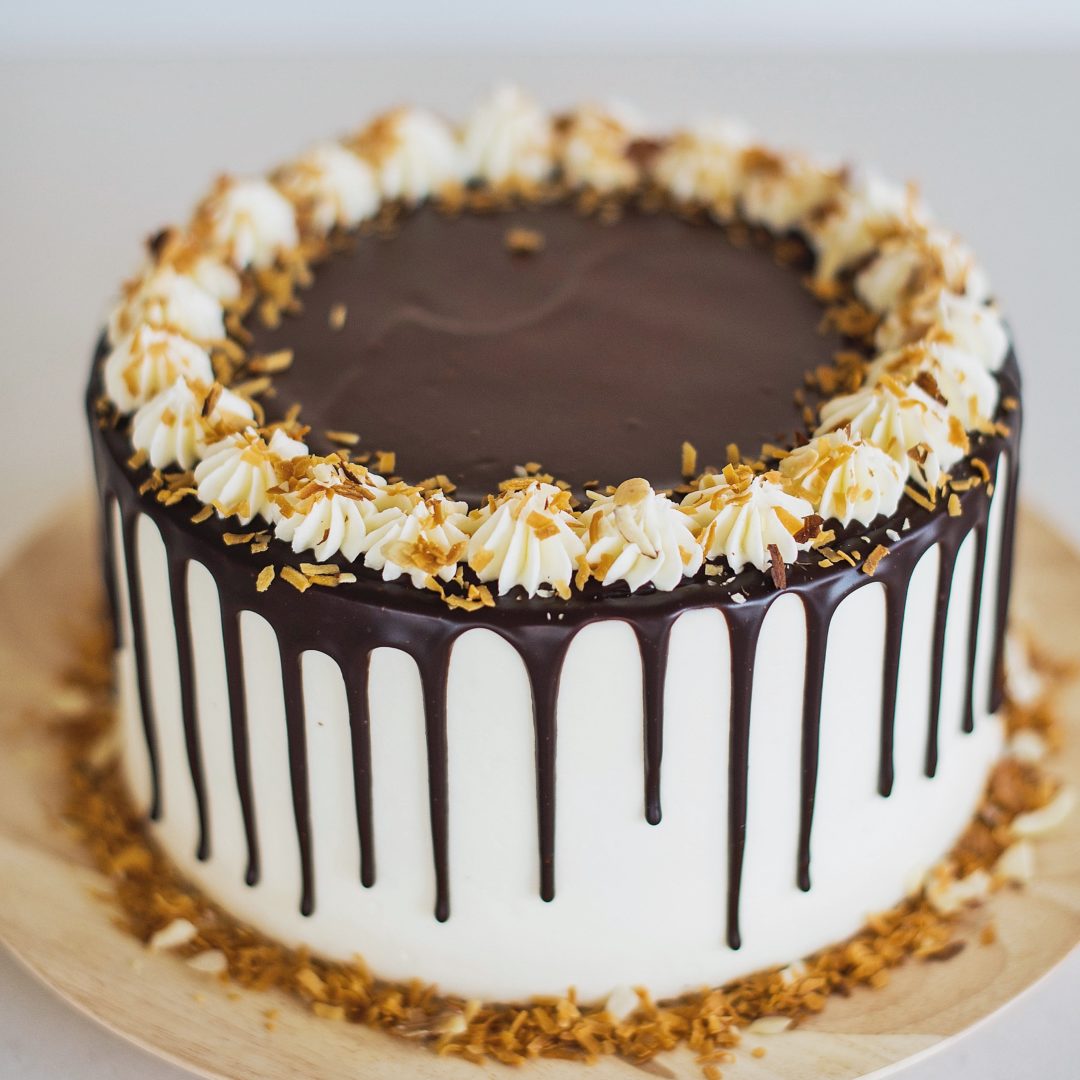
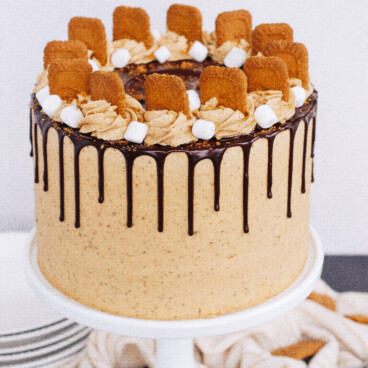
Chocolate Drip Step #5: Add a little bit of drip on top to blend in with the border.
The last step is super simple! Just open the lid to your drip bottle and pour the remaining drip on top of your cake. Using an icing spatula, blend in the drip with the border you’ve made along your cake. Now you can move on to finishing the rest of the decoration of your cake!
Again, make sure to check out the tutorials I linked below where I share the full recipes for the chocolate drip and how to apply it to your cake. I am excited to see how your chocolate drip cake goes for you!
5 Steps to Add a Chocolate Drip to a Cake
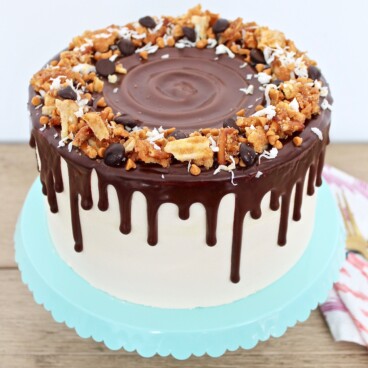
I hope these 5 steps to add a chocolate drip to a cake got you ready and excited to try it on your own! I know it’ll turn out so great. For more tips and tricks on all things cake, follow me on Instagram @cakebycourtney. Also, I linked several of my cakes that use a chocolate drip that includes a video tutorial, so be sure to check those out if you want a nice visual before you go for it!
Chocolate Drip Tutorials:
Nice. Will try it out and see hoeit comes out