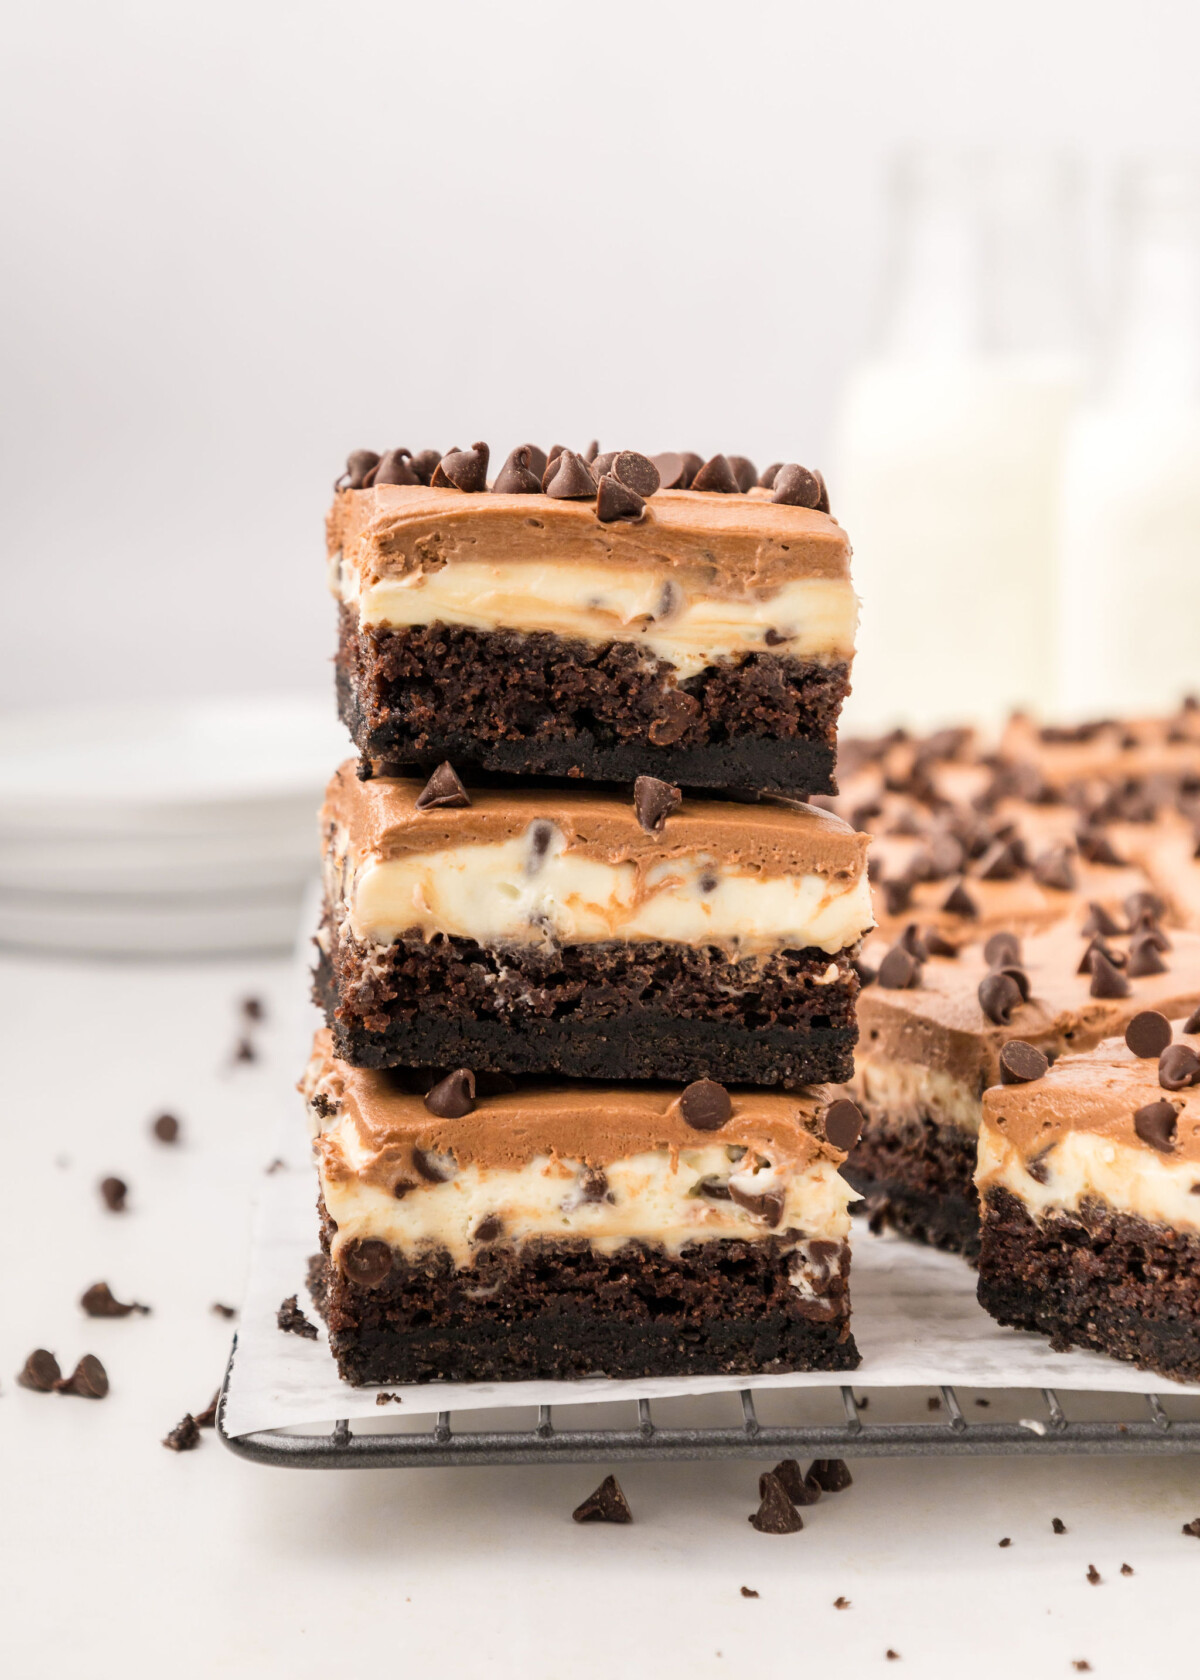
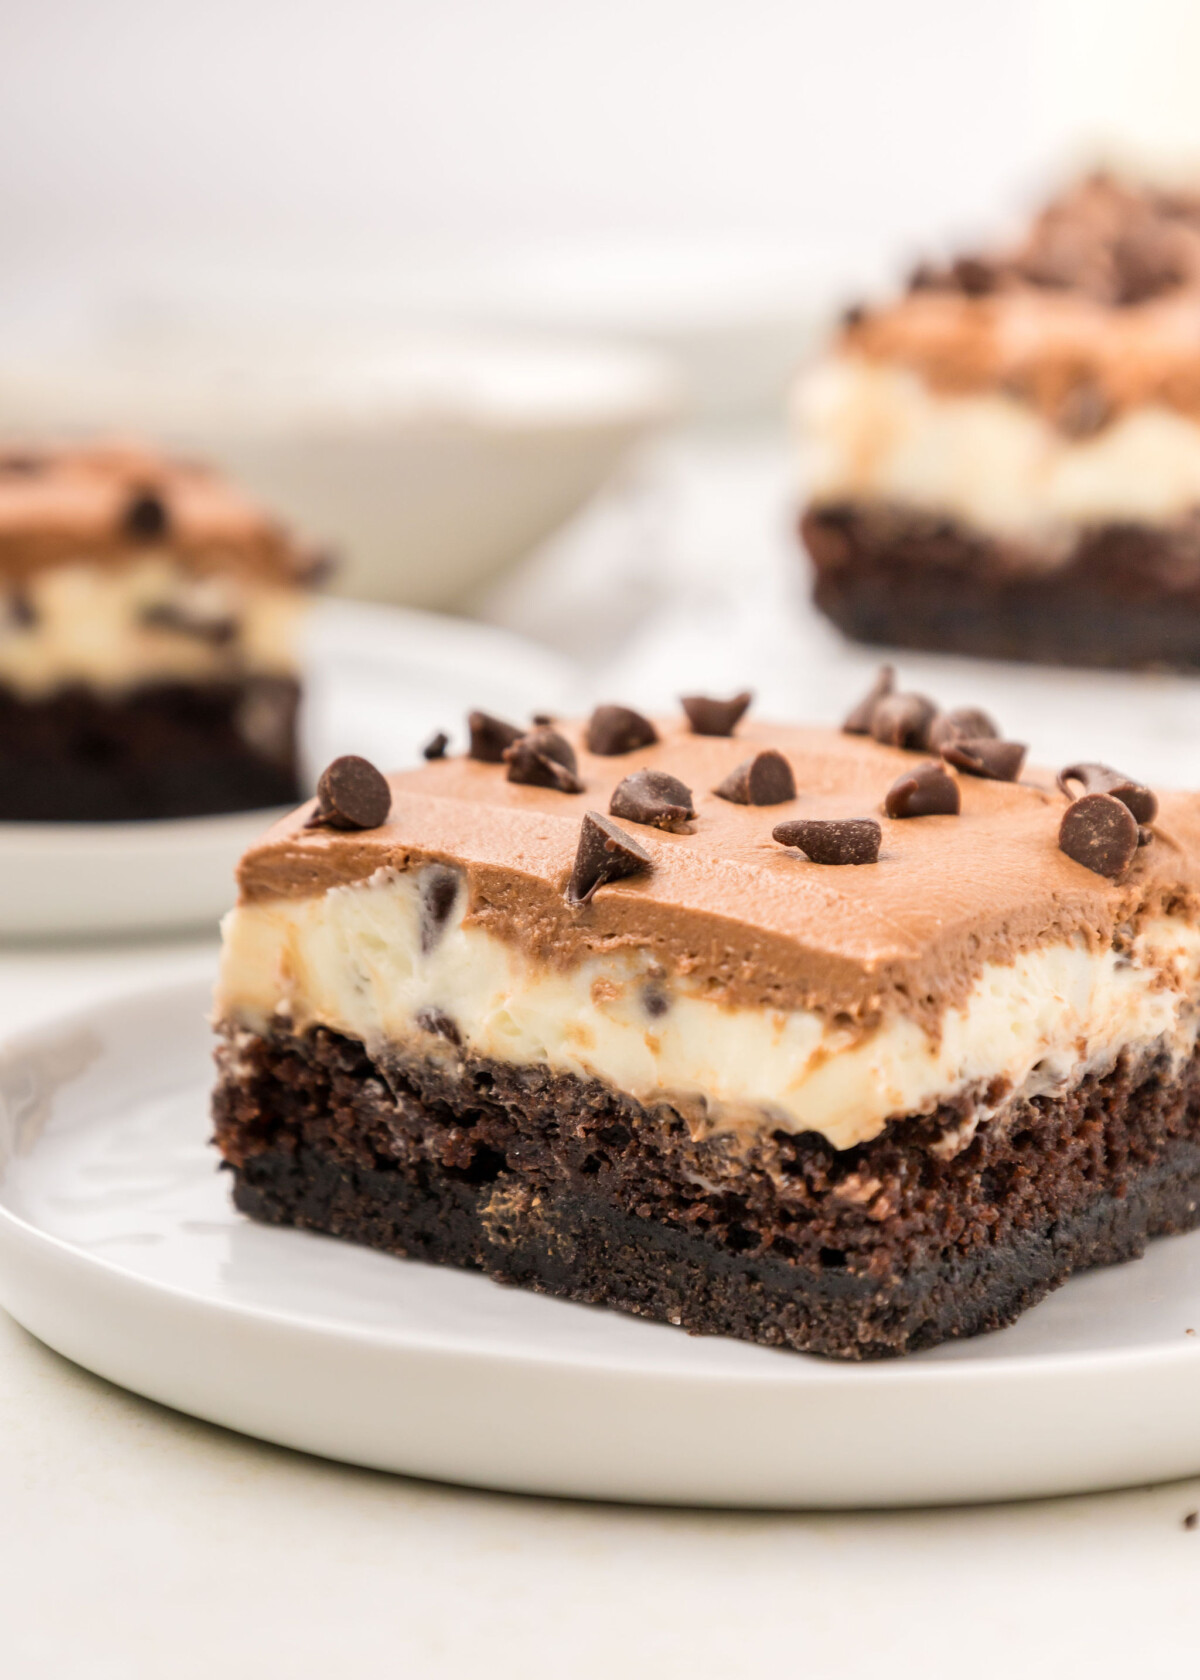
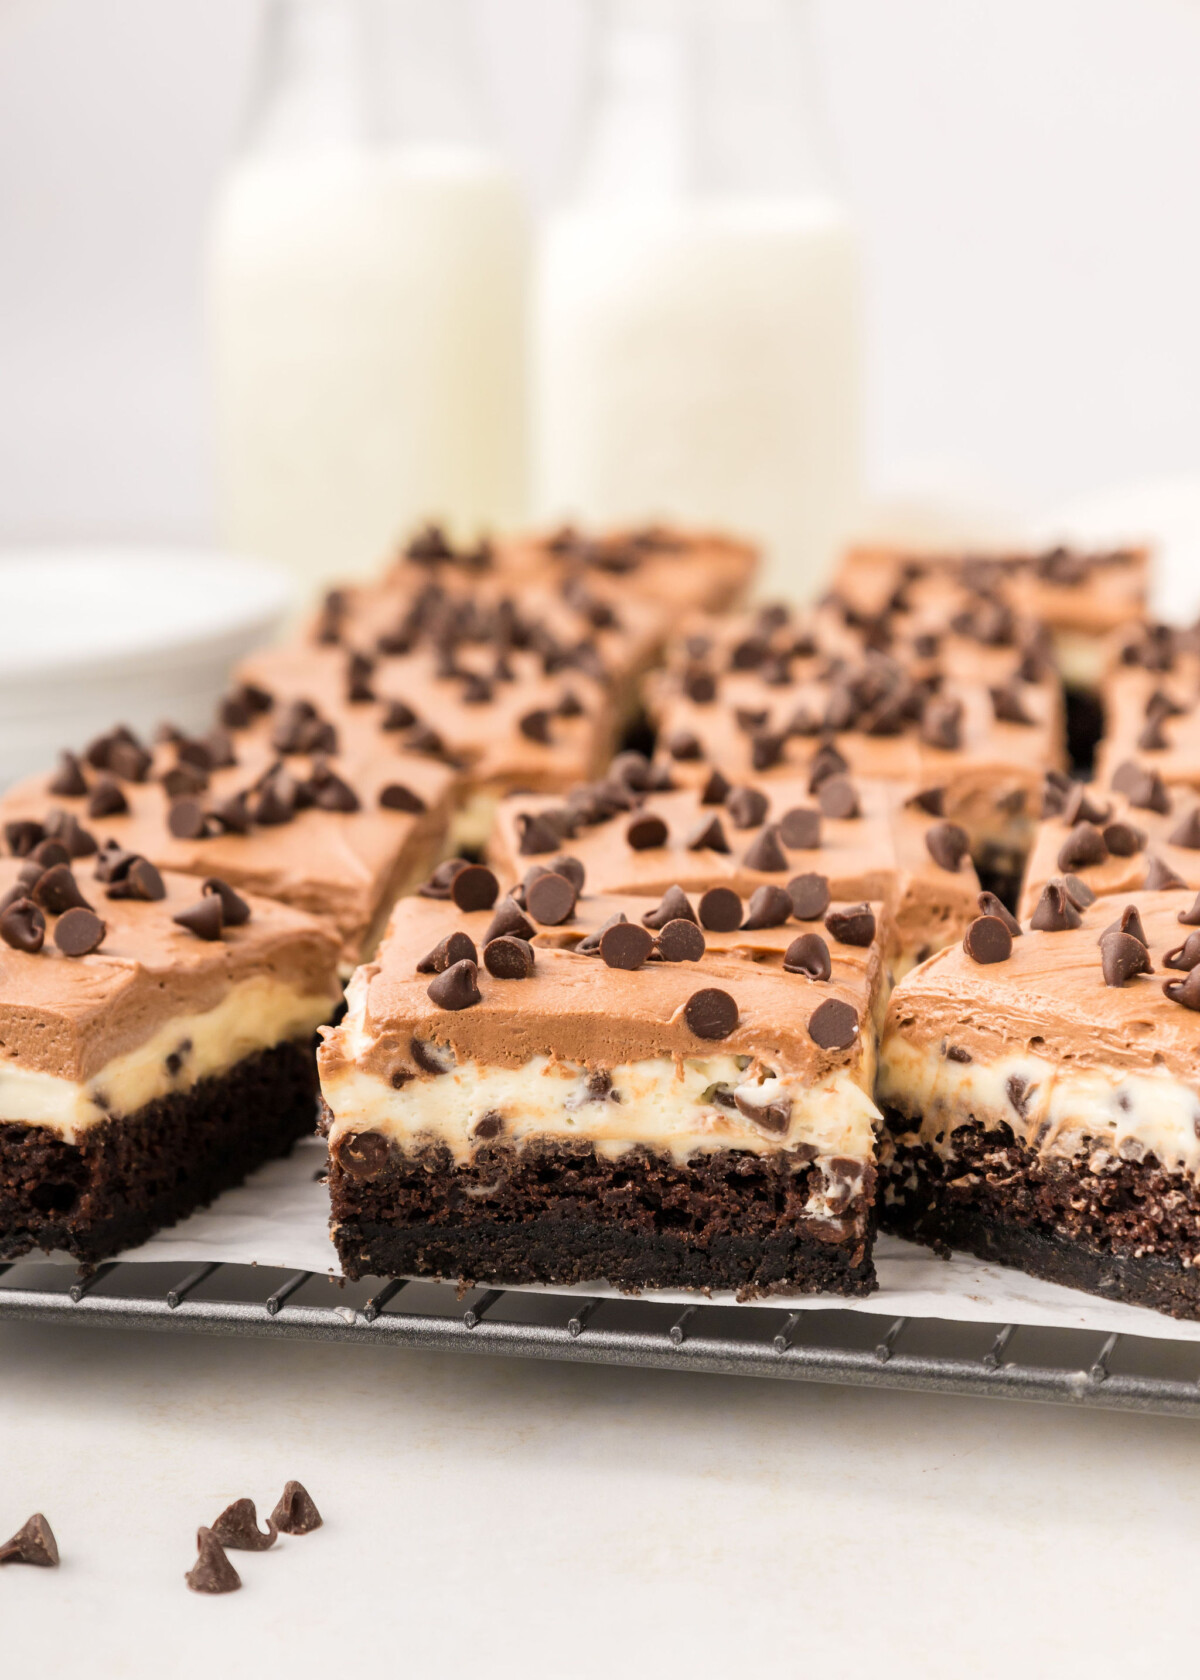
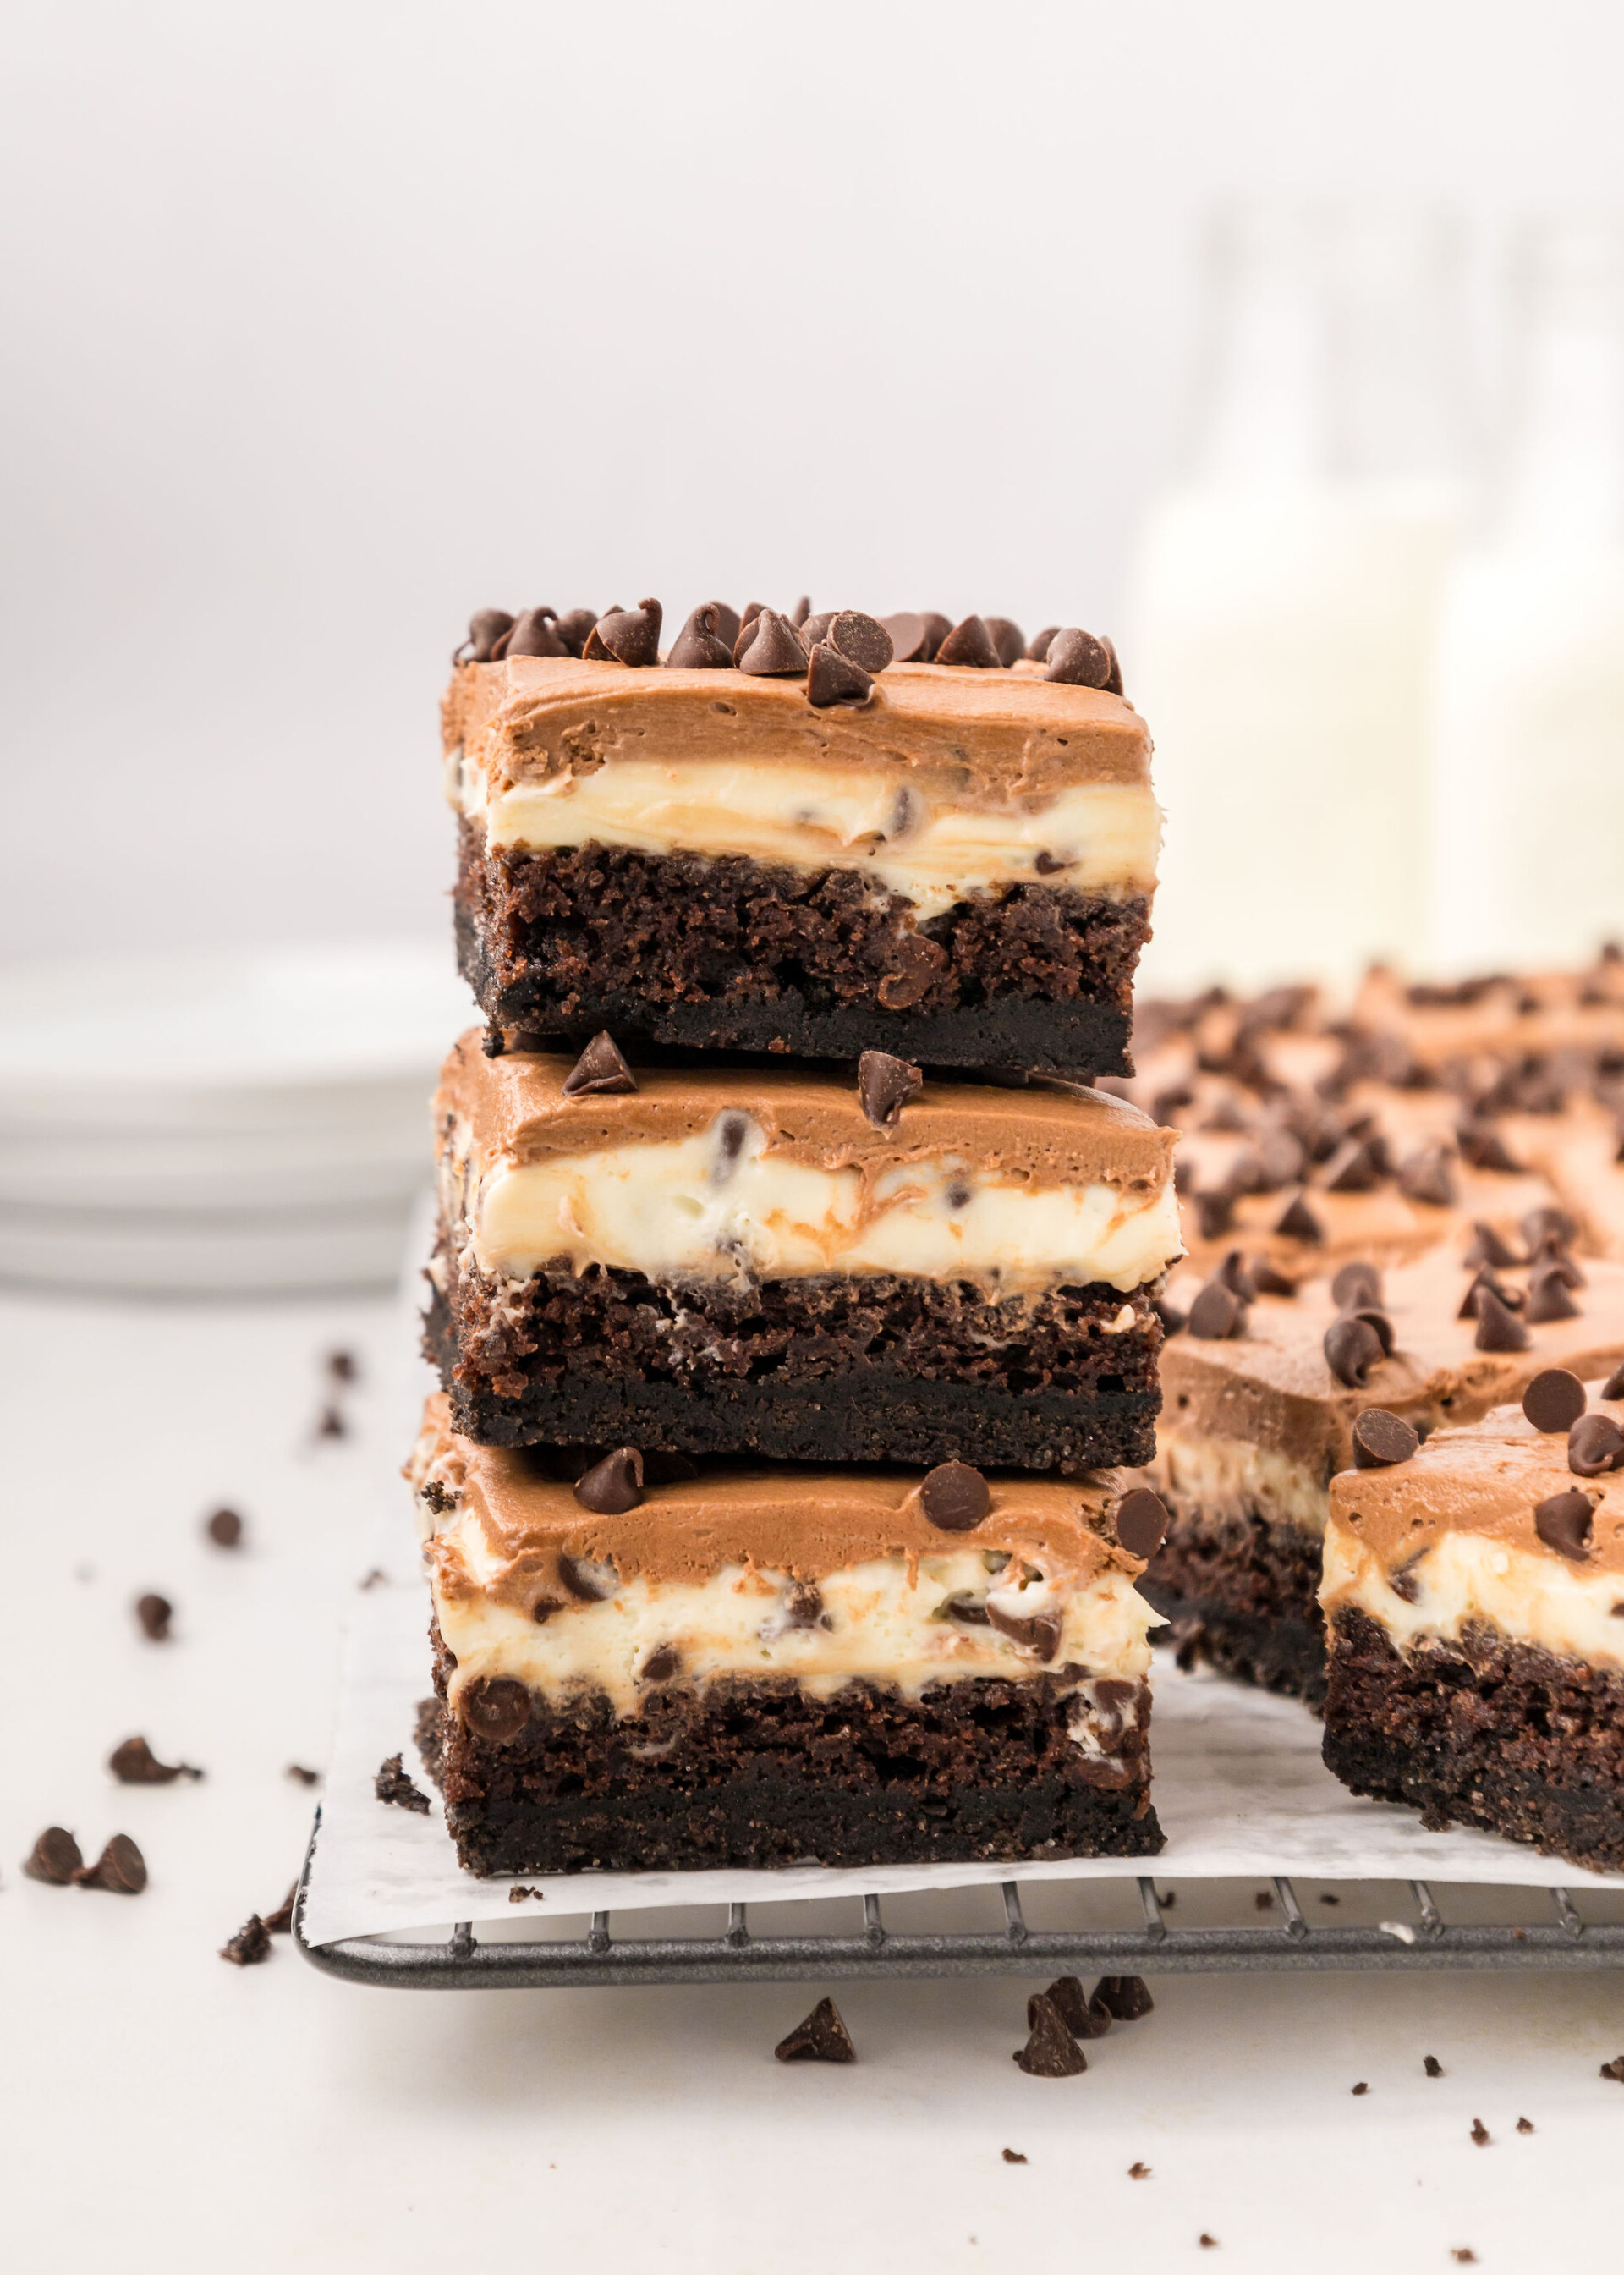
My new Tuxedo Bars are layered with an Oreo cookie crust, chocolate cake, chocolate chip cheesecake and chocolate buttercream. It’s truly the perfect dessert for gatherings, gifting, or simply indulging on a cozy night in!
Chocolate Cheesecake Oreo Cake Bars: AKA Tuxedo Bars
Hello, cake lovers! Today, I’m thrilled to share a recipe that brings back a favorite dessert that was actually inspired by one of my most beloved creations—the Tuxedo Cake. This layered, chocolatey delight has been a fan favorite on the blog and was then turned into one of the most popular dessert bars at BLOX desserts (which unfortunately is no longer in business). Since we can’t get these bars at BLOX anymore, it was time I created my own recipe. You are going to love this rich, decadent, and easy to share dessert.
What Are BLOX Tuxedo Bars?
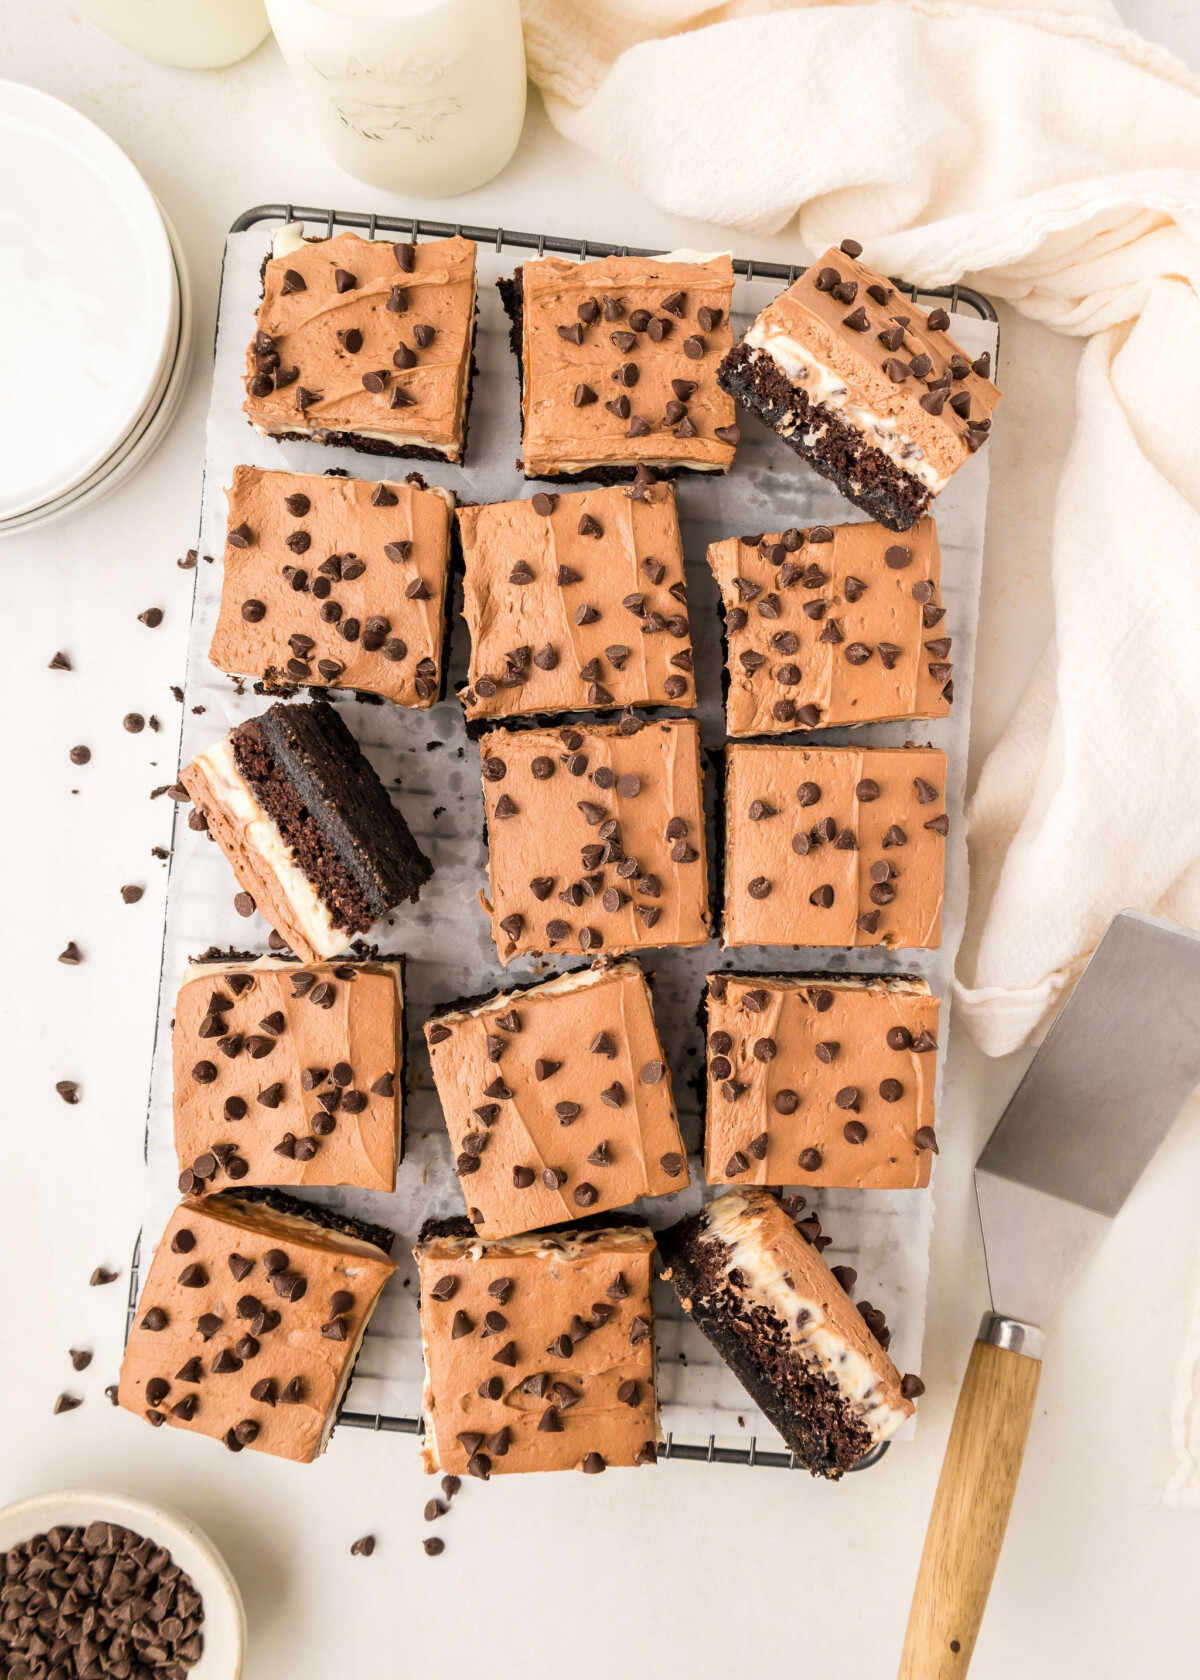
A couple years ago, I partnered with local dessert shop, BLOX. We created several BLOX bar flavors based off my cake flavors. Fun fact: the Tuxedo Bar was actually inspired by my Chocolate Cheesecake Cake (not the Tuxedo Cake), but BLOX liked the name of the Tuxedo Bar better!
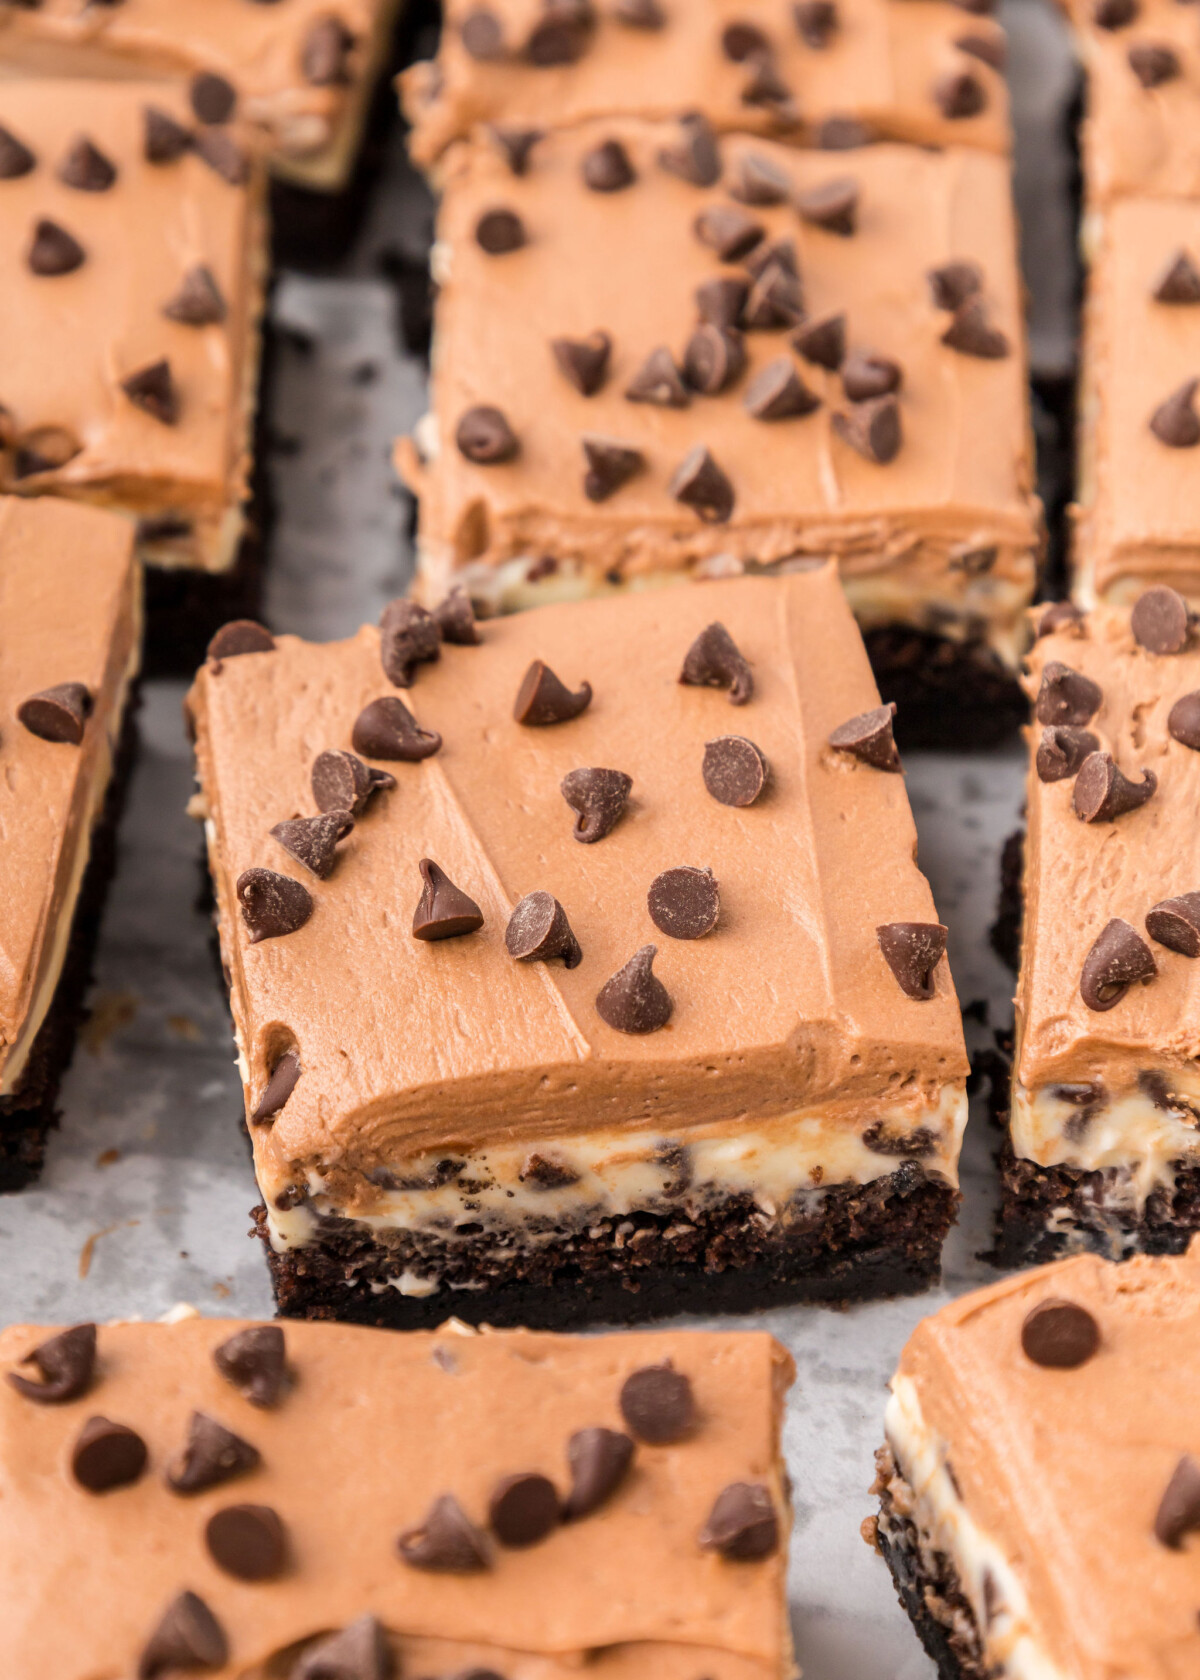
This one is made of an Oreo crust, rich chocolate cake, creamy cheesecake filling with mini chocolate chips, and a chocolate buttercream for extra decadence. They’re made in bar form for convenience but retain every bit of that layered flavor and visual appeal.
Ingredients You’ll Need
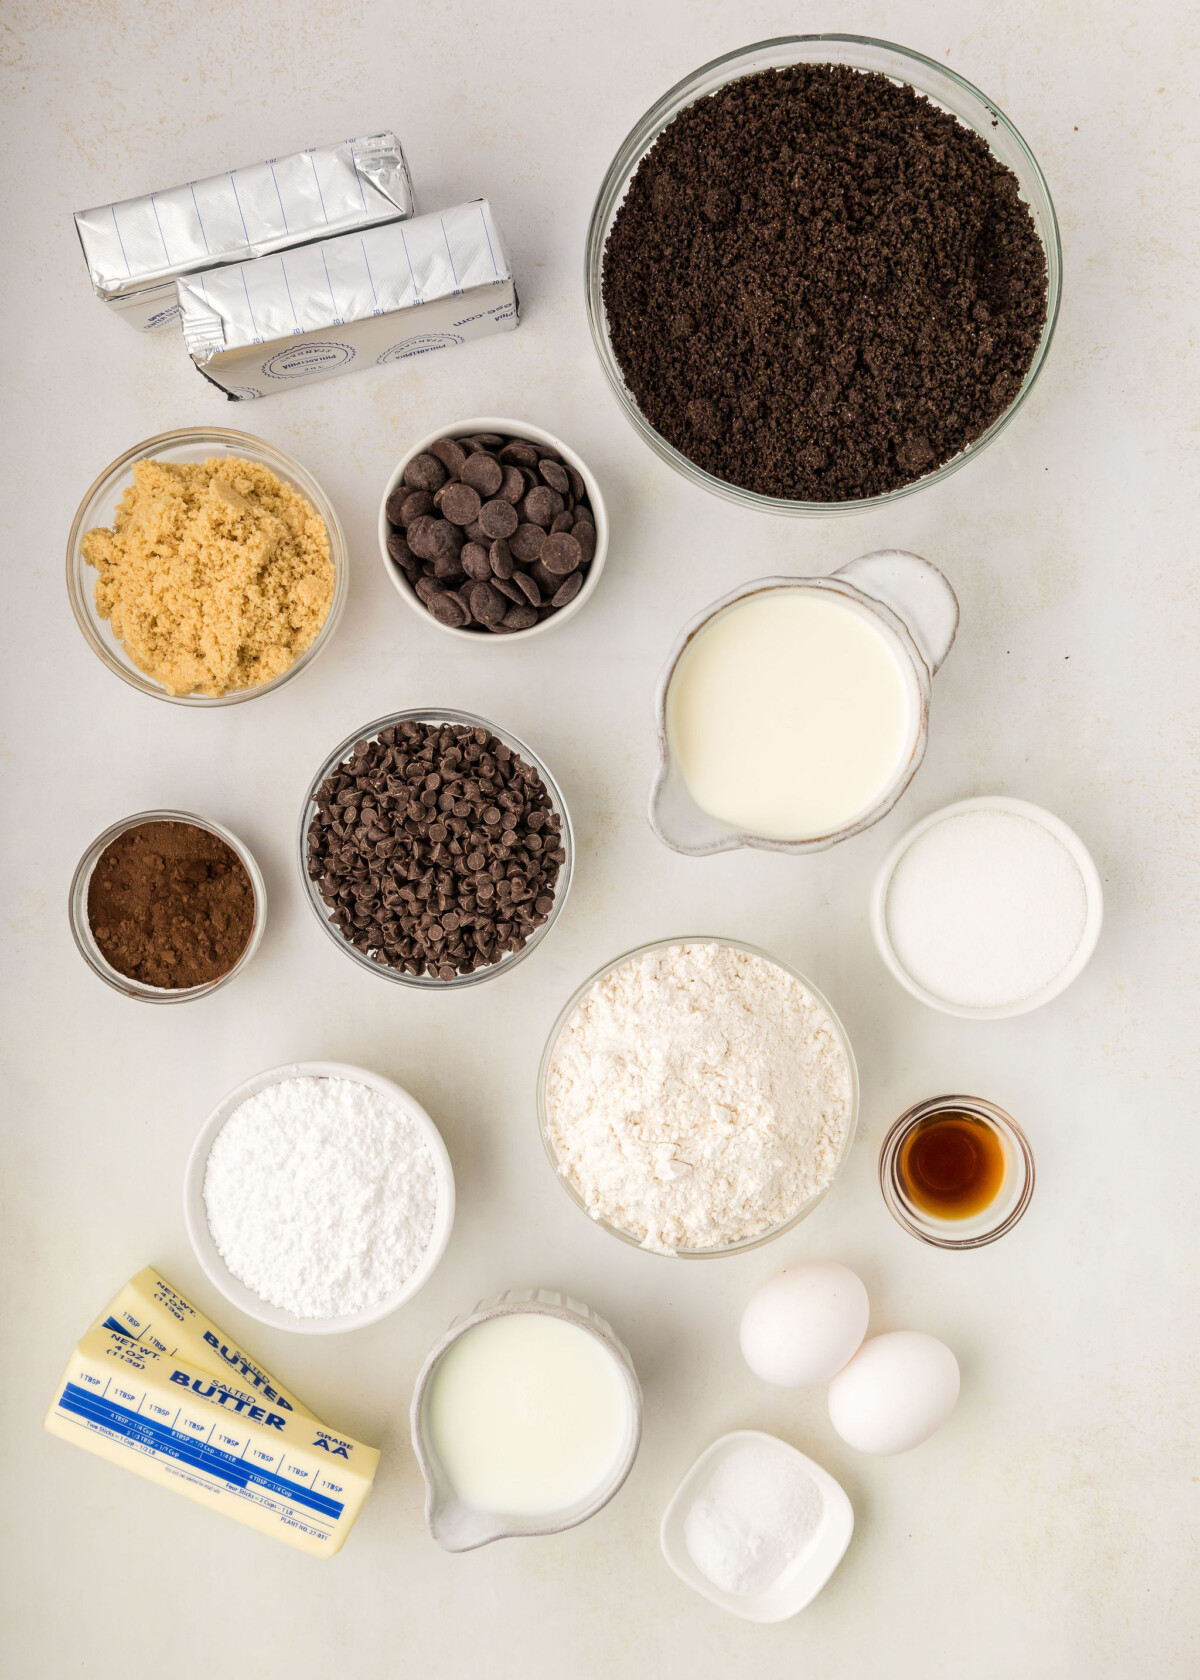
Before we get started, let’s gather our ingredients. We’ll need a few basics, but each layer will bring a distinct texture and taste that makes the Tuxedo Bars truly memorable.
Ingredient list: Oreos, butter, brown sugar, flour, buttermilk, eggs, baking soda, salt, cocoa powder, cream cheese, heavy whipping cream, granulated sugar, mini chocolate chips and regular chocolate chips, and powdered sugar.
How to Make the Tuxedo Bars
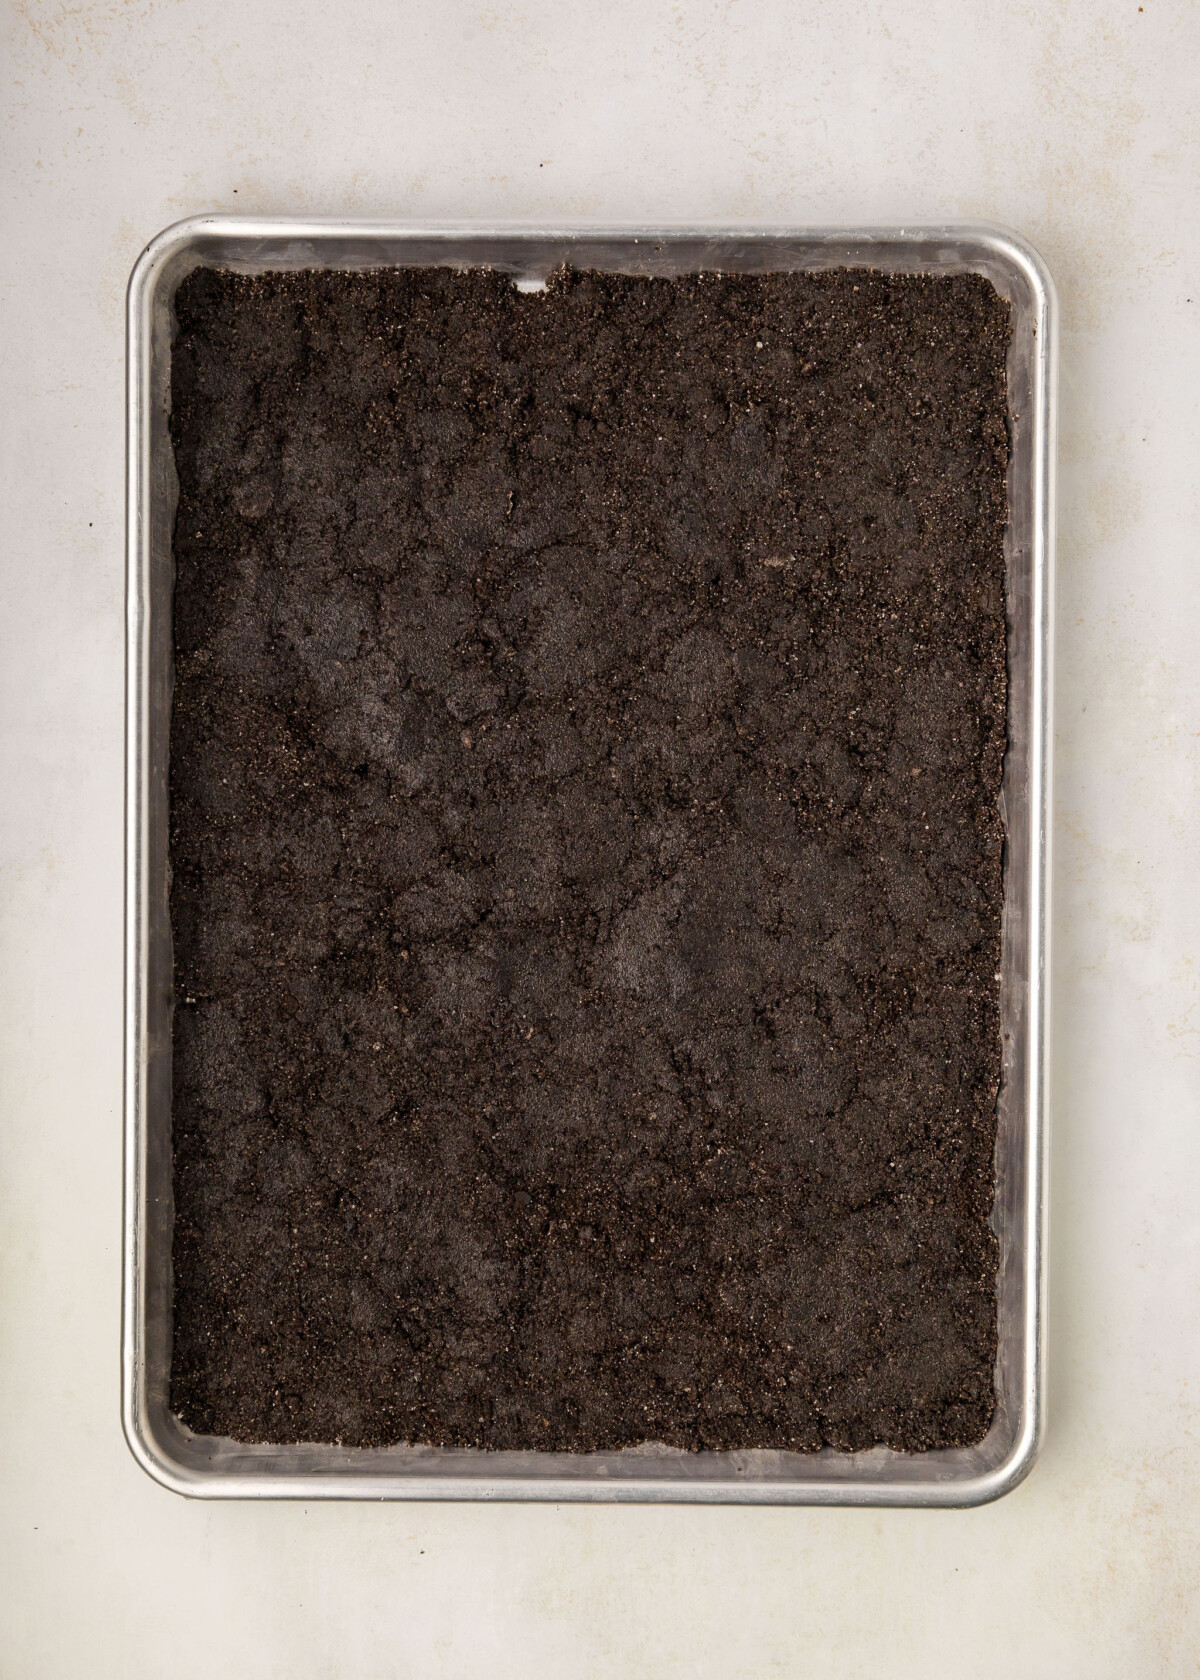
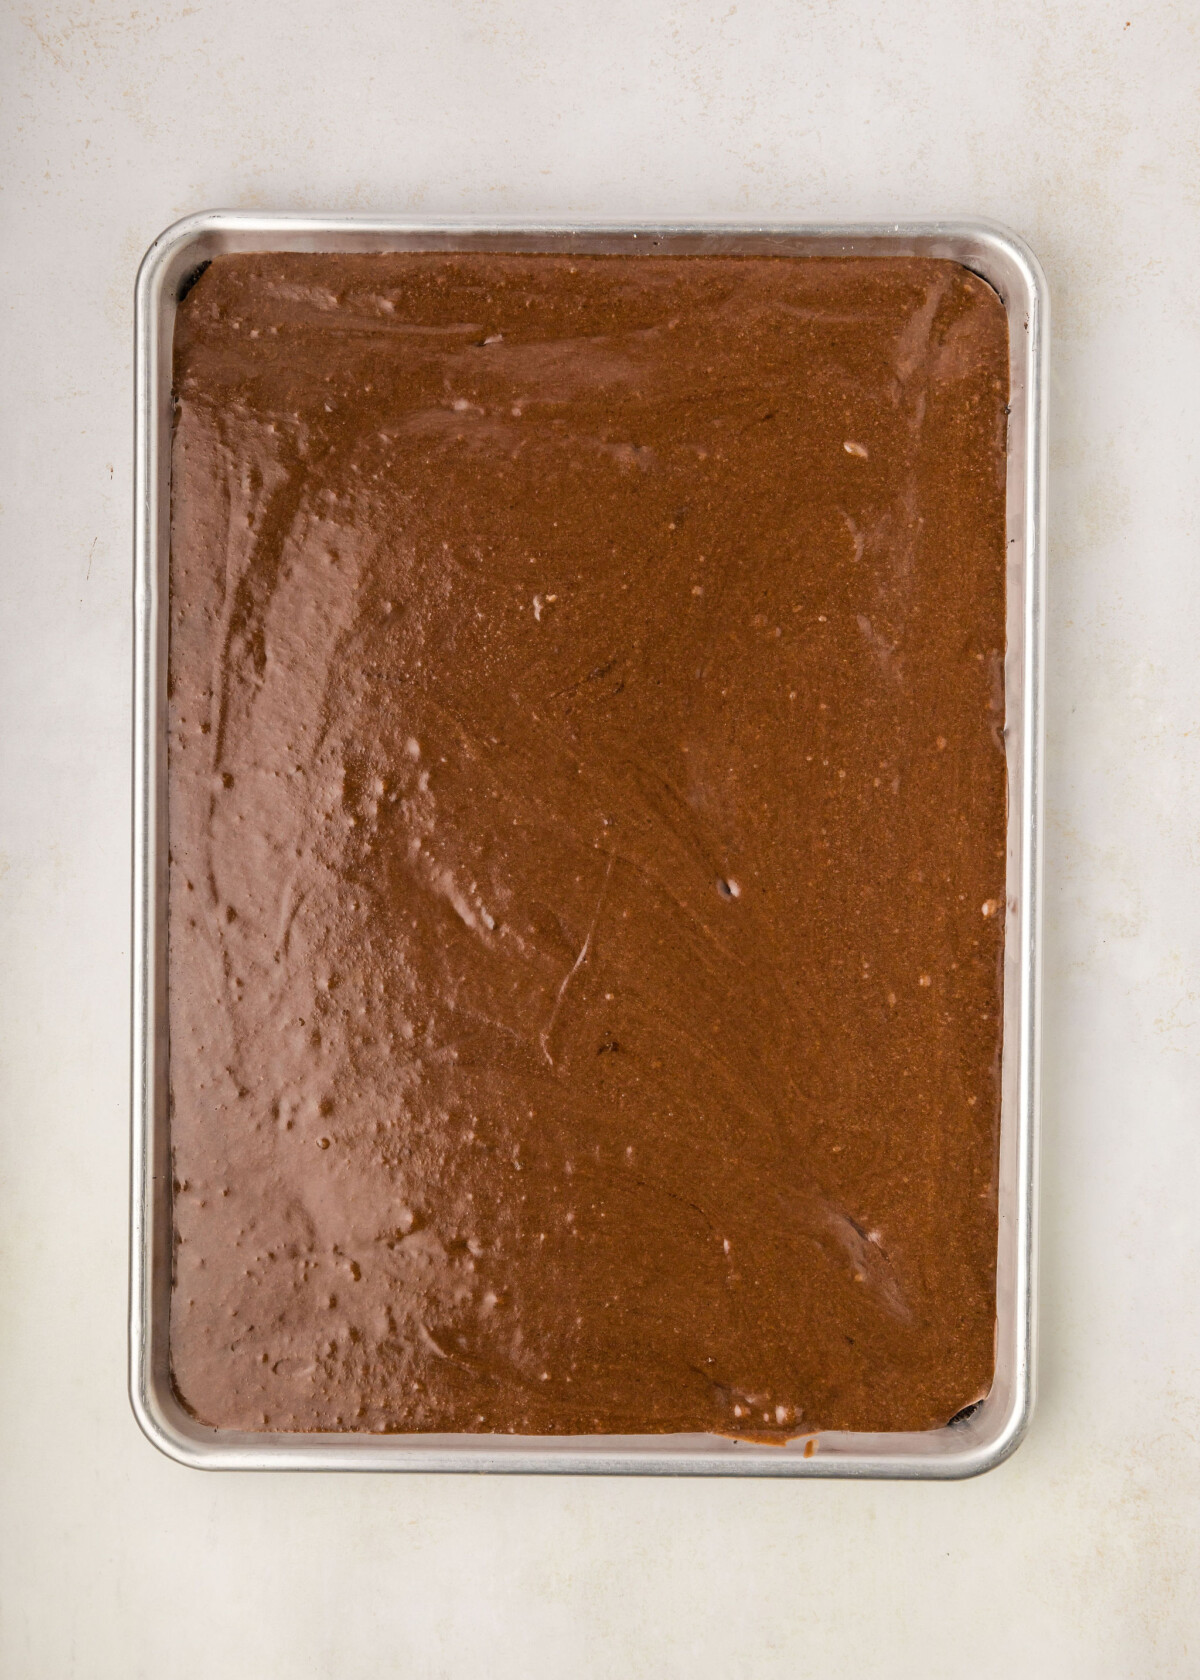
To make the Tuxedo Bars, you’ll start by making a simple Oreo cookie crust. Once that’s pressed firmly in the half sheet pan, you’ll then make the cake batter. The cake batter goes right on top of the Oreo crust and the two get baked together.
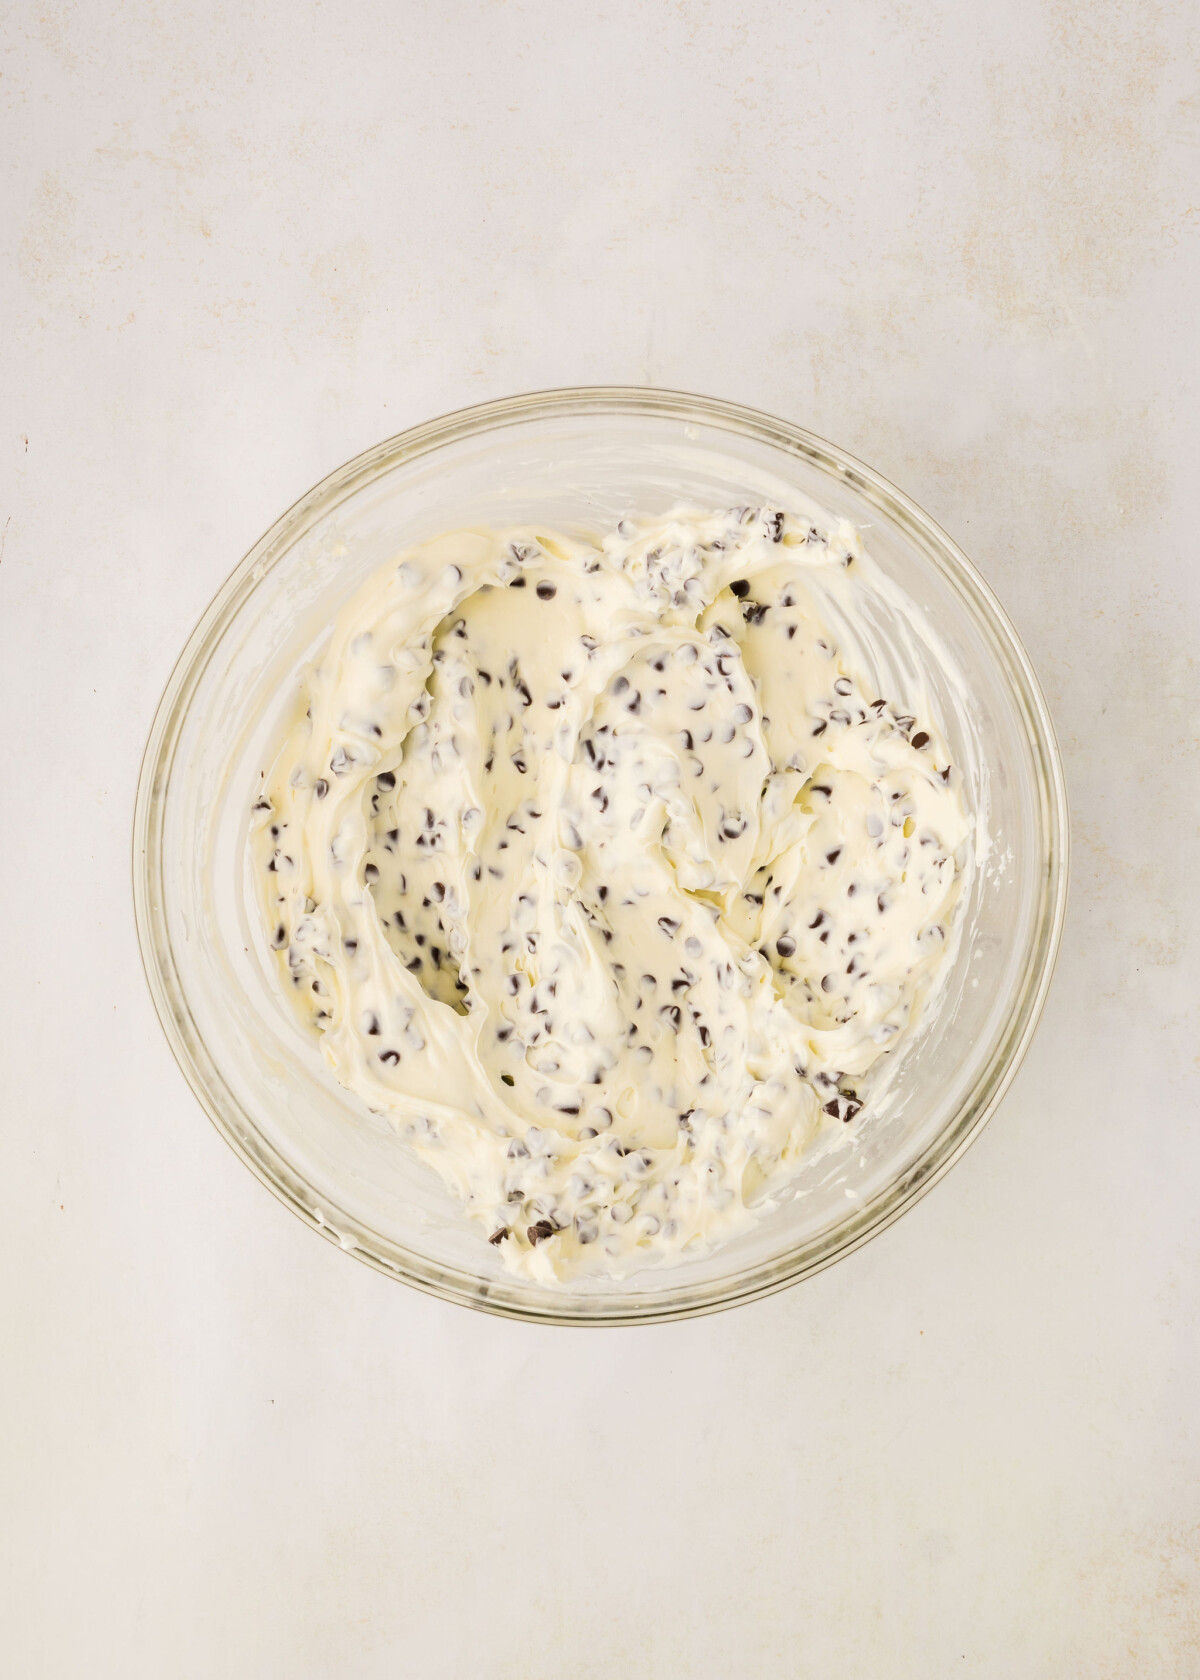
While the cake bakes, you’ll make the no-bake cheesecake filling. You’ll love how simple this filling is to make. Just be sure you don’t spread it on the cake until the cake is completely cooled.
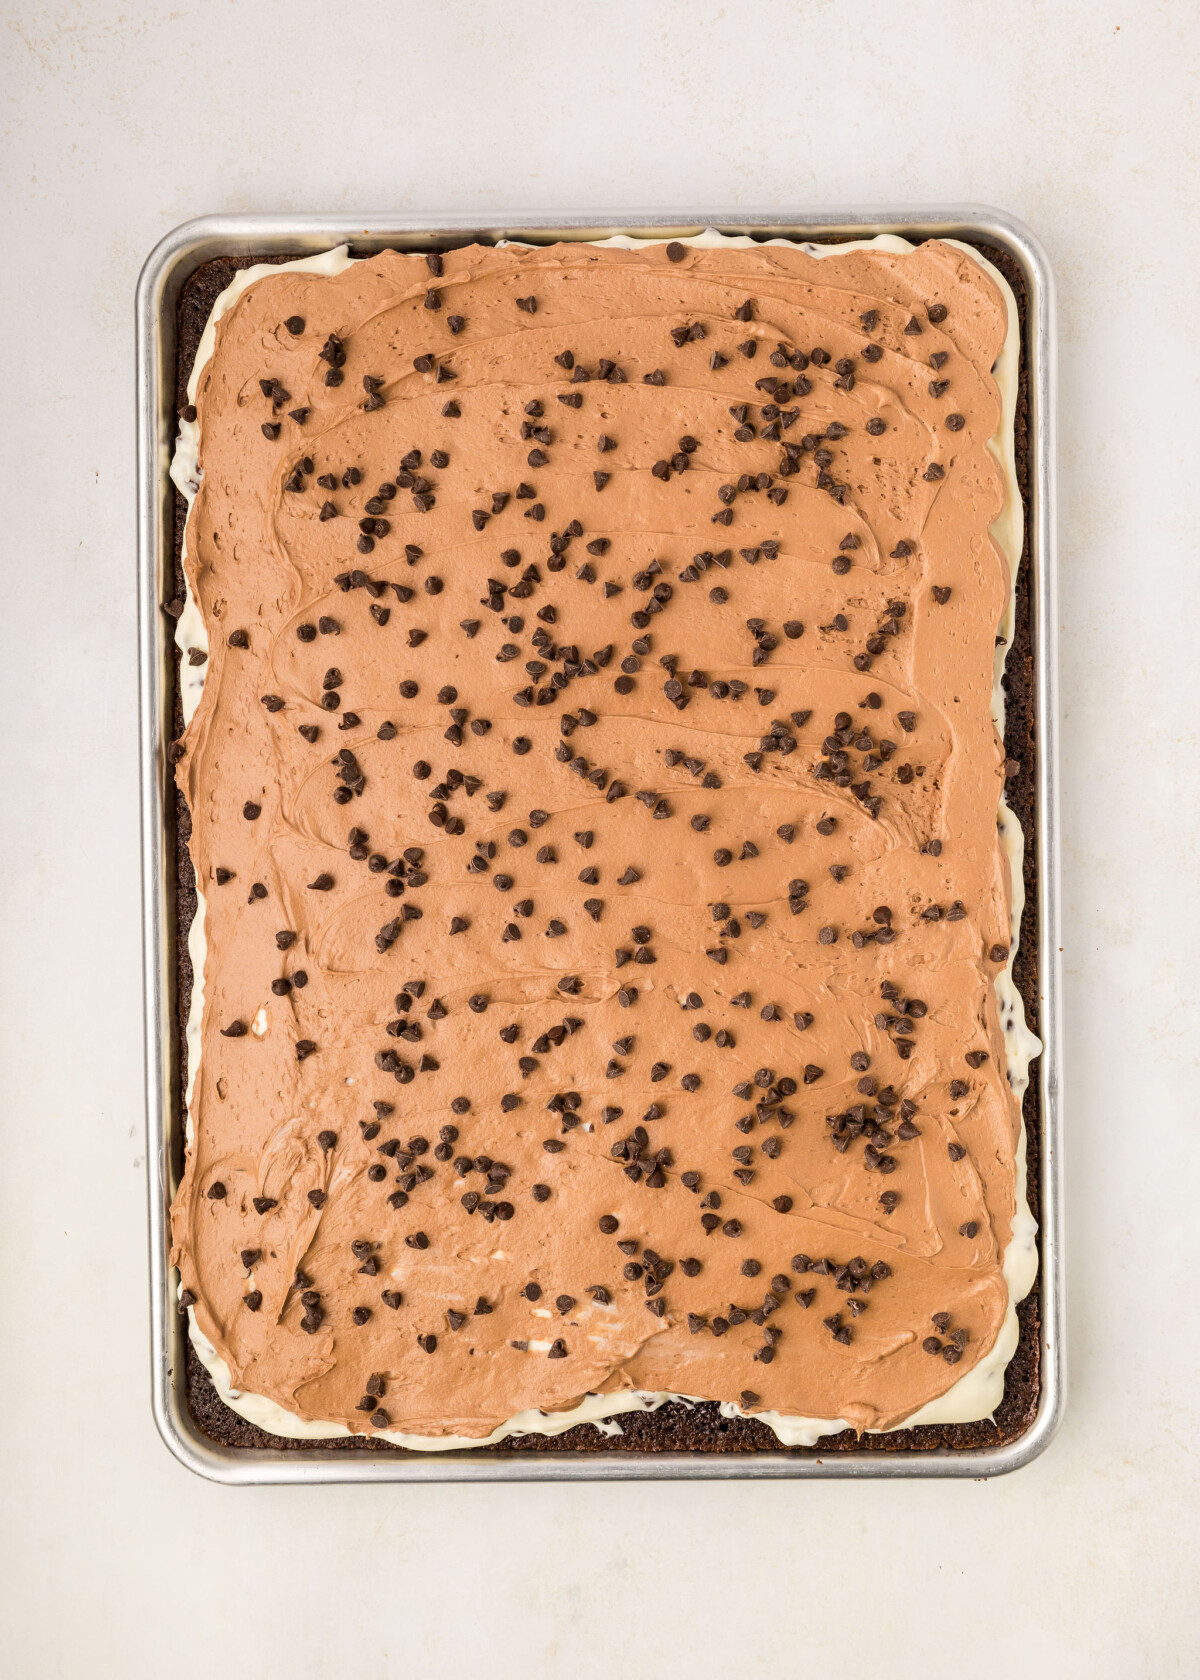
The final step is the chocolate buttercream. I prefer to make this and add it on top when I’m close to serving the cake. The buttercream will set a bit when refrigerated so if you want to make this ahead of time, I’d make the crust, cake and filling and store it in the freezer or even the fridge, if covered well. You’d then make and add the buttercream once you remove the cake from the freezer or fridge.
Tips for Perfect Tuxedo Bars
- Cool Before Adding Cheesecake Filling: To avoid a melty mess, ensure the crust/cake layer is well-chilled before adding the cheesecake filling.
- Clean Cuts: Run your knife under hot water and dry it between cuts to get picture-perfect squares.
- Add the Buttercream Last: To serve the bars with soft buttercream, add the buttercream close to the time you plan to serve it.
Why You’ll Love These Bars
These bars are a true testament to the deliciousness of my Chocolate Cheesecake Cake. You’ll not only love the rich, decadent flavors, but I know you’ll be so excited about the simplicity of assembling the cake in this sheet cake version.
Try them out and let me know what you think below!
Chocolate Cheesecake Cake Bars: AKA Tuxedo Bars
Ingredients
For the Crust
- 40 Oreo cookies, pulverized into a crumb (about 468 g)
- 3/4 cup unsalted butter, melted
- 1/2 cup granulated sugar
For the Cake
- 2 cups all-purpose flour
- 1 cup granulated sugar
- 3/4 cup brown sugar
- 1 teaspoon baking soda
- 1 teaspoon salt
- 1 cup water
- 1/4 cup cocoa powder, use the extra brute cacao barry
- 1 cup unsalted butter, room temperature
- 2 eggs, room temperature
- 1/2 cup buttermilk, room temperature
- 1 1/2 teaspoons vanilla extract
For the Cheesecake Filling*
- 16 ounces cream cheese
- 1 1/2 cups powdered sugar
- 1 teaspoon vanilla extract
- 1 cup heavy whipping cream
- 8 ounces mini chocolate chips
For the Buttercream
- 3 tablespoons heavy whipping cream
- 5 ounces dark or semi-sweet chocolate chips
- 1 cup unsalted butter, slightly chilled
- 2.5 cups powdered sugar, measured then sifted
- 1 teaspoon pure vanilla extract
- Pinch of salt
Instructions
For the Oreo Crust
- Preheat the oven to 325 F. Spray a half sheet pan (standard jelly roll pan) with nonstick spray. Set aside.
- Mix the Oreo crumbs, butter, and sugar.
- Evenly spread the mixture into the sheet pan and press firmly to create a crust.
- Bake for 10 minutes.
- Remove from oven and let cool slightly while making the cake.
For the Cake
- In a large mixing bowl, whisk together the flour, sugars, baking soda, and salt. Set this mixture aside.
- In a medium saucepan, melt the butter over medium heat. Once melted, add the water and cocoa powder. Stir until the mixture is smooth and begins to simmer. Remove the saucepan from the heat and let it cool slightly.
- Pour the chocolate mixture into the bowl with the dry ingredients, stirring gently to combine. In a small bowl, whisk together the buttermilk, eggs, and vanilla extract, then add this mixture to the batter. Stir until everything is well-combined and smooth.
- Pour the batter onto the Oreo crust. Bake for about 25 to 30 minutes (mine took 25 mins) or until a toothpick inserted in the center comes out with a few moist crumbs on it. The cake should be soft and moist, but not jiggly.
- Allow to cool completely before adding cheesecake filling and buttercream.
For the Cheesecake Filling
- In a medium size mixing bowl, beat the cream cheese until smooth. Set aside.
- In a chilled stainless steel bowl, beat the powdered sugar, vanilla, and whipping cream until medium-stiff peaks form. Gradually add the cream cheese to the whipped cream mixture while still beating on high.
- Fold in most of the mini chocolate chips, but save about 2 ounces to sprinkle on top at the end.
For the Buttercream
- In a microwave safe bowl, heat the chocolate chips and the cream for about one minute. Stir until mixture is smooth. Allow to cool slightly.
- In the bowl of a stand mixer fitted with the paddle attachment, beat the butter for about 2 minutes on medium-high speed.
- With the mixer on low speed, add the ganache. Scrape down the sides and bottom of the bowl and then mix on medium-high speed for about a minute, until the mixture is smooth.
- Gradually add the powdered sugar, one cup at a time, followed by the vanilla and salt.
- When the cake is cooled completely, evenly spread the cheesecake filling on top. You can then use a large round piping tip to pipe the chocolate buttercream across the top of the cheesecake filling in a diagonal or spread with an offset icing spatula. Sprinkle the remaining mini chocolate chips on top.

Recipe states “half sheet pan (Standard jelly roll pan)”. Half sheet is 18″ x 13″ whereas a jelly roll pan is 15″ x 10″. Which one did you use?
Commenting for clarification on pan size.