Baking Basics
One of the biggest mistakes beginner bakers make is not reading the recipe and instructions thoroughly. Make sure you have all the ingredients you need and aren’t trying to substitute anything last minute. Also make sure you’ve read through the instructions ahead of time so you know how long everything takes to make. Rushing through the cake making and cake decorating process makes the whole experience much more stressful. Plan ahead! You can even prep cake layers ahead of time.
The most important piece of advice I can give you is to know your oven! Get an oven thermometer and make sure the internal oven temperature is accurate. Then, as the baking time is nearly over, keep an eye on your cakes. I look to make sure the top of the cake isn’t shiny anymore, that the sides of the cake have just barely pulled away from the pan, and a few moist crumbs come out on the toothpick. Remember it still cooks in the pan as it cools.
I typically always bake my cakes at 350 degrees F, unless otherwise specified in a recipe.
It’s important to use room temperature wet ingredients. When your eggs and buttermilk are room temperature, they will better blend with the other ingredients and will be better absorbed by the dry ingredients. This all helps for your cakes to rise more evenly. Good cake pans also help. I use Fat Daddio pans. Additionally, you can use aluminum bake even strips or place a baking stone on the rack below your cakes (which helps push the air up and around the cakes).
Cake Ingredient Modifications
You shouldn’t need to. I use all my cake recipes on high altitude and near sea level when I’m home visiting family.
Cake flour is a lighter flour and I love using it in cakes like vanilla and white cakes that are supposed to be lighter in texture.
Yes, but it’s not my favorite. I prefer cake flour when called for. It’s much lighter in texture and offers a bit of a sweet taste to a cake, compared to all-purpose flour. Cake flour is great for vanilla and white cakes. You can make your own cake flour from all-purpose: measure the amount of flour needed for your recipe. Then, for every one cup of cake flour called for, remove two tablespoons of the all-purpose flour and add 2 tablespoons cornstarch in place of the flour.
I always measure my flour and other dry ingredients by spooning the ingredient into my measuring cup and leveling it off with a knife. You don’t want to pack or shake your flour into your measuring cup because it will be too much flour and create a much denser cake.
I buy it at my local grocery store which is Smith’s, a Kroger brand. Walmart also sells it.
Cake Tools & Supplies
I use several brands – I like Ateco for my cake scraper and turntable. I use Wilton for piping tips, piping bags and some cake spatulas. I also use cake spatulas by Libertyware.
I buy flour, sugar, powdered sugar, butter, cream and eggs from Costco. Most everything else is from my local grocery store.
My essential cake decorating tools include a turntable, cake scraper, straight icing spatula, offset icing spatula, cake boards, and three 8×2″ round cake pans. Those are my essentials, but I also love having a cake leveler, cake lifter, piping bags and parchment. You can shop my favorite products below!
You can definitely use a hand mixer for cake batter and buttercream.
I got mine from a company called @cakesafe but many of you have told me you have found similar ones on Amazon.


Cake Sizes & Batter
Yes, definitely. Pour 2/3 of the batter in a 9×13 pan and the other 1/3 into an 8×8 pan. Bake at the same temperature for a few minutes longer than the time I give you in a recipe.
I’m trying to include that in my newer recipes and instructions. It’s about 15-16 ounces of batter in each of the three 8-inch pans, and 11-12 ounces in each of the four 6-inch pans.
This could be the result of a few things: your baking powder and/or baking soda is expired (I don’t use anything older than 6 months from the time I buy it); you may be over-mixing your batter (when you add the dry ingredients to the wet ingredients, make sure your mixer is on low and that you mix only until the dry ingredients are incorporated; or your internal oven temperature is off from what the screen is telling you.
Yes, most all of my cakes can be made for three 8-inch cake layers or four 6-inch cake layers, unless otherwise specified. Baking time will stay the same.
I like the way that three and four layer cakes look, but you can certainly do two layers. If you do, you’ll want to do two 9″ cake rounds and add a few minutes of baking time.
Buttercream & Frosting Techniques
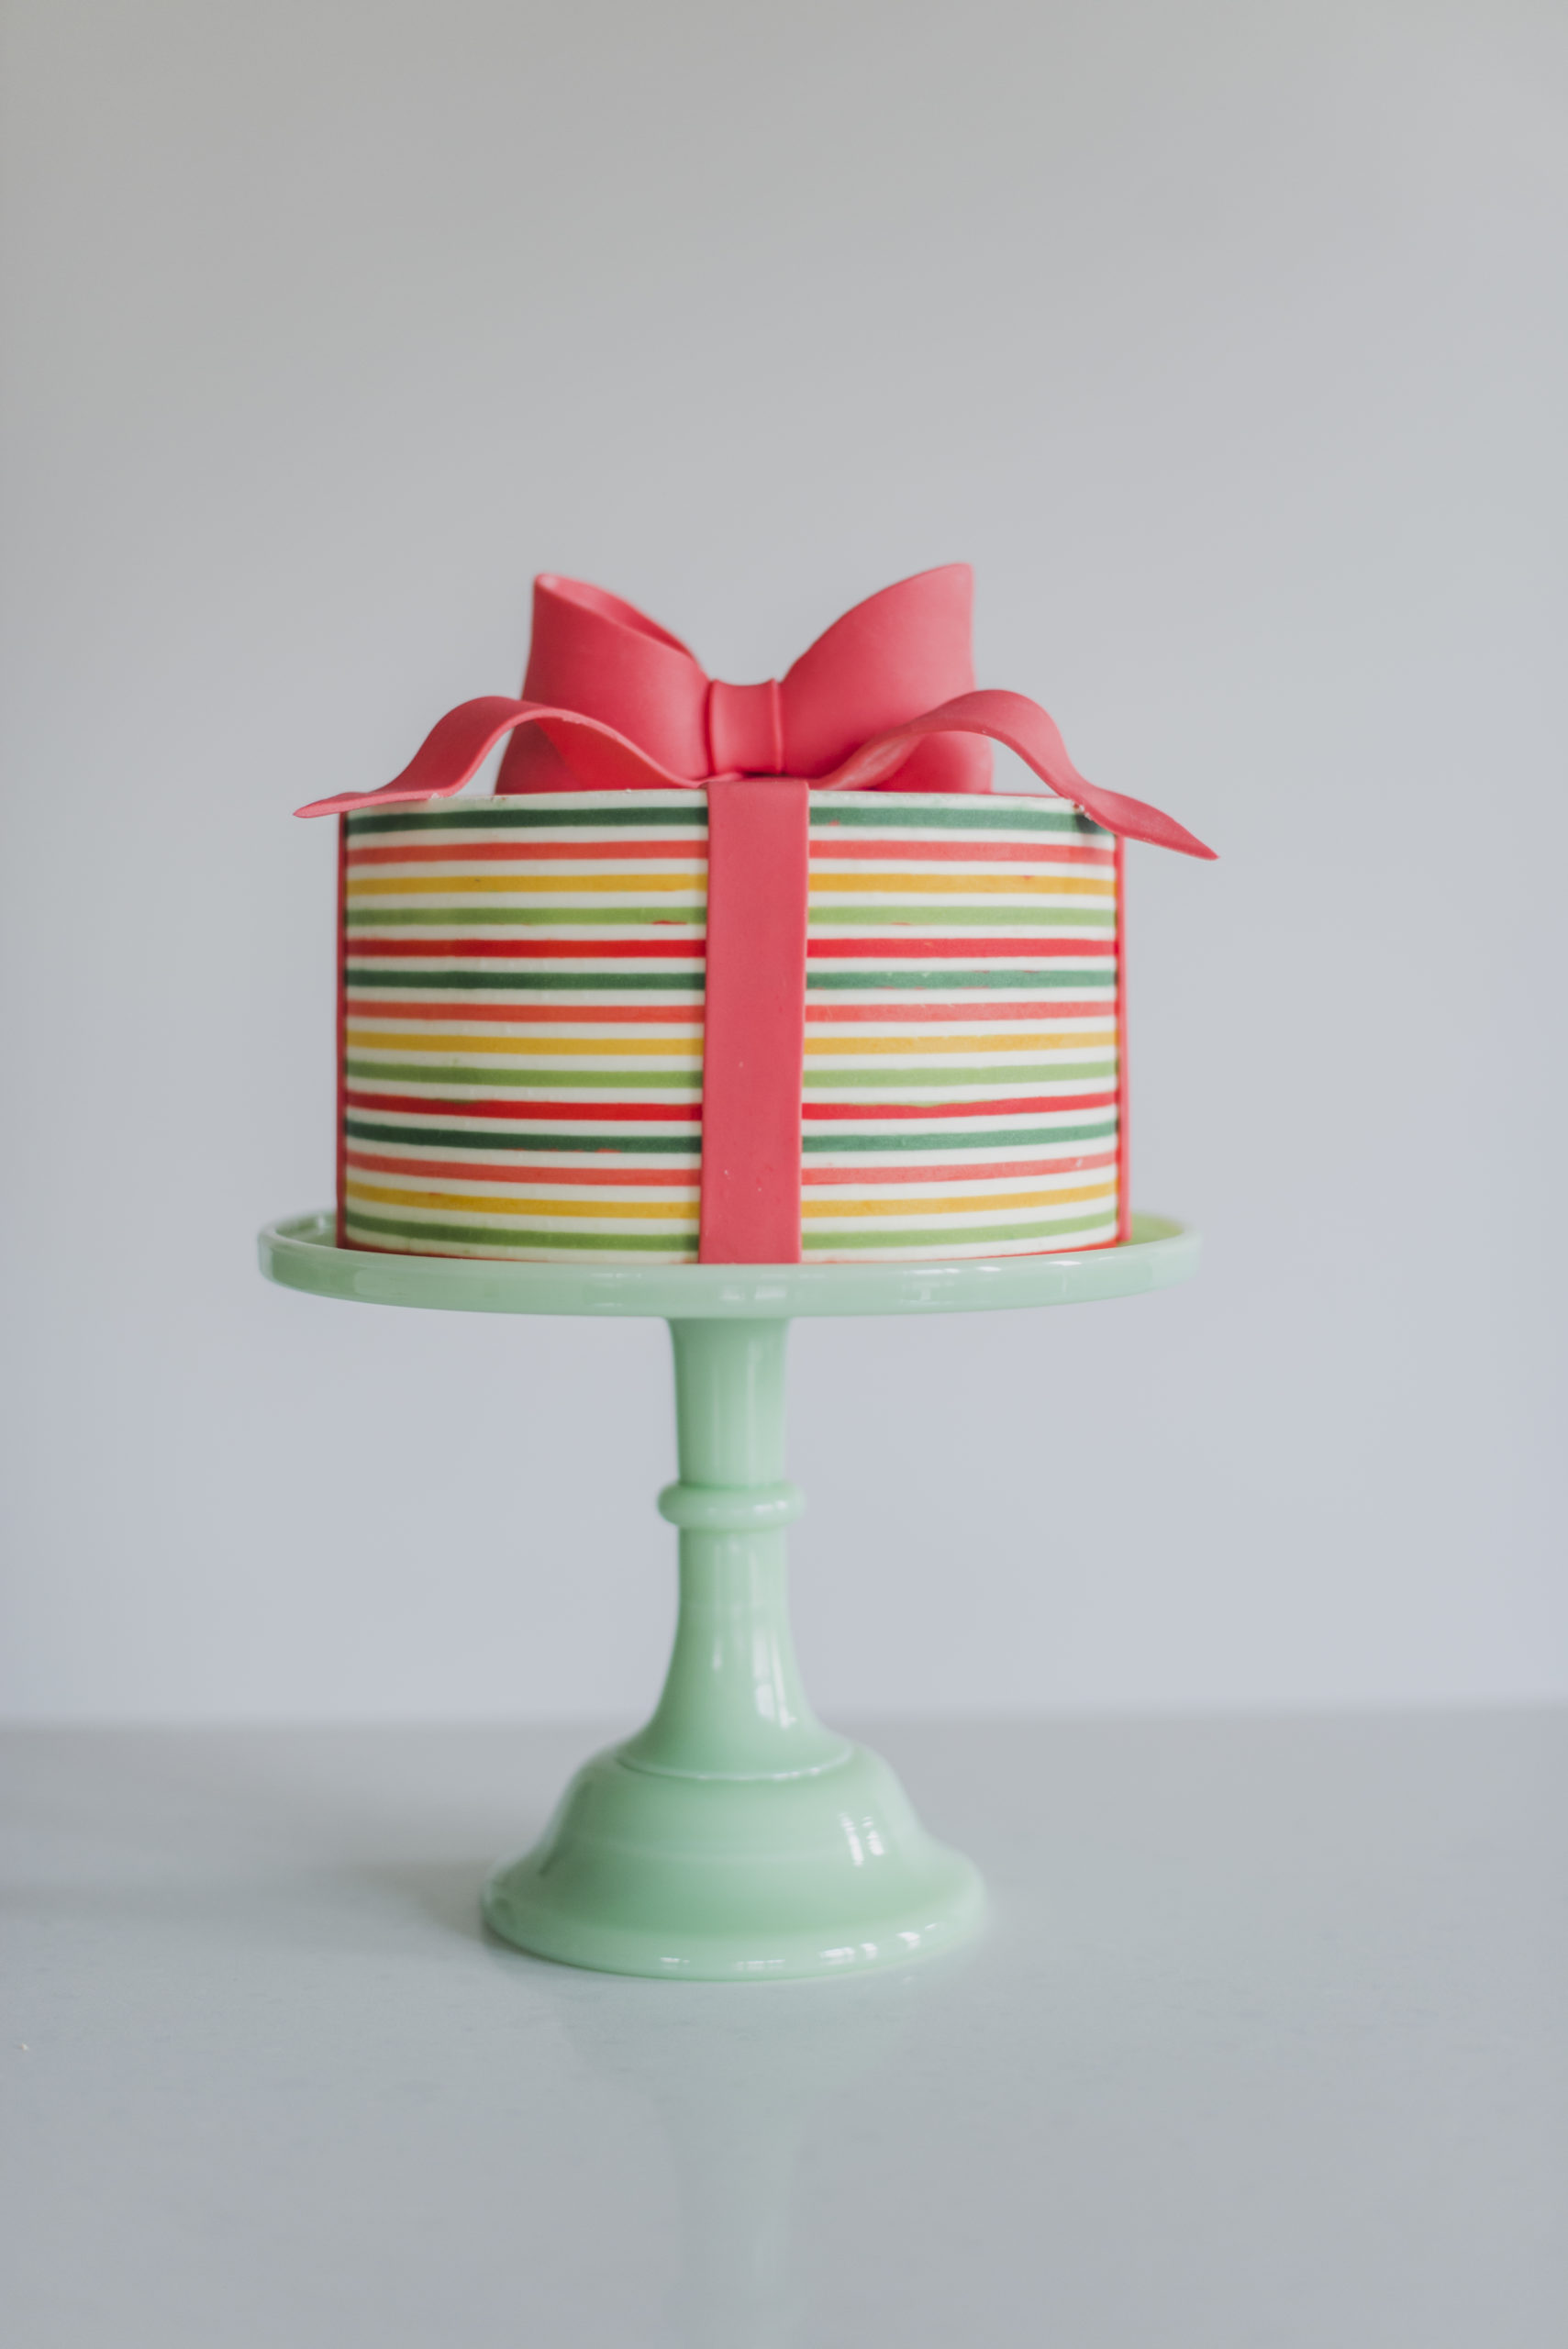
Buttercream! I’ve never used fondant. I’ve tasted it and don’t love it, so I’ll never use it. I only make what I like to eat!
I always run my AC a bit more when I’m frosting cakes and I always make more to chill them between the crumb coat and final coat of frosting. I also chill the cakes after I make them. Don’t let them sit at room temperature too long.
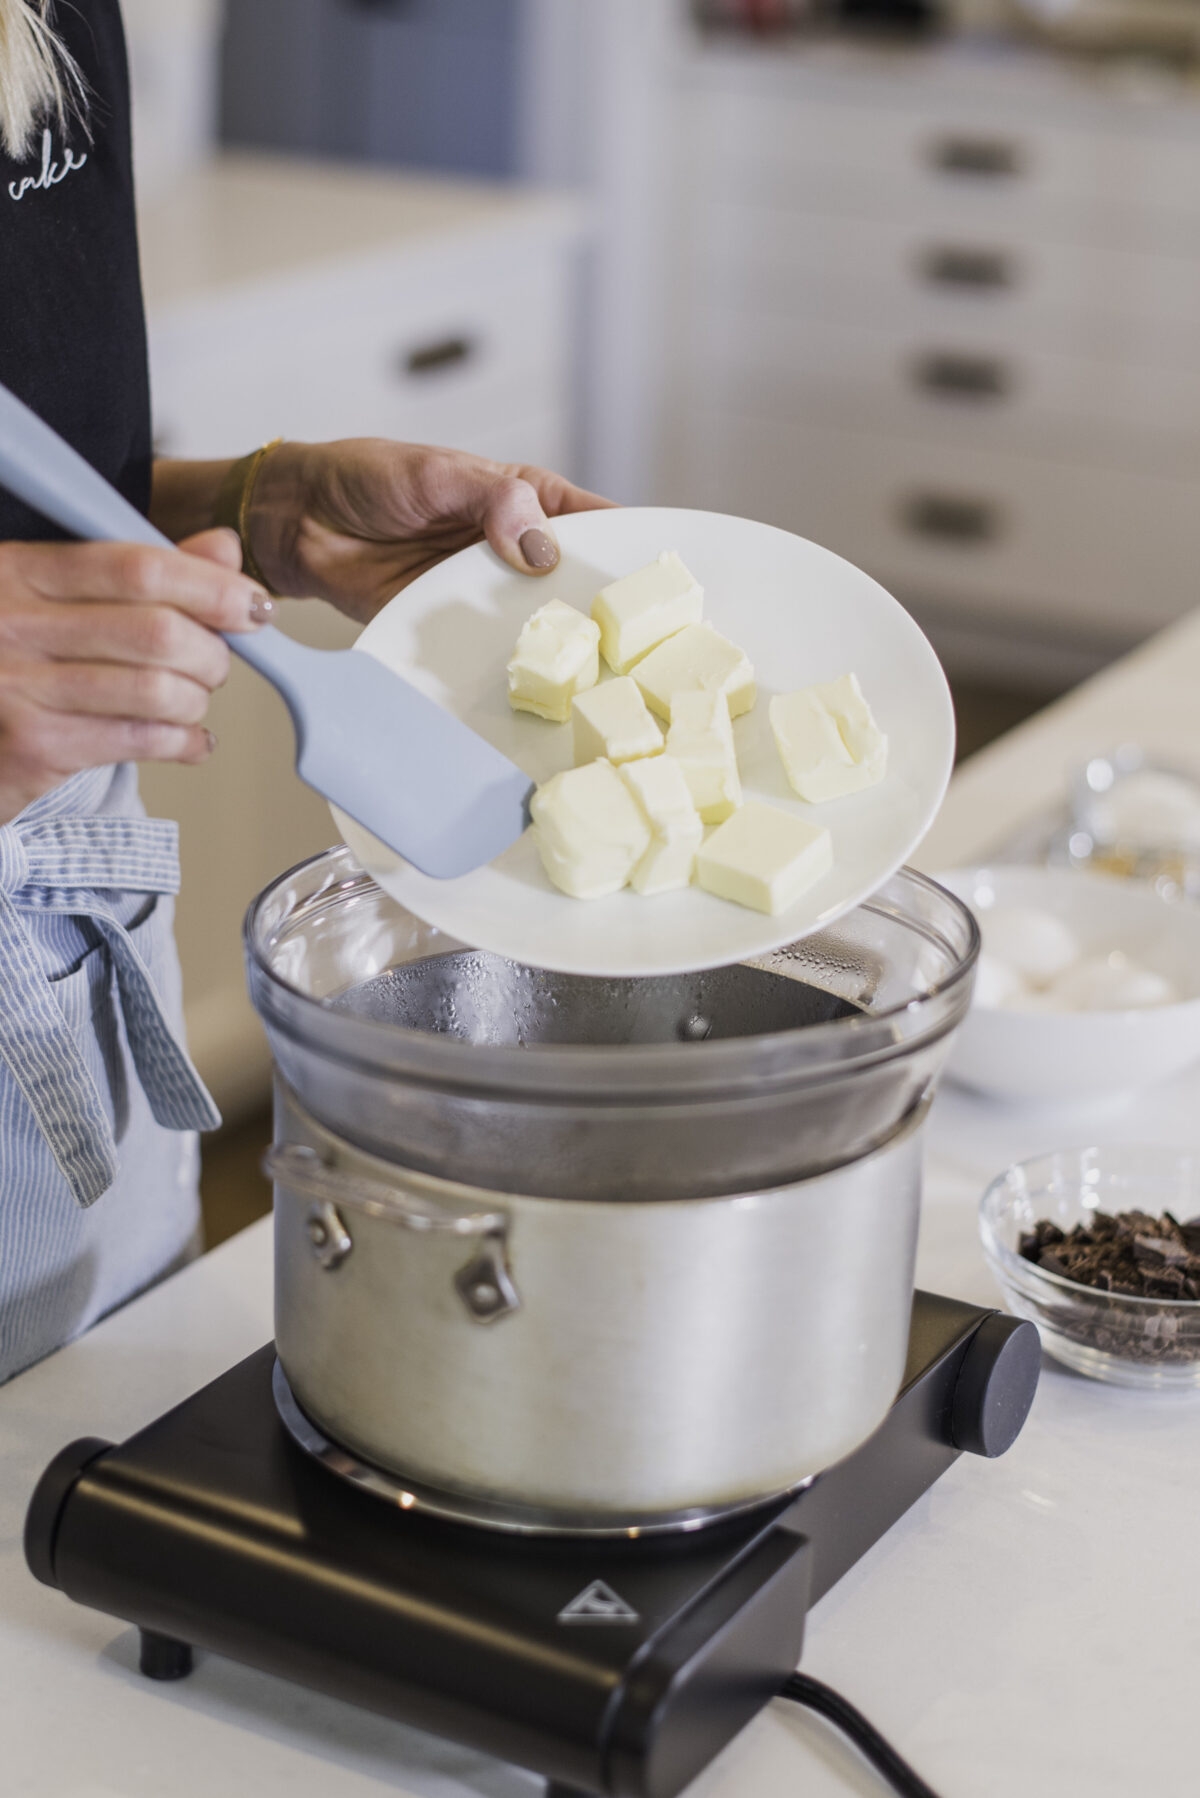
You’ll actually want to add the chocolate while it’s still warm in a slow and steady stream to temper the chocolate.
The keys to this kind of buttercream are threefold: first, make sure to sift your powdered sugar to get rid of the clumps; second, add a few tablespoons of heavy whipping cream; third, after the ingredients are combined, turn your mixer to medium-high speed and mix for about five minutes – this will lighten the texture and color of the frosting.
There’s a couple things I like to do: the first is to beat the frosting for about five minutes. This will lighten the color quite a bit. The second is to add a little white food coloring or the slightest bit of purple food coloring (it acts like purple shampoo and cancels out the yellow).


Cake Assembly & Decorating
Cool them completely and then chill them at least an hour. If you have any heat in your cake it will melt your frosting. I also like working with chilled cake layers because they are easier to handle.
Use less cream and let it sit out for a bit to thicken.
The best way to prevent leaning cakes is to level your cakes so each layer is totally flat. Get eye level with each layer you stack and frost to make sure it’s level.
My frosting recipes will give you enough to fill and cover your cake. If you want to add any piping, you’ll want to make an extra ¼ to ½ of the recipe. If you’re running out while just covering the cake, you might be using too much frosting into between the layers.
About 3/4 -1 cup frosting between 8″ layers and about ½-2/3 cup in between 6″ layers.
Cake Finishing & Presentation
You’ll always have a line or two from your icing spatula on top of your cake, but you can check out the tutorial below for getting smooth sides and sharp edges to your cake.
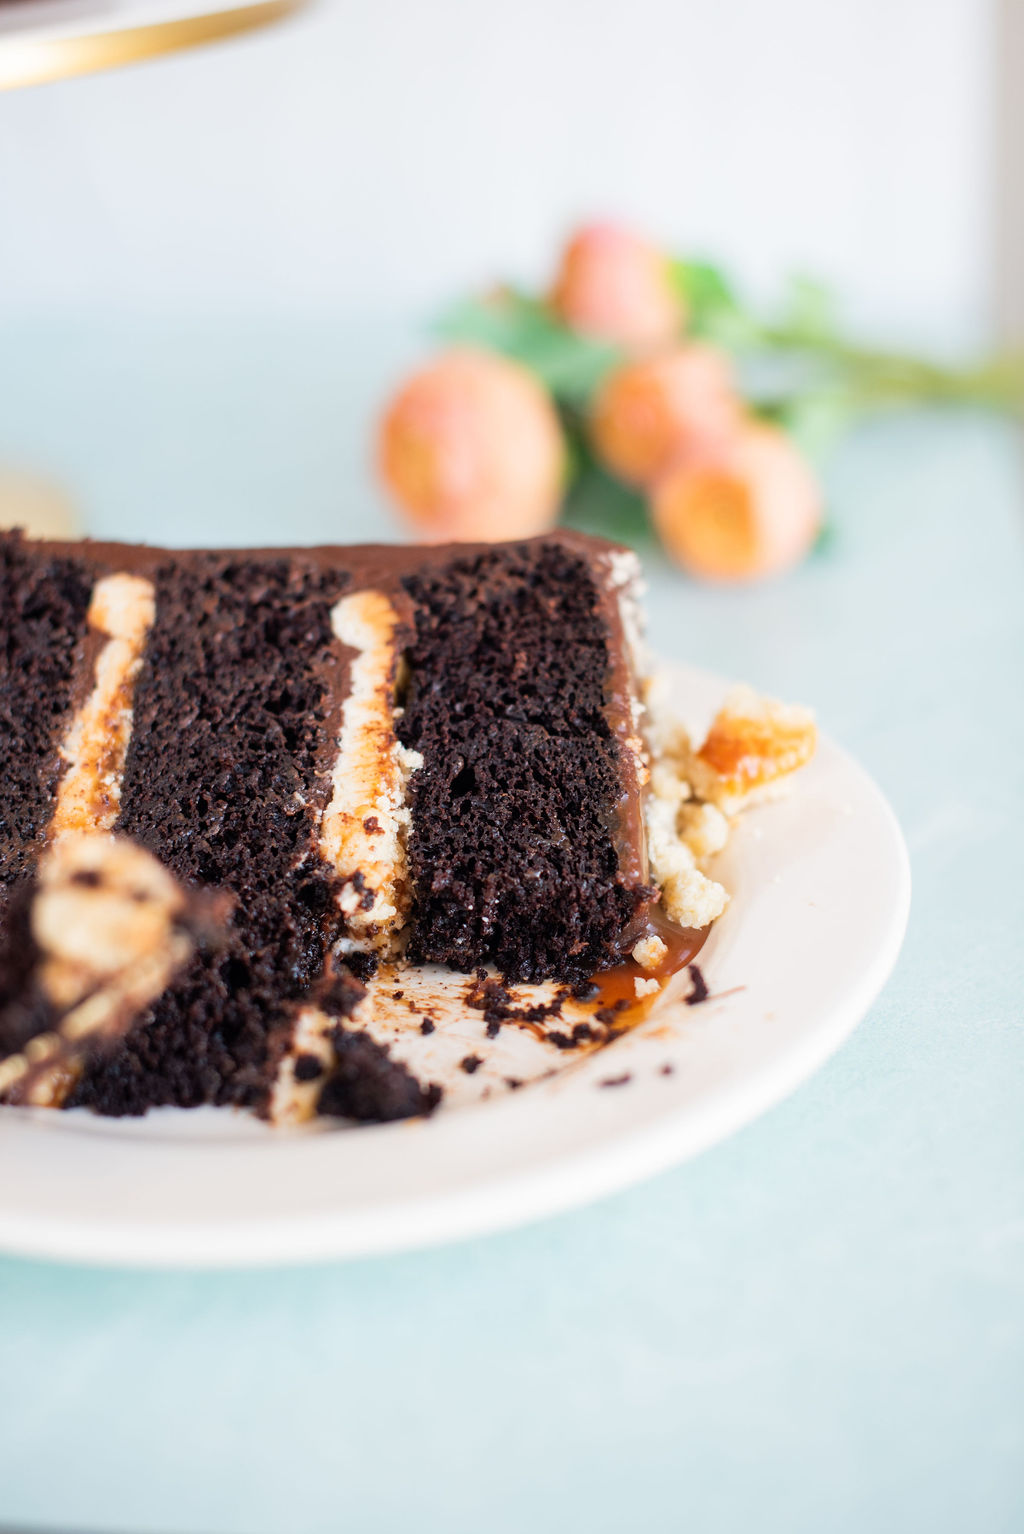
Any time you have a filling that’s soft or runny (i.e. lemon curd, peach compote, chocolate ganache, etc.), you’ll want to pipe a rim of frosting around the edge of the cake layer before adding the filling. I typically pipe the rim of frosting about a quarter inch in from the very edge of the cake. Also make sure you don’t put too much of the filling in. Using too much filling will cause your cake to be unstable while you stack and decorate.
Yes, you always want to freeze your cake for 10 to 15 minutes after you’ve done the crumb coat. You want to make sure this coat of frosting is set before you apply the final coat of frosting.
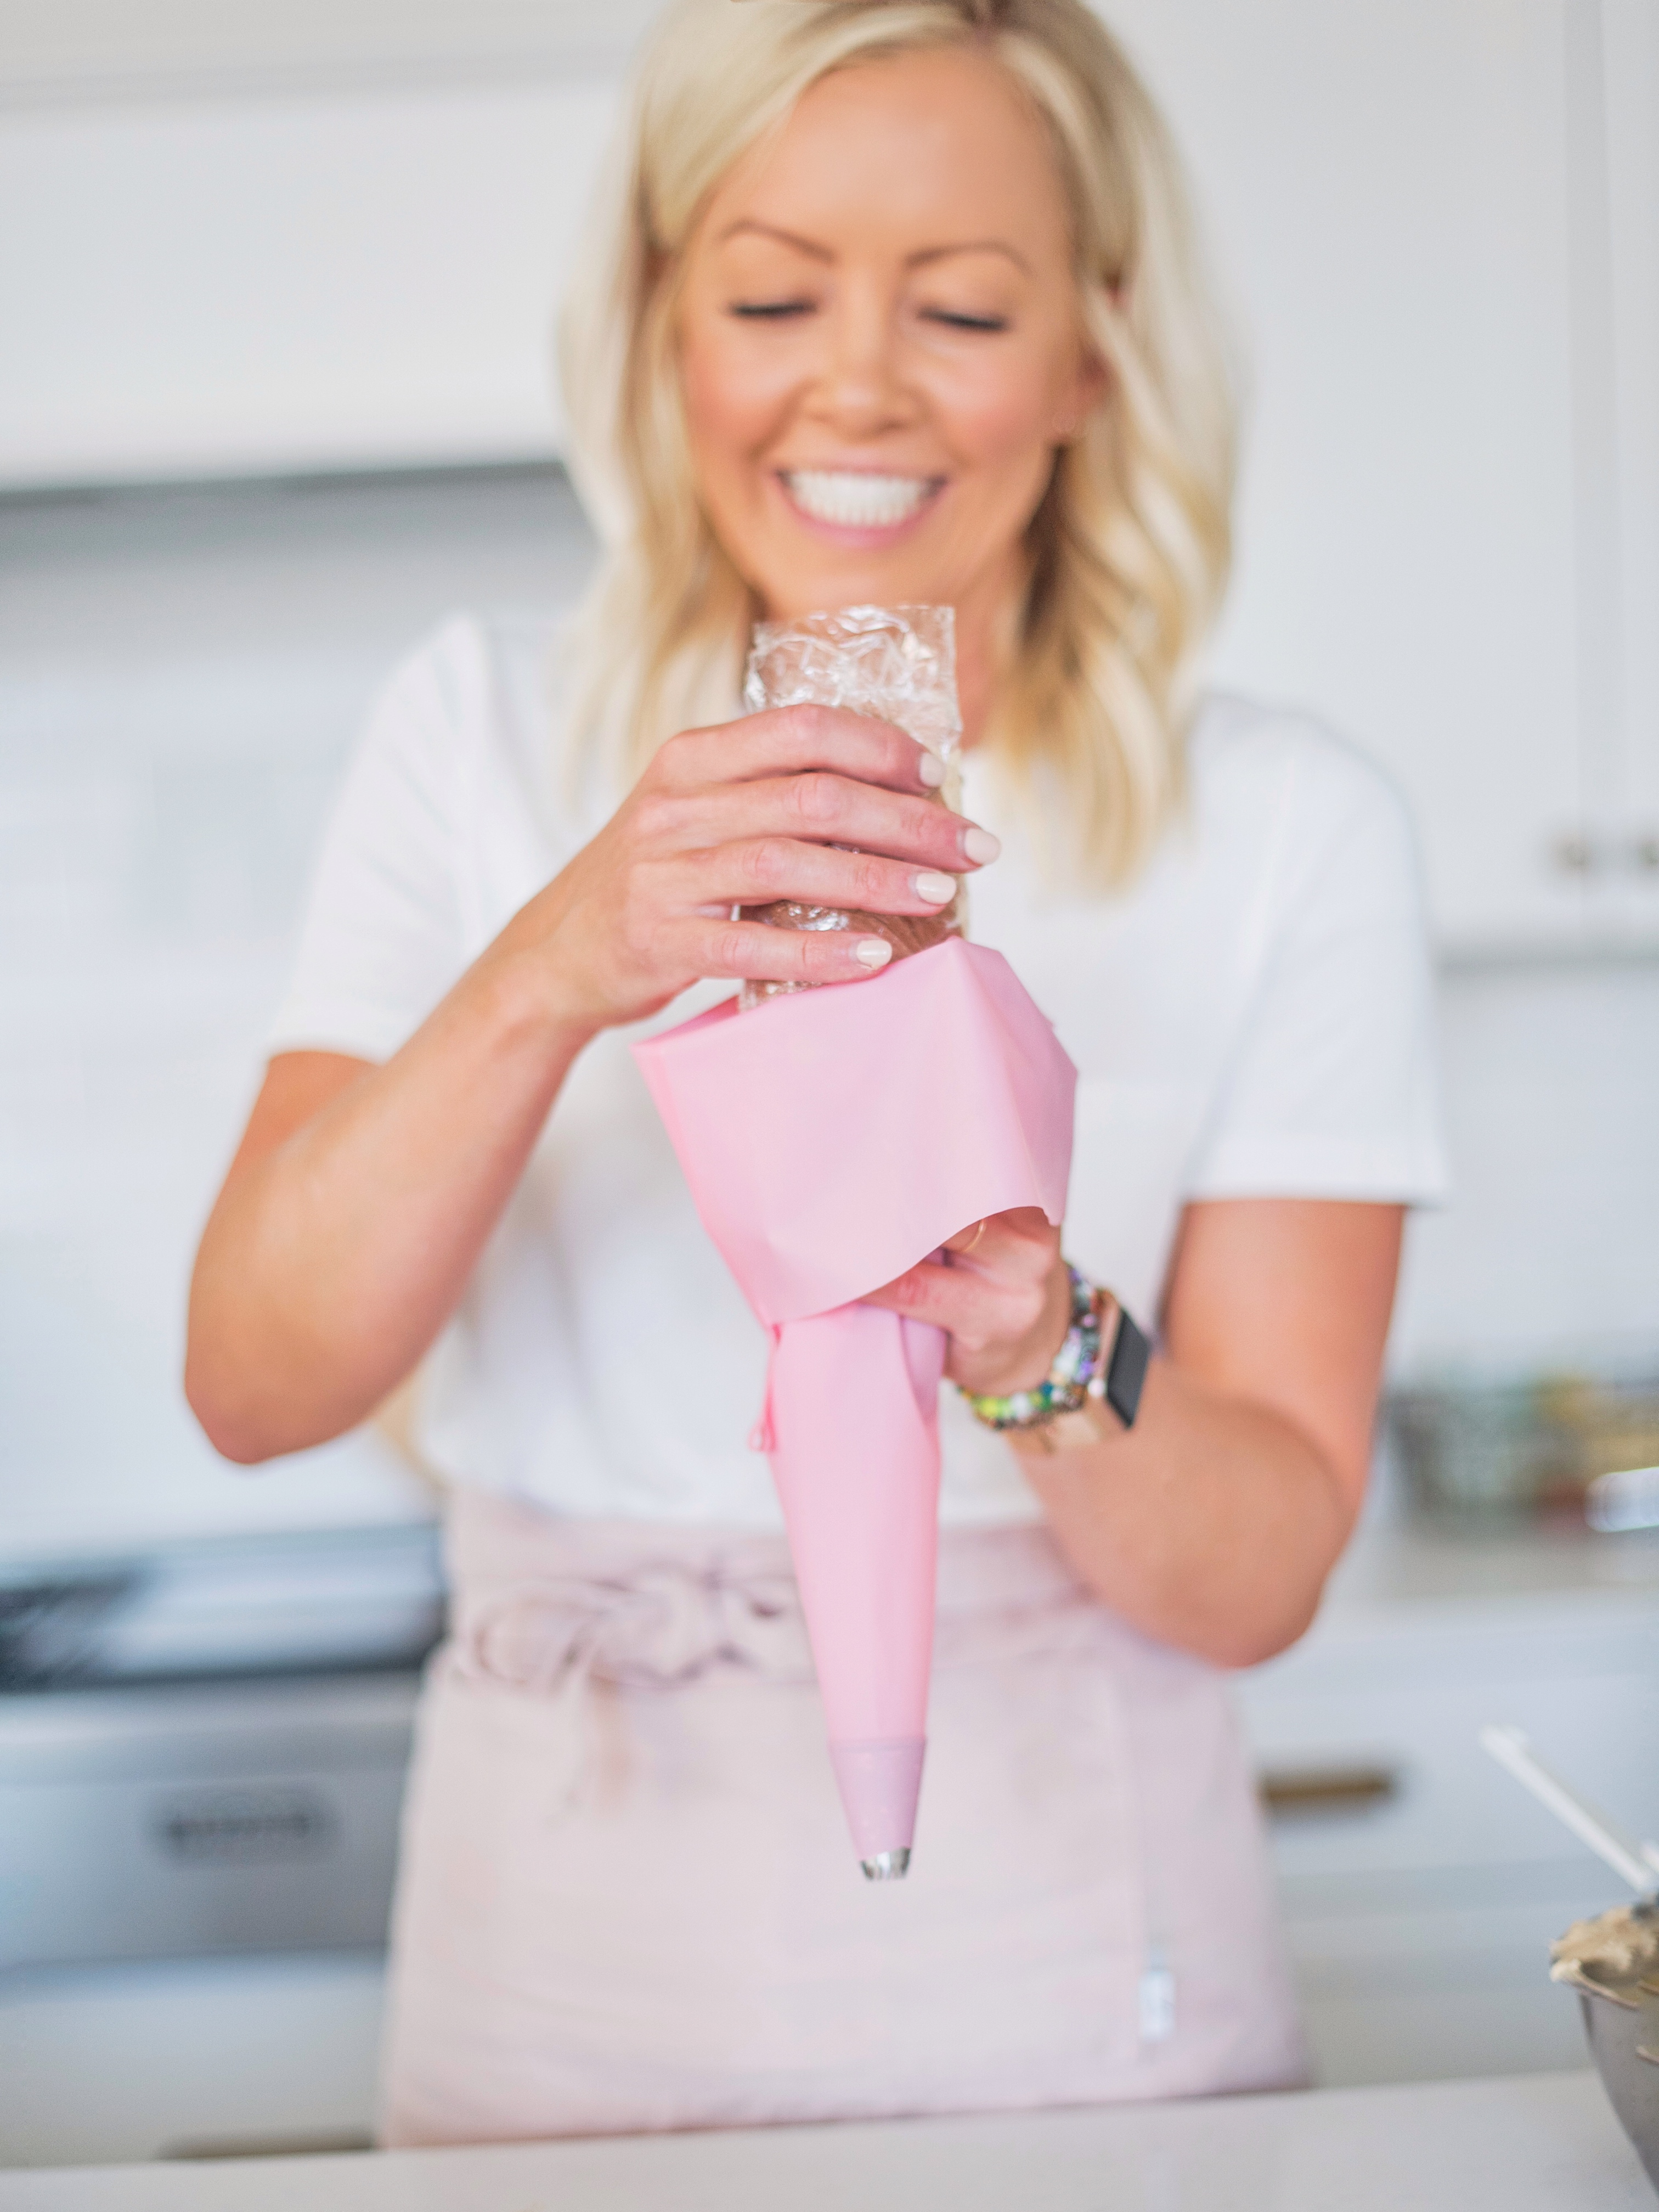
I like to place my piping bag over a big tumbler and then add the piping tip and frosting. You can see a tutorial below.
I like to use an acrylic cake disk or cake board to get a good edge on the top of my cake. The tutorial below will help demonstrate exactly how to do it.
Cake Storage & Serving
Yes, then they’re just ready to stack later.
Absolutely. Store it in the fridge in an airtight container for about a week or in the freezer for up to a month. Let it get back to room temperature and re-beat it before using.
After the frosting is set (about an hour in the freezer), wrap it in plastic wrap to make sure no air gets to it. You can also put it in a cake box or airtight plastic cake carrier to keep it fresh.
The fridge tends to dry the cake out, so I wouldn’t store it in the fridge longer than a day. Make sure it’s covered in a cake box or airtight cake carrier.
I actually have a whole post on storing, freezing, and transporting your cakes!
Cake Service & Preparation
Don’t let them over bake, it’s the main reason cakes turn out dry. Know your oven. Does it run hot? If so, reduce your time. Stay close to your oven as the baking time comes to an end. You want a few moist crumbs to come out on a toothpick when you insert it into the center of your cake.
I put it in the fridge the night before serving, and then at room temperature in the mid-morning to thaw completely for an evening event. I don’t have a set time because each cake is different based on size and components. But this is my general go-to thawing method.
I always use a cake leveler to help move the cake from place to place. You can see a post with my tips below.
You can check out my in-person schedule and sign up for online classes here!
Yes. I have a Gluten Free Vanilla Cake on my website, but you can actually sub certain gluten free flours in any of my cakes. My favorite brand is Cup4Cup. I also like Bob’s Red Mill One for One Gluten Free Flour as well. You don’t have to change any measurements for either of those brands. I also have egg-free and dairy-free chocolate and vanilla cakes!

Recipe Development & Creation
I spent years making other people’s recipes and then started experimenting once I felt like I understood the whole process. I have a handful of recipes now that I use as a base for new cake flavors.
I honestly think about cake flavors all the time! I sometimes come up with them randomly and I also live finding inspiration in other sweet treats I like!
Yes, because I love dark chocolate! I also like using dark cocoa powder because it has a stronger chocolate flavor than regular chocolate. It’s also less sweet than milk chocolate, so it balances the sweeter elements in a cake.
Truth be told, I’m not entirely sure. I never make my cakes into cupcakes, but many of you have and have had great success. The only cake I know for sure that doesn’t work as cupcakes is my chocolate cake.
I get asked this question more than anything else, and never have an answer! I truly love so many. Some of my top favorites include: The Tonight Show, Samoa, PB Chocolate, Peach Crisp, Biscoff, Churro, and my Ultimate S’mores.
Baking Career & Business
Just start. Find recipes that excite you and start baking. I don’t think there is one good recipe for beginners. I think it’s more important to find a recipe that you’re excited to eat, and then make it! No matter what it looks like, you know you’re going to enjoy it and that’s the whole point. Then look for opportunities or excuses to bake- with each time you make a new cake, you learn something new and get a little better.
Just go for it! If you love it, you’ll be willing to sacrifice time and some sleep to develop your talents and build your brand. Don’t look for excuses to not start. Just start. Don’t be afraid to ask for help along the way. Believe in yourself and what you have to offer! Don’t compare yourself to others or what they’re doing. You do you!!!
I’ve always loved to bake. I grew up in the kitchen with my mom and little sister. I didn’t start cakes though until Westin turned 1. We threw him a big party and I wanted to make something from scratch. It was a train wreck as far as looks, but it tasted amazing! Life changing good! I then just looked for any excuse to try new cake recipes. I eventually got the hang of things and started creating my own recipes.
Pricing will depend on where you live. The best way to figure out how to price your cakes in your area is to look online at other bakeries, as well as Pinterest for some standard pricing comparisons.
Thank you! Yes! Check out my cookbooks on my online shop.

Personal Baking Questions
Yes, but you’ll never know it because I won’t share those ones with you! I’ll only share the ones I love!
Lots of practice!
I’ve taught myself! Lots of trial and error along the way, but hopefully what I share with you reduces the amount of trial and error you have to go through.
I eat it every time I make it. I never get sick of cake. Ever!
Cake and cookies!
Personal Lifestyle Questions
I was active growing up but went through a rough time in college and got away from a healthy lifestyle for a while. I got back into it right before I had Westin. One day I decided I wanted to run a half marathon and just went for it. Since then I’ve always made it a priority in my life. Not because I have to, but because I want to. I do things that I enjoy, and I do it with friends- that always makes it something I look forward to.
I focus on balance. I love baking and eating (all types of food) but I also love feeling healthy and strong. I never restrict anything in my eating and focus on balance, mindful eating. Being active is fun for me. I don’t look at a workout as something I have to do, I do it because I want to. I find workouts and activities that I enjoy and usually do them with friends.
Yes, I do. If you want to know more about what I believe, click here for a story of hope.