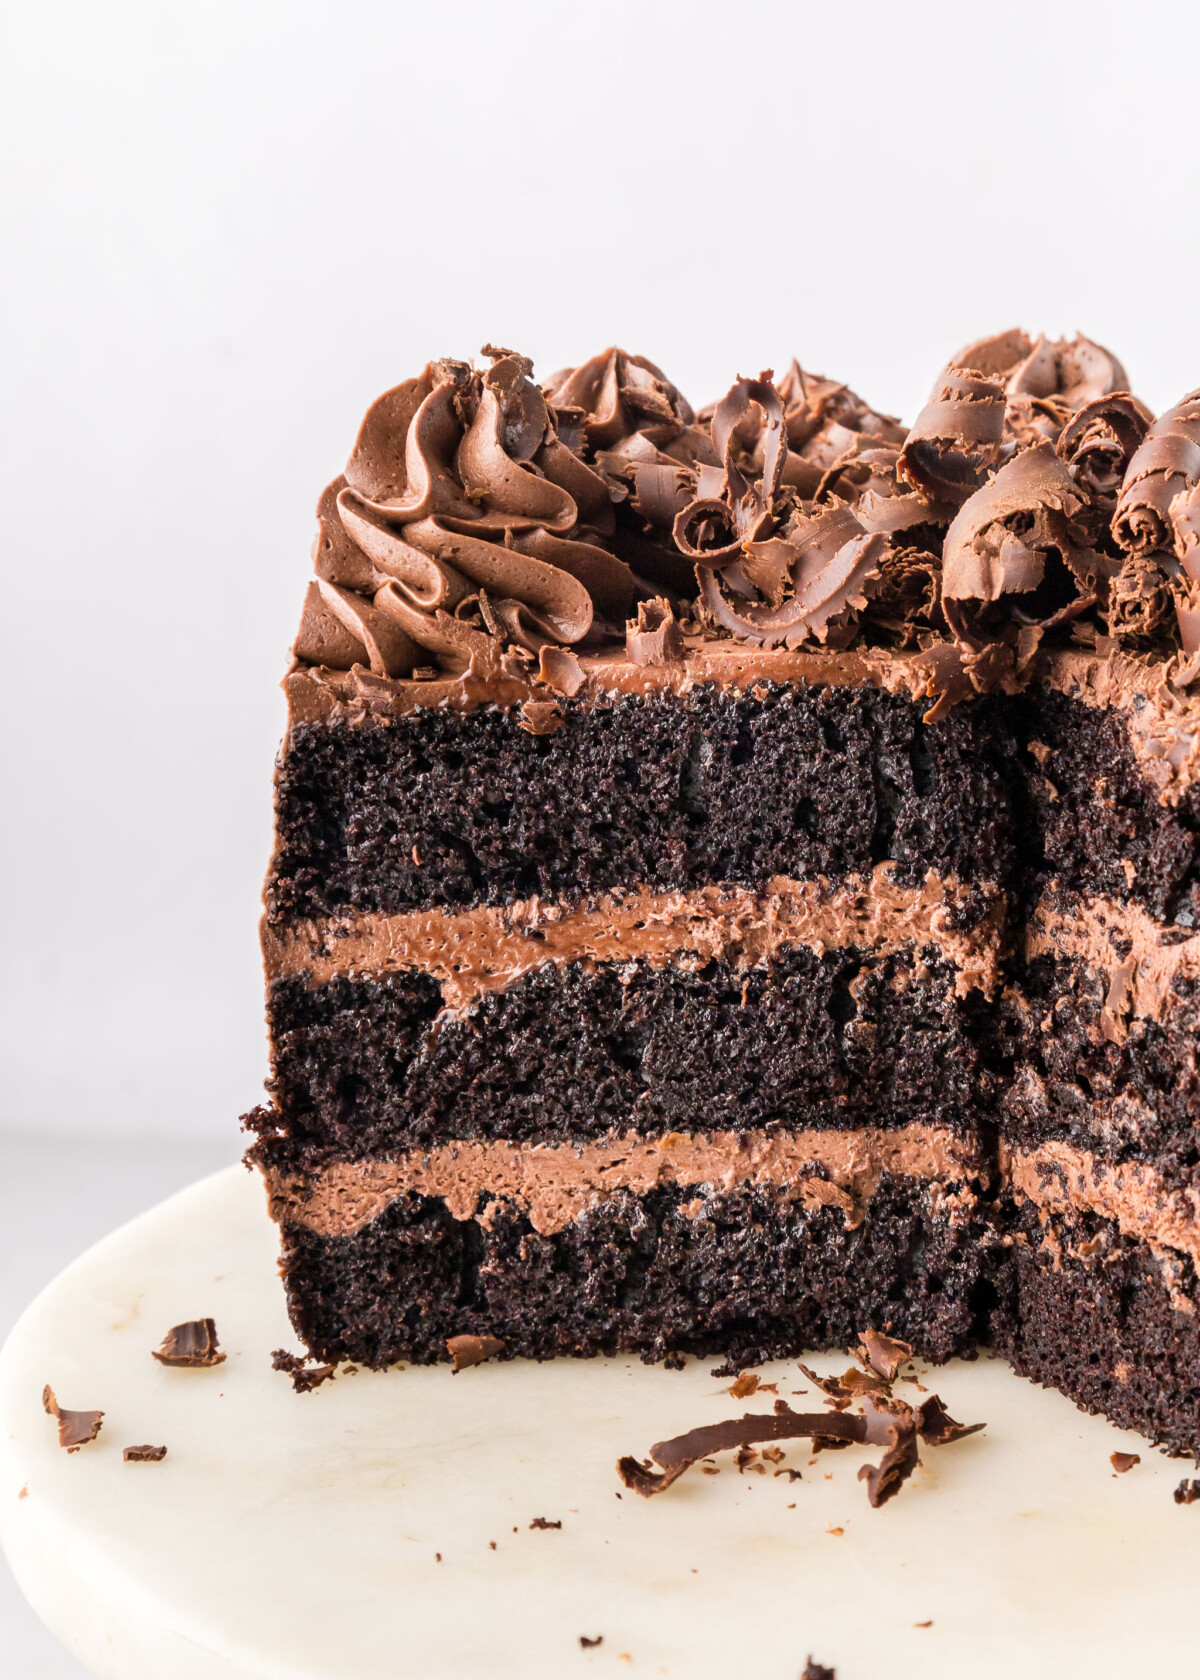
High Altitude Friendly Chocolate Cake – A rich, moist chocolate cake that won’t sink at high altitudes and still bakes beautifully at low altitudes.
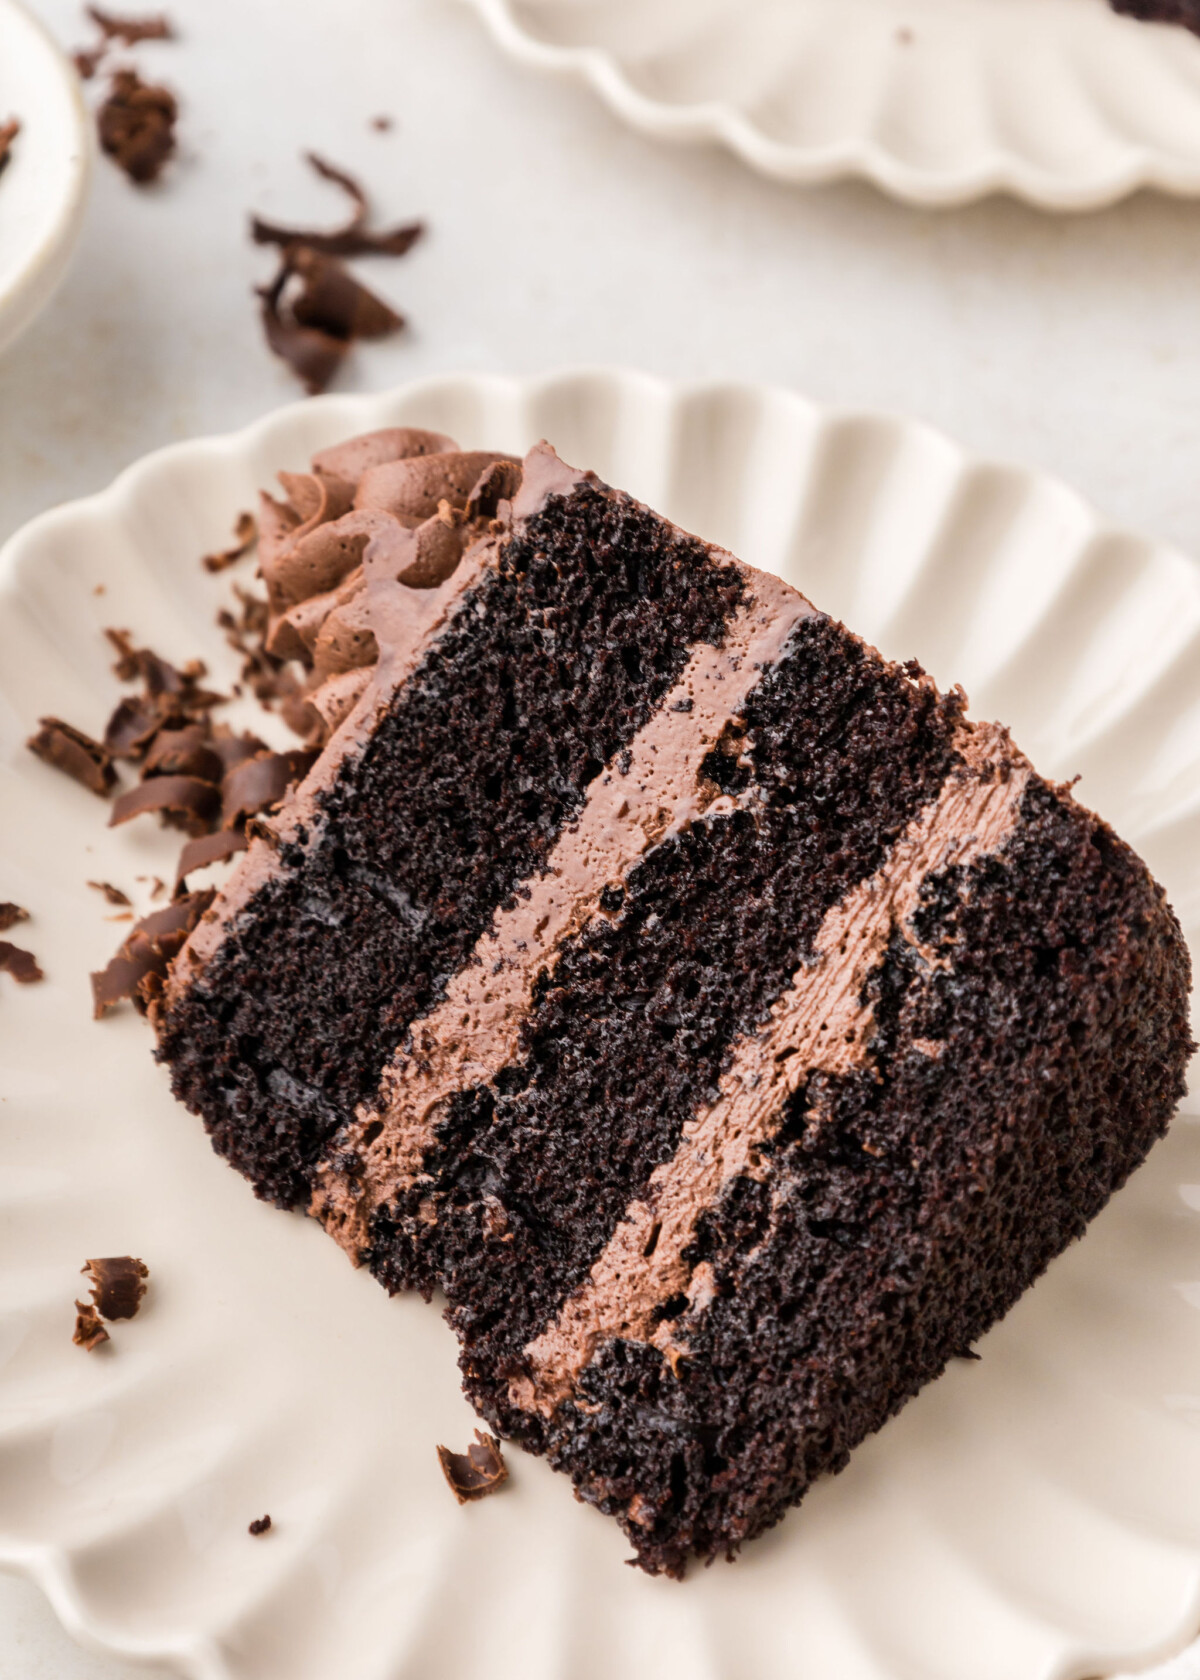
When I first moved to Utah nearly 10 years ago, the chocolate cake recipe I loved would sink as it baked. After several failed attempts, I knew it was time to do some research and rework the recipe.
Reasons Cakes Sink at High Altitude
Baking at high altitudes can cause significant issues in baked goods, particularly cakes, due to the lower air pressure. At higher elevations, the reduced pressure allows liquids to evaporate more quickly, which can dry out the batter. Additionally, the leavening agents like baking powder or baking soda can act more aggressively, causing cakes to rise too quickly and then collapse before they have a chance to set properly.
This rapid rise can lead to dense, sunken cakes with an uneven texture. The faster evaporation also means that sugar may become more concentrated, affecting the cake’s structure and sweetness. To combat these challenges, adjustments in ingredient ratios, oven temperatures, and baking times are often necessary when baking at altitude.
Key Ingredients for Success
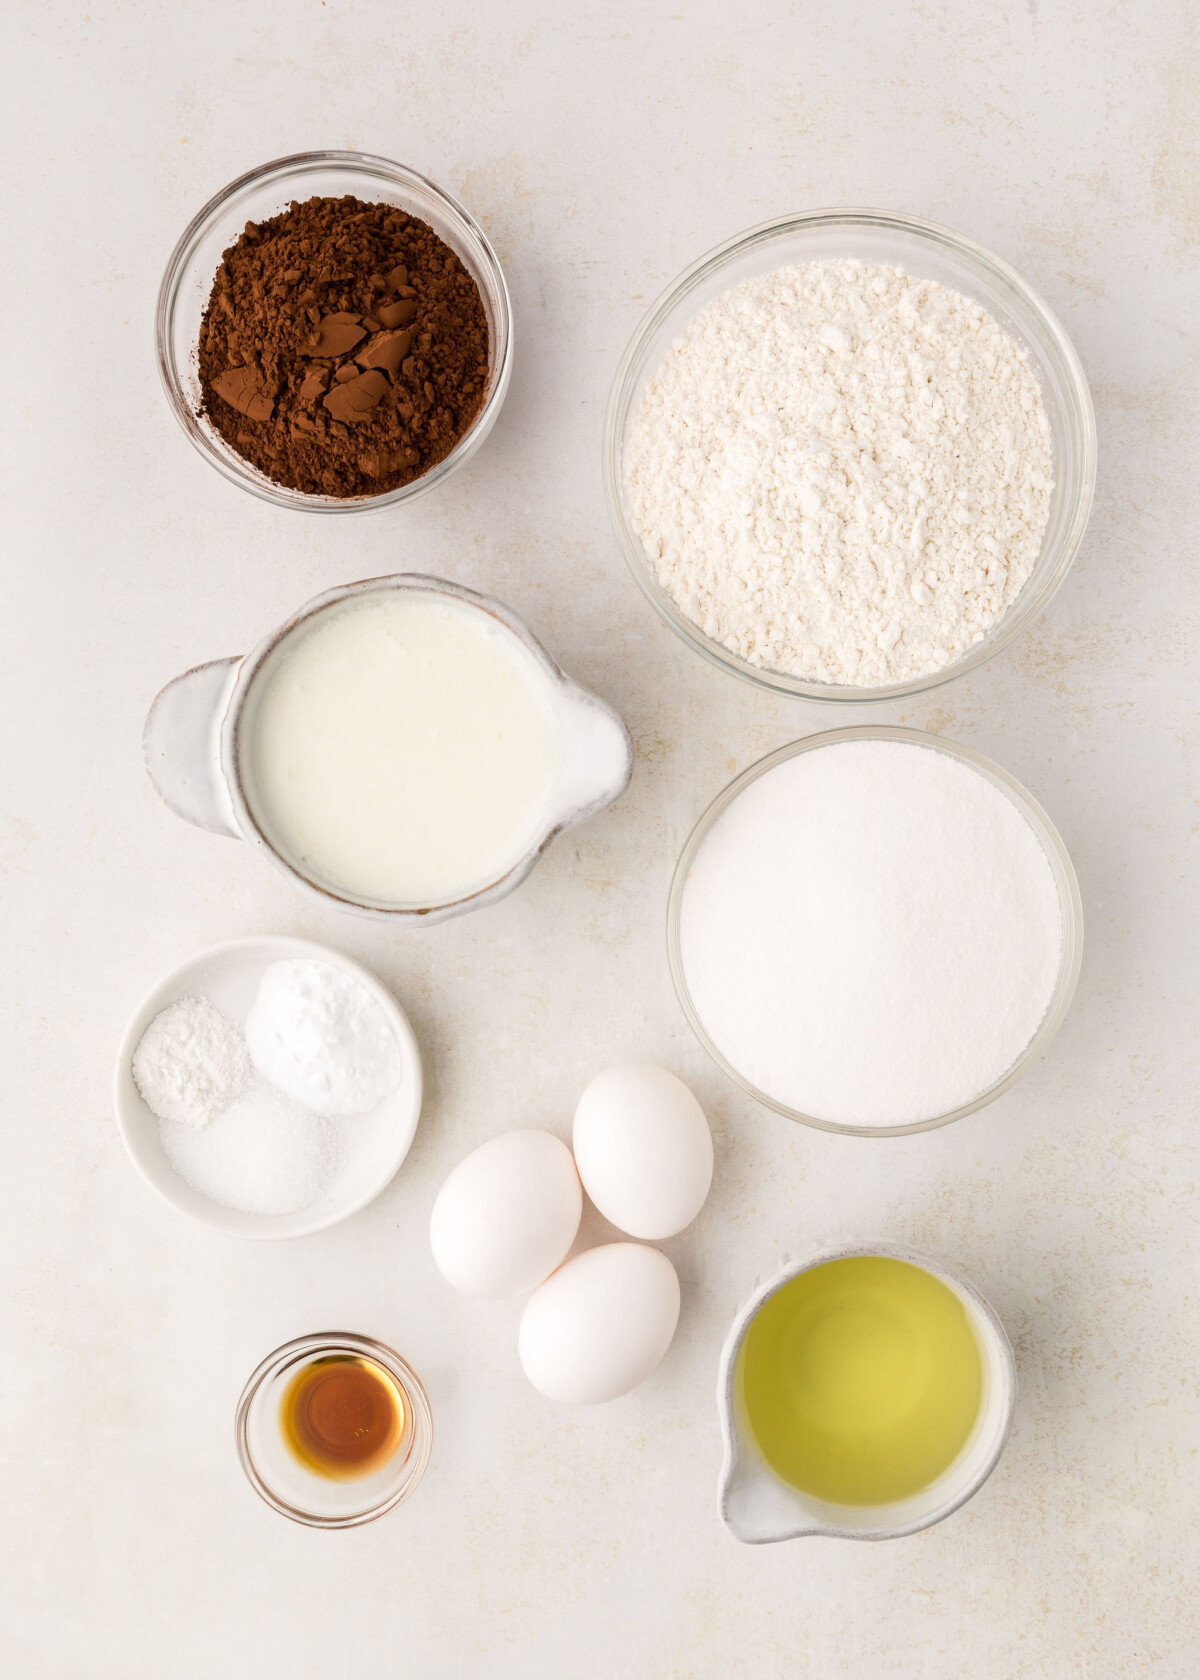
Before diving into the recipe, it’s important to note some of the key ingredients that make this cake stand out:
- Cocoa Powder: Courtney uses high-quality unsweetened cocoa powder, which is essential for achieving that rich chocolate flavor. She recommends using a Dutch-processed cocoa for a smoother, more intense taste.
- Buttermilk: This not only adds moisture but also brings a slight tang to balance the sweetness of the cake. Buttermilk helps create a tender crumb, making the cake incredibly soft.
- Hot Water (or Coffee): Adding hot water or brewed coffee intensifies the chocolate flavor and helps dissolve the cocoa, resulting in a cake that’s extra rich.
- Oil: Instead of butter, this recipe uses oil, which keeps the cake moist for longer periods without drying out—perfect for a cake you want to bake in advance or serve over a couple of days.
How to Make High Altitude Friendly Chocolate Cake
Step 1: Prep Your Oven and Pans
Preheat your oven to 325°F (163°C) and grease and line three 8-inch round cake pans with parchment paper. This step is crucial for ensuring the cakes release easily and bake evenly.
Step 2: Sift the Dry Ingredients
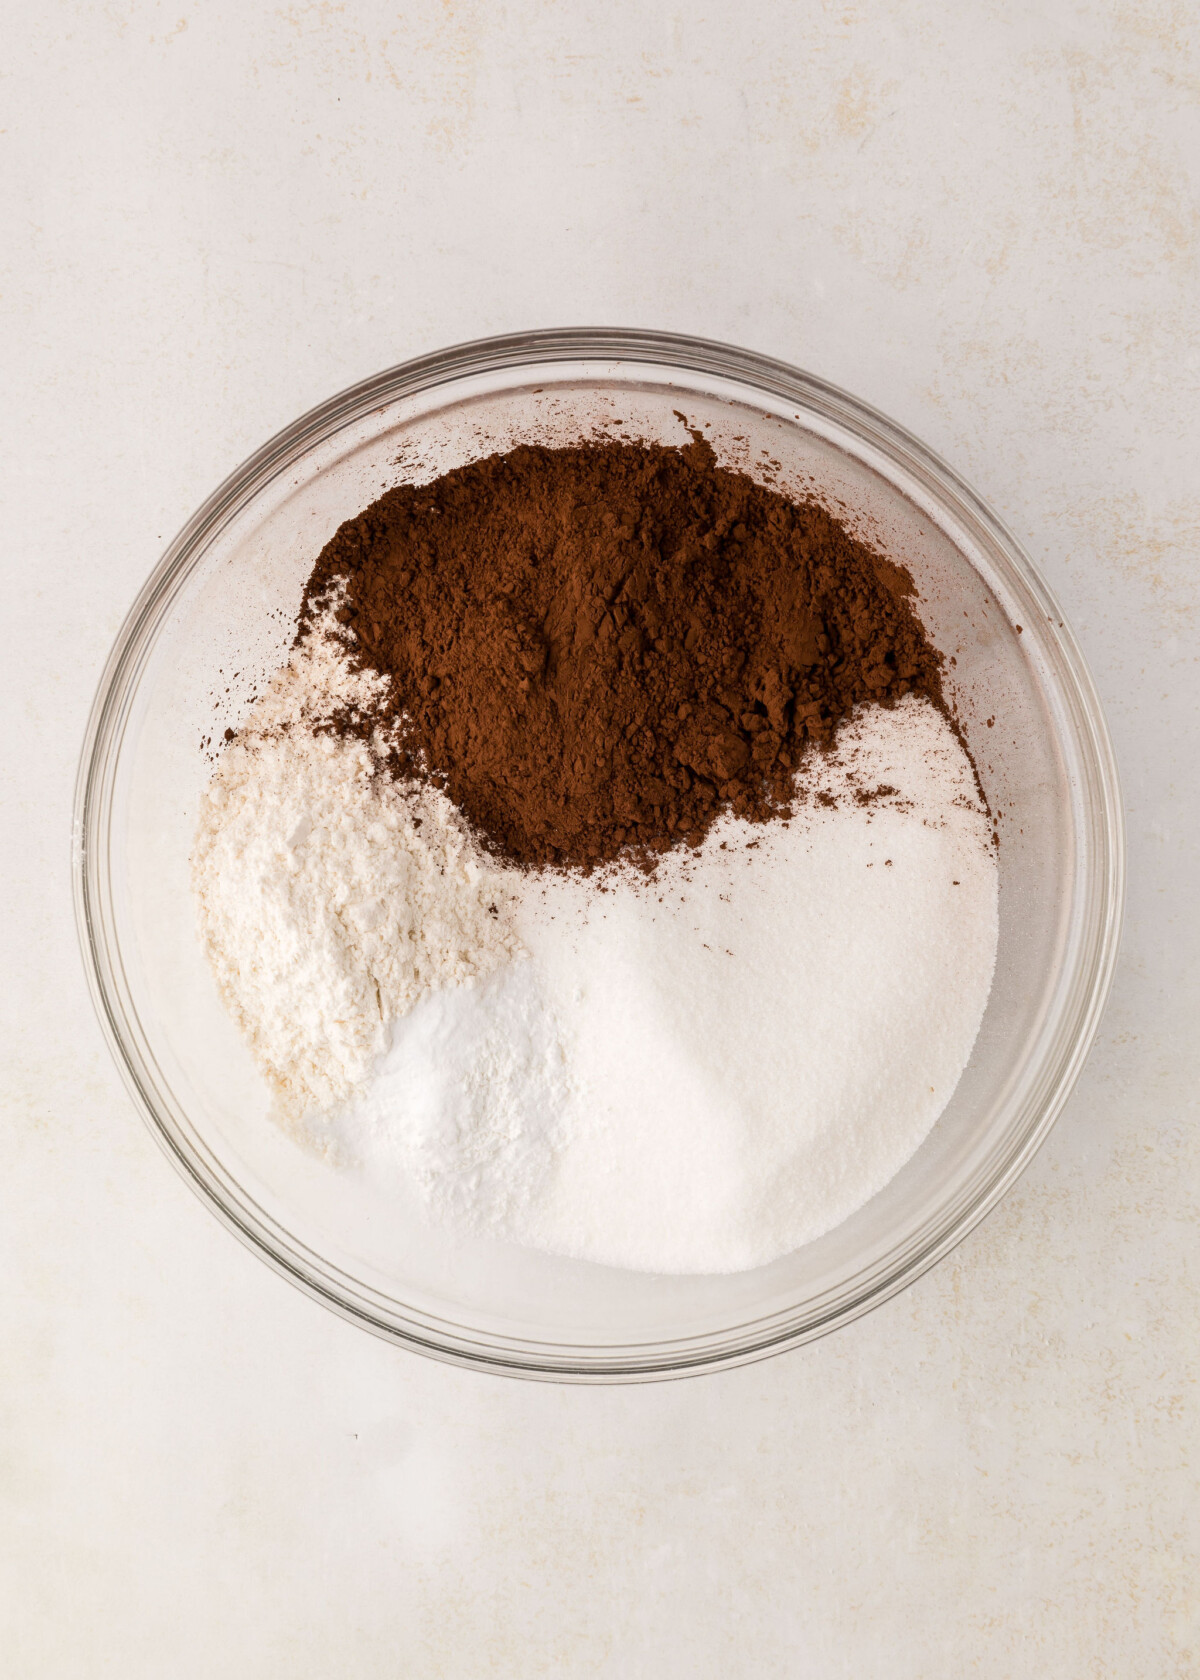
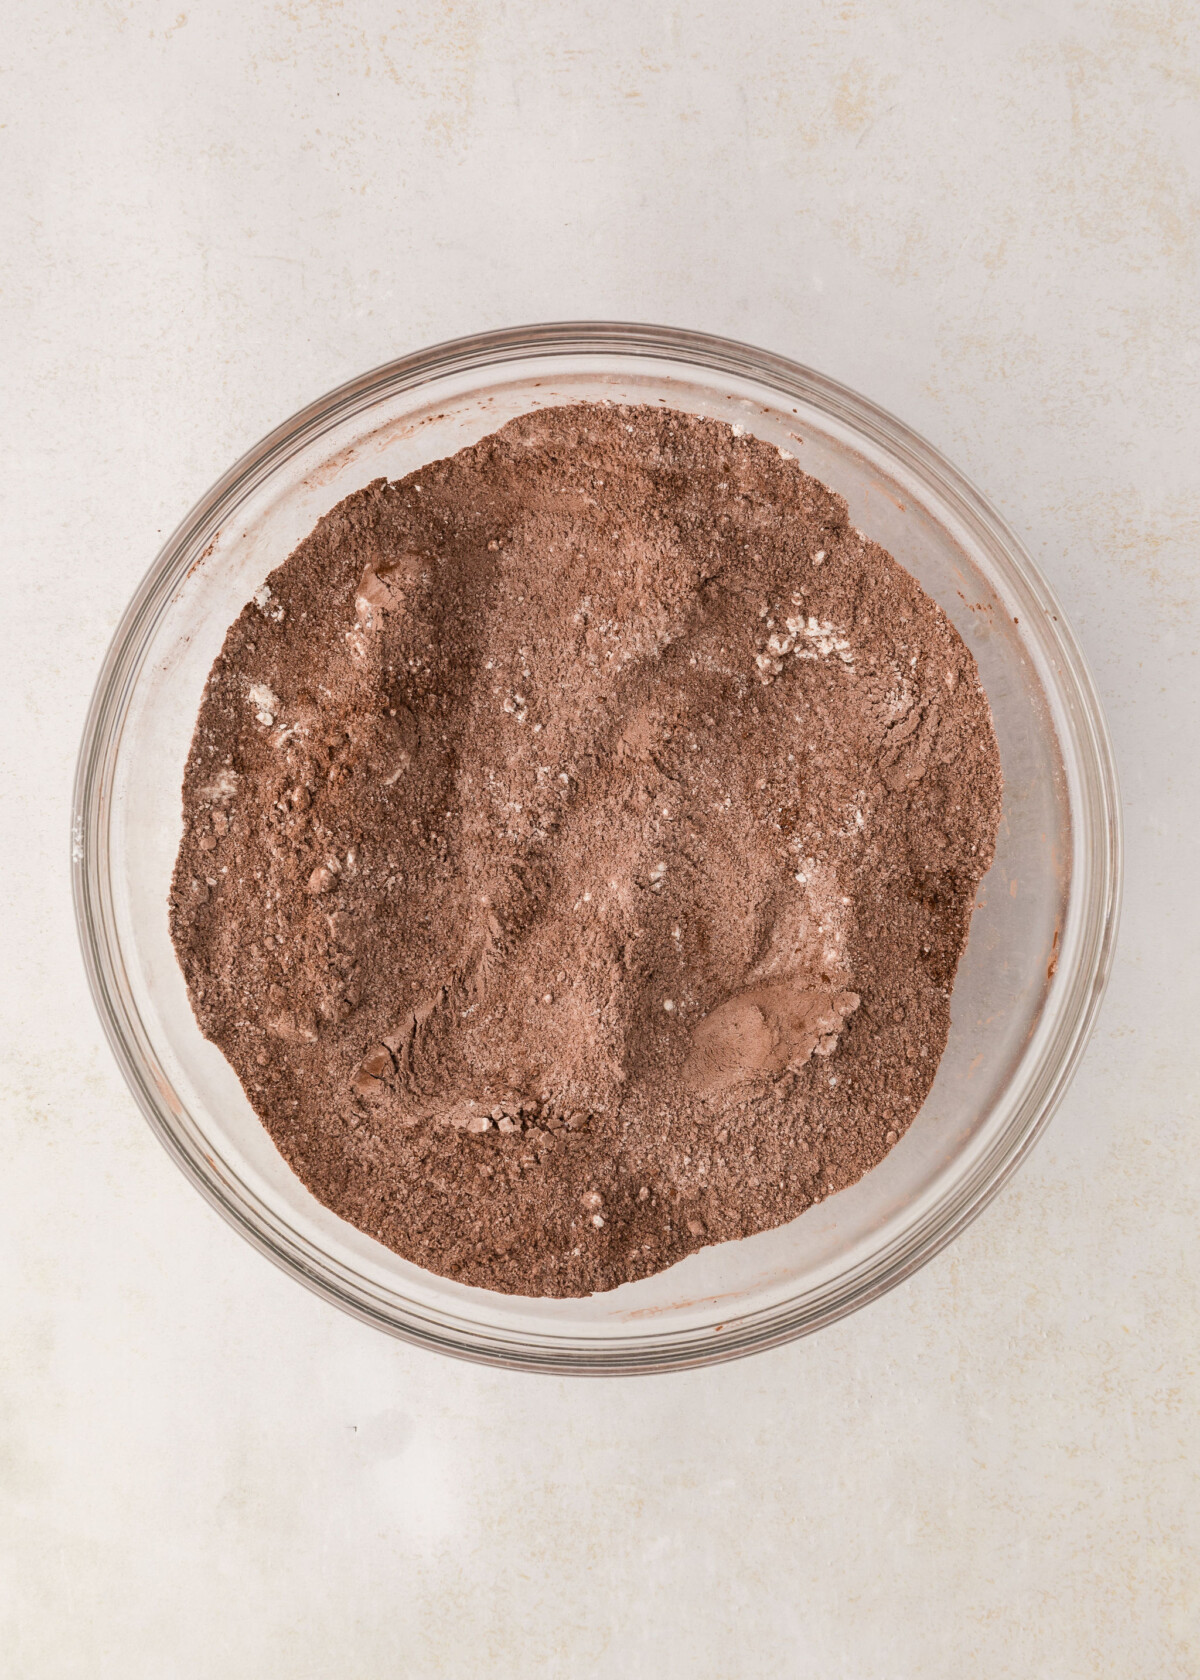
In a medium bowl, sift together the flour, cocoa powder, baking powder, baking soda, and salt. Sifting ensures there are no lumps in your batter, which is especially important with cocoa powder.
Step 3: Mix the Wet Ingredients
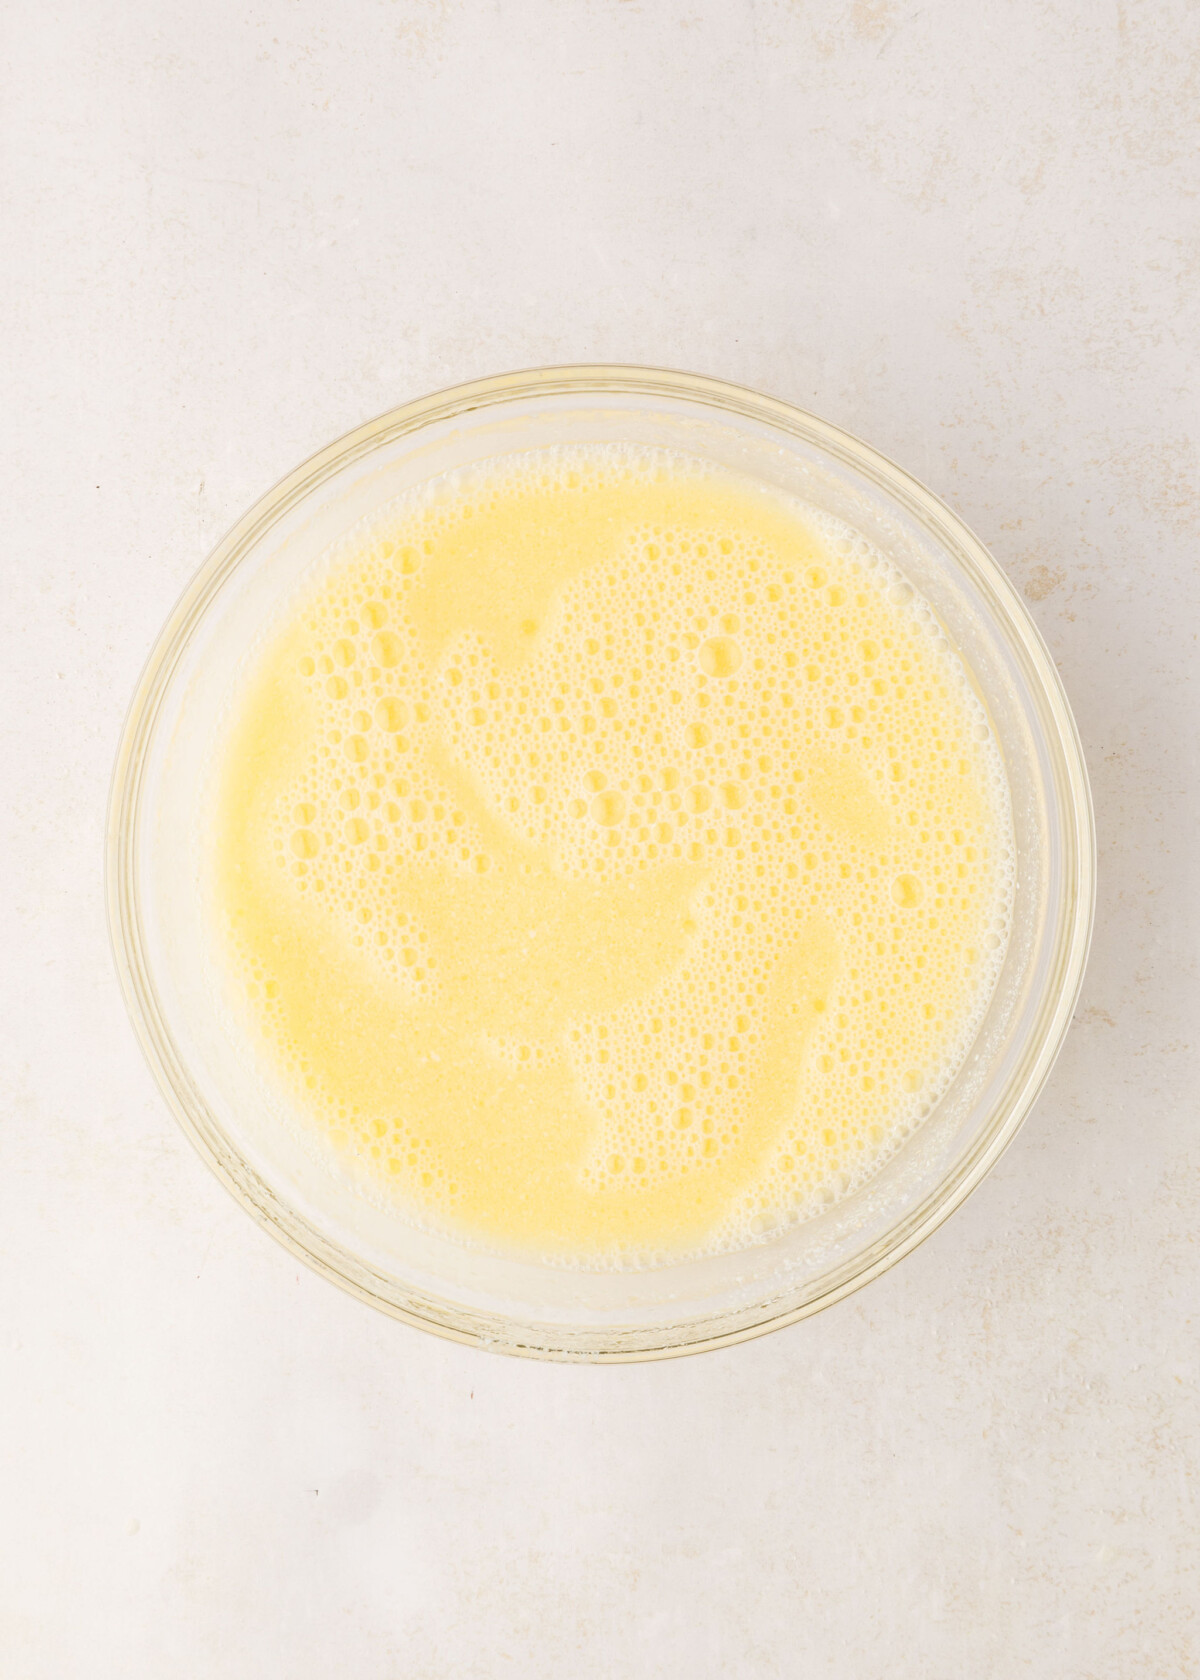
In a large bowl, combine the sugar, eggs, buttermilk, oil, and vanilla extract. Mix on medium speed until everything is fully combined and smooth.
Step 4: Combine the Dry and Wet Ingredients
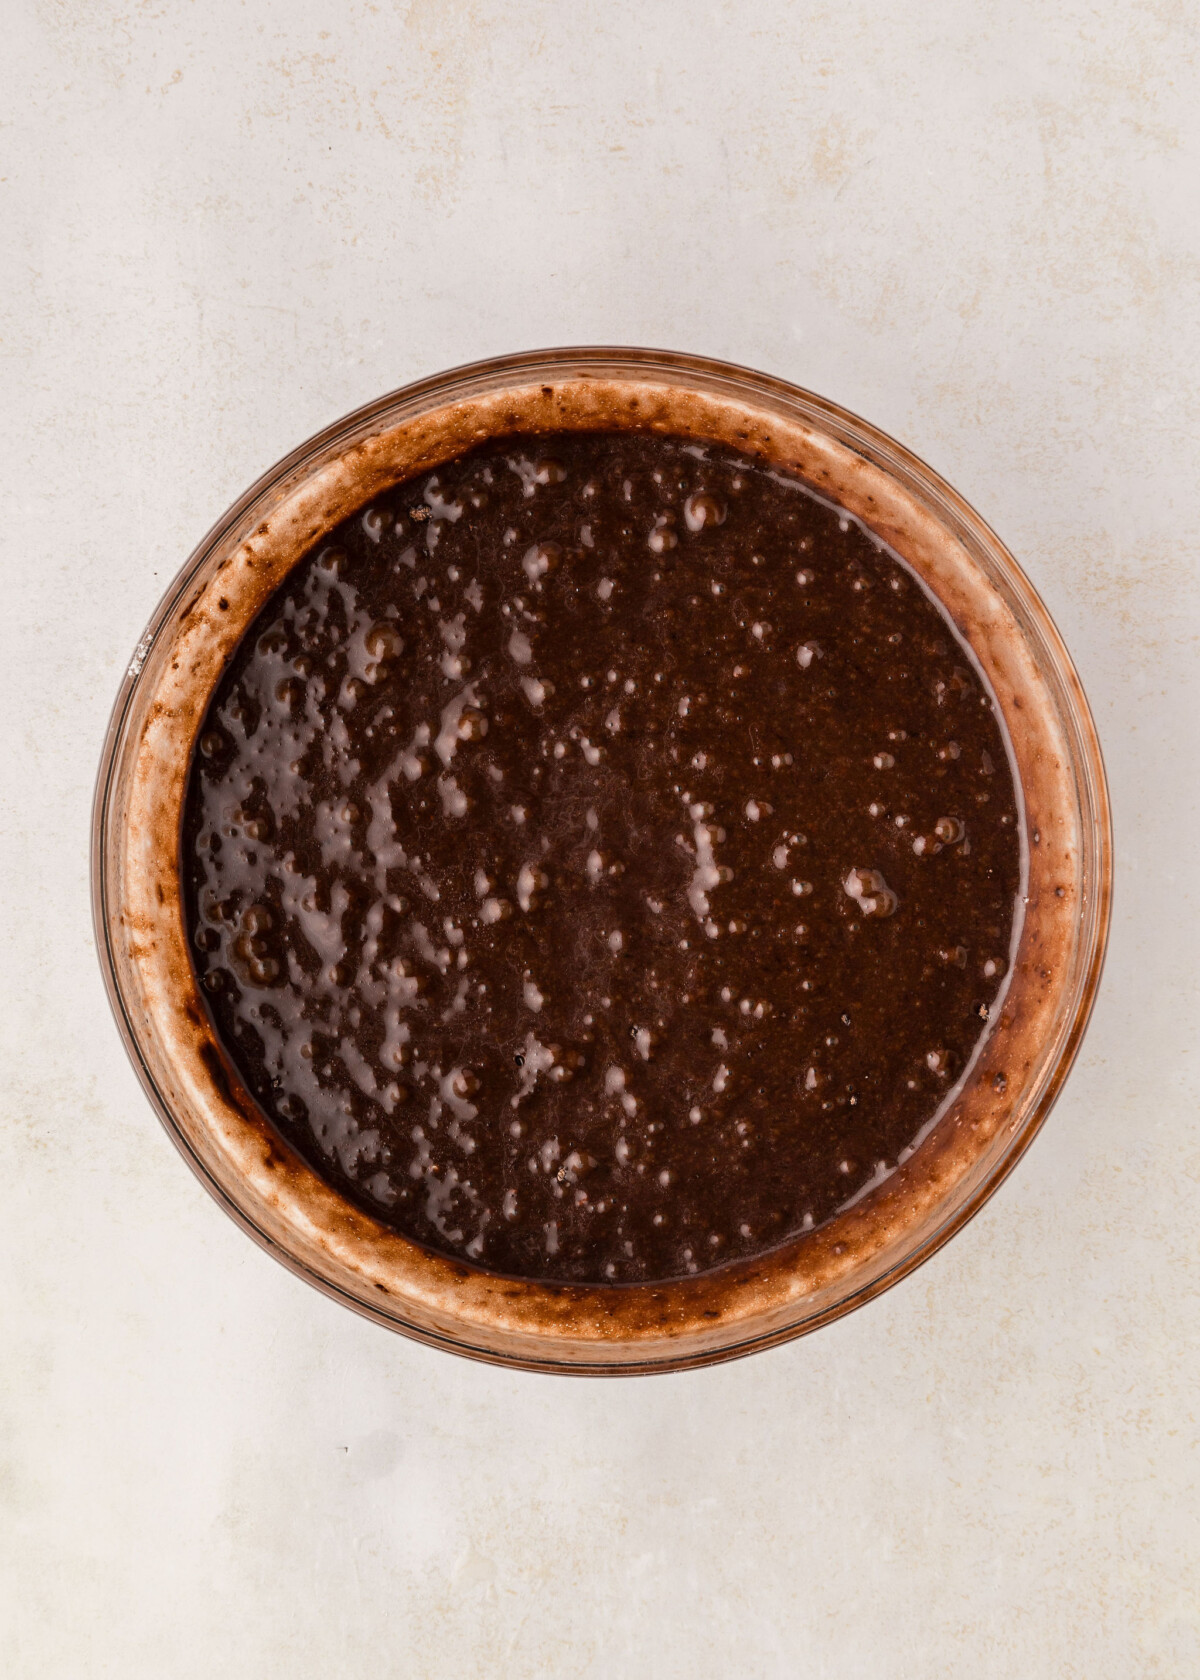
With your mixer on low, gradually add the dry ingredients to the wet mixture. Once combined, slowly pour in the hot water (or coffee) while continuing to mix. The batter will be thin, but don’t worry—that’s exactly what you want for a light, moist cake.
Step 5: Divide and Bake
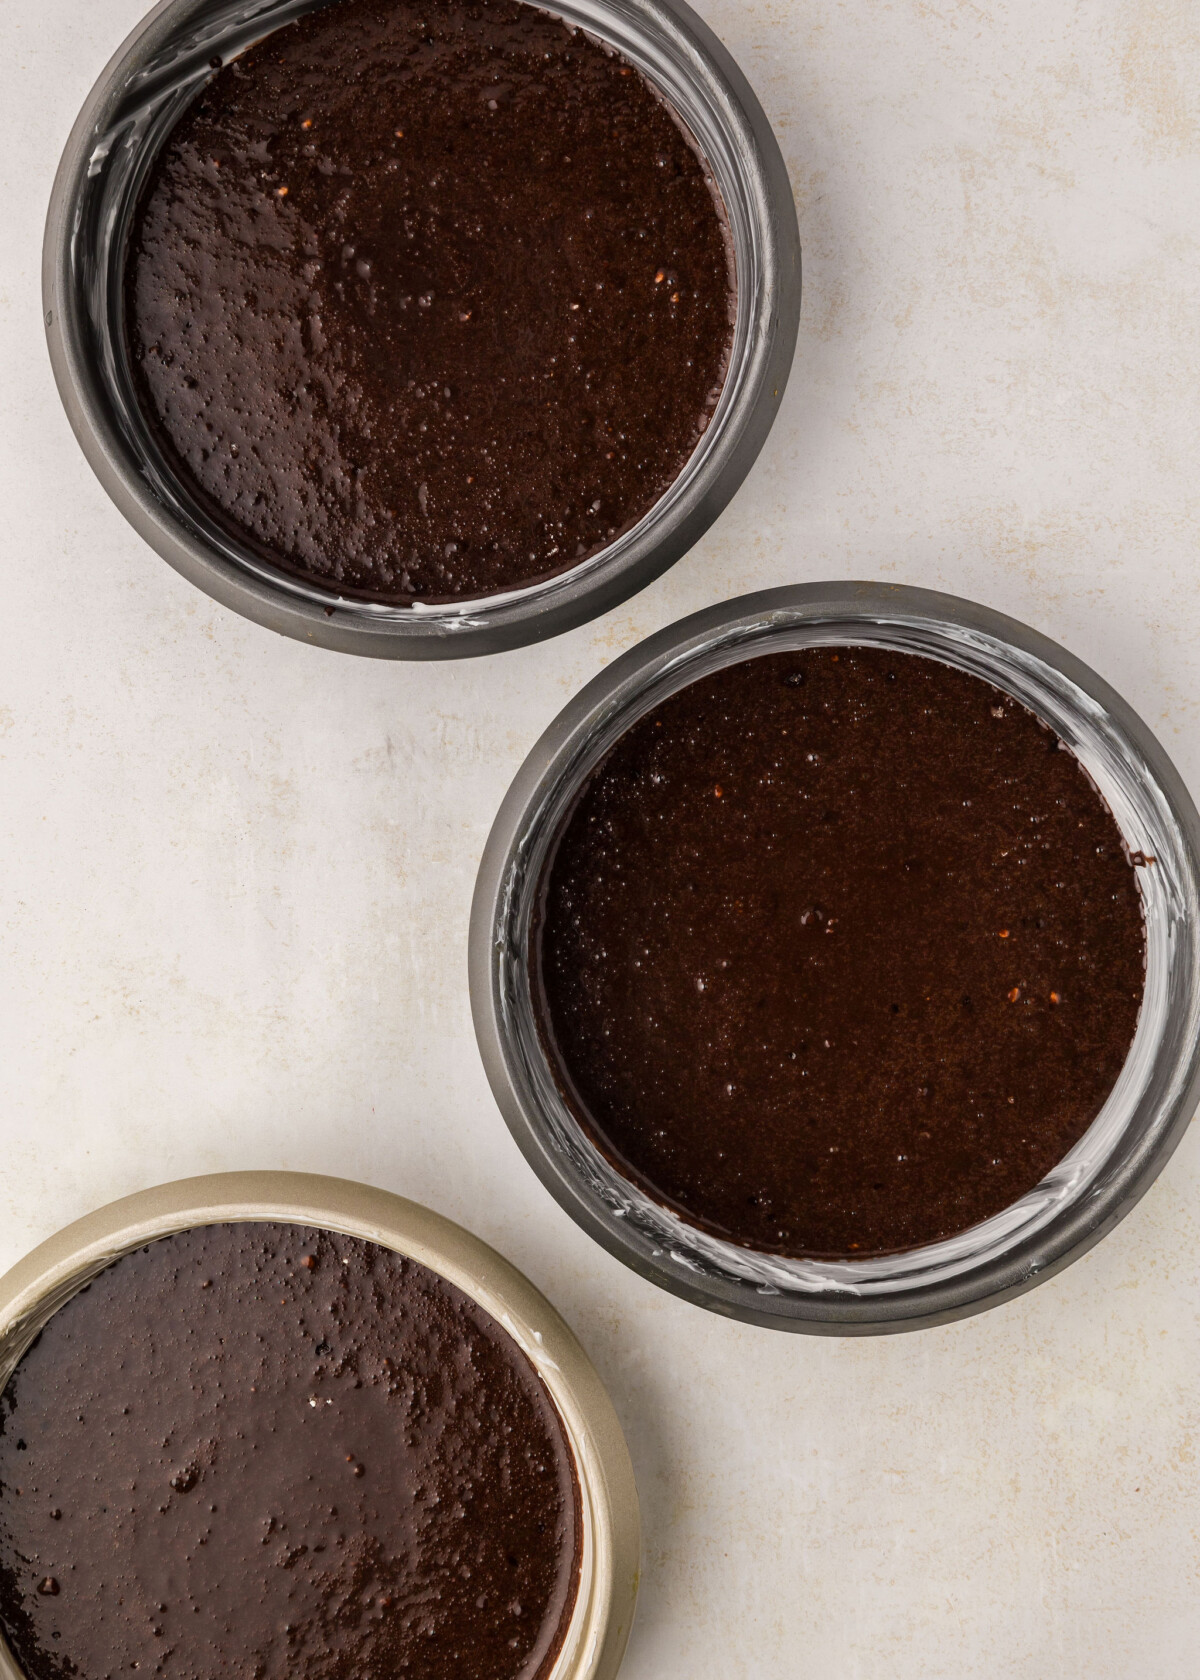
Evenly divide the batter between the prepared pans and bake for 30-35 minutes, or until a toothpick inserted into the center comes out clean. Be careful not to overbake, as that can dry out your cake.
Step 6: Cool and Frost
Once baked, let the cakes cool in the pans for 10 minutes before turning them out onto wire racks to cool completely. Frost only when the cakes are fully cooled.
Tips for Success
- Don’t Rush the Cooling Process: Ensure your cakes are completely cool before frosting. Even a slightly warm cake can cause the buttercream to melt.
- Use High-Quality Cocoa: The quality of the cocoa powder significantly impacts the flavor, so opt for a good Dutch-processed cocoa to get the best results. I love Extra Brute Cacao Barry Cocoa Powder.
- Use room temperature ingredients: Using room temperature ingredients will help your cakes rise better because the dry ingredients are better able to absorb the wet ingredients.
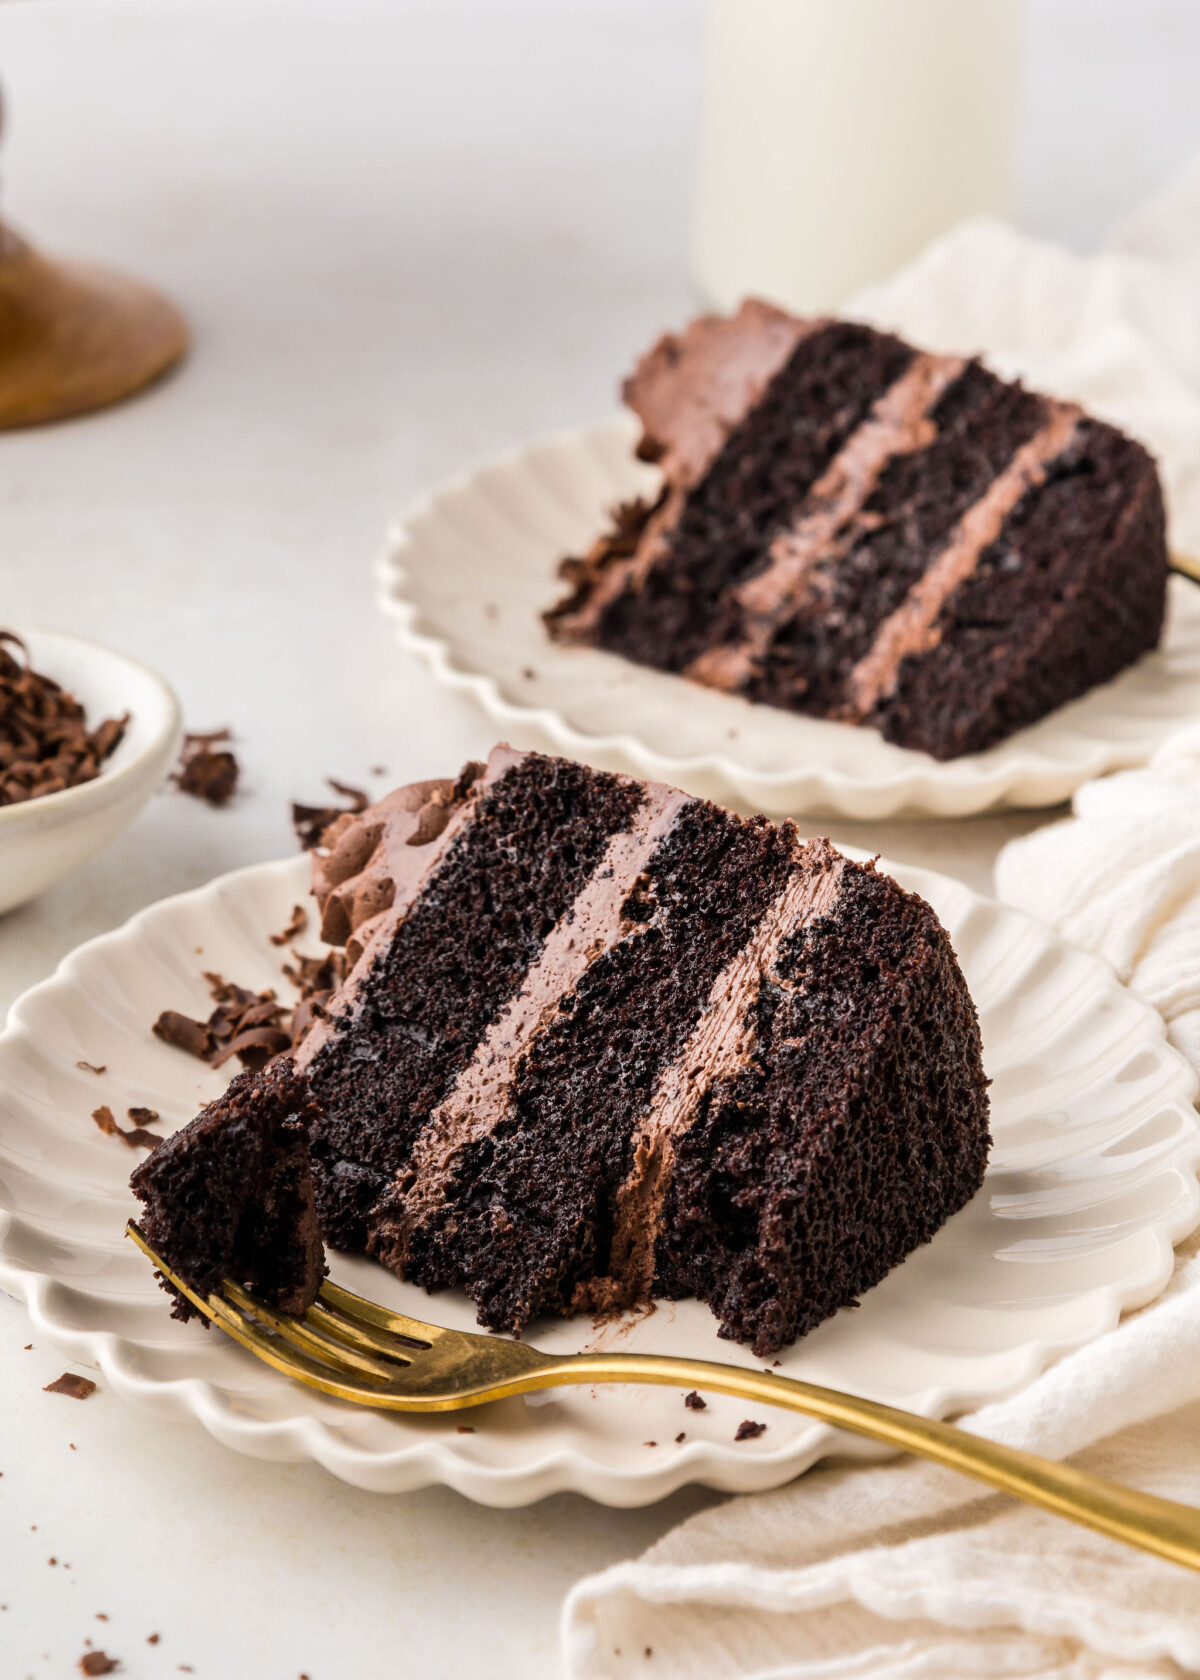
My High Altitude Friendly Chocolate Cake is easy to make, yields impressive results, and delivers the kind of rich, chocolatey flavor you’ll want to return to again and again. Whether it’s for a special occasion or just because you’re in the mood for cake, this recipe will become a go-to in your baking repertoire.
Give it a try and enjoy the satisfaction of making a homemade cake that looks and tastes just as good—if not better—than anything you’d find in a bakery! Happy baking!
Buttercream Recipe: https://cakebycourtney.com/chocolate-buttercream/
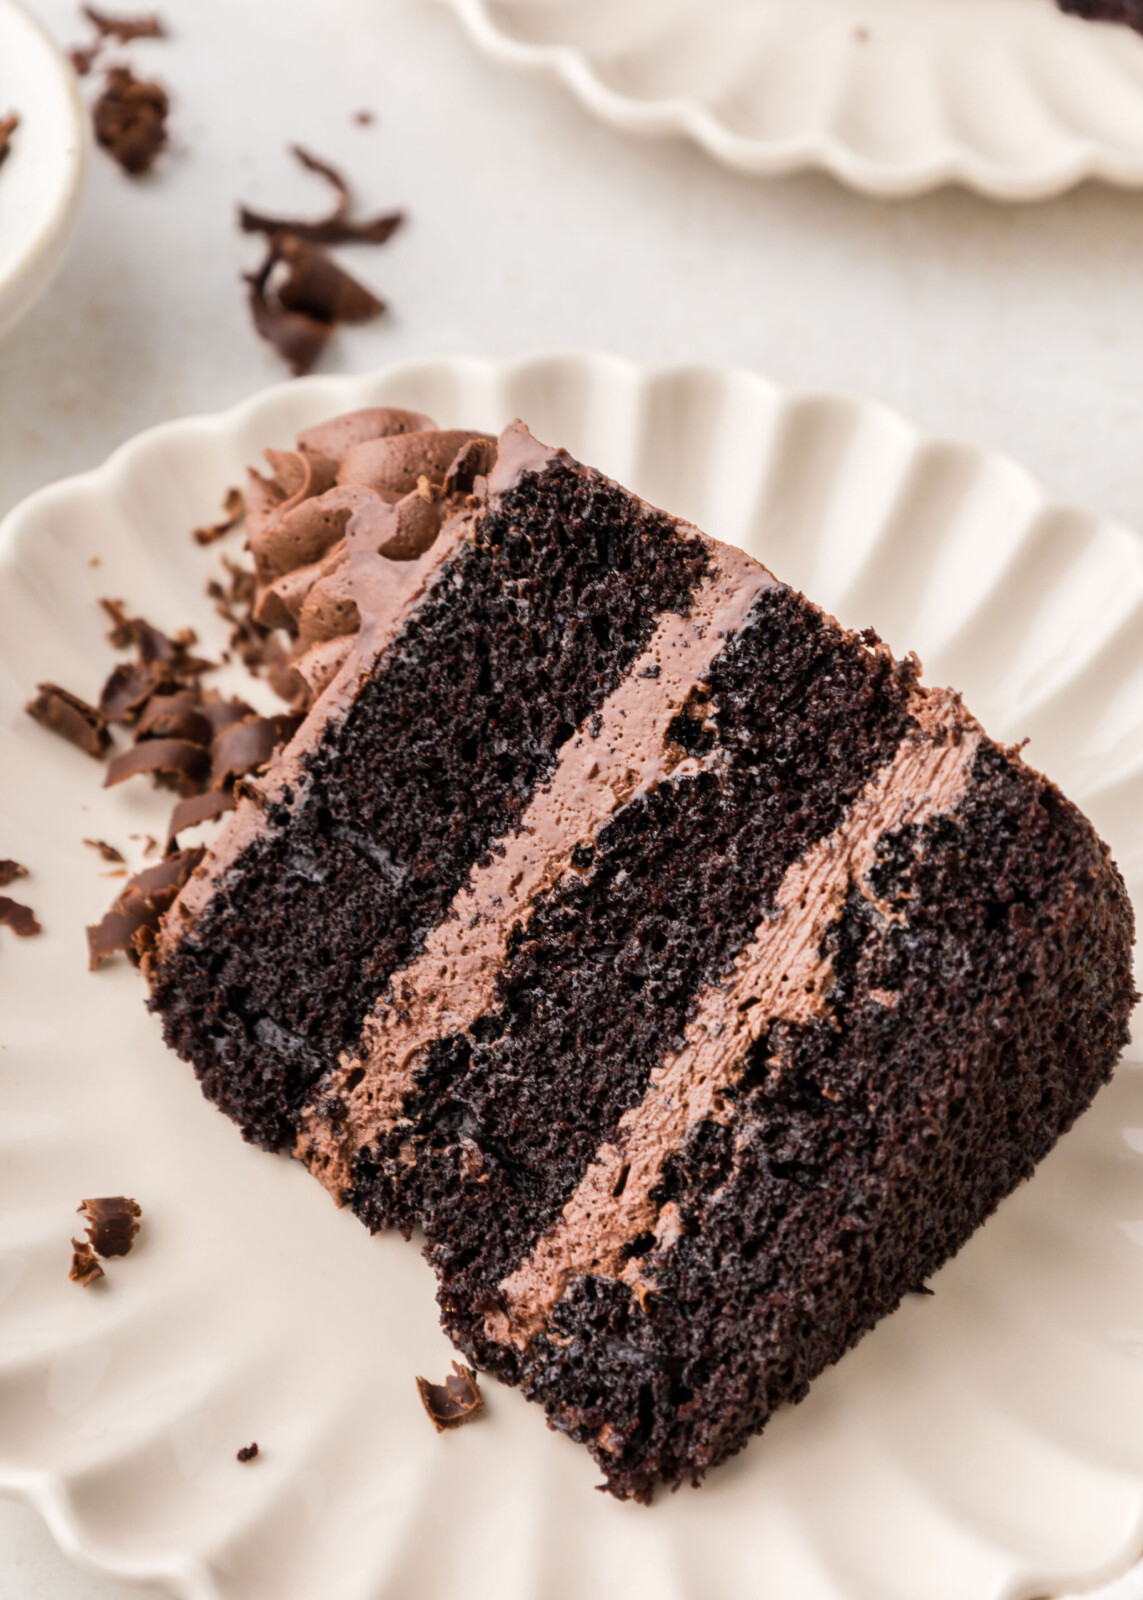
High Altitude Friendly Chocolate Cake
Ingredients
- 2 cups (240 g) all purpose flour
- 1 3/4 cups (350 g) granulated sugar
- 3/4 cups (88.5 g) good quality dark cocoa powder
- 2 teaspoons (8 g) baking soda
- 3/4 teaspoon (3 g) baking powder
- 1 teaspoon (6 g) kosher salt
- 1 cup (240 g) buttermilk, room temperature
- 1/2 cup (109 g) vegetable oil
- 3 eggs, room temperature
- 1 teaspoon (4.2 g) pure vanilla extract
- 1 cup (236 g) hot water
Instructions
- Preheat the oven to 325 degrees F. Spray three 8-inch round cake pans with nonstick spray. (You can also use four 6-inch pans). Line the bottom of each pan with parchment paper, then spray the pans again.
- Combine the flour, sugar, cocoa, baking soda, baking powder, and salt into the bowl of an electric mixer fitted with a paddle attachment and mix on low speed until combined.
- In another bowl, combine the buttermilk, oil, eggs, water and vanilla.
- With the mixer on low speed, slowly add the wet ingredients to the dry, scraping the bottom of the bowl with a rubber spatula.
- Pour the batter into the prepared pans (about 15 to 16 ounces in each) and bake for 22 to 25 minutes.
- Cool in the pans for 10 minutes, then turn them out onto a cooling rack and cool completely.
- Wrap in plastic wrap and chill until ready to use. You’re still going to want to level your cake layers to ensure a completely even surface for frosting and stacking.

Just baked the cake and it turned out great. I am at about 3,700 feet here in El Paso, Tx. I was using another recipe with my own high-altitude modifications, and it just was not consistent. I had the middle of cakes sinking. I made this and it raised beautifully! I definitely recommend giving it a try!
If I’m using fat Daddio cake pans do I still bake it at 325° or lower?
Keep it at 325 🙂
I used the 6×3 Fat Daddio heart-shaped pans from Gygi’s and they came out beautifully! Thank you! Are all of your cake recipe temperature is based on Fat Daddio pans or just some of them?
This was the best high altitude chocolate cake I’ve ever made. It was moist with a fine crumb and delicious flavor. This will be my go-to from now on. Thank you so much!
Will melted coconut oil work to replace the vegetable oil?
Yup!
Hey Courtney,
Is it adding wet ingredients to dry or dry ingredients to wet? Because it written one way in the paragraph and the opposite way in recipe part? My cakes sunk a little so wondering if I did that wrong. Any ideas? Also in Denver here. Thanks !
You can do either way and it shouldn’t affect how the cakes bake. If it sunk a little during baking, then I’d add a little extra flour next time. If it sunk after it baked, while it was cooling, it probably needed a little more time to bake.
I am definitely going to make this chocolate cake! Do you have other cake recipes, i.e. Red Velvet, Yellow, or Vanilla, that are formulated for high altitude? I have made several of your cakes recipes and attempted to make high altitude modifications, unfortunately not very successfully, lol.
The flavor of your cakes are always great though!