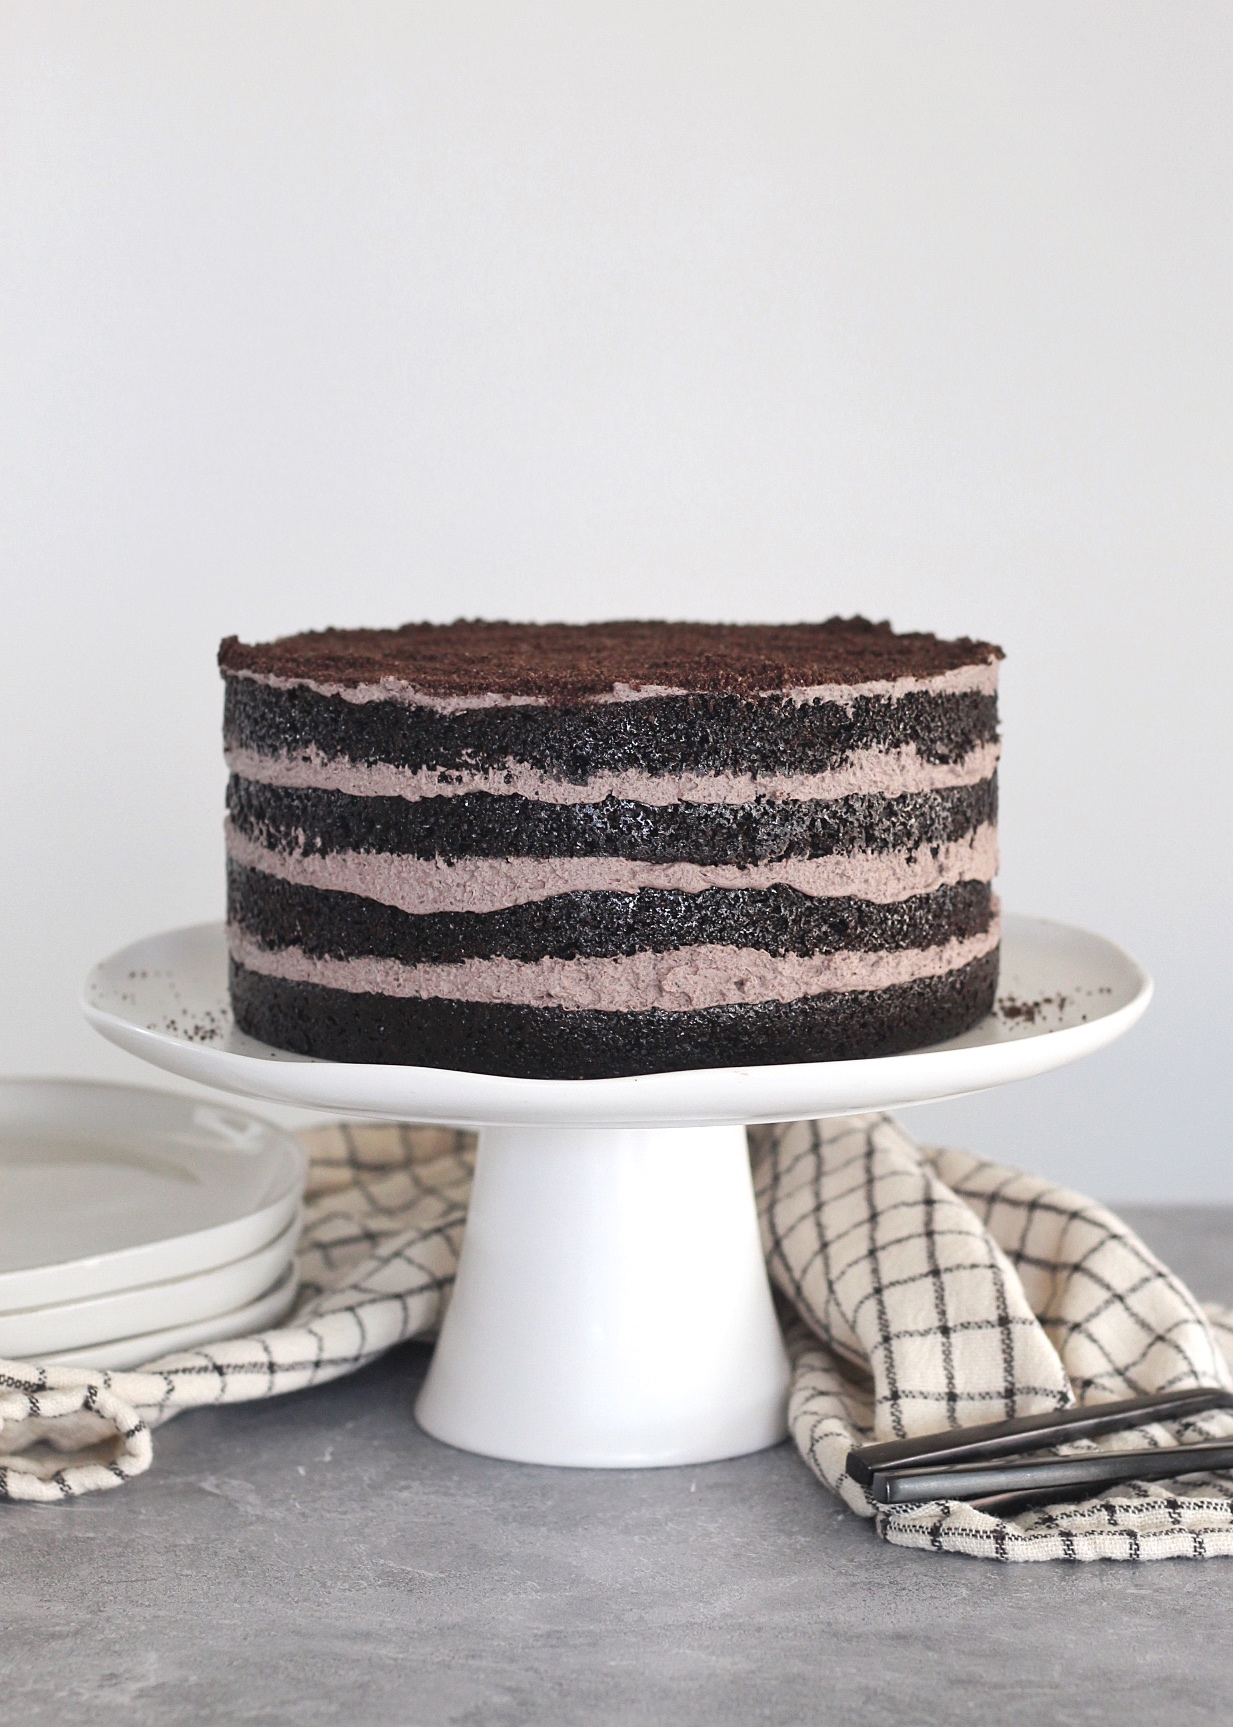
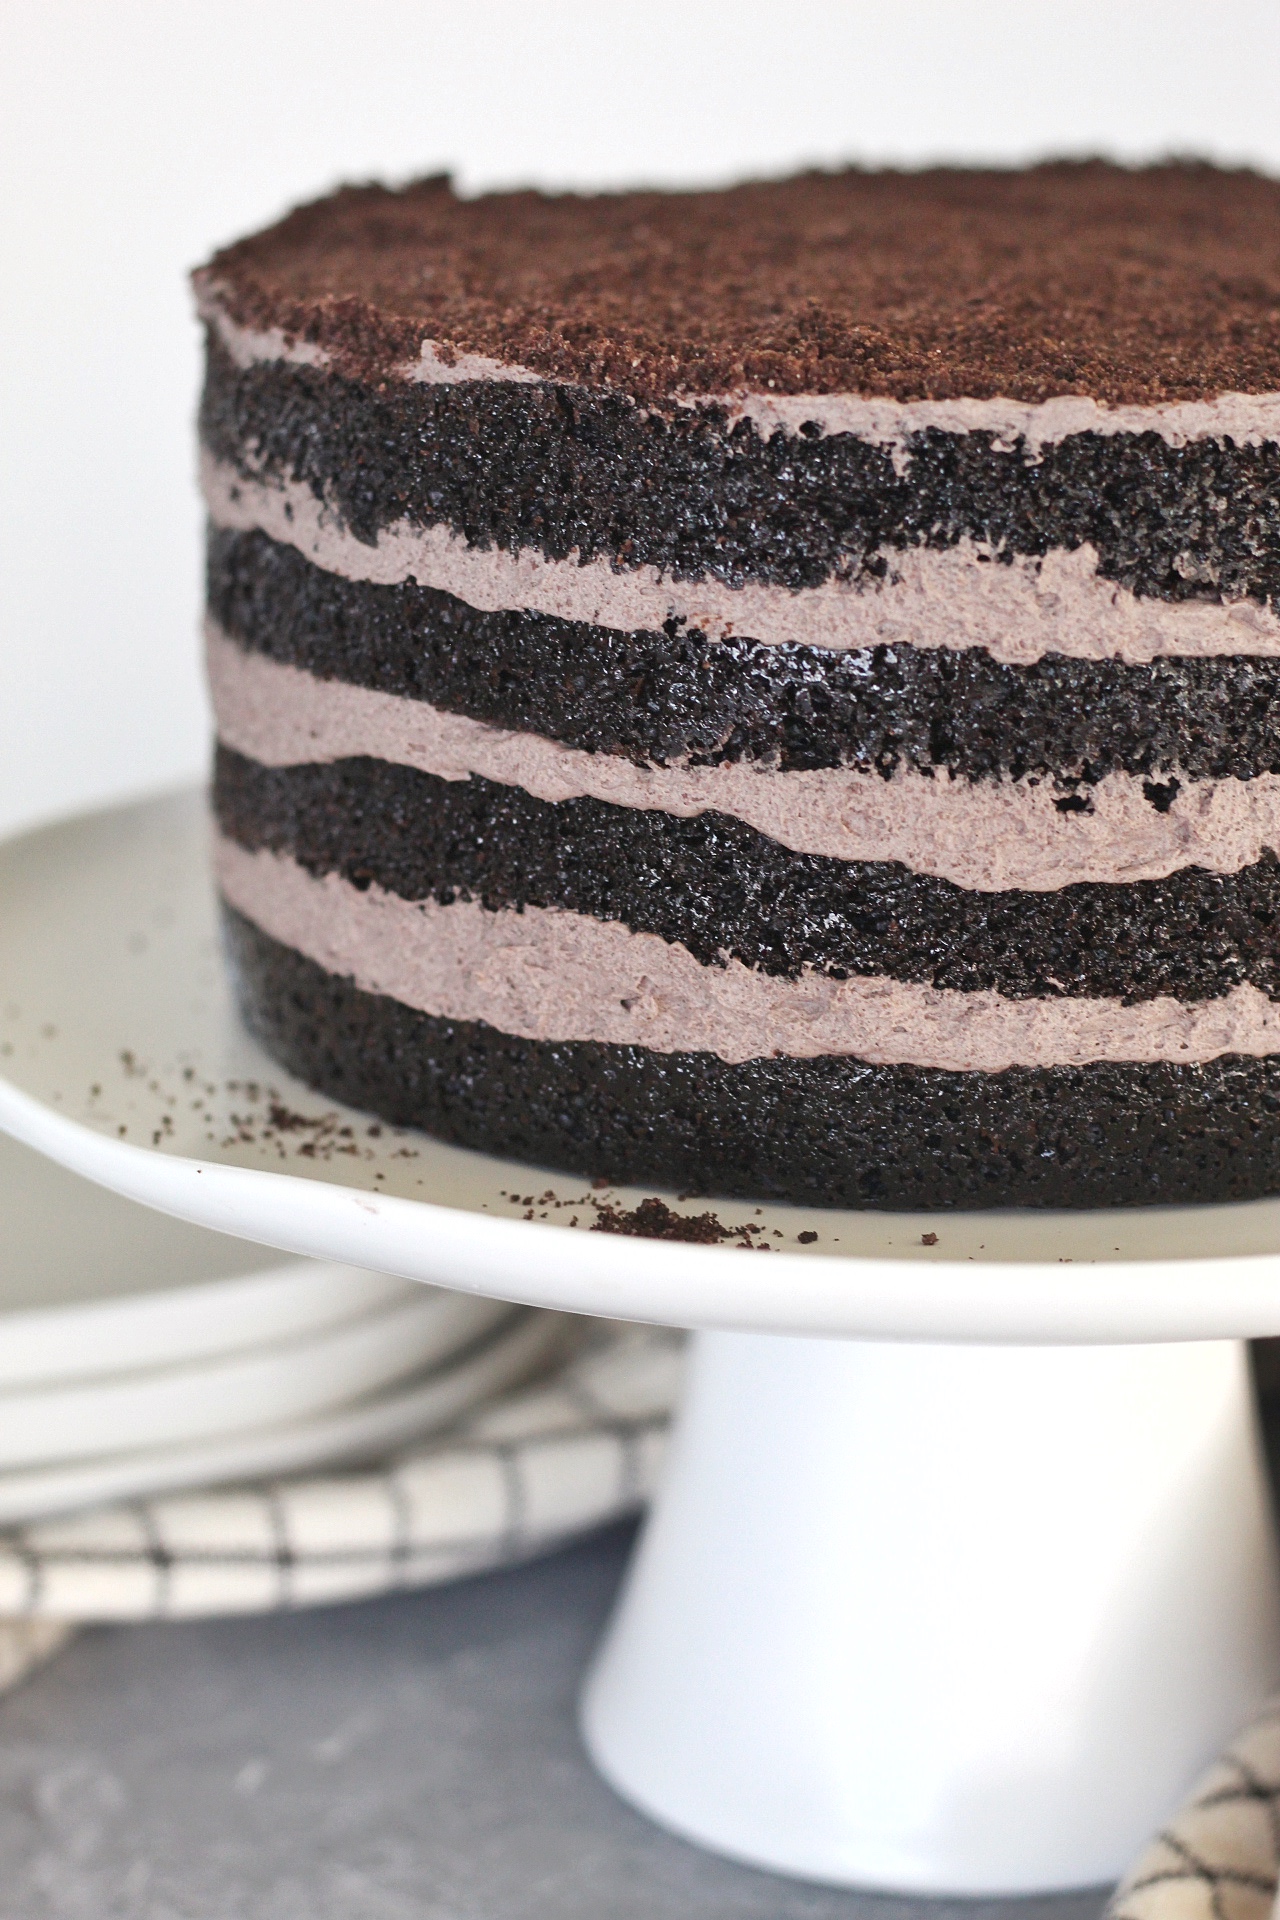
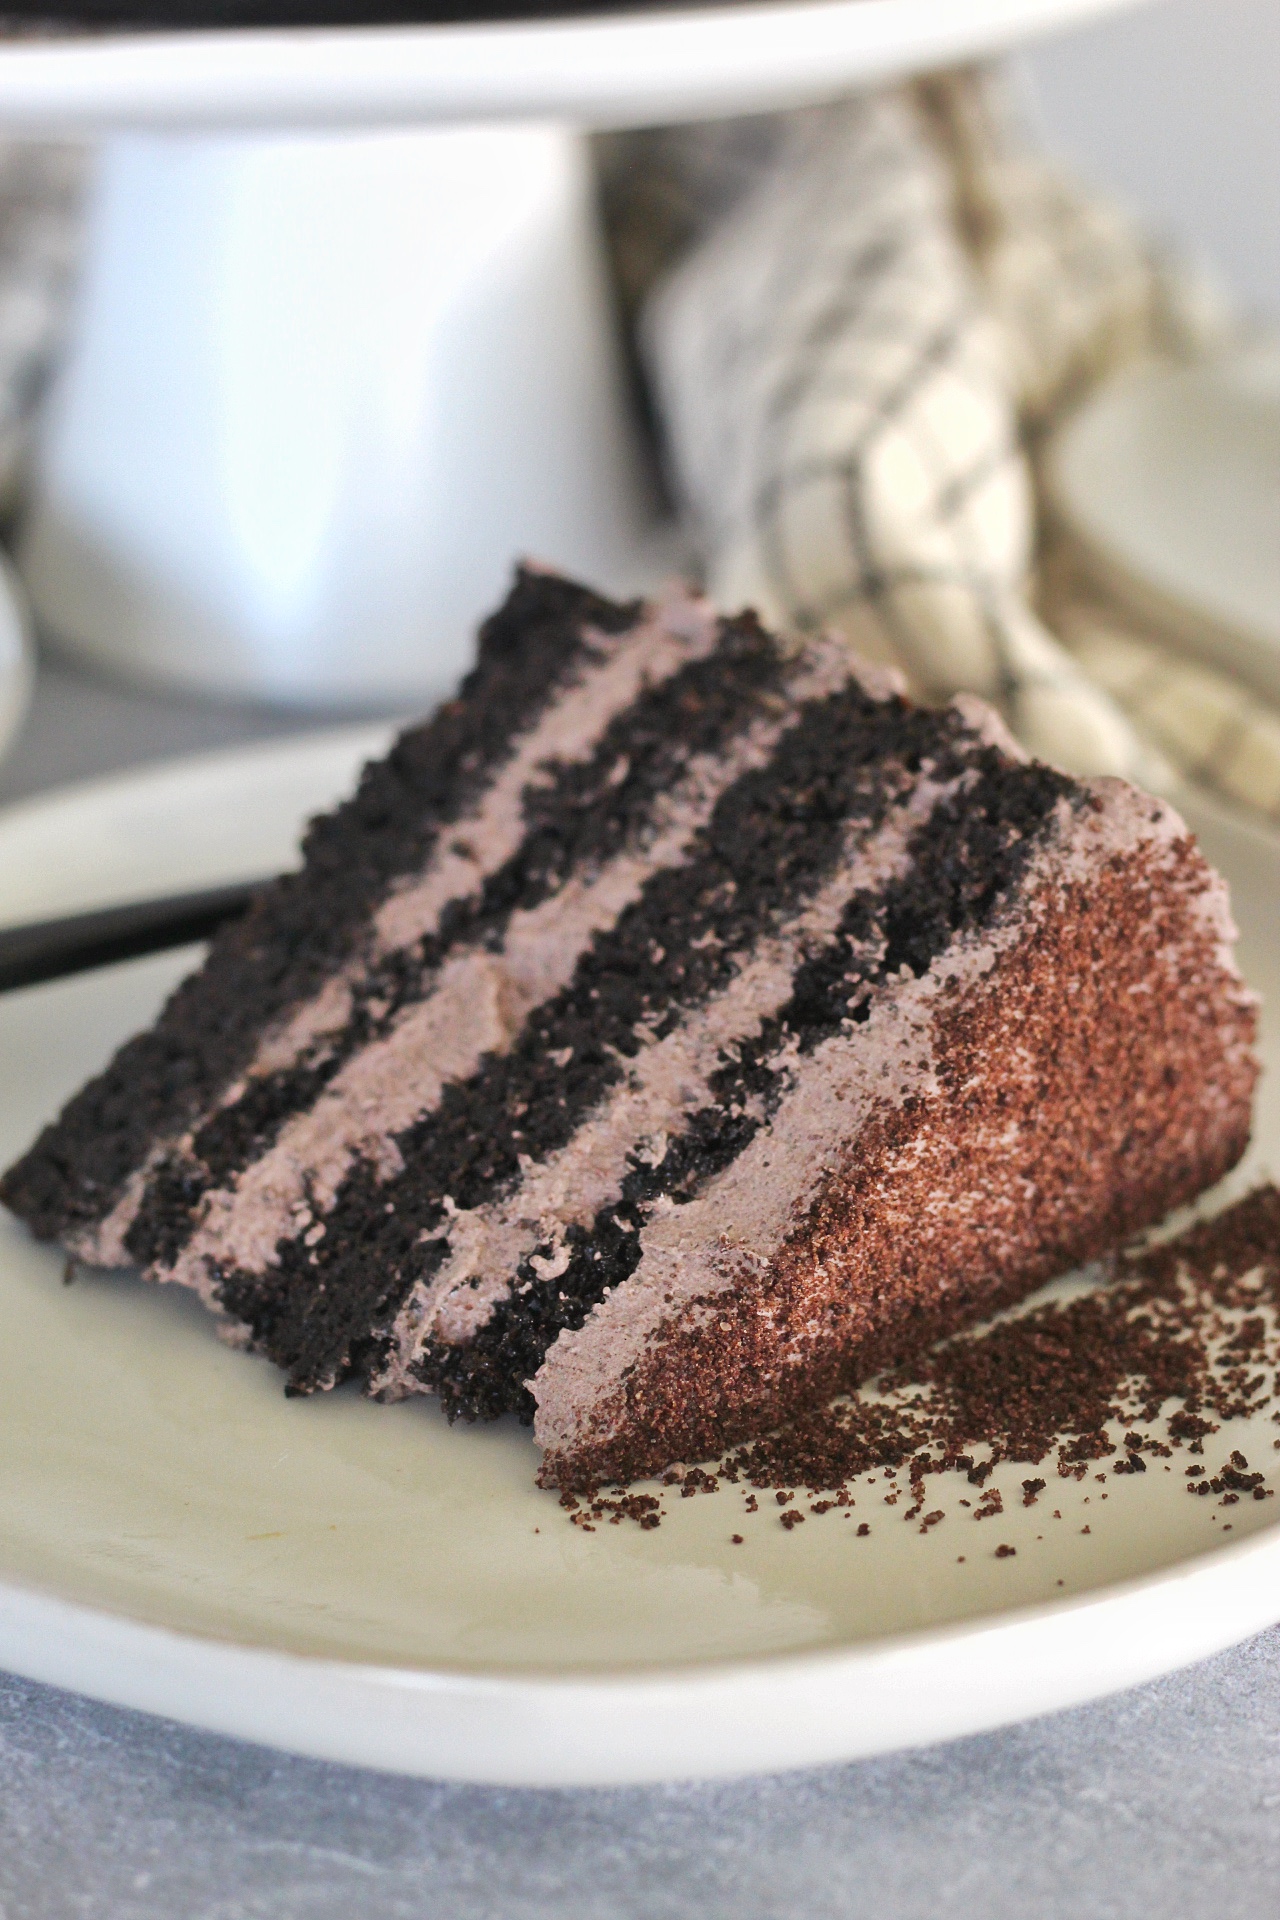
Disney’s Grey Stuff Cake – Oreo chocolate cake layers with a copycat version of Disney’s Grey Stuff, made with a whipped cream base.

Hello, friends! I’m so excited to be back from spring break and here on the blog with you! I know it’s been a minute (ok, maybe more than a minute) since my last new recipe. I can’t tell you enough how much I appreciate your patience. For some crazy reason, I thought I’d be able to get my cookbook pictures shot and create new recipes. HA! I definitely overestimated my abilities and the hours in a day.
With pictures complete, and almost all of the writing done, it’s time to fill CakebyCourtney.com with new recipes. I have so many!!!
The Grey Stuff
First up! Disney’s Grey Stuff Cake, inspired by the Grey Stuff at Disney World. Have you had it? It’s a light and smooth whipped dessert – that is, of course, grey in color. There’s a lovely vanilla flavor, but also a hint of chocolate. Not too much though. It’s typically served on top of a scalloped cookie, but I had it at Gaston’s Tavern in the Magic Kingdom on top of a chocolate cupcake. It was divine!
It should be no surprise by now that when I travel, I’m also looking for cake inspiration. This trip was no exception and this Disney fan favorite dessert was definitely going to be my next challenge.

As I researched The Grey Stuff, I learned that Disney actually shared a recipe for it. Their ingredients include vanilla pudding, chocolate pudding, Oreos, milk and Cool Whip. I was surprised, to say the least. Having just had The Grey Stuff, I didn’t think it tasted anything like a whipped pudding. I also noticed that at Disney World, The Grey Stuff piped beautifully, but in the recipe Disney shared, it was the opposite. It looked deflated.
Round One
Despite my concerns, I tried the Disney recipe so I could compare the flavors and textures to the real deal. It WAS NOT the same. At all!
I ended up doing some more research and learned that Disney ACTUALLY makes a whipped panna cotta base for the Grey Stuff. Okay, I thought! That makes a little more sense.
Round Two and Three
For my next round of testing, I made panna cotta and tried the whipped version a couple ways, both of which used gelatin to help stabilize the mixture. Unfortunately, I wasn’t happy with either version and scrapped the idea completely. And not just because it didn’t taste right – I also wanted to make this copycat recipe easy and not overly complicated.
I was headed down the wrong path.

Round 4
I gave myself a night to think about it and ended up back where I originally started before I had even ventured out on exploring my options – a stabilized whipped cream base. No pudding. No panna cotta.
I tried it with Oreos and then I tried it with black cocoa powder.
Oreos, no matter how small I crushed them, still gave the Grey Stuff black specks. Disney’s Grey Stuff DOES NOT have black cookie specks. Oreos also gave the mixture more of a brown color than grey.
The black cocoa powder, on the other hand, blended in beautifully to create this gorgeous grey color, with no specks to be found.

Whipping Cream
The key to getting the right texture (one that you can pipe with), is the whipping cream you use. I tried a couple brands, with different percentages of fat. The best version I came up with was when I used Darigold 40% whipping cream. Anything less than 40% won’t create as thick of a cream. If you can find something with more than 40% fat, by all means, use it! The more fat the better!
Black Cocoa Powder
To get this grey, you’ll want to use black cocoa powder. This is different than dark cocoa powder and something I also use in my Black Chocolate Cake and Black Buttercream. It’s definitely worth having around for these cakes and anything you want that Oreo cookie flavor for.
Cake Alternatives
Don’t want to make a layered cake? No problem! You can turn this recipe into cupcakes or a sheet cake.
- For cupcakes: reduce the sugar by 1/4 cup, bake at the same temperature, but for 18 to 22 minutes. You’ll get about 24 cupcakes.
- For a sheet cake: keep the recipe as is, bake at the same temperature, but for 35 to 40 minutes.
- As always, with cakes, cupcakes or sheet cakes, the cake is done when a toothpick inserted in the center of the cake comes out with a few moist crumbs on it.
CAKE MAKING TIPS
Don’t forget to follow my go-to tips for getting your cakes to rise and bake well:
- Preheat your oven for 30 minutes prior to baking.
- Use good quality pans like Fat Daddio.
- Spray your pans with nonstick spray and line with parchment paper.
- Don’t overmix your cake batter once you add the dry ingredients.
- Use room temperature wet ingredients.
- Use fresh baking powder.
- Bake until a toothpick inserted in the center of the cake comes out with a few moist crumbs on it.
MORE CAKES YOU’LL LOVE

Disney’s Grey Stuff Cake
Ingredients
For the Oreo Chocolate Cake
- 2 cups (240 g) all-purpose flour
- 1 3/4 cups (350 g) granulated sugar
- 1/3 cup (43 g) finely ground Oreos
- 1/3 cup (30 g) black cocoa powder
- 2 teaspoons (8 g) baking soda
- 1 teaspoon (4 g) baking powder
- 1 teaspoon (5.6 g) salt
- 1 cup (242 g) buttermilk room temperature
- 3 eggs room temperature
- 1/2 cup (112 g) vegetable oil
- 2 teaspoons (8.4 g) pure vanilla extract
- 1 cup (236 g) hot water
For The Grey Stuff
- 2 cups (462 g) heavy whipping cream 40% fat or more
- 2 tablespoons (14.8 g) black cocoa powder one or two more if you want a stronger chocolate flavor
- 1 teaspoon (4.2 g) pure vanilla extract
- 2 tablespoons E-Z Gel
- 1 1/4 cups (156. 25 g) powdered sugar
Instructions
For the Oreo Chocolate Cake
- Preheat your oven to 325 degrees F. Spray two 8-inch round cake pans with nonstick spray, line the bottoms with parchment paper and spray again. Set aside.
- In the bowl of a stand mixer fitted with the paddle attachment, stir together the flour, sugar, cocoa, Oreos, baking soda, baking powder and salt.
- In a medium size mixing bowl, whisk together the buttermilk, eggs, oil, vanilla and water.
- With the mixer on low speed, gradually add the wet ingredients to the dry ingredients and stir until combined.
- Scrape down the sides and bottom of the bowl and mix again on low for another 20 to 30 seconds.
- Evenly divide the batter between the two pans and bake for 30 to 35 mintues, or until a toothpick inserted in the center of the cake comes out with just a few moist crumbs on it.
- Remove the pans from the oven and cool in pans for about 15 mintues before inverting on wire racks to cool completely.
- Before stacking this cake, use a cake leveler to divide each cake in half horizontally to create four layers.
For The Grey Stuff
- In a chilled stainless steal mixing bowl, combine all of the ingredients and beat together, using a whisk attachment, until stiff peaks form.
Assembly
- Place the first cake layer in the center of a cake board or cake plate. Surround the cake layer with a 4-inch tall acetate strip (if desired). Evenly spread 1 cup of the Grey Stuff over the cake layer.
- Place the second cake layer on top of the filling and spread another 1 cup of the Grey Stuff on top. Repeat these steps for the next two layers.
- I then sprinkled extra cookie crumbs over the top of my cake.
- Keep the cake refrigerated until ready to serve.

Do you grind the oreos for the cake with the frosting in them? Or do you scrape the frosting out and grind just the cookies?
Whole oreo!
Thanks for sharing, Courtney!
I would love to make these into a “grey stuff” cupcake for my daughter’s birthday.
Do you think the grey stuff here would be stable enough to pipe on cupcakes and stay out for a party?
Thanks!
Yes you can pipe it.
What would be the best option if you can’t get the 40% heavy whipping cream? I can’t find any in my area.
Any whipping cream!
Thank you Courtney so much for your time and generosity for sharing youe recipes and knowledge with us.
Same issue here with cream. I wonder if I can add butter to my cream to up the fat? I’ll have to to experiment and see with the ratios. If any scientist reads this please comment! Thanks!!
What would you recommend doing if I don’t have any E-Z gel??
use gelatin. Follow the instructions the box.
Hey Courtney! How would I adapt this recipe for a sheet pan? Would I use an 8×8, 9×9, or 13×9? Thank you and I look forward to making this!
You’ll want to use a 9″x13″ pan.
Do you have a recommended substitute for EZ Gel? Will regular gelatin work instead? And is the amount the same?
Yes!
Why is the amount of cocoa different than your Oreo cake? Any reason to have less dry ingredients?
Also, the measurement of oil in grams seems odd and incorrect (should be closer to 100g if you’re weighing it). I think the weight of the flour might be light unless you’re using a high protein flour like King Arthur?
It’s a different recipe. The oil should be 112g.
Would this cake freeze okay for decorating?
Yes!
I really wanted this cake to turn out, but even after following the instructions to a T, my cakes over-flowed big time in the oven. I used two 8” pans and divided the batter evenly as instructed. As the remaining batter in the pans baked, it deeply sunk in the center and didn’t cook all the way through. This made the outsides of the cake hard and crispy and left the centers spongy and wet. I used them anyways and it tasted OK, but definitely not as expected. However, the whipped topping was quick and easy and turned out delicious. It was the saving grace of the recipe.
Have you tried freezing the grey stuff? I’d love to make the whole decorated cake in advance for an upcoming birthday, which would require the whole cake/filling to be frozen for about a week.
I also saw your notes below about regular gelatin. There are no instructions on the box of original Knox Gelatine I have. Is the swap as simple as just replacing EZ-Gel with the Knox gelatine in the same amount and combining it all together?
Thanks for the recipes and any advice you can provide on these items!
Yeah it can be frozen and thawed to serve later. For the gelatin, you’ll want to google search how to bloom it for adding to whipped cream. You’re basically dissolving it in water and then adding it to the whipped cream.