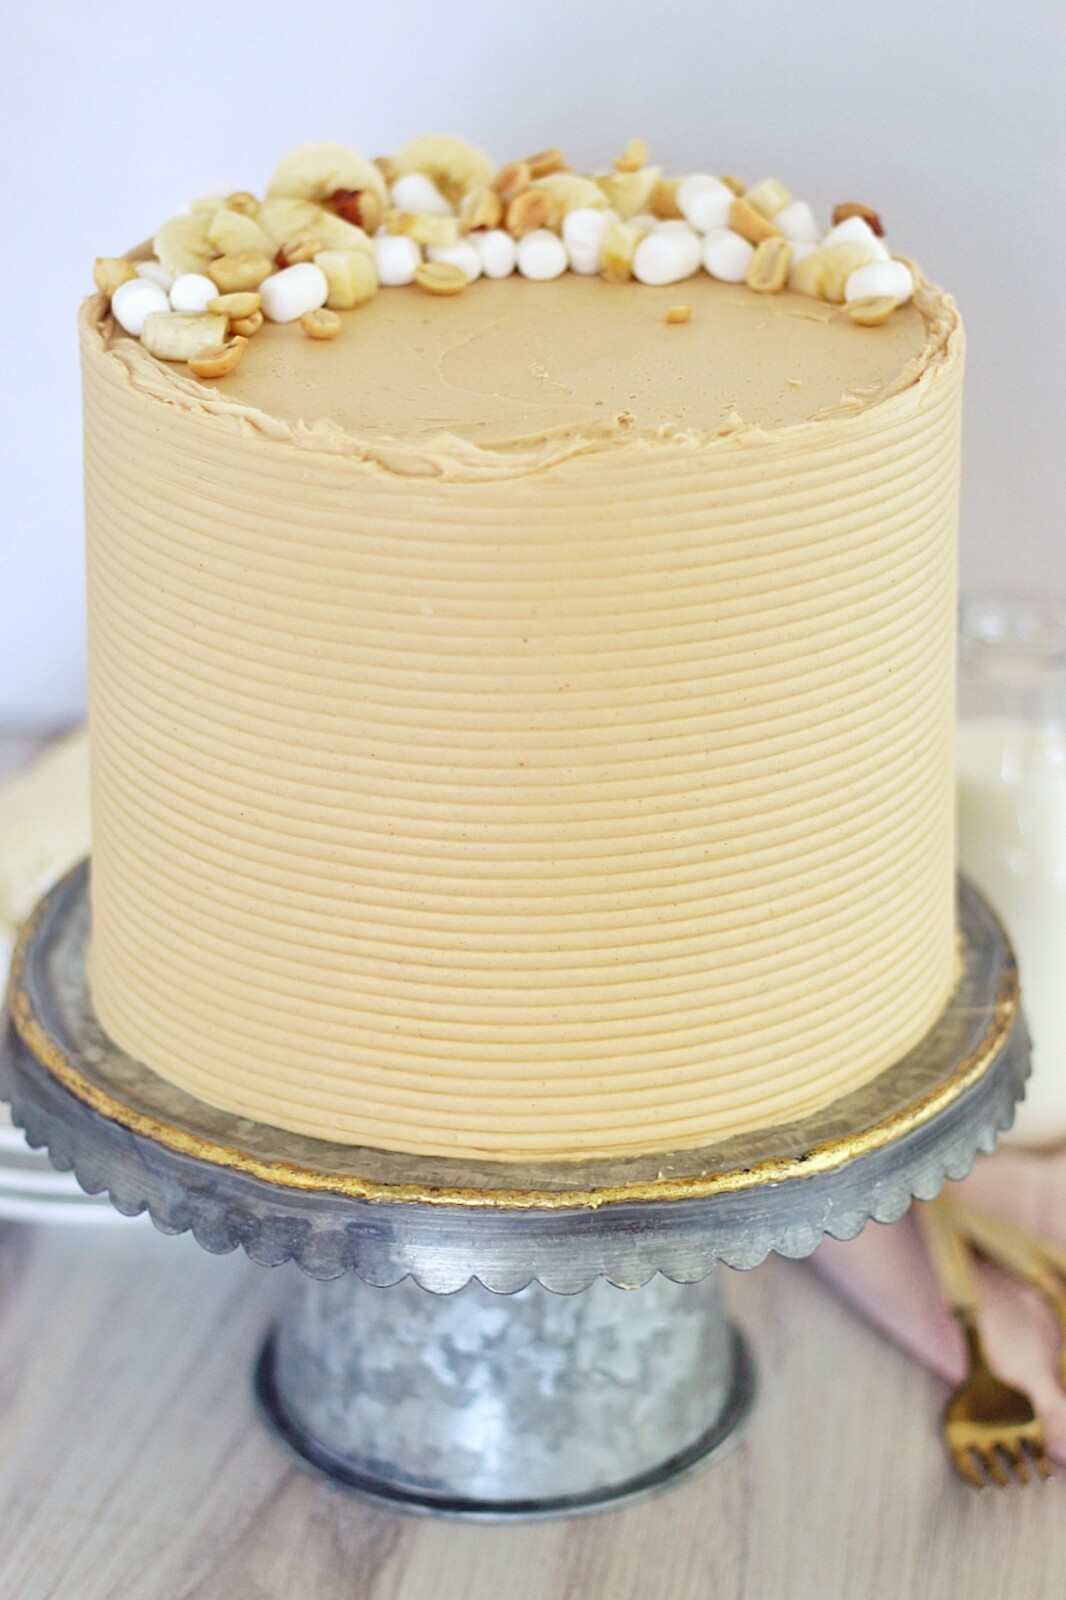
Fluffernutter Cake – tender and fluffy white cake layers with banana cream filling, toasted marshmallow filling, and peanut butter buttercream.
Do You Know What a Fluffernutter Is?
If your family is anything like mine, fluffernutter sandwiches are a go-to favorite for lunches. I grew up on them and now my kids are too! Are you familiar with fluffernutters? It’s a simple peanut butter and marshmallow cream sandwich. Growing up, however, my mom also cut up banana slices and layered them between the creamy peanut butter and sweet marshmallow cream. Her way of adding a serving of fruit, I think 😉
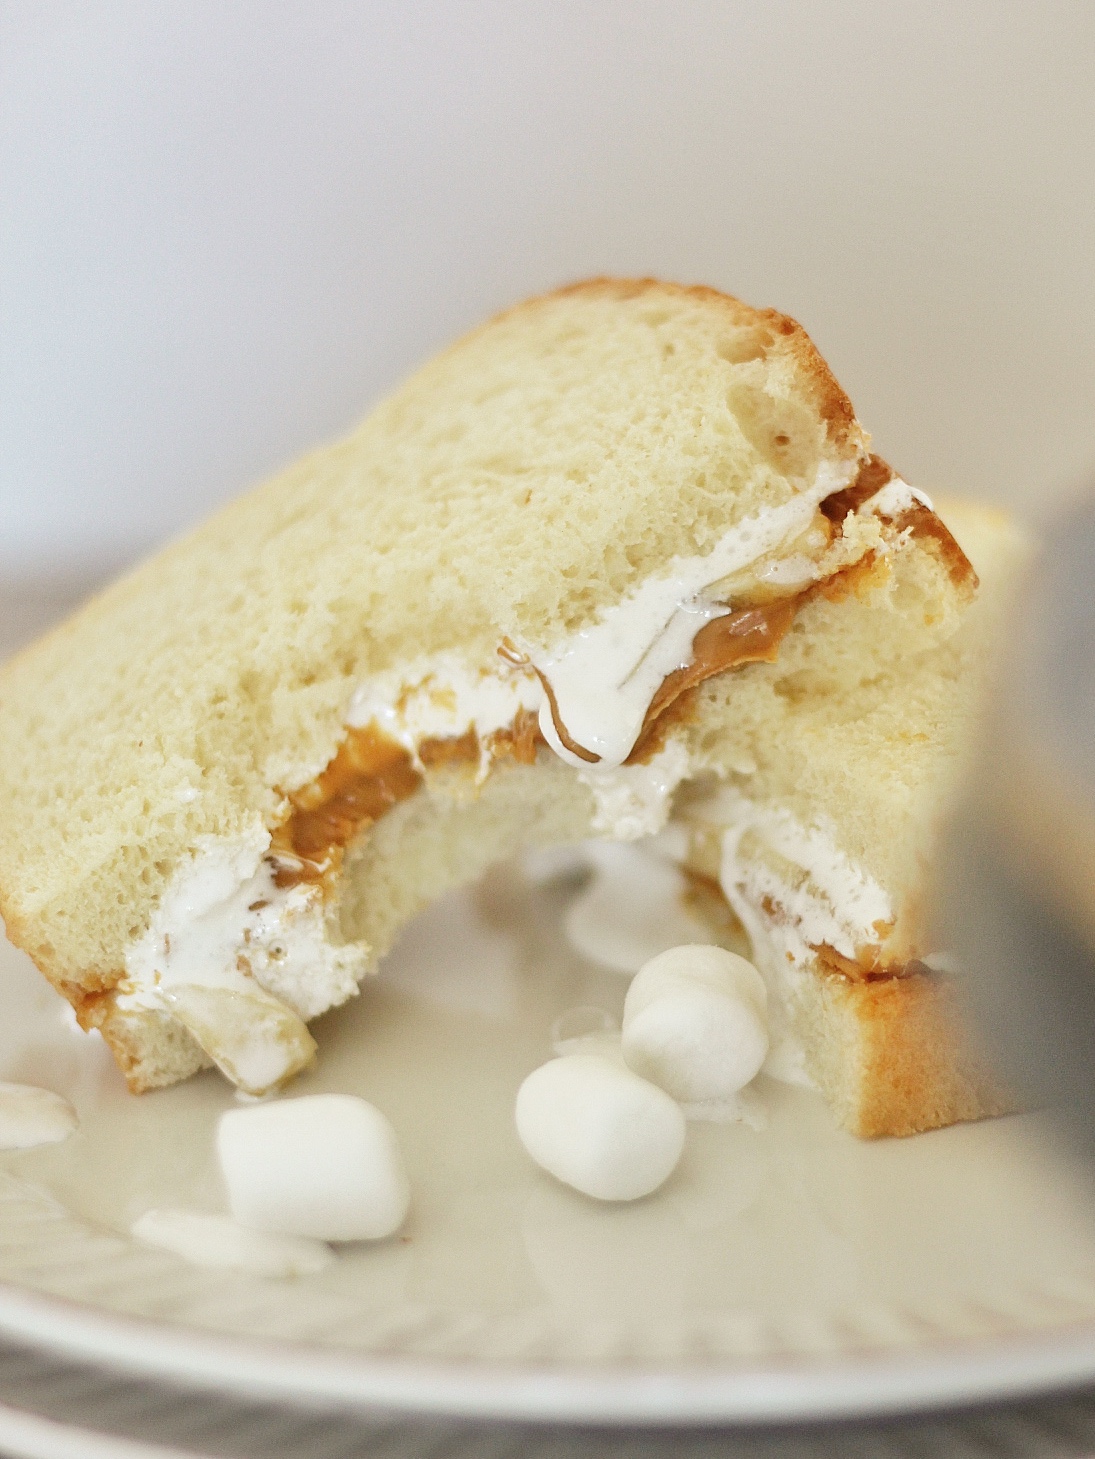
Peanut Butter and Marshmallow Filled Fluffernutter Cake
However you slice it, a fluffernutter has all the makings of a great cake – probably one of the best cake recipes! These flavors are some of my favorites: vanilla, banana, peanut butter and marshmallow. How can you go wrong?!

Ingredients You’ll Need for the Fluffernutter Cake
Before you get baking, make sure you have the following on hand!
- Cake flour
- Granulated sugar
- Egg whites
- Unsalted butter
- Banana pudding mix, instant
- Vanilla extract
- Sweetened condensed milk
- Sour cream
- Baking powder
- Salt
- Powdered sugar
- Heavy whipping cream
- Peanut butter
- Marshmallow cream
- Marshmallows
Light and Fluffy White Cake Layers from Scratch
For the cake layers, I wanted to go with something that resembled white bread – tender, fluffy and classic. My Classic White Cake has just the layers for this cake. I made one and a half the recipe so my layers would be a little thicker, allowing me to cut them in half to get six layers to hold all the filling we’re about to make.
Note: When doing 1.5x a recipe, or even when doubling or splitting a recipe, I think it’s best to use the grams given in the recipe to get the most accurate measurements.
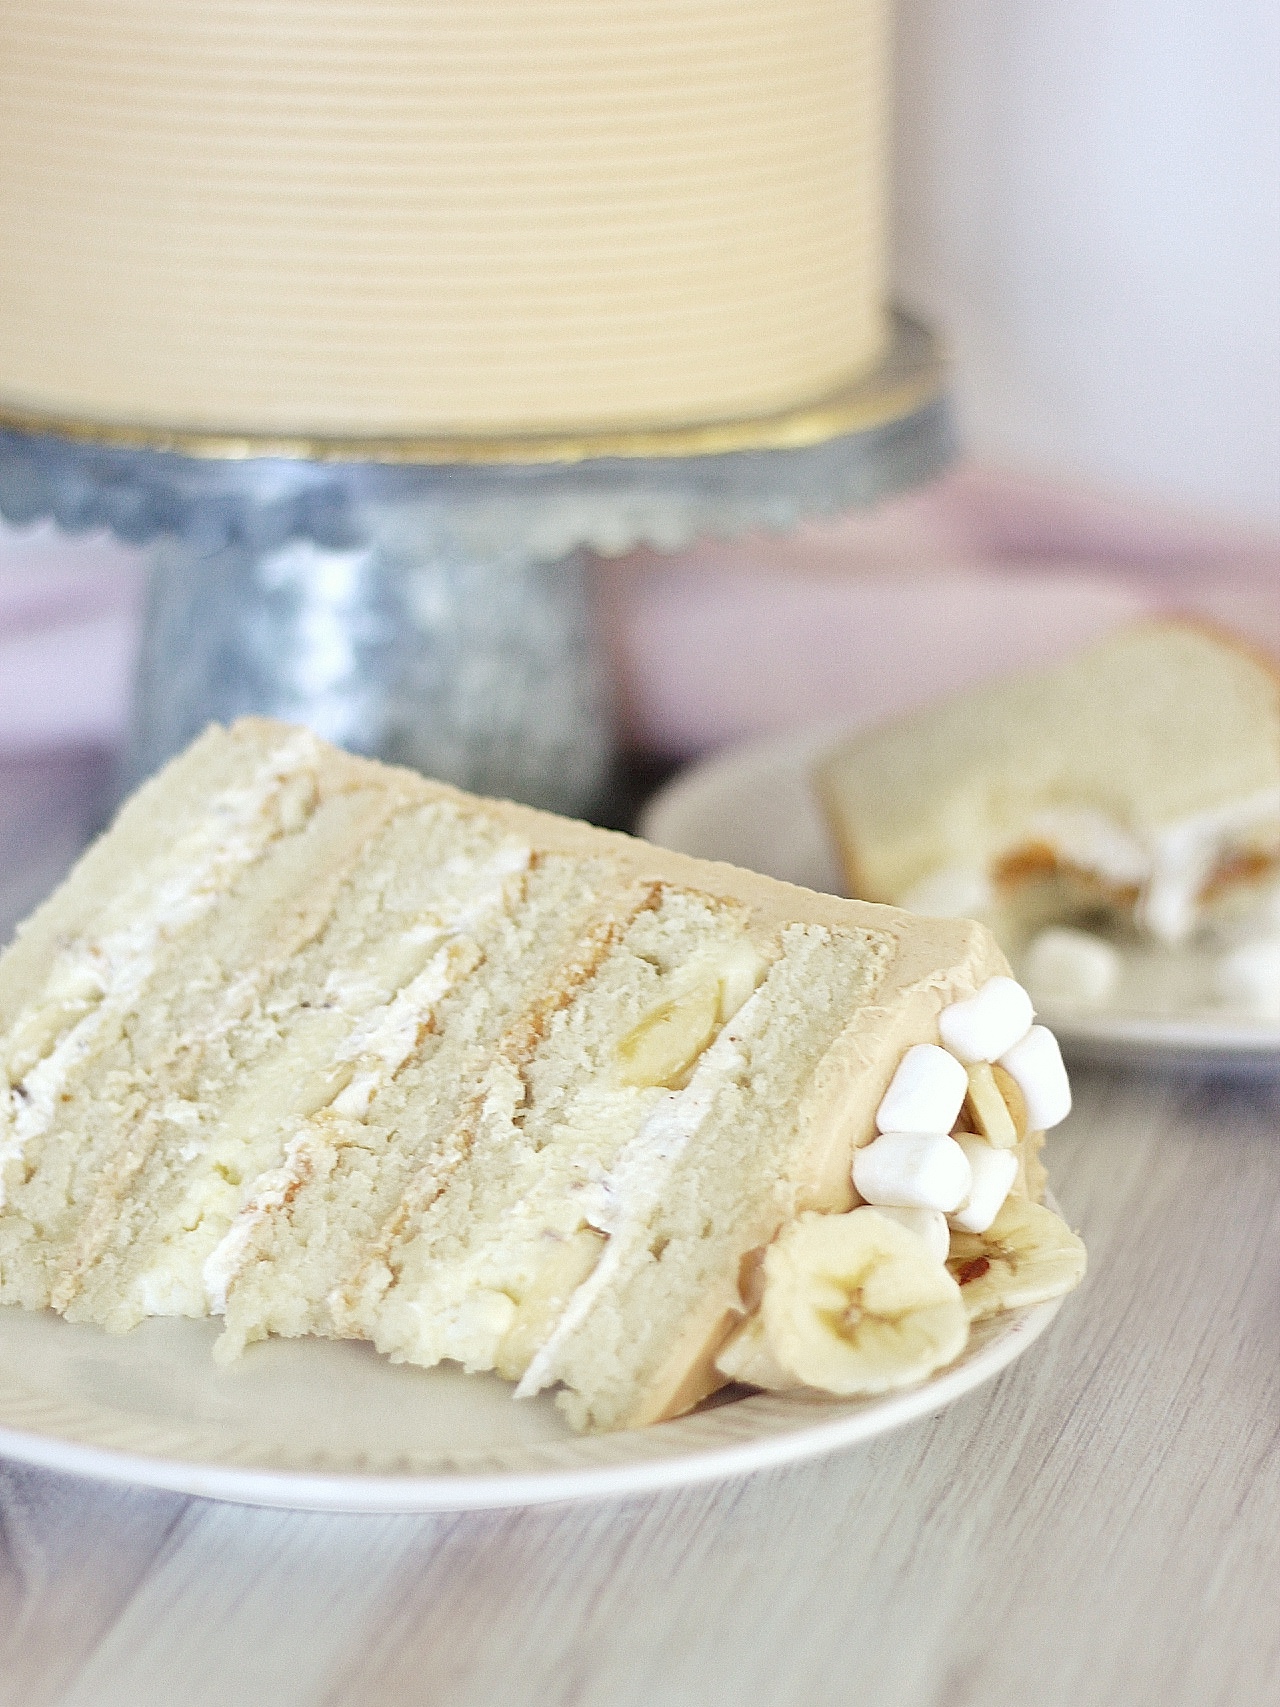
The Most Delicious Banana Cream Filling
While I know adding bananas to a fluffernutter isn’t the most common thing, it’s seriously the best flavor addition and I’ll just need you to trust me on this one. I’ve added my Banana Cream Filling from my Banana Cream Cake, as well as fresh bananas. However, and this is a big however, if you’re not serving the cake the same day you assemble it, DO NOT use fresh bananas. They just brown too easily, even when you freeze the cake.
Peanut Butter Buttercream
It’s no secret how deep my love for peanut butter runs, so covering this cake in my Peanut Butter Buttercream was a no-brainer. It’s sweet and salty, and oh-so perfect for this Fluffernutter Cake.
Tip: If you want a little crunch in the cake, add chopped salted peanuts between the layers!
Toasted Marshmallow Filling
For the marshmallow element, I’ve included my Toasted Marshmallow Filling from my Ultimate S’mores Cake. It’s just one of my favorite things on the planet. It’s delicious in cake, but to be honest, dipping graham crackers in it might be at the top of my treat list!
How to Assemble the Fluffernutter Cake
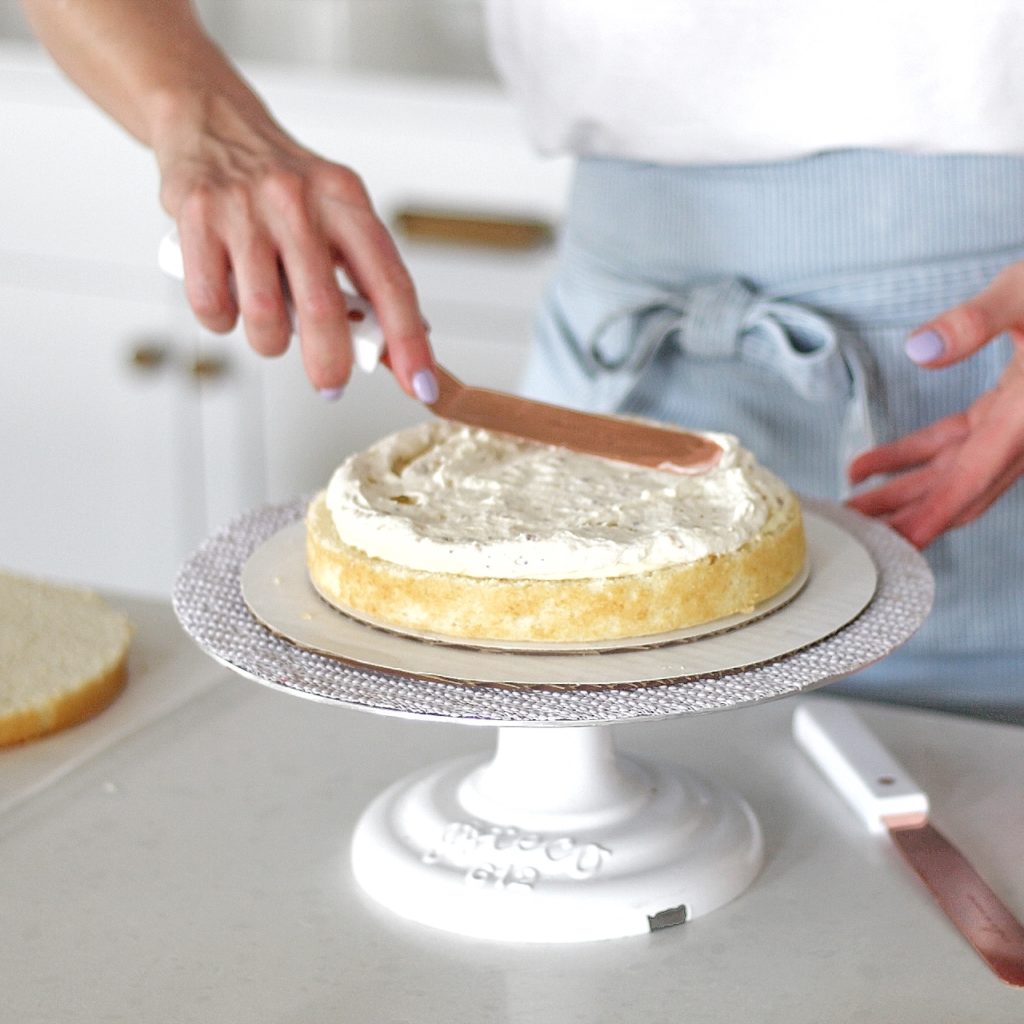
After your cake layers cool to room temperature, you’ll want to torte your cake layers. Torte means cut the layers in half, horizontally. To do this, I like to use a cake leveler. You’ll move the textured wire to a height that divides the cake evenly. Then, with the leveler “feet” on the counter, you’ll move the leveler back and forth (like a saw), as you move across the cake. Once the layers are split and the other elements of your cake are complete, you’re ready to assemble the cake.


Follow the step-by-step picture instructions below, and be sure to add some straws or dowels to keep your cake in place. Because the cake is so tall and we have so many fillings, it may get wobbly.




Tips for Getting Cakes to Rise Evenly
Don’t forget to follow my go-to tips for getting your cakes to rise and bake well:
- Preheat your oven for 30 minutes prior to baking.
- Use good quality pans like Fat Daddio.
- Spray your pans with nonstick spray and line with parchment paper.
- Don’t overmix your cake batter once you add the dry ingredients.
- Use room temperature wet ingredients.
- Use fresh baking powder.
- Bake until a toothpick inserted in the center of the cake comes out with a few moist crumbs on it.
Video Tutorial
Other Cakes You May Like
- Banana Peanut Butter Caramel Cake
- Peanut Butter S’mores Cake
- Banana Nutella S’mores Cake
- Chocolate Banana Peanut Butter Cake
- Banana Cream Cake
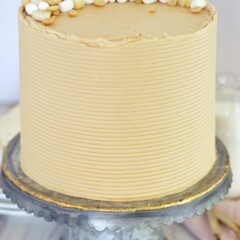
Fluffernutter Cake
Ingredients
For the White Cake
- 1 1/2 cup (339 g) unsalted butter at room temperature and cut into cubes
- 2 5/8 cups (525 g) granulated sugar
- 8 large egg whites at room temperature
- 1 Tbsp (13 g) clear vanilla extract
- 1 1/2 cup (360 g) buttermilk at room temperature
- 4 1/2 cups (517.5 g) cake flour
- 1 1/2 Tbsp (21 g) baking powder
- 1 1/2 tsp (9g) salt
- 3/4 cup (180 grams) sour cream at room temperature
For the Banana Cream Filling
- 1.5 oz instant banana pudding mix
- 7 oz sweetened condensed milk
- 1/2 cup (120 g) milk
- 1 1/2 cups (346.5 g) heavy whipping cream
For the Peanut Butter Buttercream
- 5 cups (625 g) powdered sugar measured then sifted
- 1 1/2 cups (339 g) unsalted butter slightly chilled
- 1 cup (250 g) peanut butter smooth
- 1 Tbsp (13 g) vanilla extract
- 1/4 cup (57.75 g) heavy whipping cream
- Pinch of salt
For the Toasted Marshmallow Filling
- 24 marshmallows classic size
- 1 cup (125 g) powdered sugar measured then sifted
- 1 cup (226 g) unsalted butter at room temperature
- 1/2 tsp (2.1 g) vanilla extract
- 1 jar (200 g) marshmallow cream I use THIS brand
Instructions
For the Cake
- Preheat your oven to 325 degrees. Spray three 8-inch round cake pans with nonstick spray, line the bottom of each pan with parchment paper, and spray again. Set aside.
- In a medium bowl or measuring cup, combine and stir egg whites and the vanilla. Set aside.
- In a stand mixer fitted with the paddle attachment, combine the butter and the sugar. Beat until light and fluffy, about 3 minutes on medium-high speed.
- Turn the mixer to medium speed and add the egg mixture in three additions, scraping down the sides and bottom of the bowl between each addition.
- After the egg white mixture is added, scrape down the sides and bottom of the bowl again and then beat on medium-high speed for about 3 minutes. The mixture will become lighter in color and fluffier in texture.
- In a separate bowl, whisk together the flour, the baking powder, and the salt.
- With the mixer on low speed, alternately add the flour mixture and the buttermilk, starting and finishing with the flour.
- Gently fold in the sour cream until no streaks of white remain.
- Using a kitchen scale, divide batter evenly among your pans (about 22 to 24 ounces in each) and bake for about 40 to 45 minutes, or until a toothpick inserted in the center of the cakes comes out with a few moist crumbs on it.
- Let the cake layers cool on racks for 15 minutes before inverting onto greased wire racks to cool completely.
- Once the cakes are cooled completely, divide the layers in half with a cake leveler or serrated knife.
For the Banana Cream Filling
- In a medium size mixing bowl, combine the pudding mix, sweetened condensed milk and milk in a bowl until well blended. Cover and refrigerate until set, about 15 minutes.
- While the pudding sets, beat the whipping cream with the whisk attachment in the bowl of a stand mixer. Beat until stiff peaks form.
- Fold the whipped cream into the pudding mixture.
For the Peanut Butter Buttercream
- In a stand mixer fitted with the paddle attachment, beat the butter and peanut butter for about 3 to 5 minutes, until light in color and smooth in texture.
- With the mixer on low speed, gradually add the sifted powdered sugar, followed by the vanilla, salt and cream. Stir to combine.
- Turn the mixer to medium-high speed and beat for an additional 5 minutes, scraping down the sides and bottom of the bowl a couple times during the process. The buttercream will become lighter in color and should take on a “fluffy” texture.
For the Toasted Marshmallow Filling
- Place the marshmallows on a cookie sheet lined with parchment paper and sprayed with nonstick cooking spray.
- Place on the middle rack of the oven, and broil the marshmallows until golden brown on top, about 30-60 seconds. Keep your eye on them! They will cook fast. Remove the pan from the oven and gently turn the marshmallows over and broil them again until they are golden brown on the other side.
- In a stand mixer fitted with the paddle attachment, beat the butter and powdered sugar and beat on low until blended.
- Add the vanilla and mix on medium-high speed for about 3 minutes.
- Turn the mixer on low speed, add the marshmallow cream and (cooled) toasted marshmallows, and mix for about one minute.
For the Assembly
- Place the first of the 6 cake layers, top side up, in the center of a cake board or cake plate.
- Using an offset icing spatula, evenly spread about 1/2 to 3/4 cup of the banana cream filling over the cake layer. If serving same day, you can add sliced bananas on top of the filling.
- Pipe about 1/2 to 3/4 cup of the toasted marshmallow filling on top.
- Place the second cake layer on top and cover with 1 cup of peanut butter buttercream.
- Repeat these steps with remaining layers. You'll then place the final cake layer, top side down, on top.
- Cover the entire cake with a thin layer of peanut butter buttercream. Freeze the cake for 15 minutes to set the crumb coat.
- Once the crum coat is set, continue to frost the cake with the remaining buttercream.

I made this cake for Father’s Day, at the request of my husband, and it was a big hit! I wasn’t able to find instant banana pudding mix where I live, but I did find prepared banana pudding. I used 1/2 cup of the prepared banana pudding and omitted the regular milk. It turned out great!
Can i prepare the fillings and buttercream ahead of time & assemble next day? Trying to cut down time for the day I’ll be serving the cake. Thanks!
Yes you can!
Does the cake need to be refrigerated?
I slice it and freeze the slices!