Are you a fan of See’s Candies Scotchmallow? Imagine transforming that indulgent treat into a decadent, crowd-pleasing cake. This dessert combines rich layers of chocolate, caramel, and marshmallow flavors, mirroring the iconic candy. Let’s dive into how you can make this See’s Candies-Inspired Scotchmallow Cake at home!
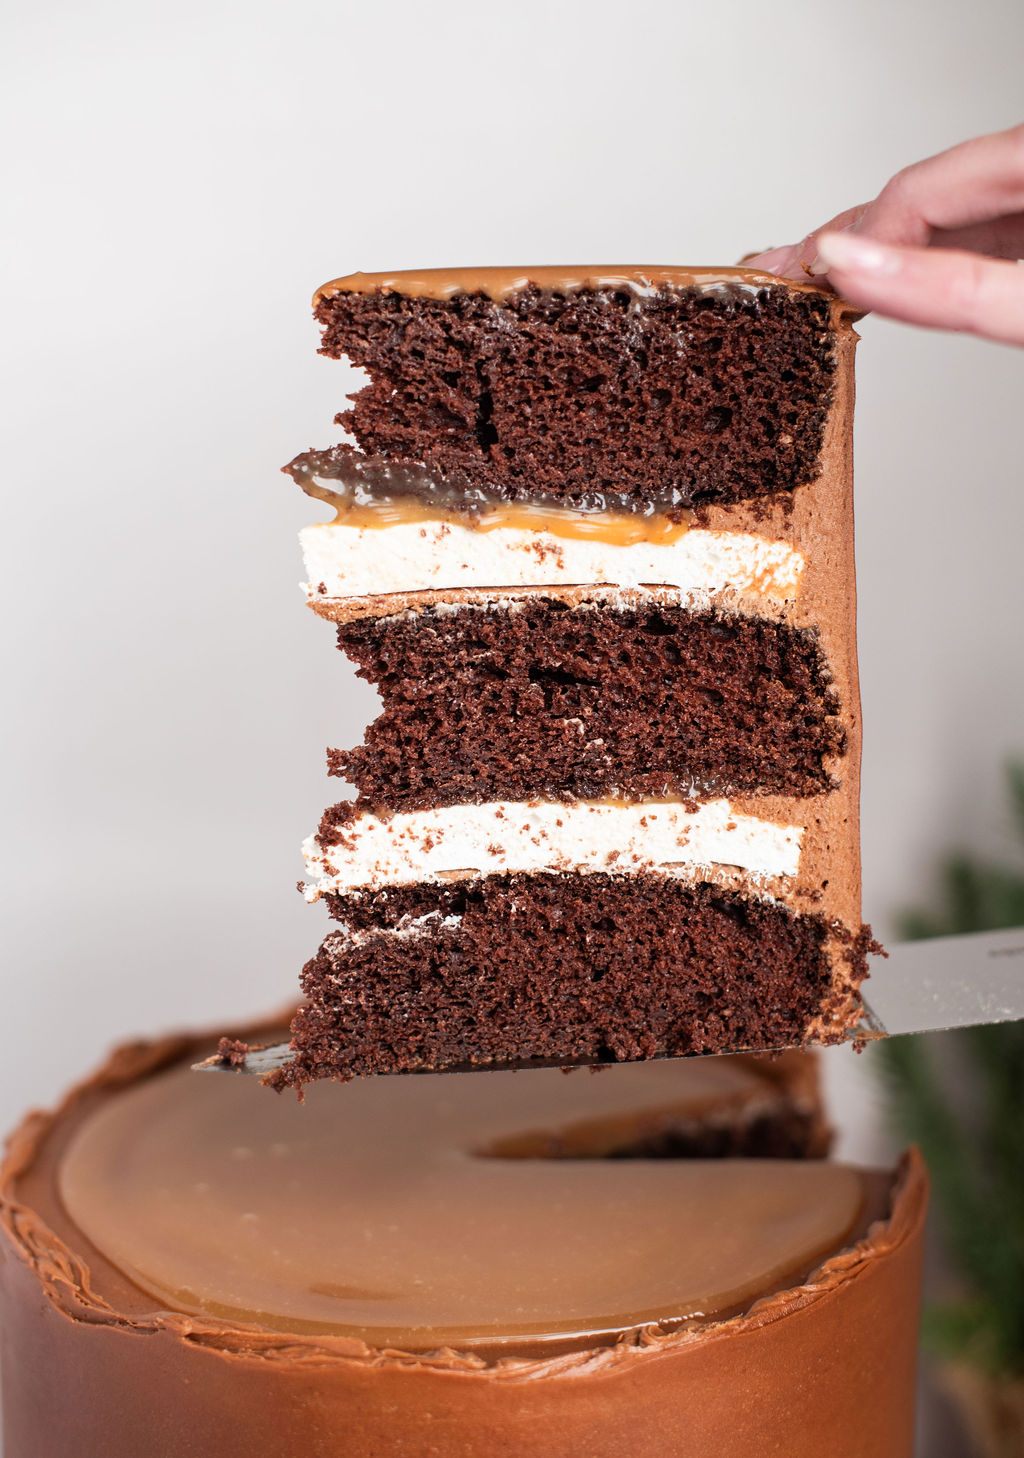
See’s Candies-Inspired Scotchmallow Cake
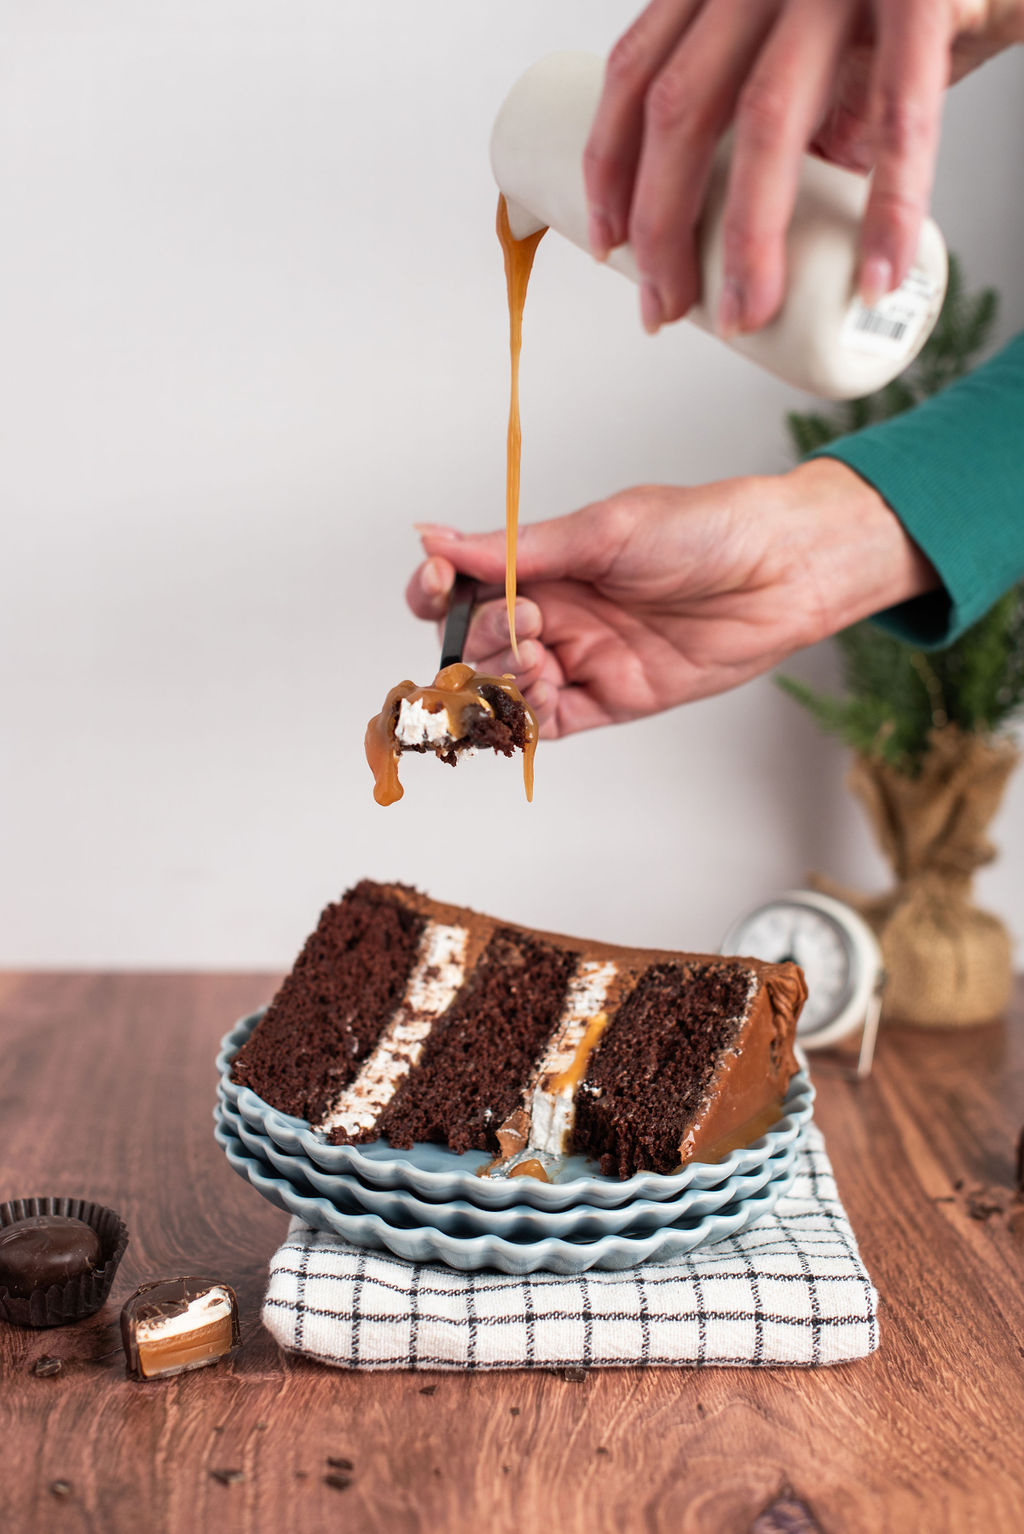
When it comes to crafting a dessert masterpiece, every element matters. This Scotchmallow-inspired cake draws on the richness of four key components: moist chocolate cake, gooey salted caramel, pillowy marshmallow, and velvety chocolate buttercream. Each layer brings a unique flavor and texture, creating a dessert that’s as decadent as it is unforgettable.
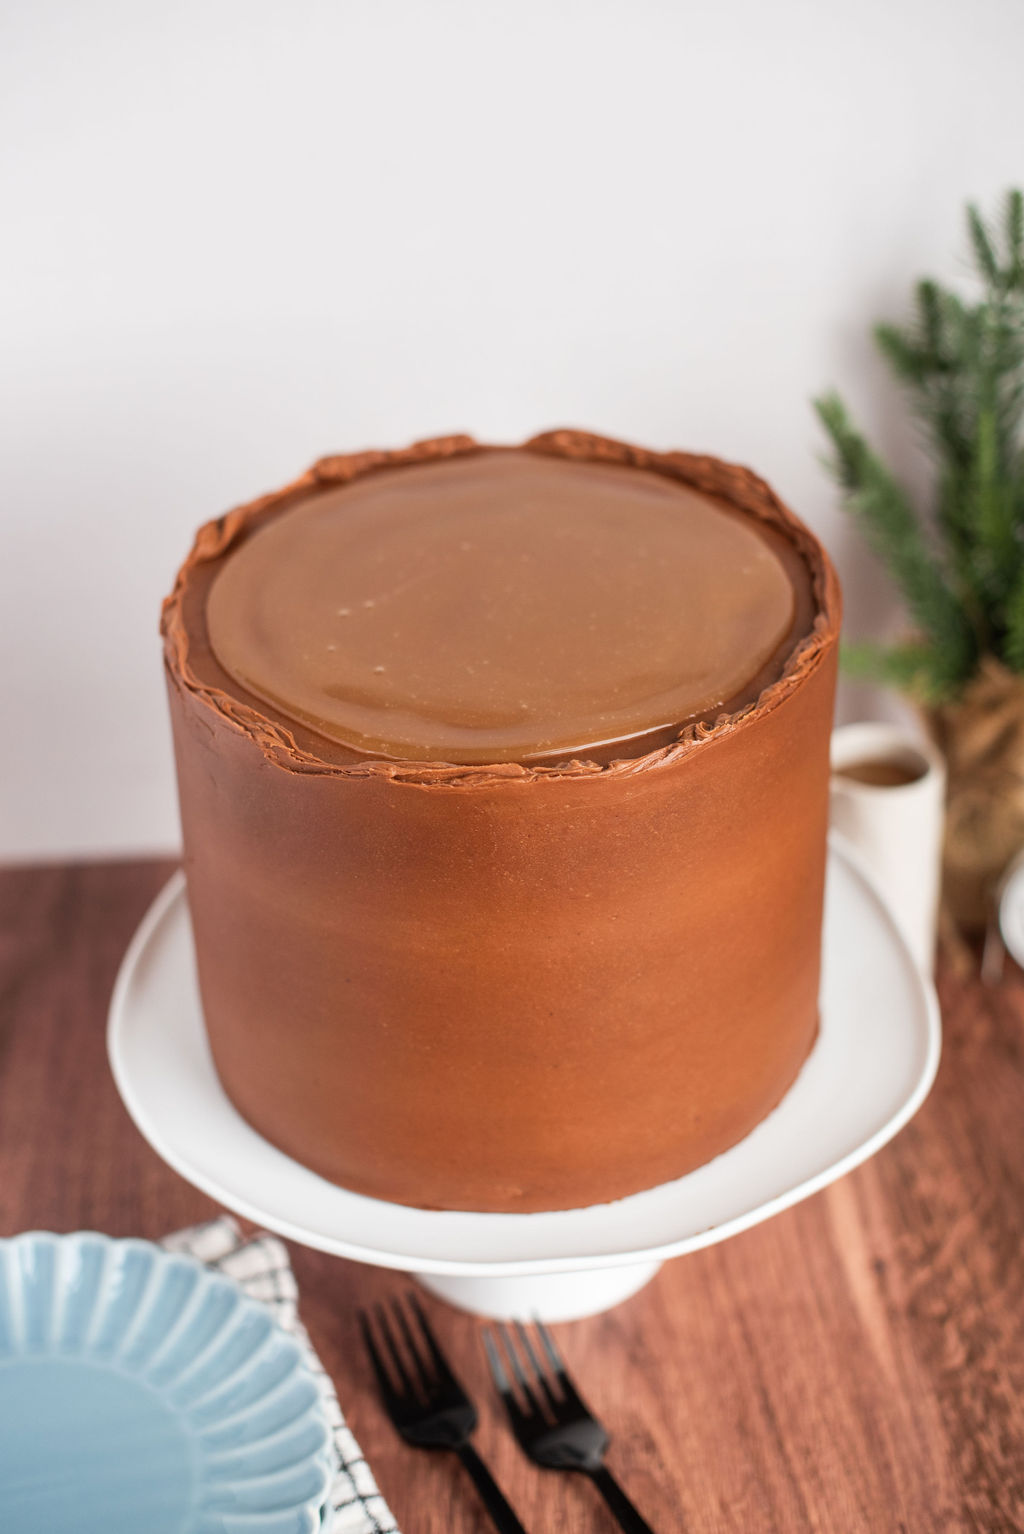
See’s Candies: A Rich Family Tradition
See’s Candies has long been a favorite treat and tradition for our family. There’s not a Christmas at Ryan’s parents’ house that doesn’t include boxes and boxes of See’s Candies. Every night after dinner, Ryan’s dad grabs a box of the hand-selected chocolates and places them out for dessert. My go-to is anything with caramel, usually the dark caramel patty or Scotchmallow, while Ryan and Westin grab a Bordeaux or vanilla cream, and Avery snags a raspberry cream or caramel patty.
We all have our favorites and it wouldn’t be Christmas without See’s Candies nearby.
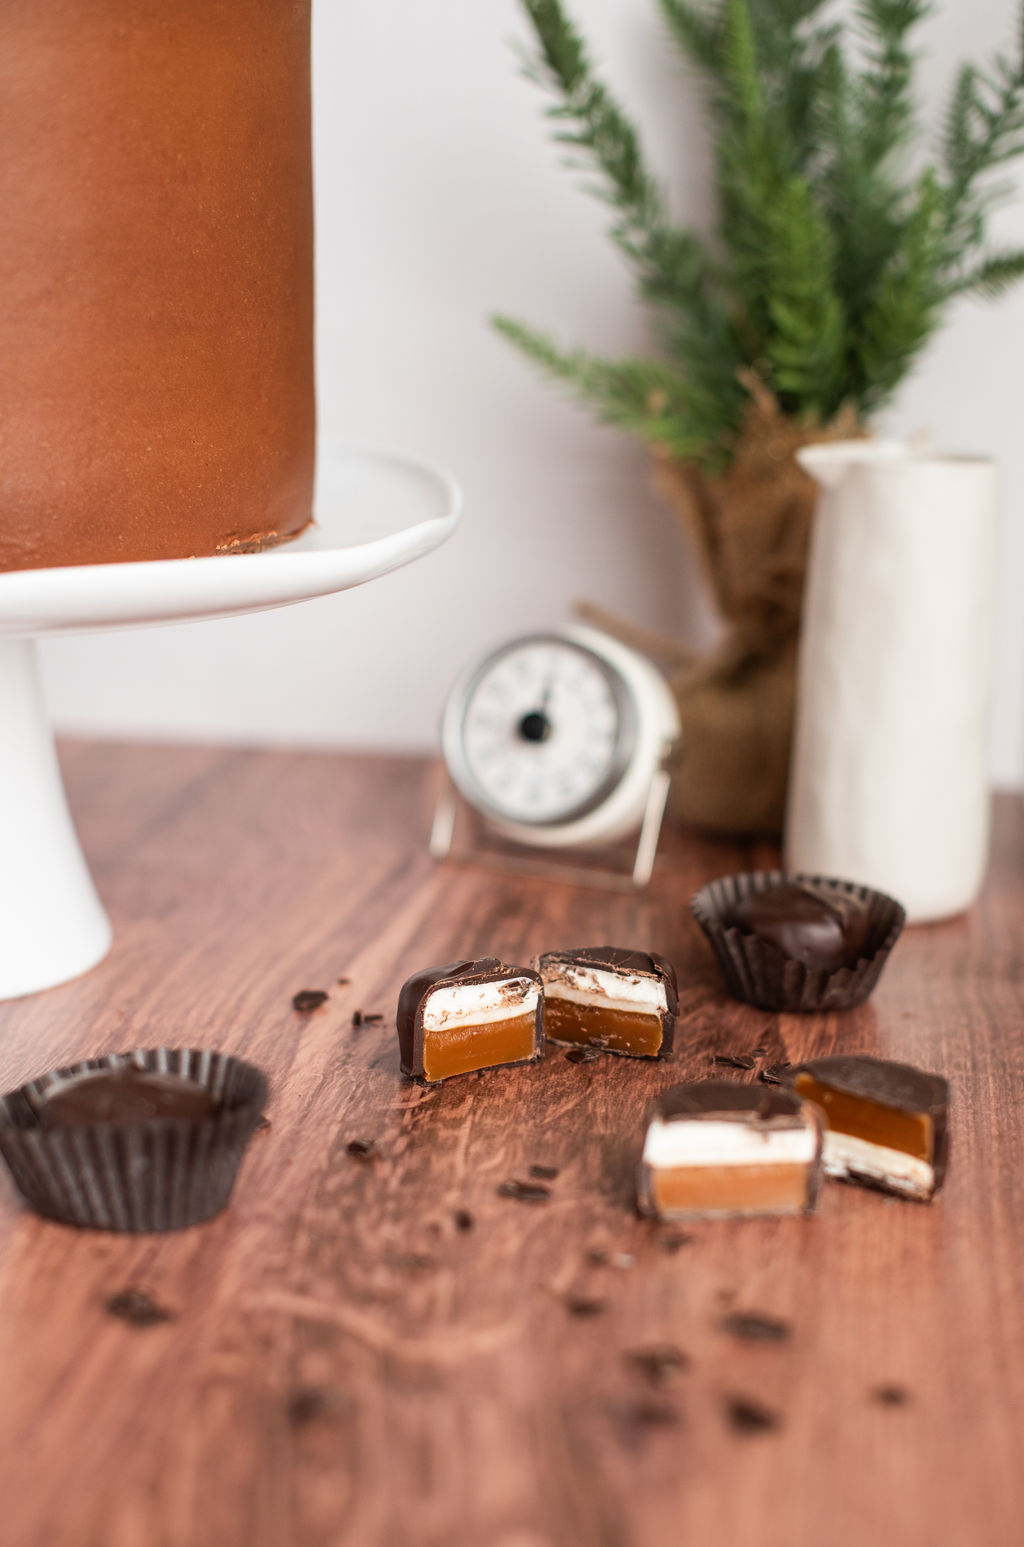
Why Scotchmallow Cake?
I love how the Scotchmallow candy blends smooth chocolate, buttery caramel, and fluffy marshmallow. My cake version of this candy takes those classic flavors to the next level, offering a multi-layered dessert that’s perfect for birthdays, holidays, or any special occasion.
Homemade Elements of a Scotchmallow Cake
To capture the essence of a Scotchmallow, we’ll be making four elements:
- Chocolate Cake – rich and moist, while also soft and sturdy. We achieve this texture using high-quality cocoa powder (like Extra Brute Cacao Barry), as well as buttermilk and sour cream. These layers are tall and you’re going to love them.
- Caramel – Salted caramel is the perfect balance of sweetness and salt, adding complexity to each bite – especially with my homemade recipe. For a full tutorial for making caramel: check out this video on my YouTube channel: https://youtu.be/-EeOAlv0yCM
- Marshmallow – adding this homemade marshmallow layer is essential in recreating this classic candy. The light, airy texture is the perfect addition to the richness of the other elements. This will likely be a little wider than the cake layers. Once you add it to the cake, you can trim it with kitchen sheers.
- Chocolate Buttercream – to top if off, we’ll add a silky, smooth chocolate buttercream. If you want lots of buttercream to decorate with, do a 1.5x batch.
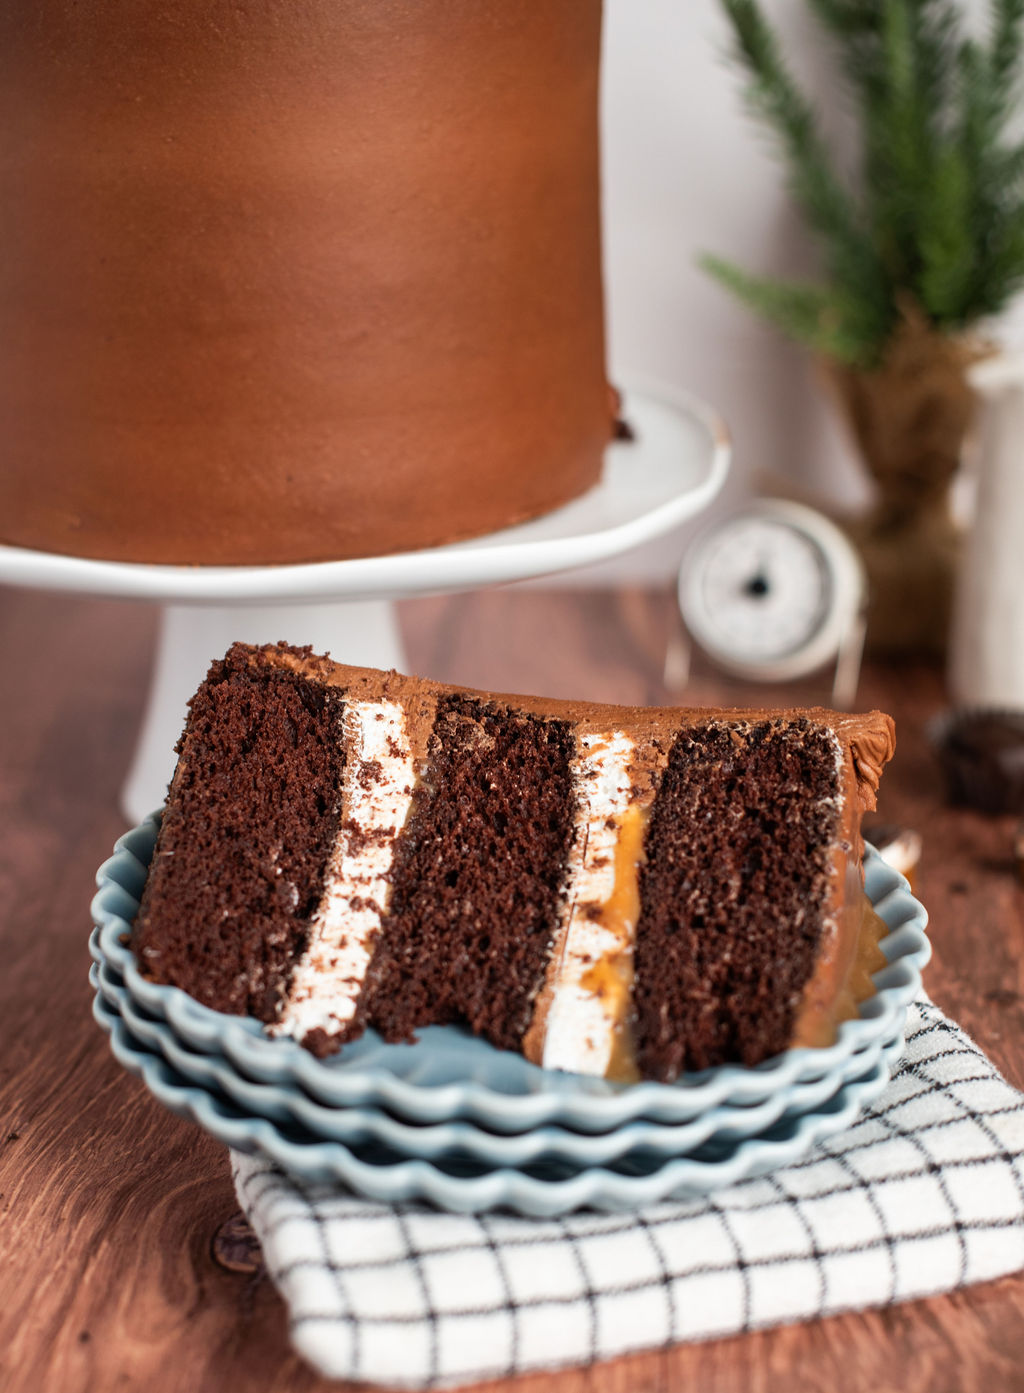
Step-by-Step Recipe
1. Prepare the Chocolate Cake Layers
Bake three 8-inch chocolate cake layers. The cake should be dense yet moist, providing a sturdy base for the fillings. Let them cool completely before assembly. As mentioned, these layers are pretty tall, making this a tall cake. You’ll love the drama of it!
2. Make the Caramel Filling
To make caramel from scratch, cook the sugar, water, and corn syrup (which helps to prevent it from crystallizing) until amber, then mix in heavy whipping cream, vanilla and salt. You can make this ahead of time, as it will thicken as it cools. For a visual tutorial for making homemade caramel: check out my YouTube channel: https://youtu.be/-EeOAlv0yCM
3. Whip Up the Marshmallow
Whip a hot sugar syrup (made from water, sugar, and corn syrup) into bloomed gelatin until fluffy and thick, then spread into a pan to set. Once firm, dust with powdered sugar and a little cornstarch to prevent sticking. Don’t forget, you might need to trim the marshmallow a little once you add it to the cake.
4. Make Chocolate Buttercream
Beat together, butter, chocolate ganache, powdered sugar, vanilla, and salt to create the most gorgeous, silky-smooth buttercream. This buttercream is so delicious. I had just enough to put 1/2 cup buttercream between the layers and frost the cake. If you want to be more generous with the buttercream or have some for extra designs, make 1.5x the batch below.
5. Assemble the Cake
- Place one cake layer on a serving plate.
- Add a layer of marshmallow.
- Pipe a rim of buttercream around the cake layer.
- Spread a generous layer of caramel filling.
- Repeat with the remaining cake layers, ensuring an even distribution of flavors.
- Cover the cake with the remaining buttercream (details below).
Tips for Perfecting Your Scotchmallow Cake
- Use high-quality chocolate for the best flavor – Extra Brute Cacao Barry is my favorite
- Chill the cake layers before frosting to prevent crumbs from mixing into the buttercream.
- Add sea salt to the caramel for a delightful sweet-and-salty contrast.
Why This Cake Stands Out
This Scotchmallow-inspired cake is not just a dessert; it’s a nostalgic experience for See’s Candies lovers. The combination of chocolate, caramel, and marshmallow offers a rich and satisfying bite, making it an unforgettable centerpiece for any gathering.
Scotchmallow Cake
Ingredients
FOR THE MARSHMALLOW
- 3/4 (180 ml) cup water
- 3 envelopes, .25 oz each unflavored gelatin
- 2/3 (210 g) cup light corn syrup
- 2 cups (400 g) granulated sugar
- 1 tablespoon (13 g) vanilla extract
- 1/4 cup (31 g) powdered sugar
FOR THE CHOCOLATE CAKE
- 3/4 cup (169.5 g) unsalted butter, at room temperature
- 1 3/4 cups (350 g) granulated sugar
- 5 large eggs, at room temperature
- 3 1/4 cups (373.75 g) cake flour
- 3/4 cup (75 g) dark cocoa powder
- 1 1/2 teaspoons (8 g) salt
- 2 cups (480 g) buttermilk, at room temperature
- 1 1/2 tablespoons (21 g) white distilled vinegar
- 2 1/2 teaspoons (10 g) baking soda
- 1/2 cup (120 g) sour cream, at room temperature
FOR THE SALTED CARAMEL
- 1 cup (200 g) granulated sugar
- 1/2 cup (120 g) water
- 1 teaspoon (7 g) light corn syrup
- 3/4 cups (180 g) heavy whipping cream
- 1 teaspoon (4.2 g) pure vanilla extract
- 1 teaspoon (6 g) salt
FOR THE CHOCOLATE BUTTERCREAM
- 1/4 cup (60 g) heavy whipping cream
- 8 ounces dark chocolate
- 2 cups (452 g) unsalted butter, slightly cold
- 5 cups (625 g) powdered sugar, measured then sifted
- 1 teaspoon (4.2 g) vanilla extract
- Pinch of salt
- Make an extra 1.5x batch if you want additional buttercream for decorating.
Instructions
FOR THE MARSHMALLOW
- Line two 8-inch by 2-inch round cake pans with plastic wrap. Spray with non-stick cooking spray and set aside.
- Place 1/2 cup of the water in the bowl of a stand mixer fitted with the whisk attachment. Sprinkle the gelatin on top of the water. Let it soak without stirring.
- Meanwhile, combine the remaining 1/4 cup water, corn syrup and sugar in a medium size saucepan over medium heat.
- Bring the mixture to a boil and let it boil for about a minute.
- Turn the heat off. With the mixer on medium speed, carefully and slowly pour the hot sugar mixture into the gelatin mixture. Add the vanilla.
- Continue to beat the mixture on high for 10 to 12 minutes. The mixture should look fluffy and reach stiff peaks.
- Divide the marshmallow fluff into the prepared pans. Use a greased spatula to smooth the tops.
- Spray two more pieces of plastic wrap with non-stick spray and then place one piece of plastic wrap on each of the marshmallow layers, pressing down lightly to seal the candy.
- Allow the marshmallow candy to rest overnight.
- Using a shallow dish, evenly spread the powdered sugar over the dish and then dip each marshmallow layer in the powdered sugar (top and bottom).
- NOTE: When you assemble the cake, you may need to use scissors to trim the sides of the marshmallow layers if they are bigger than the cake layers.
FOR THE CHOCOLATE CAKE
- Preheat your oven to 325 degrees F. Spray three 8-inch round pans with nonstick spray, line the bottom with parchment paper and spray again. Set aside.
- In a medium bowl, whisk together flour, salt, and cocoa powder. Set aside.
- In the bowl of an electric mixer, fitted with the paddle attachment, combine the butter and sugar. Beat on medium speed until light and fluffy, about 2 minutes. Scrape down the sides of the bowl and mix again for another minute.
- Add the eggs, one at a time, being sure to mix and scrape down the sides of the bowl between each addition. Once all of the eggs are added, continue to beat on medium-high speed for about two minutes, until the mixture gets lighter in color and bigger in volume.
- With the mixer on low speed, add 1/3 of the flour mixture, followed by 1 cup of the buttermilk. Continue with another 1/3 of the flour, the second half of the buttermilk and then the remaining flour mixture. Stir until combined.
- In a small bowl, combine the vinegar and baking soda. The mixture will bubble. Add the mixture to the cake batter and stir on low until combined. Scrape down the sides of the bowl and mix again for another 20 seconds.
- Fold in the sour cream until no streaks remain.
- Divide the batter evenly between the prepared pans (21 ounces in each of the 8-inch pans). Bake for about 33-38 minutes, or until a toothpick inserted in the center comes out with a few moist crumbs on it. Allow to cool in pans for 15 minutes before inverting onto wire racks to cool completely.NOTE: These layers are about 2-inches thick, which means the cake will be nice and tall!
FOR THE SALTED CARAMEL
- Mix the sugar, water and corn syrup in a small saucepan over medium heat.
- Bring the mixture to boil, but DO NOT STIR! (Stirring encourages crystallization). Let the mixture cook until it turns to a golden brown/amber color. It happens quickly, so keep an eye on it.
- Remove the caramelized sugar syrup from the heat and very slowly stir in the cream, pouring it in little by little, to temper the cream and sugar syrup. If you pour it in all at once, your sugar will turn into hard candy. You can start adding more and more as you go along.
- Once the cream is mixed in, add the salt and vanilla. Stir to combine and then set aside to cool to room temperature before using.
FOR THE CHOCOLATE BUTTERCREAM
- Heat the cream and chocolate chips together in the microwave for about 45 to 60 seconds. Stir the mixture until the chips are melted. If the chocolate isn’t melting enough, heat the mixture again for another 30 seconds. Stir until smooth. Set aside to cool. We want the ganache to be close to room temperature before adding it to the butter.
- In the bowl of a stand mixer fitted with the paddle attachment, beat the butter on medium-high until it’s light and fluffy, about 2 minutes.
- With the mixer on medium speed, gradually add the ganache mixture, scraping down the sides and bottom of the bowl as needed. Beat until silky, smooth.
- With the mixer on low speed, gradually add the powdered sugar, followed but the vanilla and salt. Turn the mixer to medium-high and beat the buttercream for about 3 to 5 minutes.
FOR ASSEMBLY
- Place the first cake layer top side up, in the center of the cake board. Spread about 2/3-3/4 cup of the chocolate buttercream on top of the cake layer with an offset icing spatula.
- Place one of the marshmallow layers on top of the buttercream and then pipe a rim of buttercream around the edge of the marshmallow.
- Gently spread 1/3 cup of the caramel over the cake marshmallow.
- Repeat for second cake layer.
- Place the final cake layer, top side down, on the second layer of filling.
- Apply a thin layer of buttercream around the cake. Freeze the cake for 15 minutes to set the crumb coat.
- Once the crumb coat is set, continue frosting the cake with the remaining buttercream. Top with remaining caramel.

This cake was SO HARD!!! I had 4 attempts at making the caramel. First one burned, second 2 crystallized and the last started to harden as well and was left with very little usable caramel. The layers are way too thick! My cake was HUGE! Not enough buttercream to decorate it and the marshmallow layer was too wide, even though I used an 8” pan. It was a total fail! So bummed.
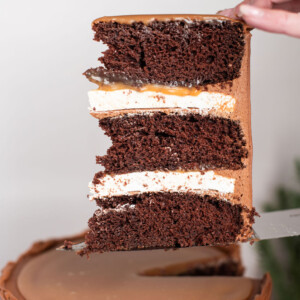
So sorry you ran into some issues. For the caramel, you might like this tutorial: https://youtu.be/-EeOAlv0yCM or you can search “caramel” on the blog for the step by step picture tutorial too. If you pour the heavy cream in too fast, that can harden the caramel. It’s key to slowly add the heavy cream, so that might have been the issue? Sometimes visuals can be helpful. Once you get it down, you’ll love it. The layers are thicker, as you can see in the picture. For the marshmallows, I mentioned in the notes you might need to trim the sides because the cake will shrink a tad from the 8-inch cake pan.
Thank you for sharing this recipe! This cake was both stunningly dramatic and absolutely delicious!
Although the cake’s elements required some time and effort, the process was surprisingly manageable. As a fellow self-taught baker who considers themselves at an intermediate level, I found the step-by-step instructions clear and easy to follow. Being detail-oriented, I had to scroll up and down the recipe frequently to access notes, instructions, and ingredients. However, the inclusion of ingredient conversions in grams and the exact batter measurements in ounces per layer was incredibly helpful and appreciated, and made the process so much easier.
Each component of the cake was outstanding, and the See’s Candy Scotchmallow inspiration truly shined. The caramel sauce, in particular, was an absolute showstopper! Following the recipe and video instructions, I carefully incorporated the heavy cream slowly. At first, the caramel sizzled when I added a small amount of cream, but as I stirred and continued to add the cream gradually, the sizzling subsided, and the caramel tempered beautifully. The sprinkle of sea salt on the caramel layers (as suggested) elevated the flavors to new heights, perfectly balancing sweetness with a hint of savory complexity. It also provided a delightful textural contrast in every bite. I might even double the caramel next time—having extra for drizzling over each slice would take this cake to the next level. Trust me, it’s so delicious that none of it would go to waste! ?
The marshmallow was another standout element! While it requires some planning ahead to set overnight, the result was well worth it. Trimming the marshmallow to fit the cake layers with kitchen scissors worked beautifully—I did this just before applying the crumb coat, which made applying easier and helped achieve a cleaner finish for the final layer of frosting. For my personal taste, the marshmallow layer felt slightly disconnected in the cake—it was a bit tricky to cut through with a fork or spoon. A thinner layer or a marshmallow fluff consistency might integrate more seamlessly, though I admire the thoughtful nod to the classic Scotchmallow candy.
I did encounter a couple of minor challenges during assembly. First, my cake layers turned out slightly dry, so next time I might brush them lightly with simple syrup to boost moisture. Second, despite piping a buttercream barrier and ensuring the cake and caramel were fully cooled, the caramel began to ooze slightly, which caused the cake to lean during the final frosting. Freezing the cake briefly between the crumb coat and frosting layers helped stabilize it, but given its impressive height and weight, I might consider adding a couple of dowels for extra support next time.
All in all, this recipe is an absolute winner! It’s not only delicious but also visually spectacular, with a definite “WOW” factor. Thank you for sharing such an amazing creation—I’m so excited to try more of your recipes!
Would this be a good candidate to be turned into a sheet cake?
I think it would work well. Just make the marshmallow layer in a 9×13″ pan as well so get the shape and you should be good to go.