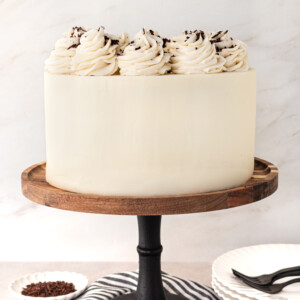
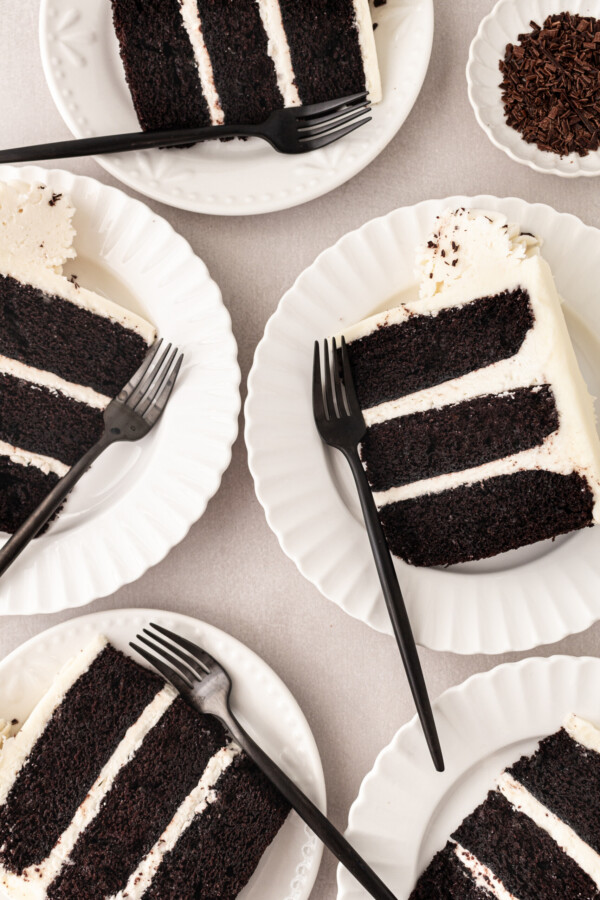
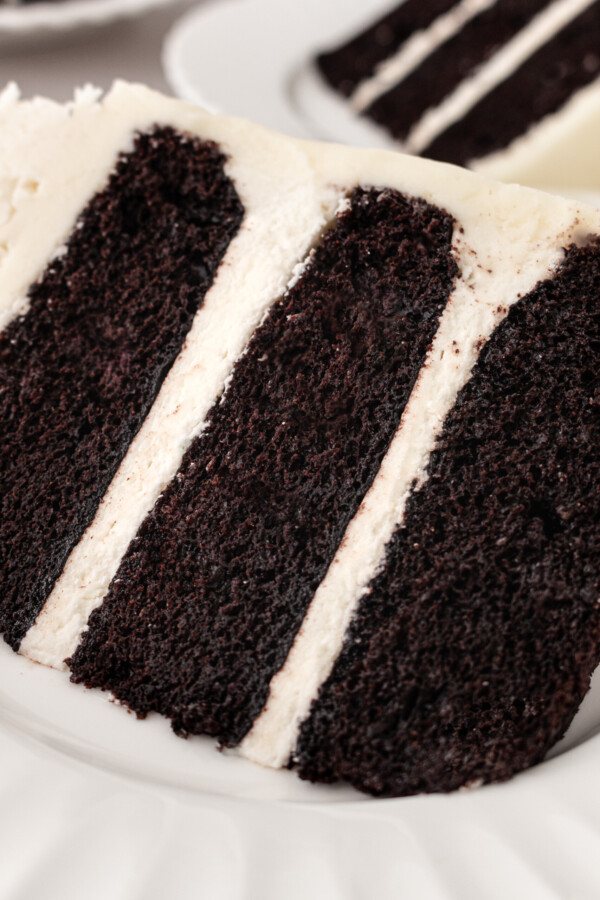
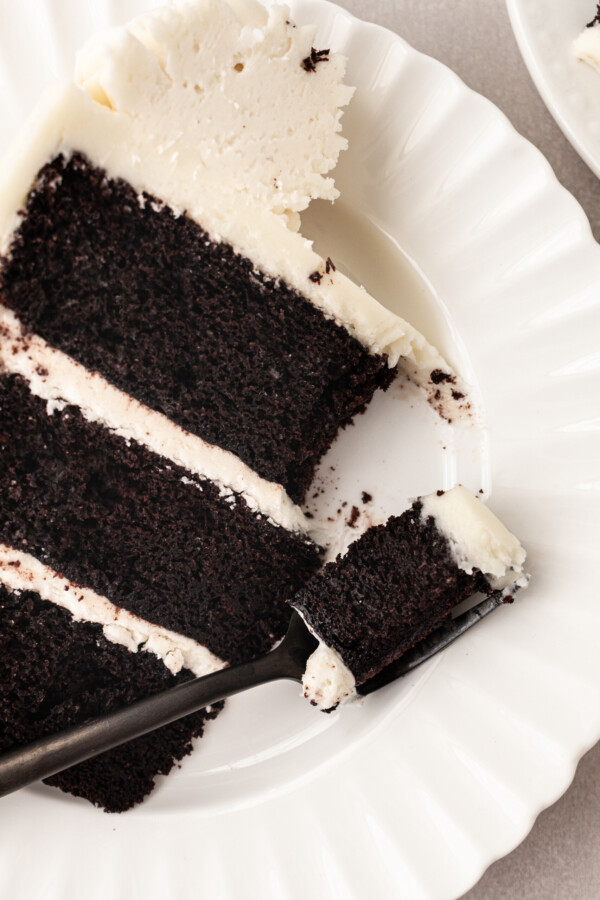
Black and White Cake – dark chocolate cake layers with a light and fluffy vanilla buttercream.
Happy New Year!
Happy New Year, my friends! I hope you all had a wonderful holiday break, filled with loved ones, good times and delicious food! We spent the holiday back home in LA with our families and the most beautiful weather. I’ve started to love the white winters here in Utah, but I’m not going to lie, I’d take those 70-degree winter days in LA over a winter white any day. You can take the girl out of California, but you can’t take the California out of the girl!
The 10 days away were packed with fun and lots of yummy food, but by the end, I was definitely ready to come home. Aside from baking a few things here and there with my mom and sister, I really didn’t do much in the kitchen this break. I didn’t even make a single cake. And I missed it so much! In fact, we arrived home on Sunday night this past weekend, and by Monday morning at 8am, I was already whipping up my chocolate cake.
Black and White Cake
It really did just feel so good to be home and in my element. Since it was New Year’s Even, I made sure we had cake for our festivities. I decided to keep it simple with a classic I’ve made before but have actually never posted about. I used my dark chocolate cake recipe with my vanilla buttercream to make a classic Black and White Cake. It’s an easy combination to overlook, but it’s always a hit. And because there are just two elements to this cake, it’s the perfect cake for beginners to master.
Chocolate Cake
This is my high-altitude-friendly chocolate cake recipe, but remember, it works anywhere! I originally came up with this recipe when we moved to Utah 10 years ago to account for the altitude, but it won’t taste any different at low altitude.
Vanilla Buttercream
If you’ve tried this buttercream before, you know I’m not exaggerating when I claim it to be the best vanilla buttercream you’ll ever try. It’s light and fluffy and full of flavor. Per usual, I went with an American Buttercream, with good ol’ powdered sugar and butter. But, to ensure I get a light and fluffy texture, I always add a little heavy whipping cream and beat my frosting with the paddle attachment for about 5 to 7 minutes. I love watching the buttercream color turn nearly white with those extra little steps.
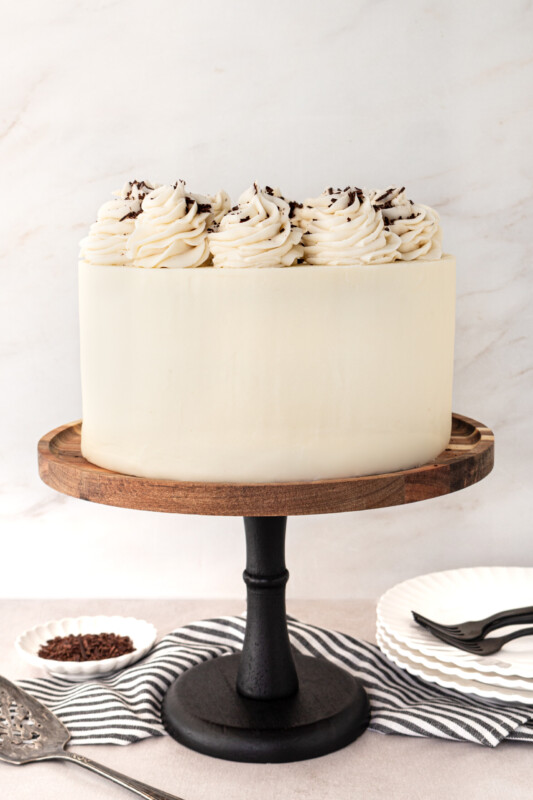
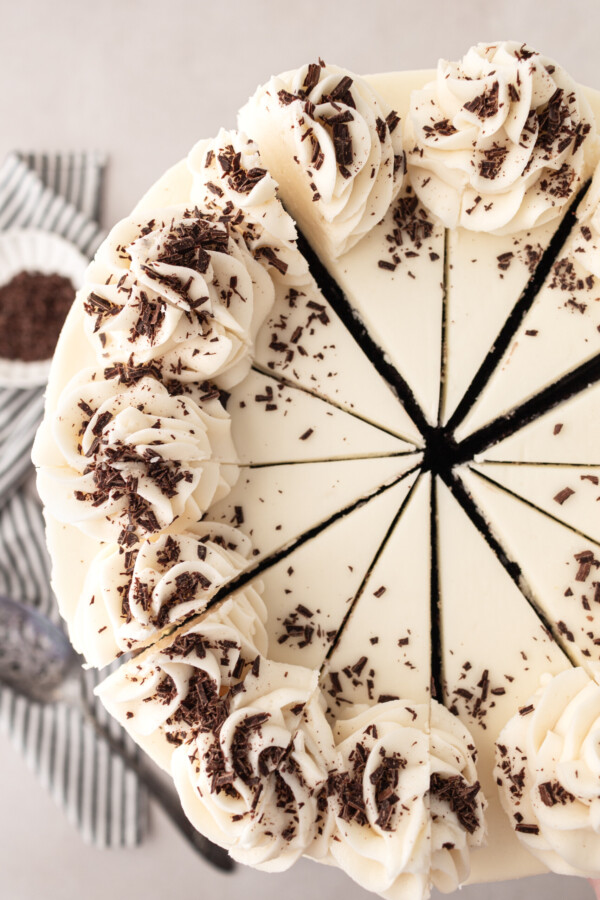
Here’s a look at how I decorated this cake for our New Year’s Eve party. You’ll see I added parchment paper to the “wet” frosting. Don’t let that scare you. Gently place the parchment paper into place, add your sprinkles, and then freeze the cake (with the parchment paper still on) for about 20 minutes. After the cake has been frozen, you can then remove the parchment paper without compromising your smooth edges.
Enjoy this black and white cake!
Similar Posts You’ll Enjoy
Black and White Cake
Ingredients
FOR DARK CHOCOLATE CAKE
- 2 cups (240 g) all-purpose flour
- 1 3/4 cups (350 g)granulated sugar
- 3/4 cup (88.5 g) Cacao Barry Extra Brute Cocoa Powder or similar premium brand
- 2 teaspoons (8 g) baking soda
- 3/4 teaspoon (3 g) baking powder
- 1 teaspoon (6 g) salt
- 3 eggs, room temperature
- 1 cup (240 g) buttermilk, room temperature
- 1 cup (236.6 g) hot water or coffee
- 1/2 cup (109 g) vegetable oil
- 1 teaspoon (4.2 g) pure vanilla extract
FOR THE BUTTERCREAM
- 2 cups (452 g) unsalted butter, chilled (I take the butter out of the fridge 30 minutes before I make my frosting)
- 6 cups (750 g) powdered sugar, measured and then sifted
- 1/4 cup (57.75 g) heavy whipping cream
- 2 teaspoons (8.4 g) pure vanilla extract
- Pinch of salt
- *This buttercream recipe makes enough to fill and cover your cake. If you want to add additional piping, you’ll want to make an extra 1/2 batch.
Instructions
FOR THE CHOCOLATE CAKE
- Preheat the oven to 325 degrees F. Prepare three 8-inch or four 6-inch round cake pans by spraying the bottom and sides with nonstick spray, lining the bottom with parchment paper, and spraying the parchment paper.
- In a bowl of electric mixer, combine all the dry ingredients.
- Combine eggs, buttermilk, water, oil and vanilla in a measuring cup and lightly beat with a fork.
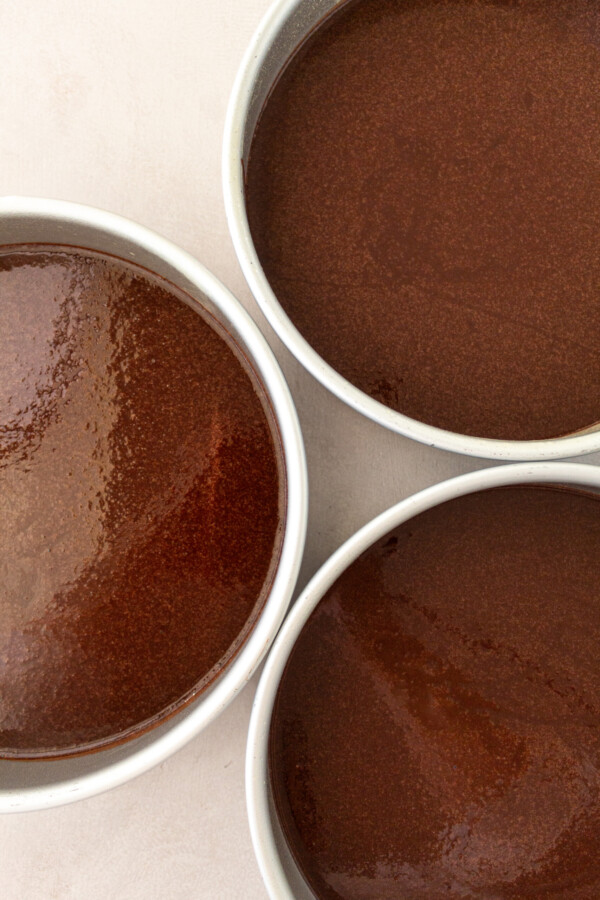
- Add wet ingredients to the dry ingredients, and mix on low speed until combined. Batter will be thin. Scrape sides and mix for another 30 seconds. Divide batter evenly among prepared pans (I like to use a kitchen scale to ensure the batter is evenly distributed – about 15 to 16 ounces in each 8-inch or 12 ounces in each 6-inch).
- Bake for 23 top 27 minutes (you may need more time depending on your oven), until toothpick comes out with just a few moist crumbs on it. Cool on wire racks for 10-15 minutes, then gently invert onto racks until cooled completely.
- When cakes are completely cooled, I like to wrap each cake layer individually with plastic wrap and stick it in the refrigerator or freezer until I’m ready to frost. The cake will be easier to work with if it’s cooled a bit. If I’m making the cake a day or two before I actually need to frost it, I put it in the freezer to ensure freshness. If I’m frosting same-day, I’ll just put it in the refrigerator to chill until needed.
FOR THE BUTTERCREAM:
- In the bowl of a stand mixer fitted with a paddle attachment, cream the butter for about 2 minutes. This will soften the butter without it having to be warm.
- With the mixer on low speed, gradually add the sifted powdered sugar, one cup at a time, mixing a little in between each addition.
- With mixer on medium speed, add whipping cream, vanilla and salt.
- Turn the mixer to medium-high speed and beat for an additional 5 to 7 minutes. The frosting will become lighter in color and texture.
- Before spreading on your cake, spend a couple minutes mixing the buttercream by hand with a wooden spoon to push out the air pockets.
ASSEMBLY
- Place the first cake layer, top side up and spread about 3/4 cup of frosting on top. Make sure to get eye level with the cake to ensure the frosting is spread evenly over the cake.
- Repeat this step until you get to the final cake layer, which you will lay top side down.
- Apply a thin coat of frosting around the entire cake to lock in the crumbs. Freeze for about 10 minutes.
- After the crumb coat is set, continue frosting and decorating the cake.

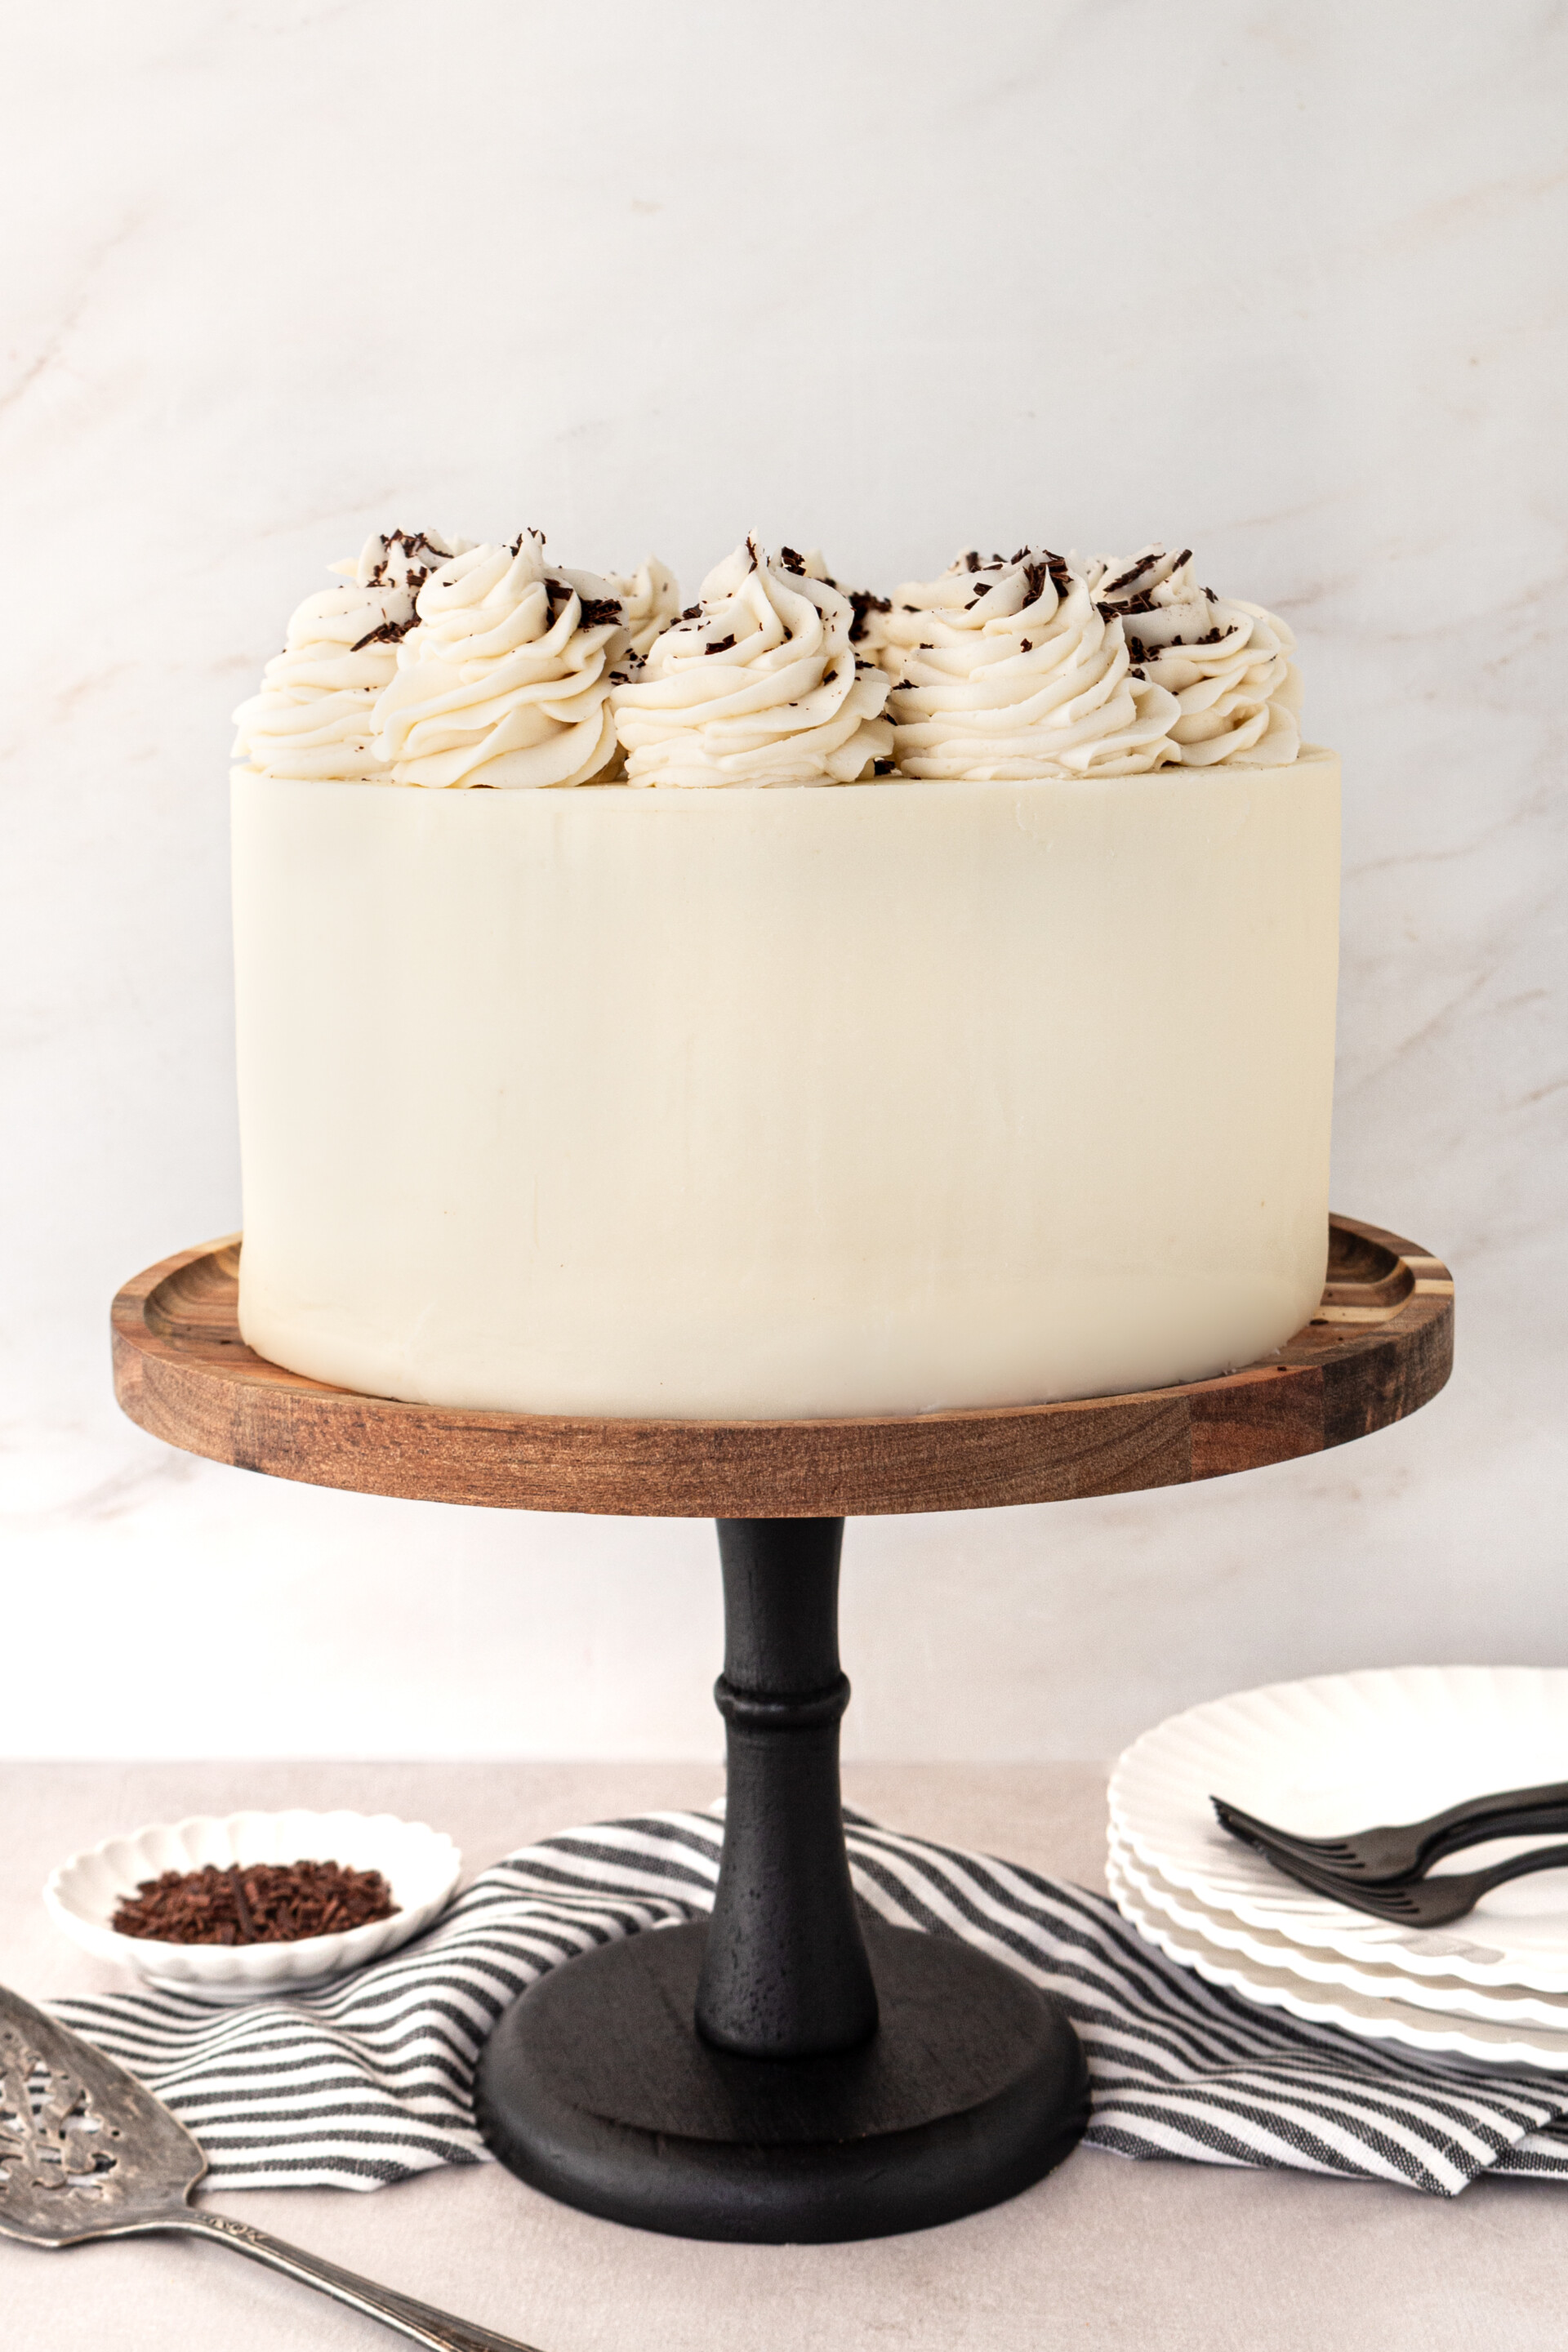
Hi Courtney, where did you get this cake stand? Hopefully it’s still available to purchase but if not, where do you typically buy your cake stands? Thank you so much! Making this cake for my 4 year old’s birthday and cannot wait to try it. 🙂
I can’t find that exact one, but here’s a similar one: https://www.amazon.com/Cupcake-Display-Kitchen-Weddings-Birthdays/dp/B0B5RY7984/ref=asc_df_B0B5RY7984?mcid=26f588c0dde73d50b014fe9cd112ee5c&tag=hyprod-20&linkCode=df0&hvadid=693308318785&hvpos=&hvnetw=g&hvrand=2156492876746600219&hvpone=&hvptwo=&hvqmt=&hvdev=c&hvdvcmdl=&hvlocint=&hvlocphy=9029671&hvtargid=pla-1917057428042&psc=1
Hi Courtney. First, I want to thank you for sharing your wonderful cake recipes, they are absolutely amazing. I have a question. For her 18th birthday, my granddaughter requested a chocolate cake with vanilla butter cream I saw this recipe, and feel it would be perfect. My concern is I want to use a 10in pan for the cake. Any advice on how to use this recipe for that pan size? Thank you. Julie.
It’s my pleasure. I’m so glad you’ve enjoyed them! If you double this recipe, you’ll have the perfect amount for a 3-layer 10-inch round cake.
Hi Courtney, I am making your black and white cake for my grand-daughter’s 2nd birthday. It’s a “smash” cake, but I want it to taste good too;) my issue is, the cakes just came out and they seem very crumbly, more than any other cakes I’ve done. I use Fat Daddios pans. They seemed to also sink in the middle, just a touch. Any advice, or do you know what I did wrong?
Hi! This cake is super moist and can be fragile, but shouldn’t be crumbly (like, dry crumbly). Any chance it got over cooked?
The edges were a little crumbly, but we were only using 3 of the layers so we tried the extra layer last night and everyone loved it. I’m not sure what all the crumbs were about, but hopefully it will be awesome for the party!!!! Thank you so much!!
Hi Courtney! I wanted to try this recipe for my cousins gender reveal cake—do you think I need to adjust the cook time/temperature if I use a silicone mold?
Yes, I think you’ll need to plan on a few extra minutes since it’s silicone instead of metal.
Hi Courtney,
Can I substitute the Cacao Barry Extra Brute Cocoa Powder for Hershey’s Cocoa powder?
You can, but it won’t taste quite as moist and rich because hershey’s doesn’t have as much fat or flavor.
Hi Courtney, what should be the size of the cake/layers if I were to make this for 24 people?
If you cut the slices thin, you can get about 24 slices in an 8-inch round cake. Otherwise, if you wanted bigger pieces, I’d say a 10-inch