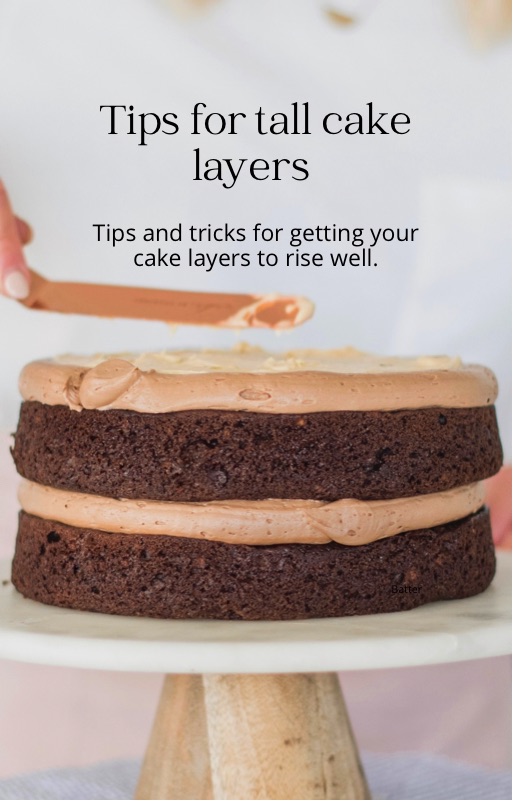
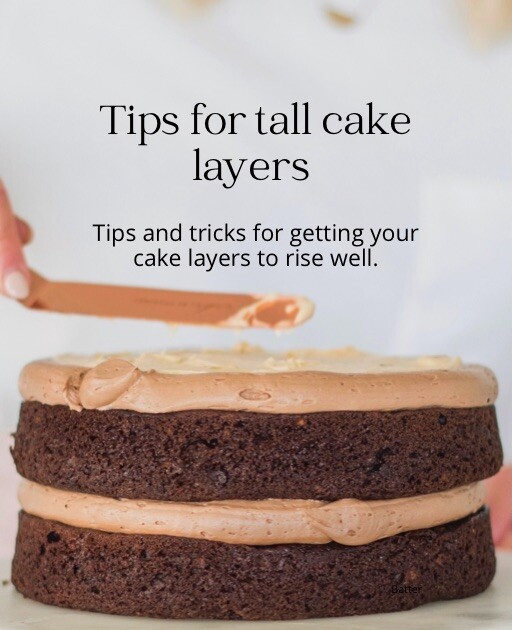
Tips and tricks for getting your cake layers to bake tall and evenly.
How Do I Bake Cake Layers That Rise Well?
It’s a question I get asked all the time and one worth going over frequently. These are tips and tricks you don’t want to forget. There are a lot of elements that go into how to bake tall cake layers. From ingredients, to your oven temperature, to how you mix your batter, and so much more.
Let’s get started!
Use Fresh Ingredients
Your cakes won’t rise well if the ingredients you use to help them rise aren’t fresh. So go check your baking powder and baking soda to make sure they aren’t over 6 months old. Yup! Six months is the shelf life for these important leavening agents when used for baking.
Use Room Temperature Wet Ingredients
While we’re talking about ingredients, it’s important to remember that wet ingredients (i.e. buttermilk, eggs, butter, sour cream, etc.) need to be room temperature before you make your cake batter.
Room temperature wet ingredients better blend together (meaning they’ll mix up to be smooth and silky, not lumpy), AND they’re better absorbed by the dry ingredients. Why is that last part so important? Well, when the dry ingredients better absorb the wet ingredients, the cake rises so much better.
Take a look at THIS video for a visual of the difference between cakes made with cold ingredients and cakes made with room temperature ingredients.
Don’t Over Mix Your Cake Batter
If you’re like me, you grew up making cake from a cake box. It was a great way to learn how to read instructions and gain confidence in the kitchen at a young age. However, if you remember, the box mix instructs you to mix on high speed for several minutes.
Unfortunately, that’s not what we want to do for cakes from scratch.
Follow these tips for mixing:
- When you beat the butter and sugar, and then eggs, you can beat on a medium-high speed for a few minutes to get the cake batter light and fluffy.
- BUT, once you add the dry ingredients (which includes the leavening agents), turn your mixer to low.
- Mix only till the flour is incorporated and that’s it.
- That mixing time won’t be more than 30 to 60 seconds.
- Over mixing your cake batter once those leavening agents are in the batter can cause the cake layers to sink, not rise, and/or have a dense texture.
The Pans Matter
I had no idea how important the type of pans we use in baking matters until I got the right pans and saw the difference in how my cake layers bake.
Try to find light metal pans that are made by a company known for their pans. I love Fat Daddio pans. I also know many of you love USA pans, as well. Find what you love, but just know, the pans from the grocery store and craft stores aren’t going to be the best ones.
Bake at a Lower Temperature
As I worked on my cookbook this past year, one of the things I played around with was oven temperature. I’ve settled on 325 degrees F. This lower baking temperature has helped my cake layers to bake more evenly and without a dome. You’ll also notice that the edges of the cake layers aren’t as dark.
Measure Dry Ingredients Correctly
When it comes to measuring ingredients, there’s a right way and a wrong way – especially dry ingredients.
You can use a scale to measure by grams OR, if you’re like me and love using measuring cups, make sure you measure correctly.
DO NOT scoop up the dry ingredients with your measuring cup and shake off the excess until the cup is level. This will pack in a lot of extra flour, which will create a much different texture and rise in your cake than intended.
Instead, fluff the dry ingredients with your spoon or fork, lightly spoon the flour or other dry ingredient into your measuring cup and level with a knife. This will be nearly the exact amount as the gram measurement.
Bake Cake Layers on the Middle Rack
To ensure an even bake with your cake layers, make sure to bake your cake layers on the middle rack of your oven AND only the middle rack. Trying to bake cake layers on multiple racks at a time can cause your cake layers to bake unevenly.
Also make sure to give the cake pans about an inch to two inches between each pan. If all of your pans don’t fit on the middle rack, it’s ok to leave cake batter out at room temperature while other layers bake.
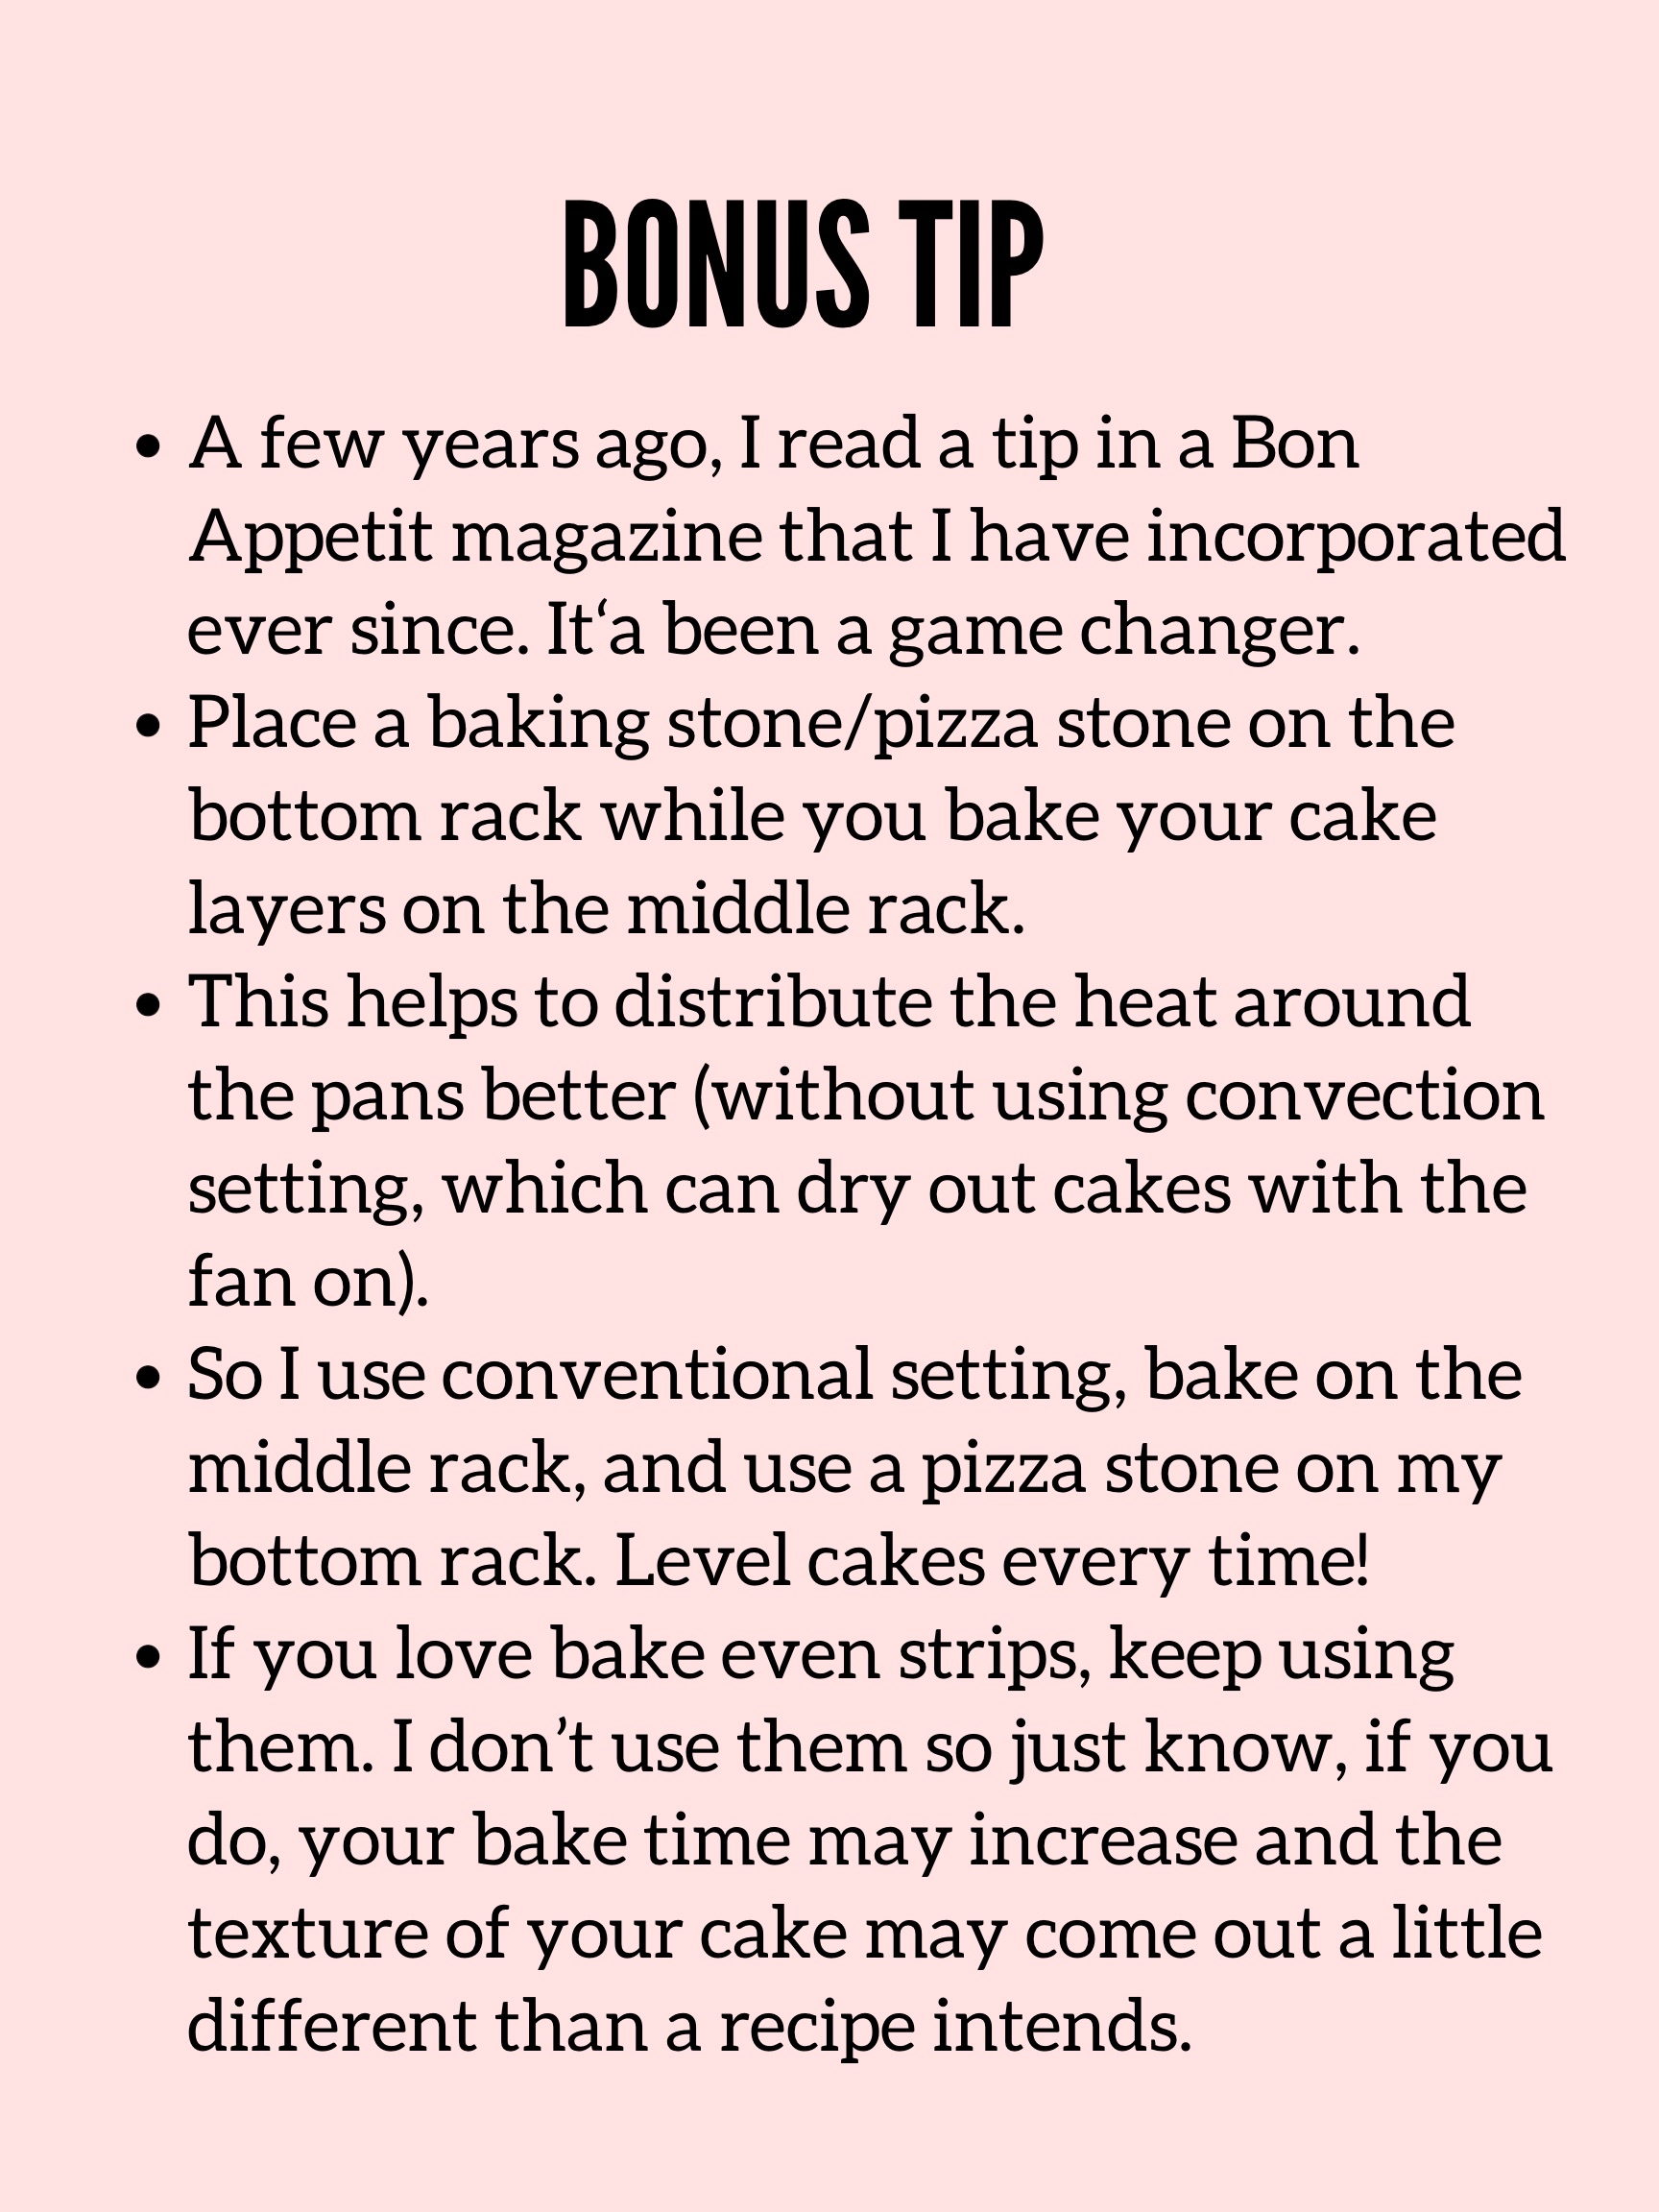
Bonus Tip
One last tip for baking tall cake layers that rise evenly! Read the picture for this game changer.

Thank you for sharing your knowledge and love of baking. I baked your chocolate cake and chocolate butter cream frosting for our Christmas dessert using your tips and the Fat Daddio pans, and the cake was so delicious!! I am an improved baker thanks to you! I am so excited to get your cookbook #patientlywaiting!
You are awesome, I feel like I can develop a baking talent thanks to you.
Regards,
Nancy
Thank you so much!
What causes a cake to bulge after all decorated and ready to serve… as in a layer with an air pocket and just continues to break away at the sides???? I was told fillings the cause an air gap but I see you use lots of different bulky fillings such as fruit, rough cut chocolate bars, big biscuit crumbs etc?
Worried as it has happened twice now. I did keep pricking the bubble with a tooth pic to let out air but still continued. I do have to watch heat and humidity issues as I live in very tropical conditions in Far Nth Queensland, Australia.
Cheers, Cathy.
A bubble is due to condensation under the buttercream and/or an air pocket in the buttercream that was trapped under the final layer of buttercream.
Are your 8″ cake pans 2″ or 3″ deep?
2
Hello! Thank you so much for sharing your recipe! I am going to give it a try and gift it to someone. I wanted to ask if this cake is heavy in weight after assembling? I want to ensure that it will hold up during travel and doesn’t need support added to it since it will be 3 layers.
You should be ok! I would just recommend having the cake chilled before you travel with it so it’s more stable during travel.