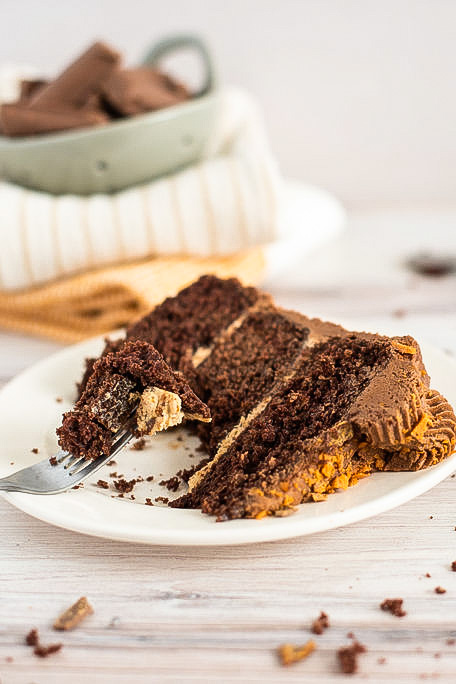
My new Butterfinger Cake is rich and decadent thanks to the moist milk chocolate cake layers, Butterfinger filling, and the yummiest peanut butter chocolate buttercream.
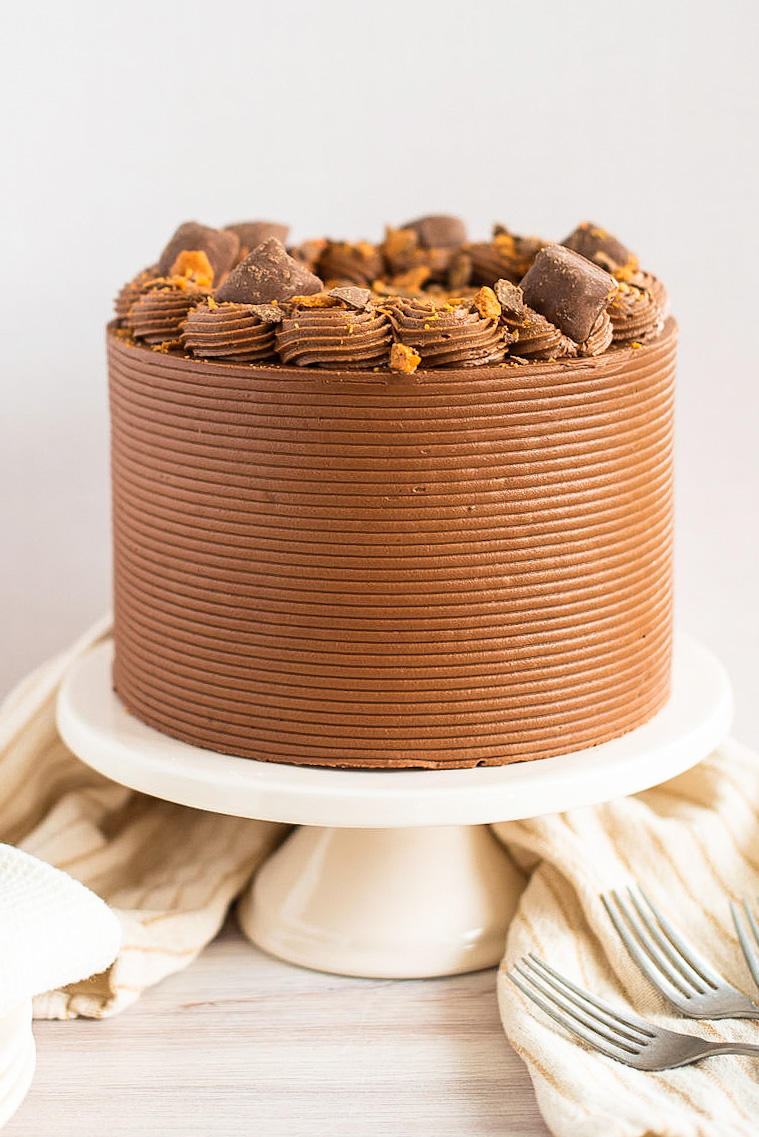
If you’re a fan of the irresistible crunch and rich peanut butter flavor of Butterfinger candy bars, you’re in for a treat! This Butterfinger Cake is the ultimate dessert mashup that brings together moist chocolate cake, Butterfinger filling, and a layer of crushed Butterfinger pieces for an extra burst of texture and flavor. Whether you’re making it for a special occasion or just to satisfy your sweet tooth, this cake is a guaranteed crowd-pleaser. Let’s dive into this indulgent, candy-inspired dessert that’s sure to leave everyone asking for seconds!
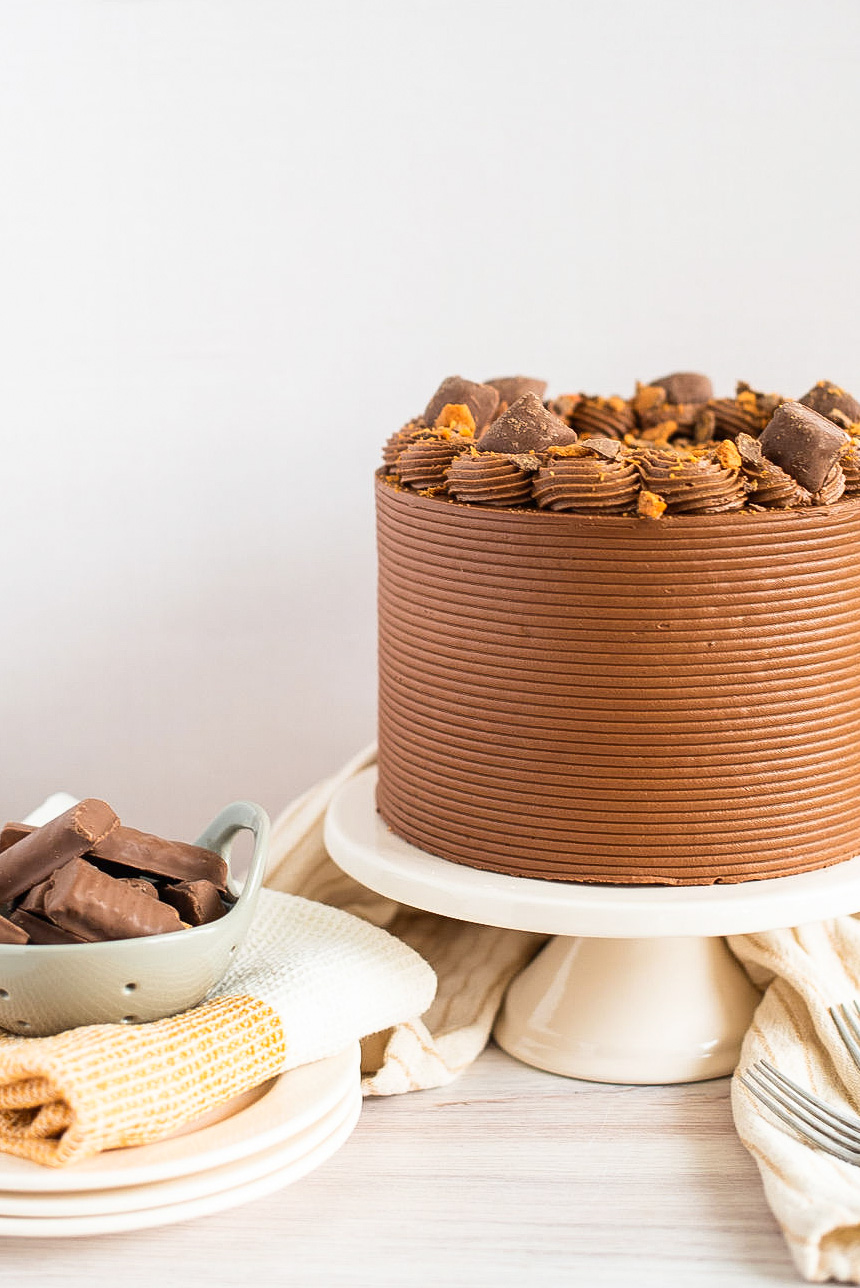
Butterfinger Cake
This Butterfinger Cake is next-level on peanut butter and chocolate scale. The cake layers are a moist, milk chocolate cake that rise so beautifully. These layers are a bit different than my go-to dark chocolate cake, but still so delicious. Instead of using oil, we’re using butter for slightly a fluffier and lighter texture. We’re also adding some brown sugar and sour cream, which both help create and retain moisture.
You’ll notice I’m using my favorite dark chocolate cocoa powder. Even though this is a “milk” chocolate cake, we want the chocolate flavor to stand out. Because we add all the other ingredients in this cake, the dark cocoa doesn’t have a strong bittersweet flavor but also doesn’t lose the chocolate flavor completely.
IMPORTANT: the type of cocoa powder you use makes a huge difference in the moisture of your cake. You want to use a cocoa powder that has high fat.
THIS IS MY FAVORITE COCOA POWDER.
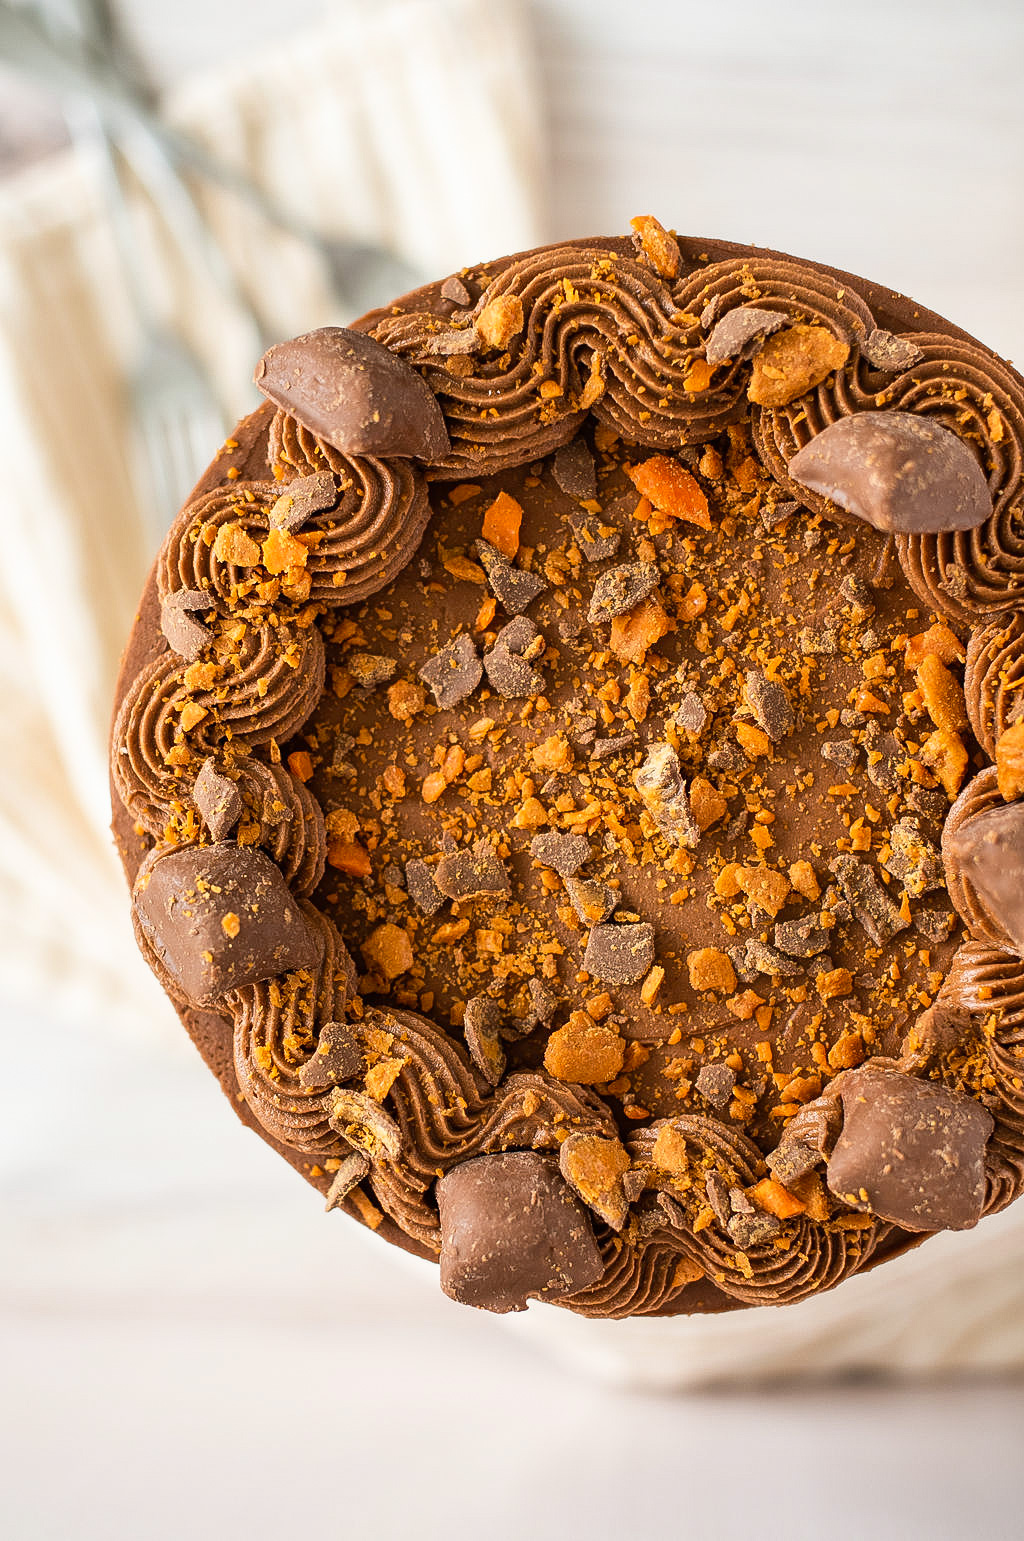
Butterfinger Filling
To make the filling for this cake, we’re actually starting with my peanut butter buttercream. If you’ve made it, you know it’s insanely delicious and if you haven’t, well, you’re in for a TREAT!
We use two cups of the peanut butter buttercream to make the filling with crushed Butterfingers, and we then use the remaining peanut butter buttercream to make the buttercream for the outside of the cake with some added melted chocolate. One buttercream, used two ways!
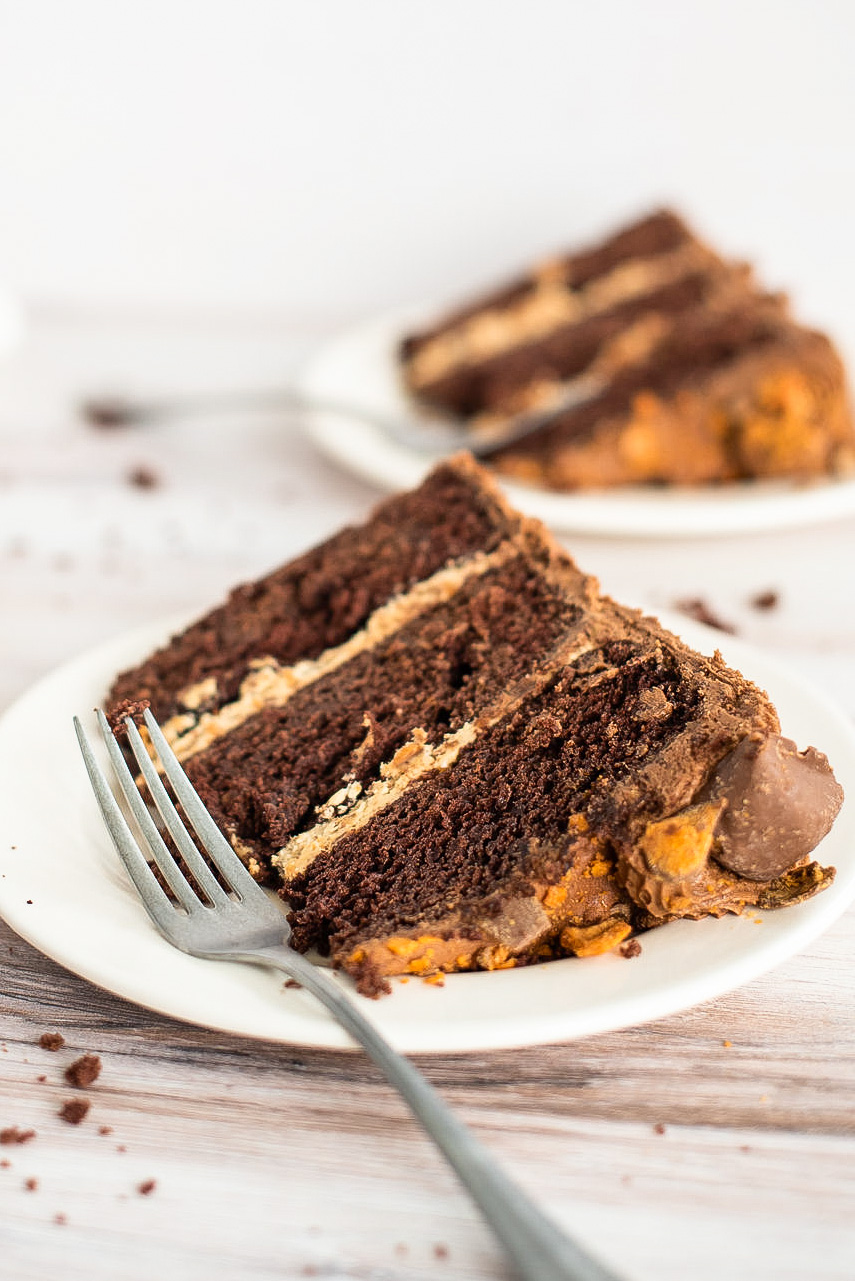
I love how the peanut butter chocolate buttercream has a strong peanut butter flavor. It really amps up the cake’s Butterfinger flavor overall. I think you’ll love it!
How to Make the Best Buttercream Frosting
To get this silky smooth buttercream, make sure you follow my tips: HOW TO MAKE THE BEST BUTTERCREAM
- Sift your powdered sugar
- Use slightly cold butter
- Use heavy whipping cream
- Beat for 5 minutes
- Stir by hand
You’ll want to check out the post linked above for more details on each step to make sure you get the best buttercream frosting. And remember, these steps can be used for any buttercream recipe on my blog.
More Cakes to Love
Butterfinger Cake
Ingredients
FOR THE MILK CHOCOLATE CAKE
- 3/4 cup (169.5 g) unsalted butter, at room temperature
- 3/4 cups (165 g) brown sugar, packed
- 1 cup (200 g) granulated sugar
- 5 large eggs, at room temperature
- 1 teaspoon (4.2 g) vanilla extract
- 3 1/4 cups (373.75 g) cake flour
- 1/2 cup (50 g) dark cocoa powder
- 1 teaspoon (6 g) salt
- 2 cups (480 g) buttermilk, at room temperature
- 1 1/2 tablespoons (21 g) white distilled vinegar
- 2 1/2 teaspoons (10 g) baking soda
- 1/2 cup (120 g) sour cream, at room temperature
- 2/3 cup (100 g) crushed Butterfingers
FOR THE PEANUT BUTTER BUTTERCREAM (This will be split between the filling and frosting)
- 1 1/2 cups (452 g) unsalted butter slightly cold
- 1 cup (240 g) smooth peanut butter
- 5 cups (625 g) powdered sugar, measured then sifted
- 1/4 cup (57.75 g) heavy whipping cream
- 1 tablespoon (12 g) vanilla extract
- generous pinch of salt
FOR THE FILLING
- 2 cups peanut butter buttercream, recipe above
- 1 cup crushed Butterfinger candy
FOR THE BUTTERCREAM
- remaining peanut butter buttercream
- 6 ounces dark chocolate, melted
Instructions
FOR THE CAKE
- Preheat your oven to 325 degrees F. Spray three 8-inch round pans with nonstick spray, line the bottom with parchment paper and spray again. Set aside.
- In a medium bowl, whisk together flour, salt, and cocoa powder. Set aside.
- In the bowl of an electric mixer, fitted with the paddle attachment, combine the butter and sugars. Beat on medium speed until light and fluffy, about 2 minutes. Scrape down the sides of the bowl and mix again for another minute.
- Add the eggs, one at a time, being sure to mix and scrape down the sides of the bowl between each addition. Add the vanilla. Continue to beat on medium-high speed for about two mintues, until the mixture gets lighter in color and bigger in volume.
- With the mixer on low speed, add 1/3 of the flour mixture, followed by 1 cup of the buttermilk. Continue with another 1/3 of the flour, the second half of the buttermilk and then the remaining flour mixture. Stir until combined. Fold in the sour cream.
- In a small bowl, combine the vinegar and baking soda. The mixture will bubble. Add the mixture to the cake batter and stir on low until combined. Scrape down the sides of the bowl and mix again for another 20 seconds. Fold in the Butterfinger pieces.
- Divide the batter evenly between the prepared pans (21 ounces in each of the 8-inch pans). Bake for about 30 to 35 minutes, or until a toothpick inserted in the center comes out with a few moist crumbs on it. Allow to cool in pans for 15 minutes before inverting onto wire racks to cool completely.
FOR THE PEANUT BUTTER BUTTERCREAM
- In the bowl of a stand mixer fitted with the paddle attachment, beat the butter and peanut butter on medium-high until it's light and fluffy, about 2 minutes.
- With the mixer on low speed, gradually add the powdered sugar, followed by the heavy cream, vanilla and salt. Turn the mixer to medium-high and beat the buttercream for about 3 to 5 minutes.
FOR THE BUTTERFINGER FILLING
- Combine 2 cups of the peanut butter buttercream and 1 cup crushed Butterfingers.
FOR THE PEANUT BUTTER CHOCOLATE BUTTERCREAM
- Add the slightly cooled melted chocolate to the remaining peanut butter buttercream. Beat on medium-high speed until smooth and silky. If the buttercream feels too soft, you can refrigerate it for 15 to 20 minutes and then rebeat it before using.
FOR ASSEMBLY
- Place the first cake layer top side up, in the center of the cake board. Evenly spread half of the Butterfinger filling over the cake layer.
- Repeat for second cake layer.
- Place the final cake layer, top side down, on the second layer of filling.
- Apply a thin layer of peanut butter chocolate buttercream around the cake. Freeze the cake for 15 minutes to set the crumb coat.
- Once the crumb coat is set, continue frosting the cake with the remaining buttercream.

This was fabulous! Sometimes I find chocolate/peanut butter desserts to be so rich that you can only have a sliver. Those have their place but this is lovely in that its a bit lighter while still having incredible flavors.
It’s also a fairly easy cake since you use the peanut butter frosting as filling and to cover the cake. Came together quickly and was a huge hit!
Are the ingredients for the buttercream enough to decorate on top of the cake? Usually you say to make an extra 1/2 batch for piping but this recipe doesn’t say that. I just want to make sure I have enough for filling and decorating. Thank you and I’m excited to make this cake.
Make the extra half for piping!
I know that with a couple of your cakes you suggested a way to make them as a sheet cake. Could this Chocolate Butterfinger cake be made into a sheet cake?
Yes!
Tried making the peanut buttercream. It isn’t smooth, its super thick and clumpy and I followed the recipe. Any suggestions on what went wrong?
Did you make sure you beat the butter until it was light and fluffy?
Even though you indicate you will share the dark cocoa powder you prefer, it doesn’t include that information in the intro to the recipe. I didn’t know for sure what to use, so used what I had on hand, which was a black dutched cocoa powder. I haven’t put the cake together yet, but am worried the flavor won’t be as good as it would have been had I used your recommended dark cocoa powder. Could you share your preferred cocoa powder and let me know your thoughts on how my cakes will differ in taste with the dutched cocoa powder versus your cake?
My favorite cocoa is linked in the first paragraph under the Butterfinger Cake heading. I’ll add it in the recipe section to make sure it’s easy to find. Hope you loved the cake.