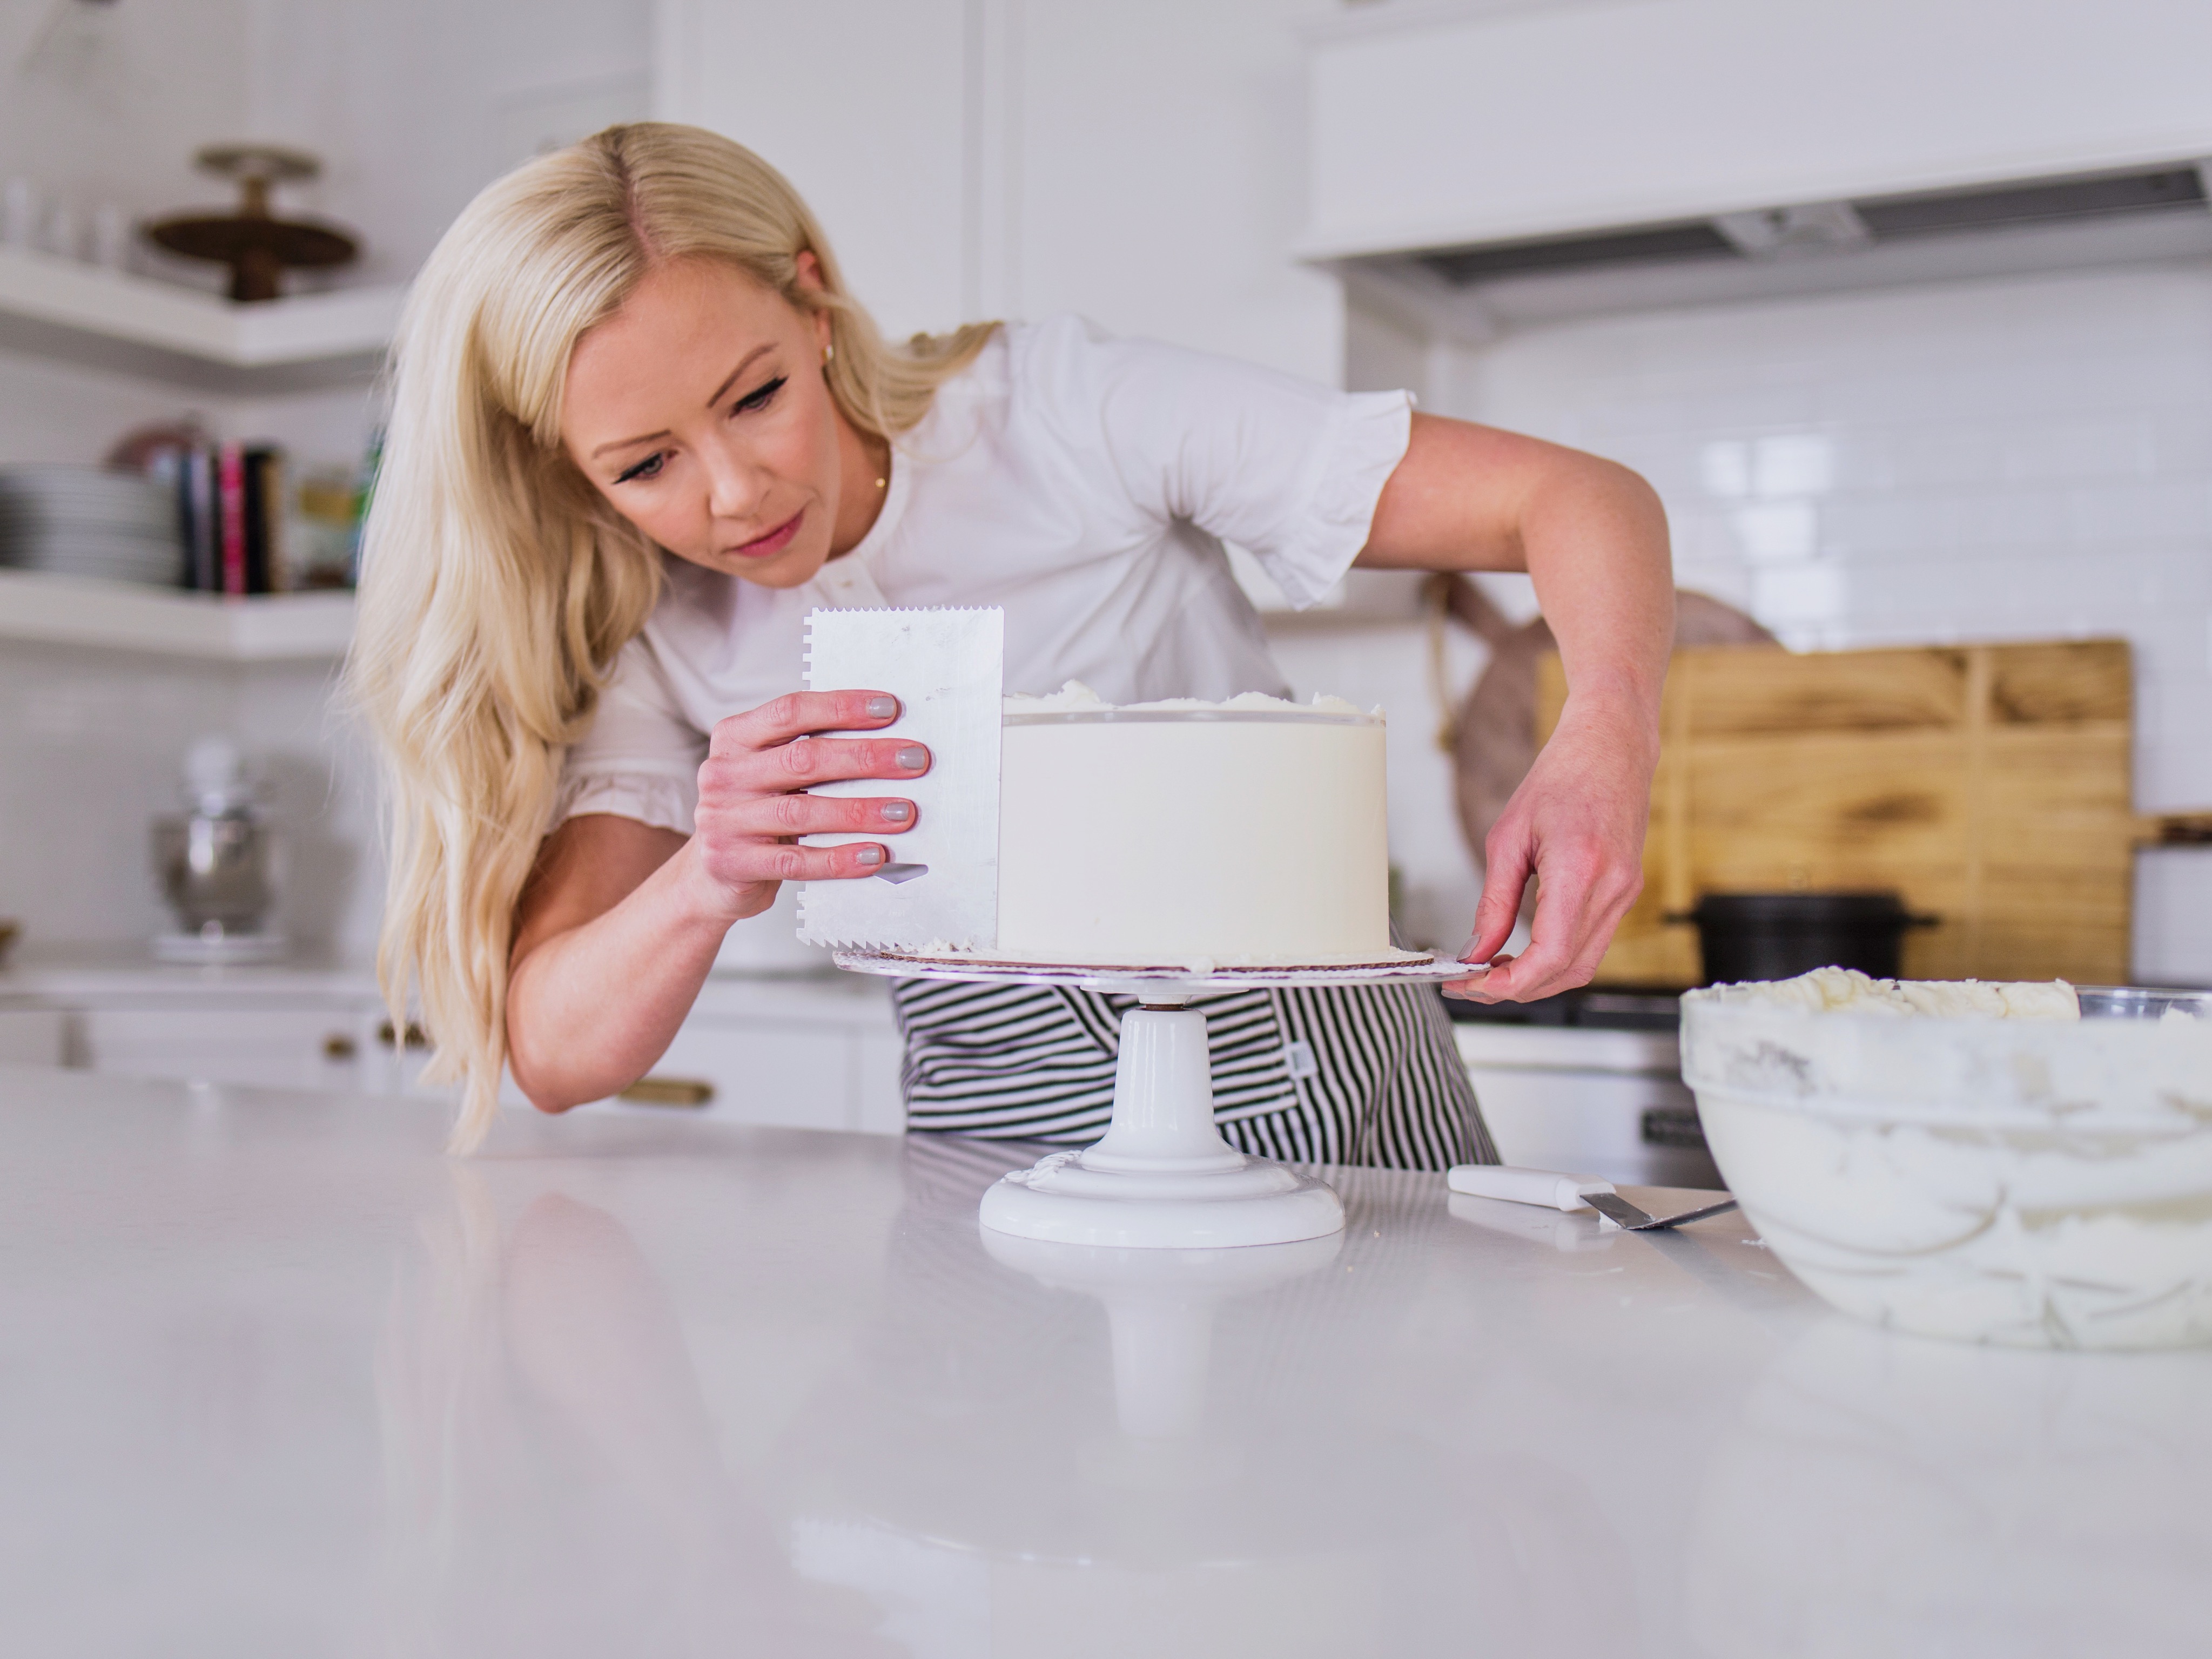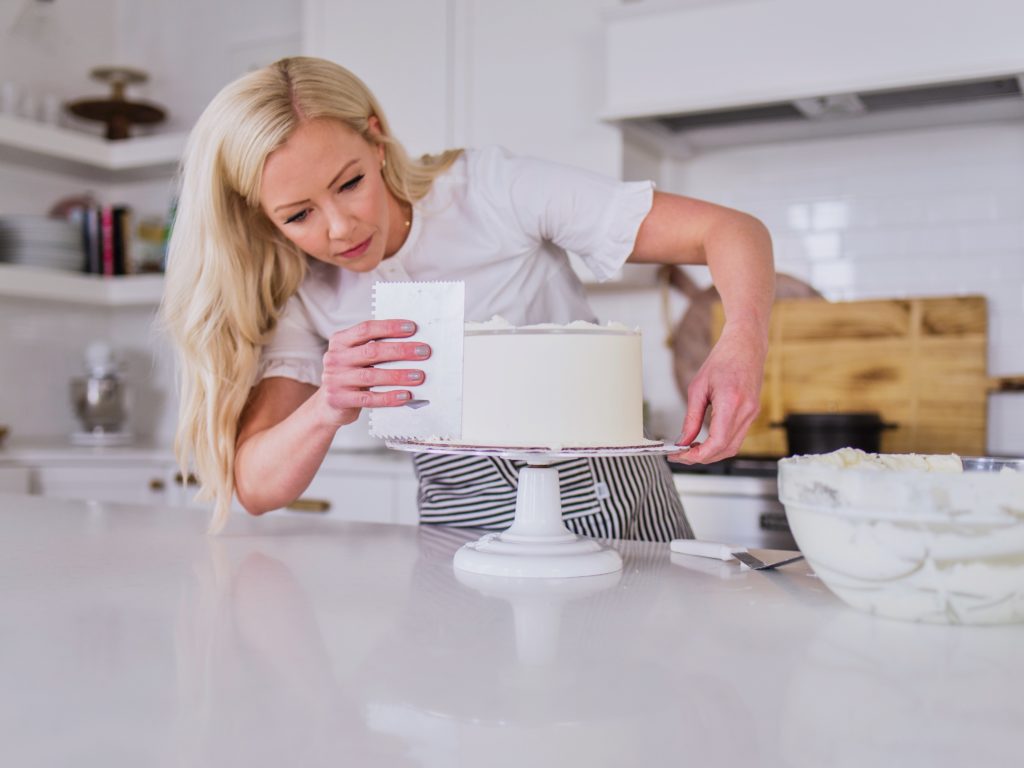
Let’s talk hosting. You either love it or, well, prefer to be an attendee at someone else’s party. That being said, it’s likely you’ll get the chance to host your own guests at some point and you’ll want to impress them!
Besides whipping your house into shape and making sure your kids’ bedrooms are cleaned, you’re going to want a stellar menu — and by this, I’m talking about cake, of course!
Wow your guests with a cake — but not just any cake. Take your home baking skills to the next level and decorate a cake like a professional! Don’t worry, I’ll walk you through some of my favorite and basic cake decorating tips that are sure to help you impress (unexpected or not) company.
Helpful Cake Decorating Tips
Turning a mediocre cake into an elegant, eye-pleasing creation really doesn’t take a lot. You’ll just need a couple tools, some trial runs, and your cake will be bakery ready! I’m talking everything from the consistency of your buttercream, to that perfect drip. Cake decorating 101: let’s get into it!
It’s All in the Flavor
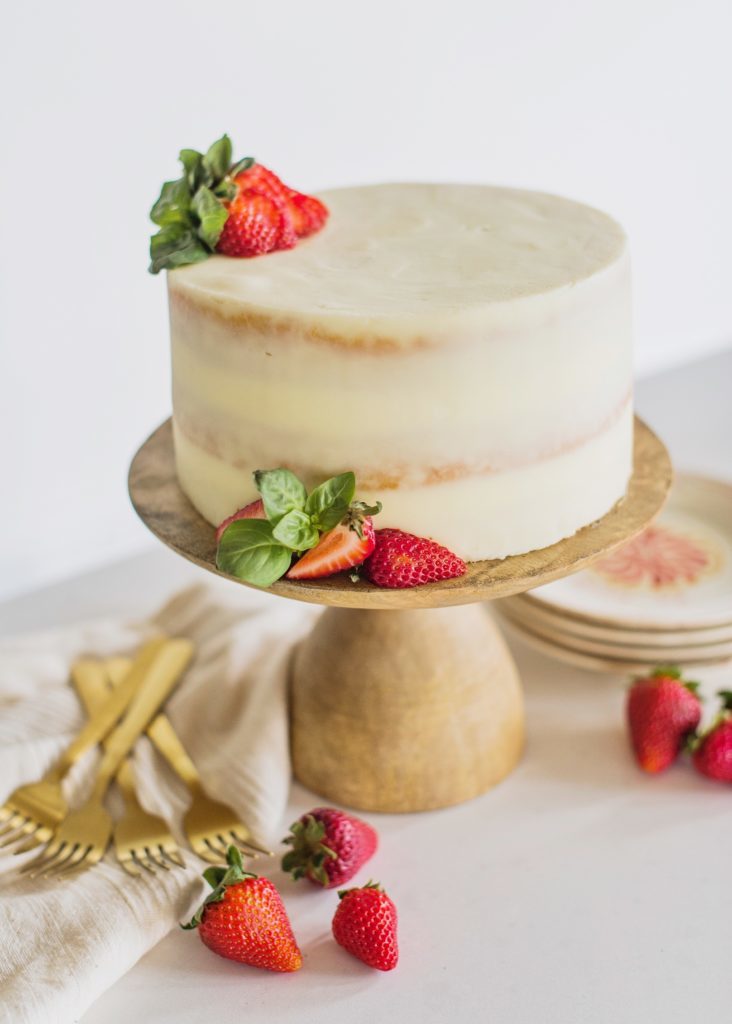
First things first: the flavor. If the flavor is missing, what’s the point of decorating? You can’t simply mask the taste of a dry or flavorless cake by adding all the bells and whistles.
By mastering the flavor, you’ll automatically impress everyone — regardless of how professional it looks. People walk away remembering taste, not so much the aesthetic. That being said, once you have nailed the flavor profile, you can start adding different decorating techniques into your toolbox to take your cake to the next level.
Take my Olive Oil Ricotta Cake for example. Yes, surprisingly cheese and cake make the perfect duo! With the fresh strawberry basil compote and olive oil cake, this combo offers a sophisticated flavor profile — one that’s easy to accomplish and will impress your guests.
Buttercream Icing Consistency
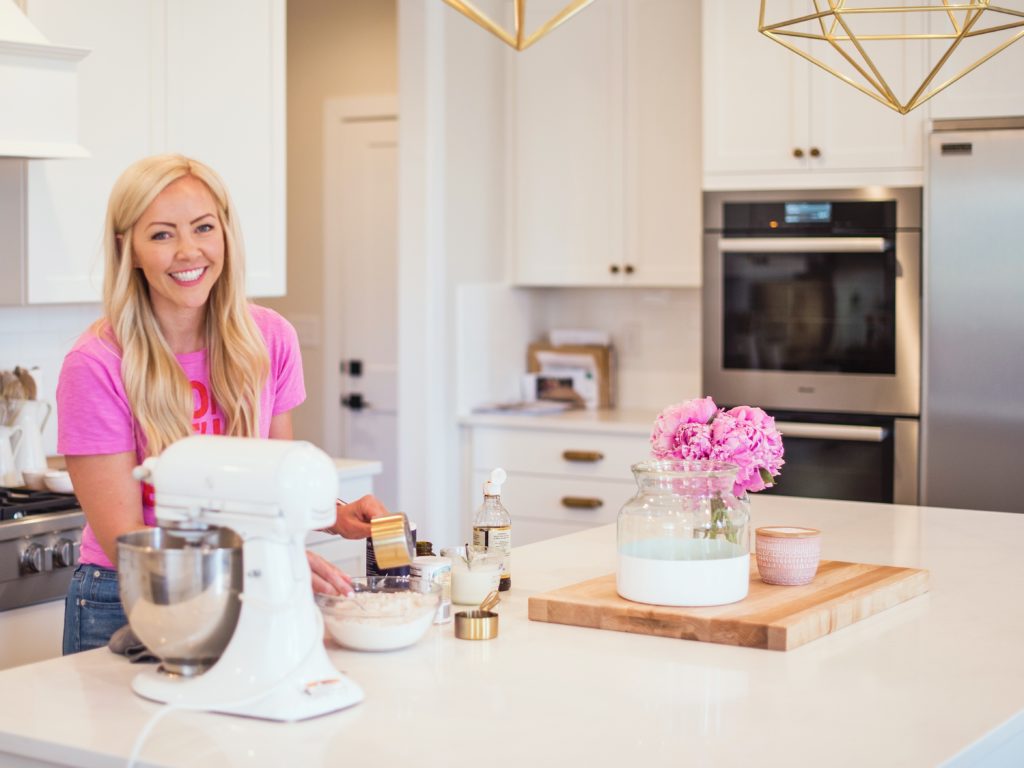
Next item of business: buttercream. Other than the cake itself, your buttercream is a foundational element for the decorating. If the consistency of your buttercream is out of whack, you’ll either end up with droopy decorations due to soft icing, or the icing will be too stiff to spread evenly. So, here are my cake decorating tips and tricks for the perfect buttercream:
Step 1: After you’ve measured out your powdered sugar, ALWAYS sift it. This will just eliminate any unwanted lumps that can affect the texture of your buttercream.
Step 2: Take your butter out of the fridge about a half-hour before mixing. Doing so will allow the butter to soften a bit, but not to the point of being too soft. Then, I beat the butter using a paddle attachment for a couple of minutes before adding the sifted powdered sugar. Your butter should now be lighter in texture and color but remain cold which will help you in your application. If the frosting is too soft and warm, it will slide right off your cake.
Step 3: Next, add that heavy cream. Beat it into the butter and powdered sugar mixture for a few minutes. I typically beat it on medium speed at a 6.
Step 4: DO NOT skip this step! Mix the buttercream by hand with a wooden spoon to get rid of air pockets. You only need to do it for a couple of minutes, but this is crucial for a nice, smooth buttercream.
If you don’t get the right consistency you’re looking for, add 1 teaspoon of liquid (corn syrup, milk, or water will do) for every cup of stiff icing. Or, add 2 teaspoons for an even thinner consistency. This will depend on whether you’re icing the actual cake or making dimensional decorations that require some stiffness.
Piping Techniques
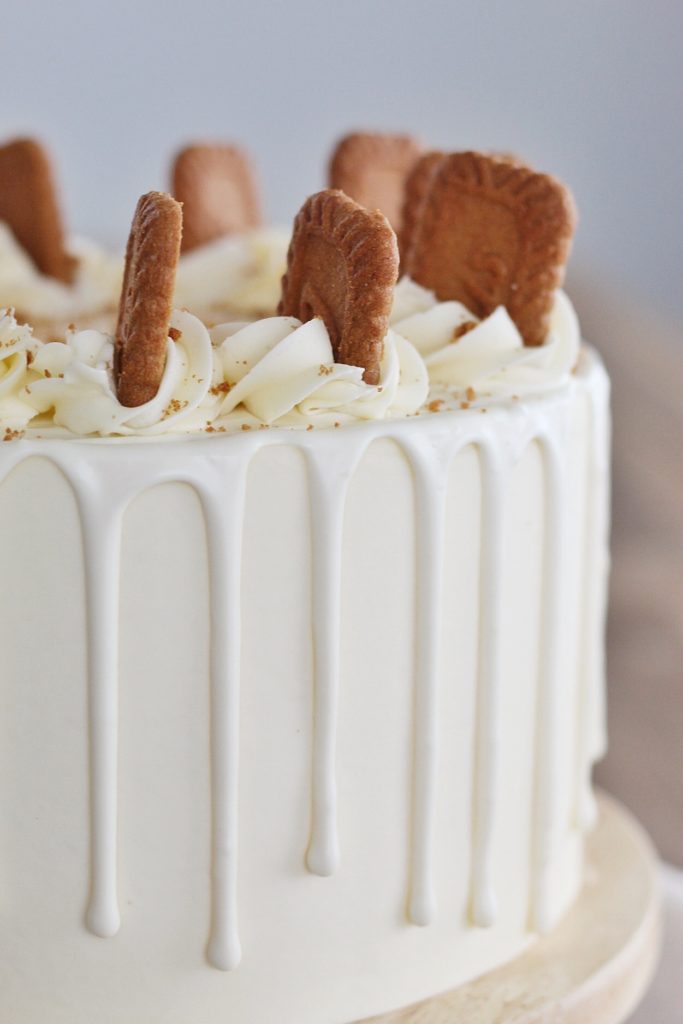
Now that you’ve mastered the perfect buttercream, we can move on to the fun part: piping. Having the right buttercream will only make piping easier. Start with your piping bag fitted with the Wilton 1M tip, and you can create a number of looks (you can experiment with other tips, of course!). Here are a few cake decorating tips and tricks to add some texture to your cake:
- Basic Star. I’d recommend this piping technique to anyone — beginner or not, this is a simple, elegant way to spruce up your cake. Using that 1M tip, start piping your buttercream a little way from the edge on top of your iced cake (your decorations will fall right off if you pipe along the very edge). Keep the piping bag nice and tall, and just apply a little pressure. Once you’ve placed your star, lift up quickly, pull away, and onto the next.
- The Wave. Waves provide another effortless look that you can pipe along the whole edge of your cake top. Create a base and then push the piping bag away from you, and pull it towards you ‘til you have that wave design. Repeat all around the cake.
- Swirl Technique. Again, give yourself a solid base, and start swirling counterclockwise. You’ll overlap from one swirl to the next to create an infinite look. You can also pipe your swirls in a clockwise motion — this will just create a different edge.
- “McDonald’s Soft Serve Ice Cream Cone”. A personal favorite of mine! I kid you not, this piping technique looks identical to a McDonald’s soft-serve ice cream cone. YUM. Okay, back to piping. Hold the bag upright and squeeze out the buttercream to form the swirl’s center. Without releasing pressure, raise the tip and move slightly to the side to get that swirl effect. Then, in a circular motion, pipe a “C” to connect your starting and ending points. After that first rotation, move your piping bag slightly inward and repeat that circular motion. Keep on spiraling until you’ve reached your desired height.
- Classic Rosette. Rosettes are both timeless, and easy — something you’re after to impress your guests! Start with a simple small star, and barely raise the tip to move it slightly to the side. Then, pipe an arc towards the top and create a semicircle to connect the starting and ending point. Remember to decrease pressure towards the end of the motion and pull away.
With any of these piping techniques, you can swap out that Wilton 1M tip for any other tip to produce different sizes or textures. But, I’ve gotta say, I highly recommend having that 1M tip as a staple. I use it on nearly all my cakes! Using one of these piping techniques works perfectly with my Biscoff Cake because I stick my Biscoff cookies right in the center of each swirl!
Ombre Style
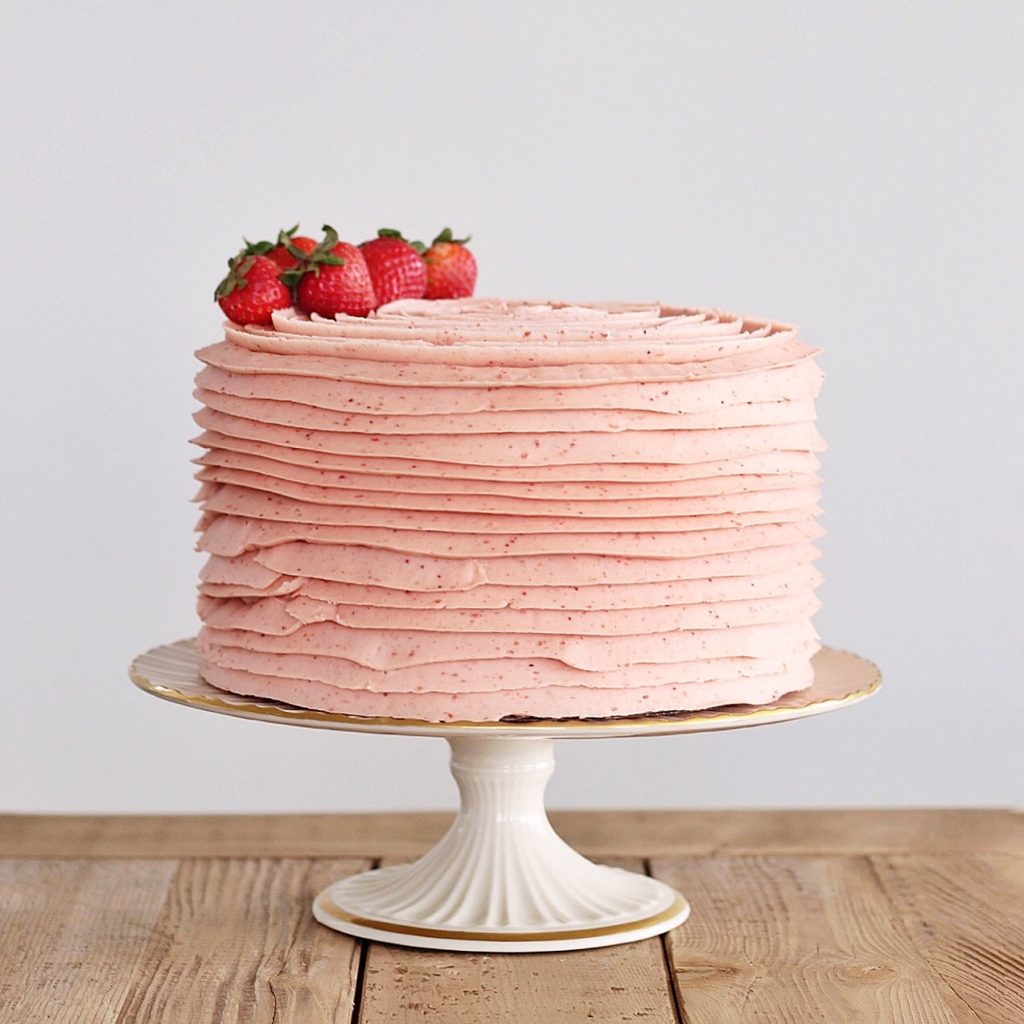
An ombre cake is a great way to add subtle flair, and hide imperfections. This way, it’s less likely people will scrutinize every ounce of your cake.
For the ombre design, you’ll want at least three colors of buttercream (or more) — all within the same color family. Take your darkest color and pipe a strip along the bottom of the cake, and pipe about two more strips above. Then, moving onto the next color that’s lighter in shade, pipe a couple more strips of buttercream moving up the cake. Lastly, take your lightest color and pipe around the top of your cake (this color will also be the star of your cake from a bird’s eye view).
Finish it out by using your cake scraper as you would with any other cake. If you see any holes after you’ve gone around the cake with your cake scraper, just fill these gaps in with the right color of buttercream and scrape again until smooth.
(Tip: always use a clean cake scraper so that you’re not dragging any dry bits of frosting through your fresh frosting.) After it’s perfectly smooth, you can either leave your cake as is or give it some texture by adding a swirl design.
The ombre design pairs nicely with my Peaches and Cream Cake because it’s light and summery — perfect for any upcoming gathering!
Check out my tutorial here to get the full ombre effect.
The Perfect Drip
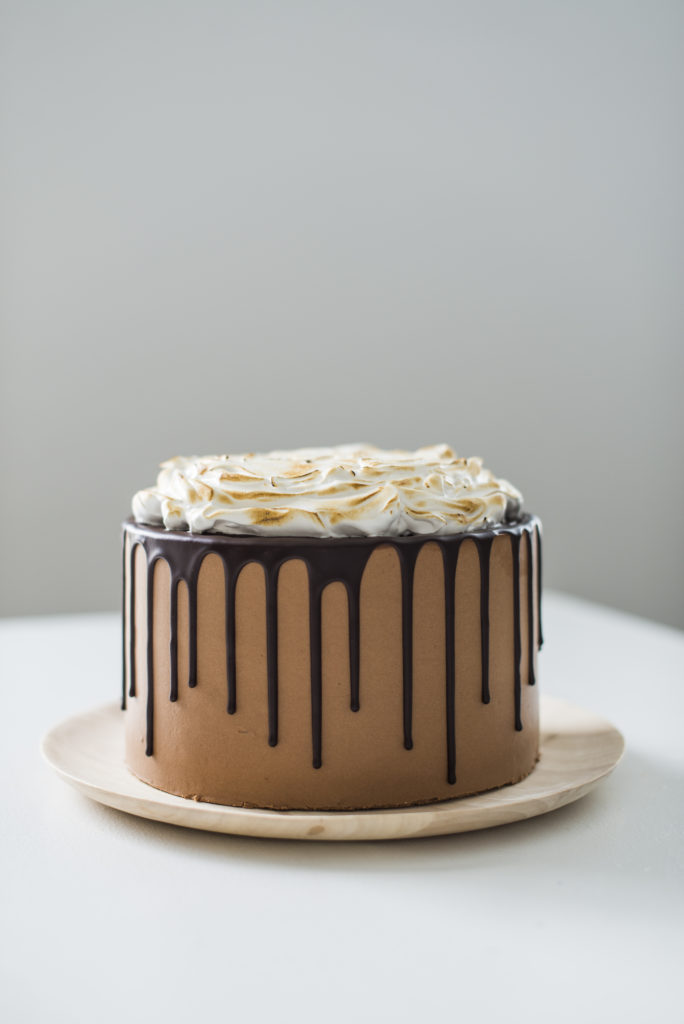
Next on our cake decorating list: the drip. Who doesn’t love a good drip cake? Giving your cake a sleek drip finish will just add a nice, modern touch. Plus, it will have your guests circling around your cake wondering how you managed to pull that off (you can teach them later!).
The drip technique is a WHOLE lot easier than it looks. For starters, I use either Wilton’s Candy Melts or these Guittard white cookie drops from Orson Gygi for the ganache — both of which are so easy to work with! If tinting a white chocolate drip with another color sounds intimidating or tricky, that’s where the candy melts come in.
With any drip, it’s all about the ratio of heavy cream to chocolate:
- For semi-sweet or dark chocolate, use one cup heavy whipping cream with one cup chocolate chips.
- For white chocolate or candy melts, you only need ¼ cup cream with one cup of chips.
If you don’t have your desired consistency, either add more chocolate to thicken or if it becomes too thick, add more cream. Keep in mind: the drip will naturally thicken if it sits out to cool, so reheat it in the microwave for about 10 seconds and add a couple more teaspoons of cream.
Before you apply your drip, make sure your cake has chilled long enough — this way, your drip won’t be running all over the place. For the ganache, I like using a cheap squeeze bottle. This makes the application process SO much easier!
One of the most important things to note is how you hold the bottle. You don’t want to hold it vertically or the ganache will land in random splotches on your cake. Instead, I hold the bottle at an angle so the point is touching the edge of the cake. At that tilted angle, go around the entire edge of the cake. If you squeeze the bottle down longer, you’ll get a longer drip. If you squeeze it for a shorter time, you’ll have a shorter drip. I like to alternate back and forth for some contrast.
I love applying a rich, chocolatey drip on cakes like my Ultimate S’mores Cake because of its ooey gooey effect. Talk about an upgraded s’more!
Sprinkle Time
If you’re wanting a playful look, sprinkles all the way! (I know my kids would agree.) There’s really not a lot to it and this is a sure way to hide any imperfections.
After your frosted cake has chilled long enough, sandwich the cake horizontally between your two palms (make sure you have cake boards on either end) to get a good grip. Then, carefully roll your cake through a bed of colorful sprinkles. I typically dump sprinkles all over the surface of a jelly roll pan, so that the sprinkles stay contained (for the most part), and the cake has an even surface to roll through.
This method will leave you with a cake dunked in sprinkles from head to toe! You can just roll the base of your cake through sprinkles if you want a cleaner look, too. Or, if you want to get creative, you can create a striped look using sprinkles as you see here.
And don’t be afraid to branch out of the sprinkle department — you can roll your cake through cookie crumbs, toasted coconut flakes, fruity pebbles, etc.! The sky’s the limit. Check out this post for design inspo.
(Some of my all-time favorite sprinkles are Sweetapolita from Orson Gygi.)
Make it Your Own
Whether you want to go over the top or keep things sleek, don’t be afraid to try new things with your cake decorating! Add all the candy, chocolate bark, and piping your heart desires. Or, keep it simple with a couple of fresh berries atop! Remember: there is no right or wrong way to decorate. It’s all about the flavors. Just know that your guests will be back sooner than you hope for more cake…
To make your cake decorating experience a little more seamless, check out my go-to cake tools that are musts in my book! And for more cake decorating tips and tricks, follow @cakebycourtney on all social media to stay in the know.
Happy cake decorating!

