Buttercream Rainbow Tutorial: A step-by-step tutorial for creating the perfect buttercream rainbows.
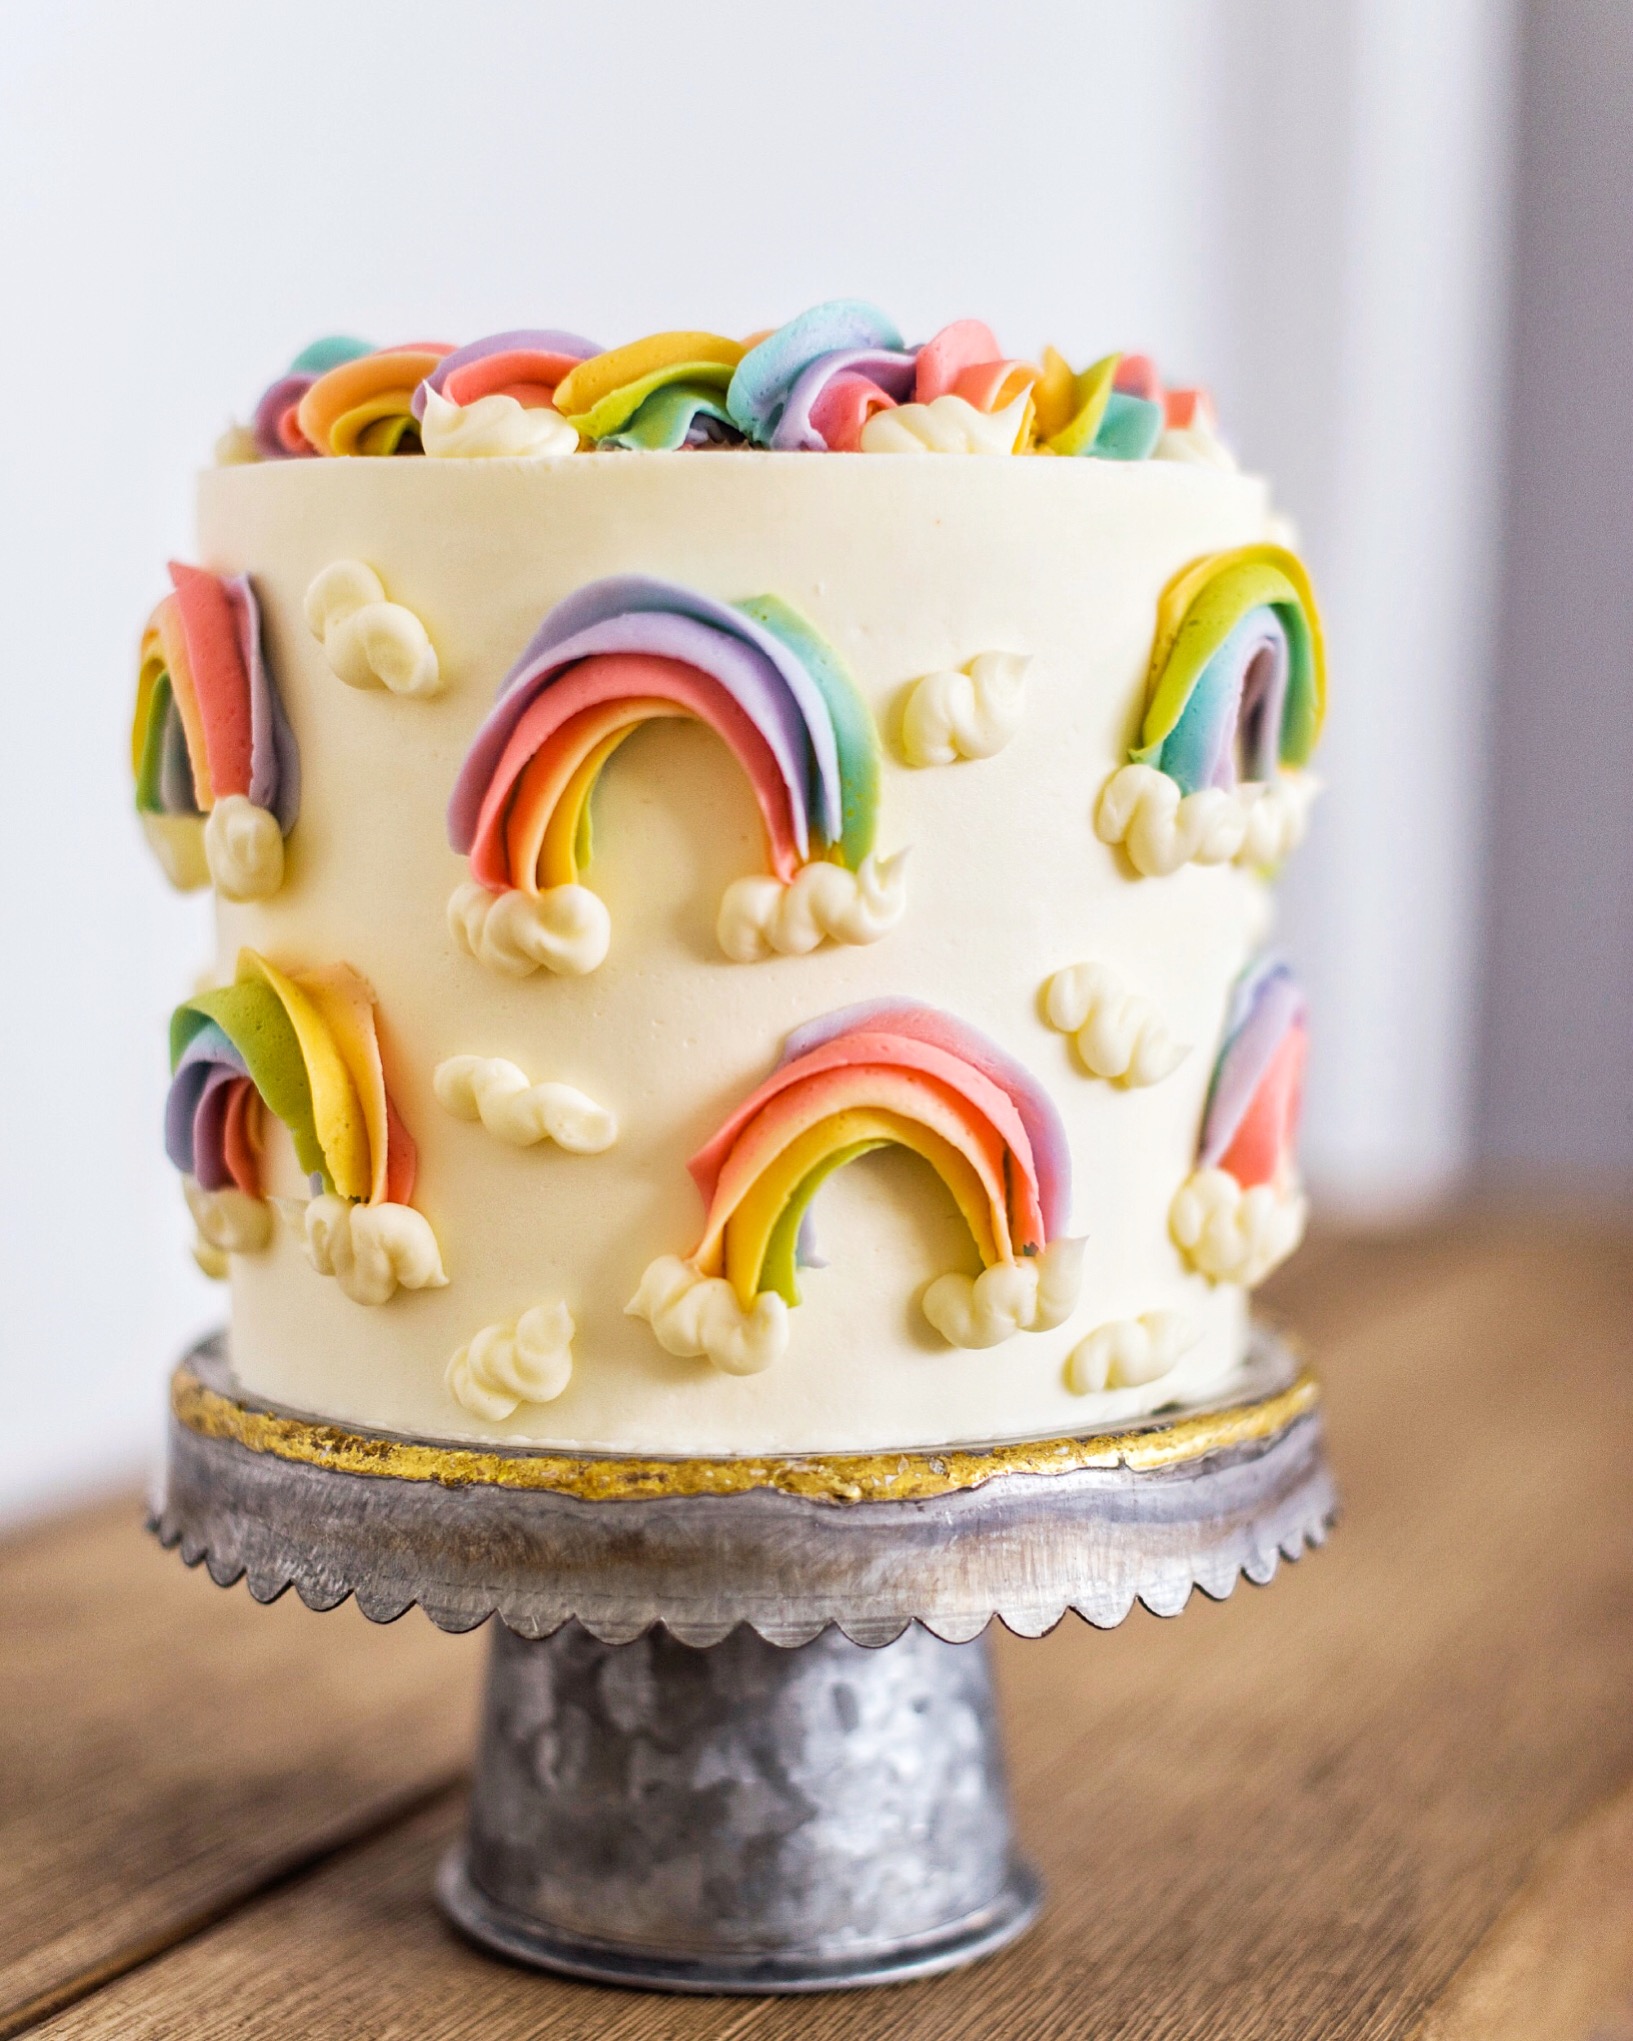
So many rainbow cakes, so little time! This St. Patrick’s Day inspired cake is probably my favorite I’ve ever done and I’m so excited for you to try out. These darling rainbows are so easy to create and so fun to make.
Getting Started
Here’s what you’ll need:
- Two 12-inch piping bags (one for the rainbow colors and one for the white clouds)
- Wilton 1M piping tip
- Wilton #10 piping tip
- Six ZipLock bags
- Seran wrap
- Six Americolor food gels (I used, Coral, Copper, Gold, Moss, Navy and Violet)
Plan on using about a half batch of my vanilla buttercream (recipe below) for the rainbows and clouds. Divide the frosting into seven bowls. Tint six of the bowls of frosting your rainbow colors and leave one bowl of frosting white for the clouds.

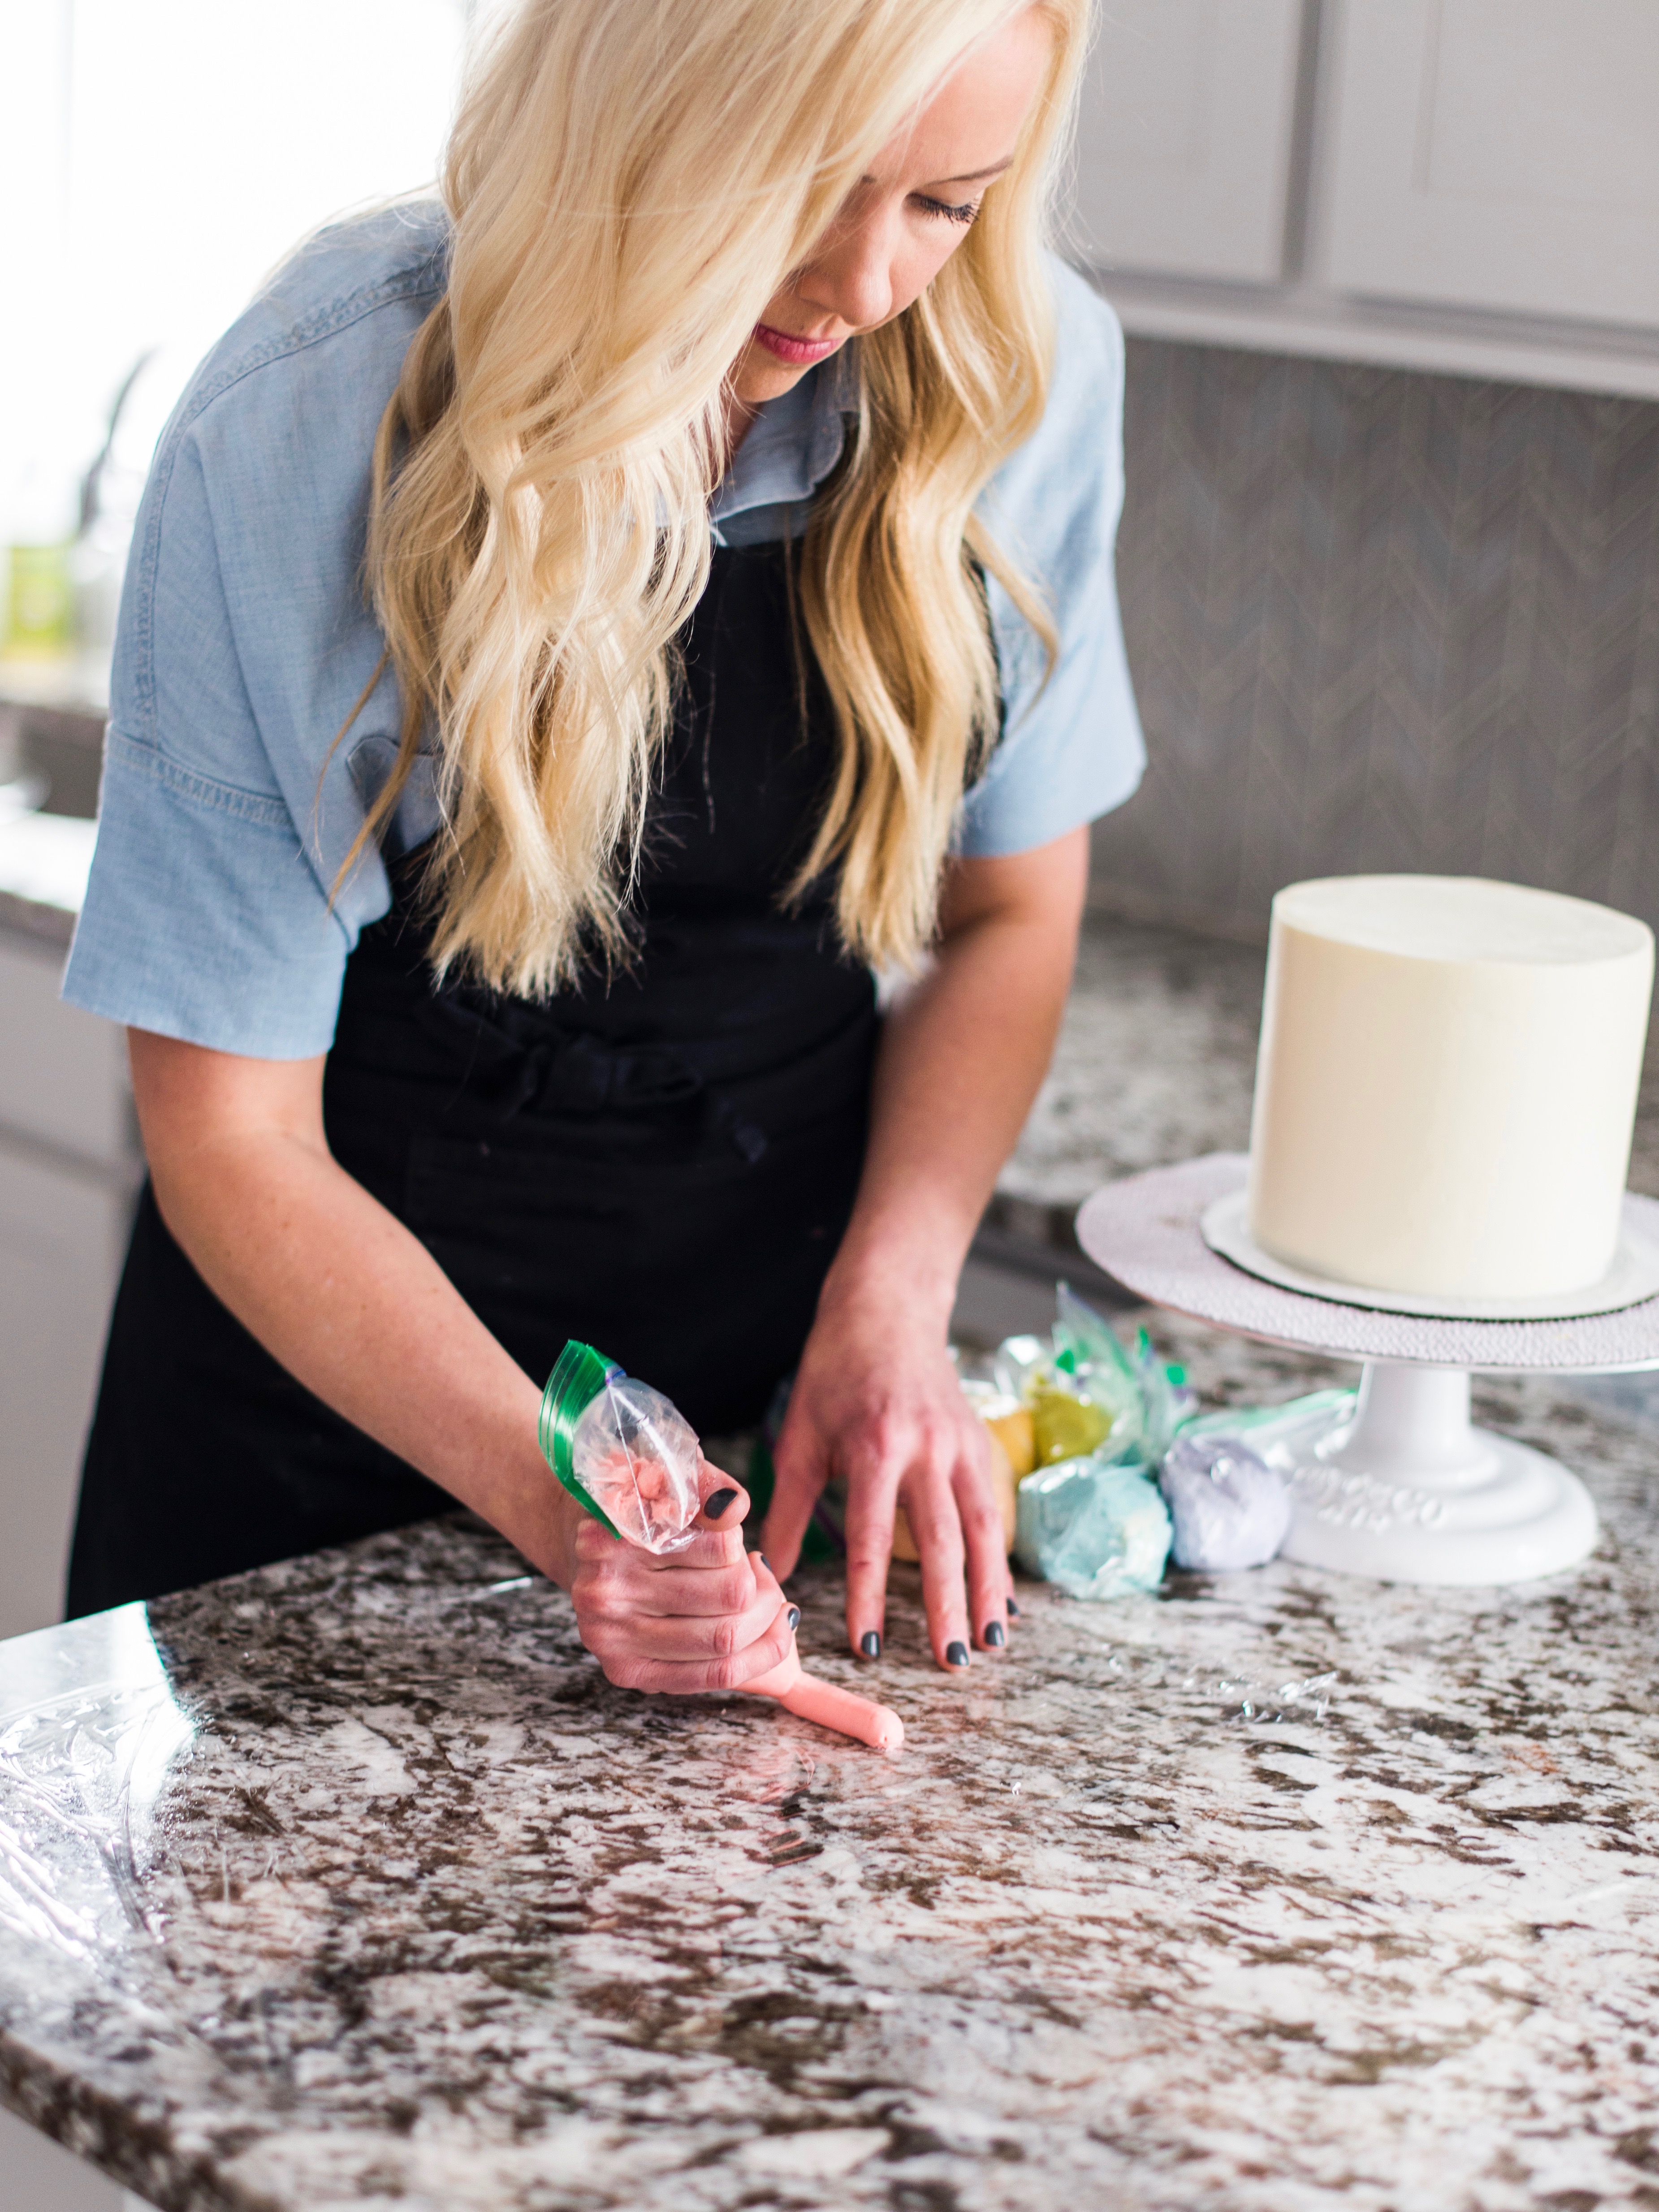
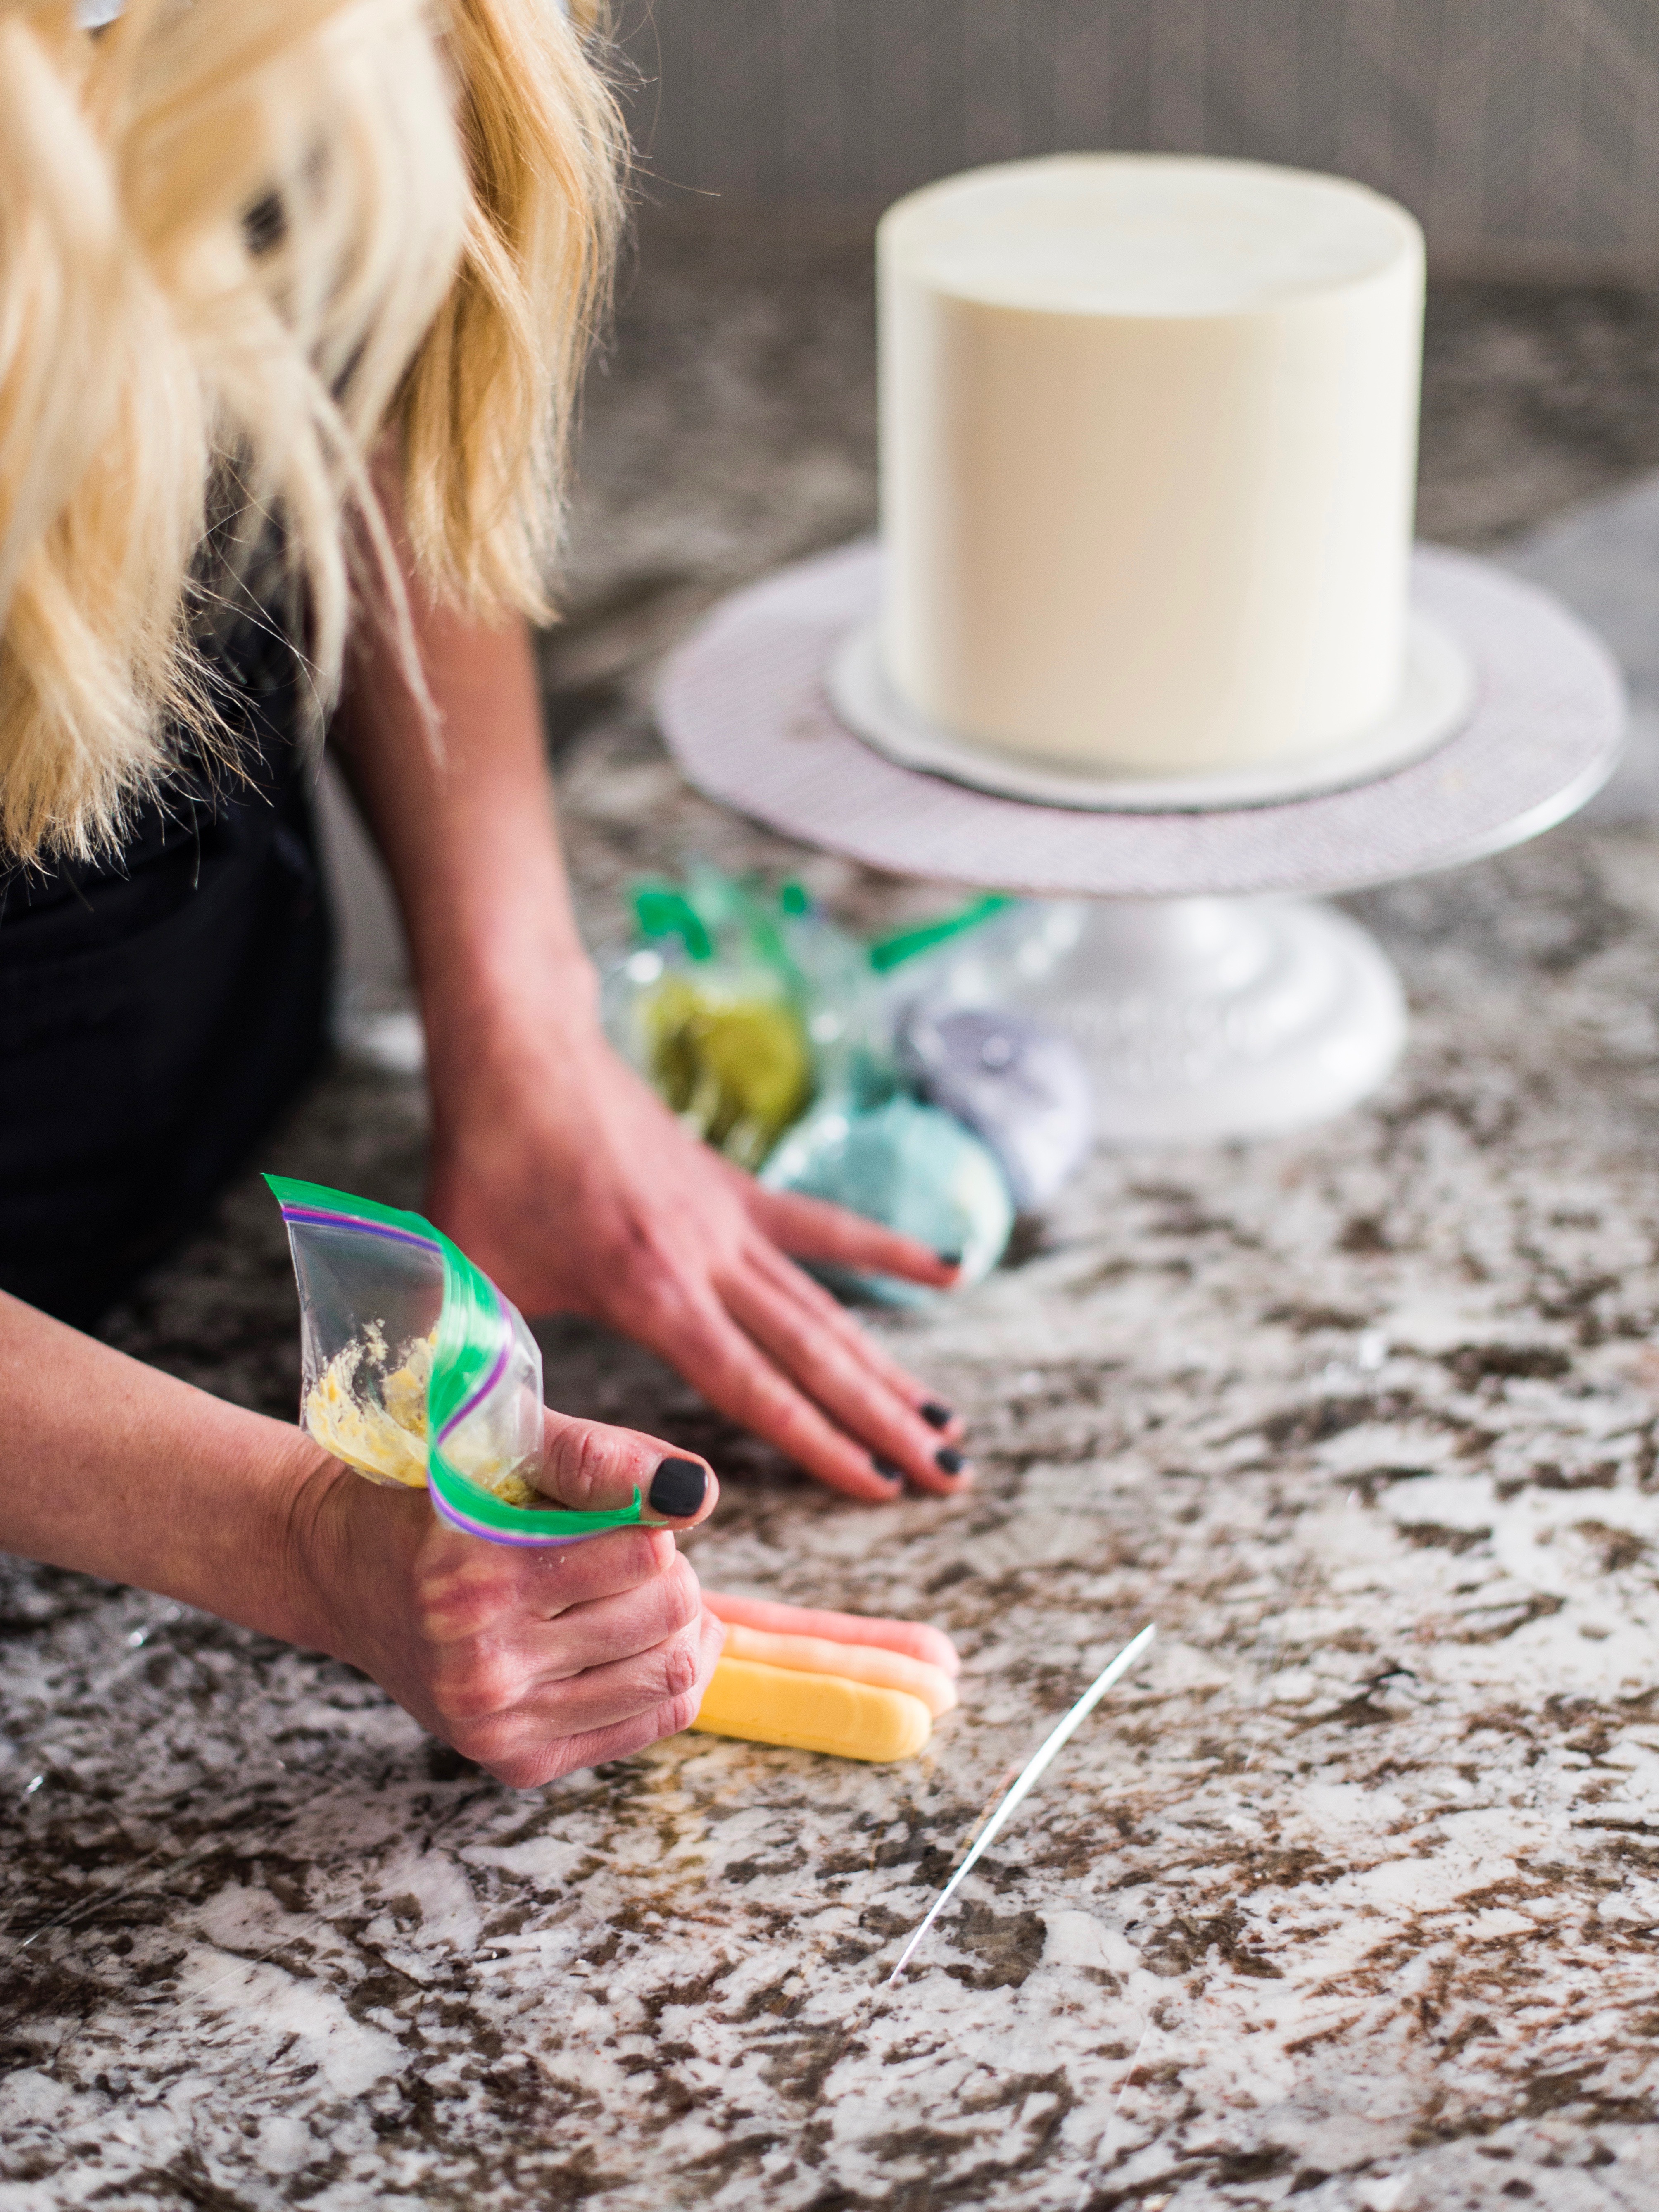
Place each color of frosting into a ZipLock bag and cut a corner off each bag.
Prepping the Piping Bag for Rainbows
On plastic wrap, pipe a line (about 6-inches long) of each color. Make sure the colors line up and touch one another.
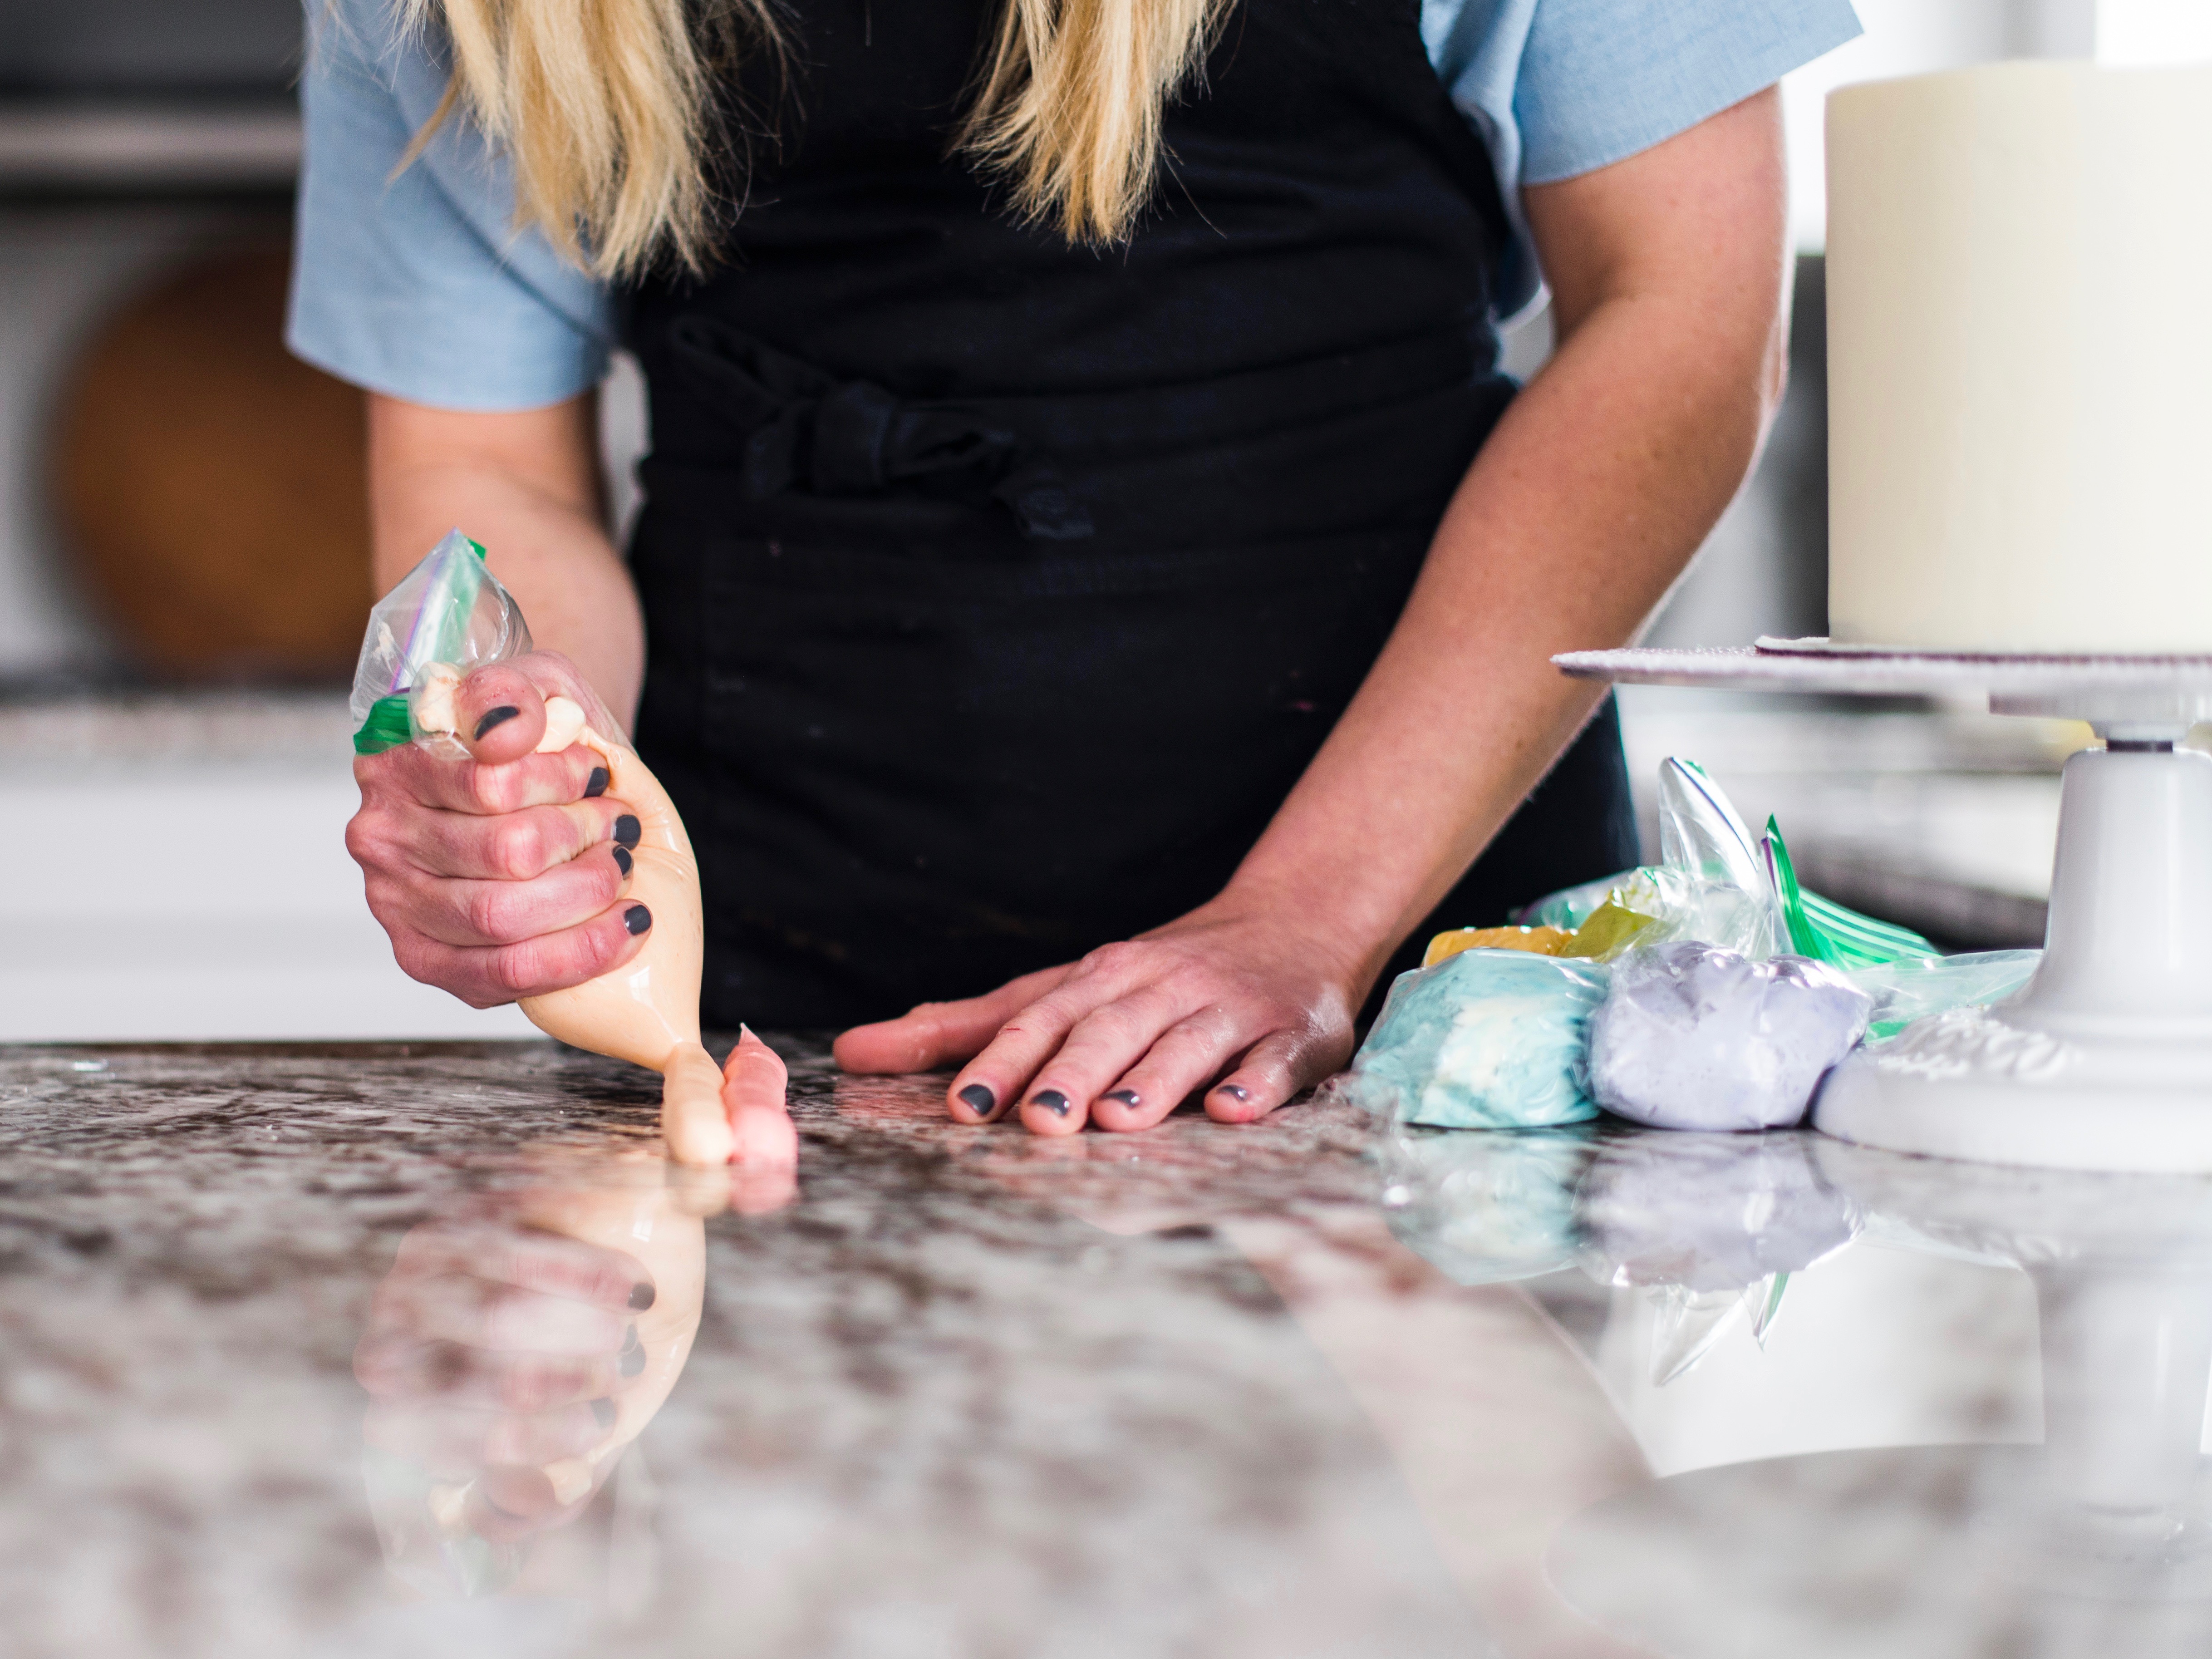
Try to create equal amounts of frosting in each line.
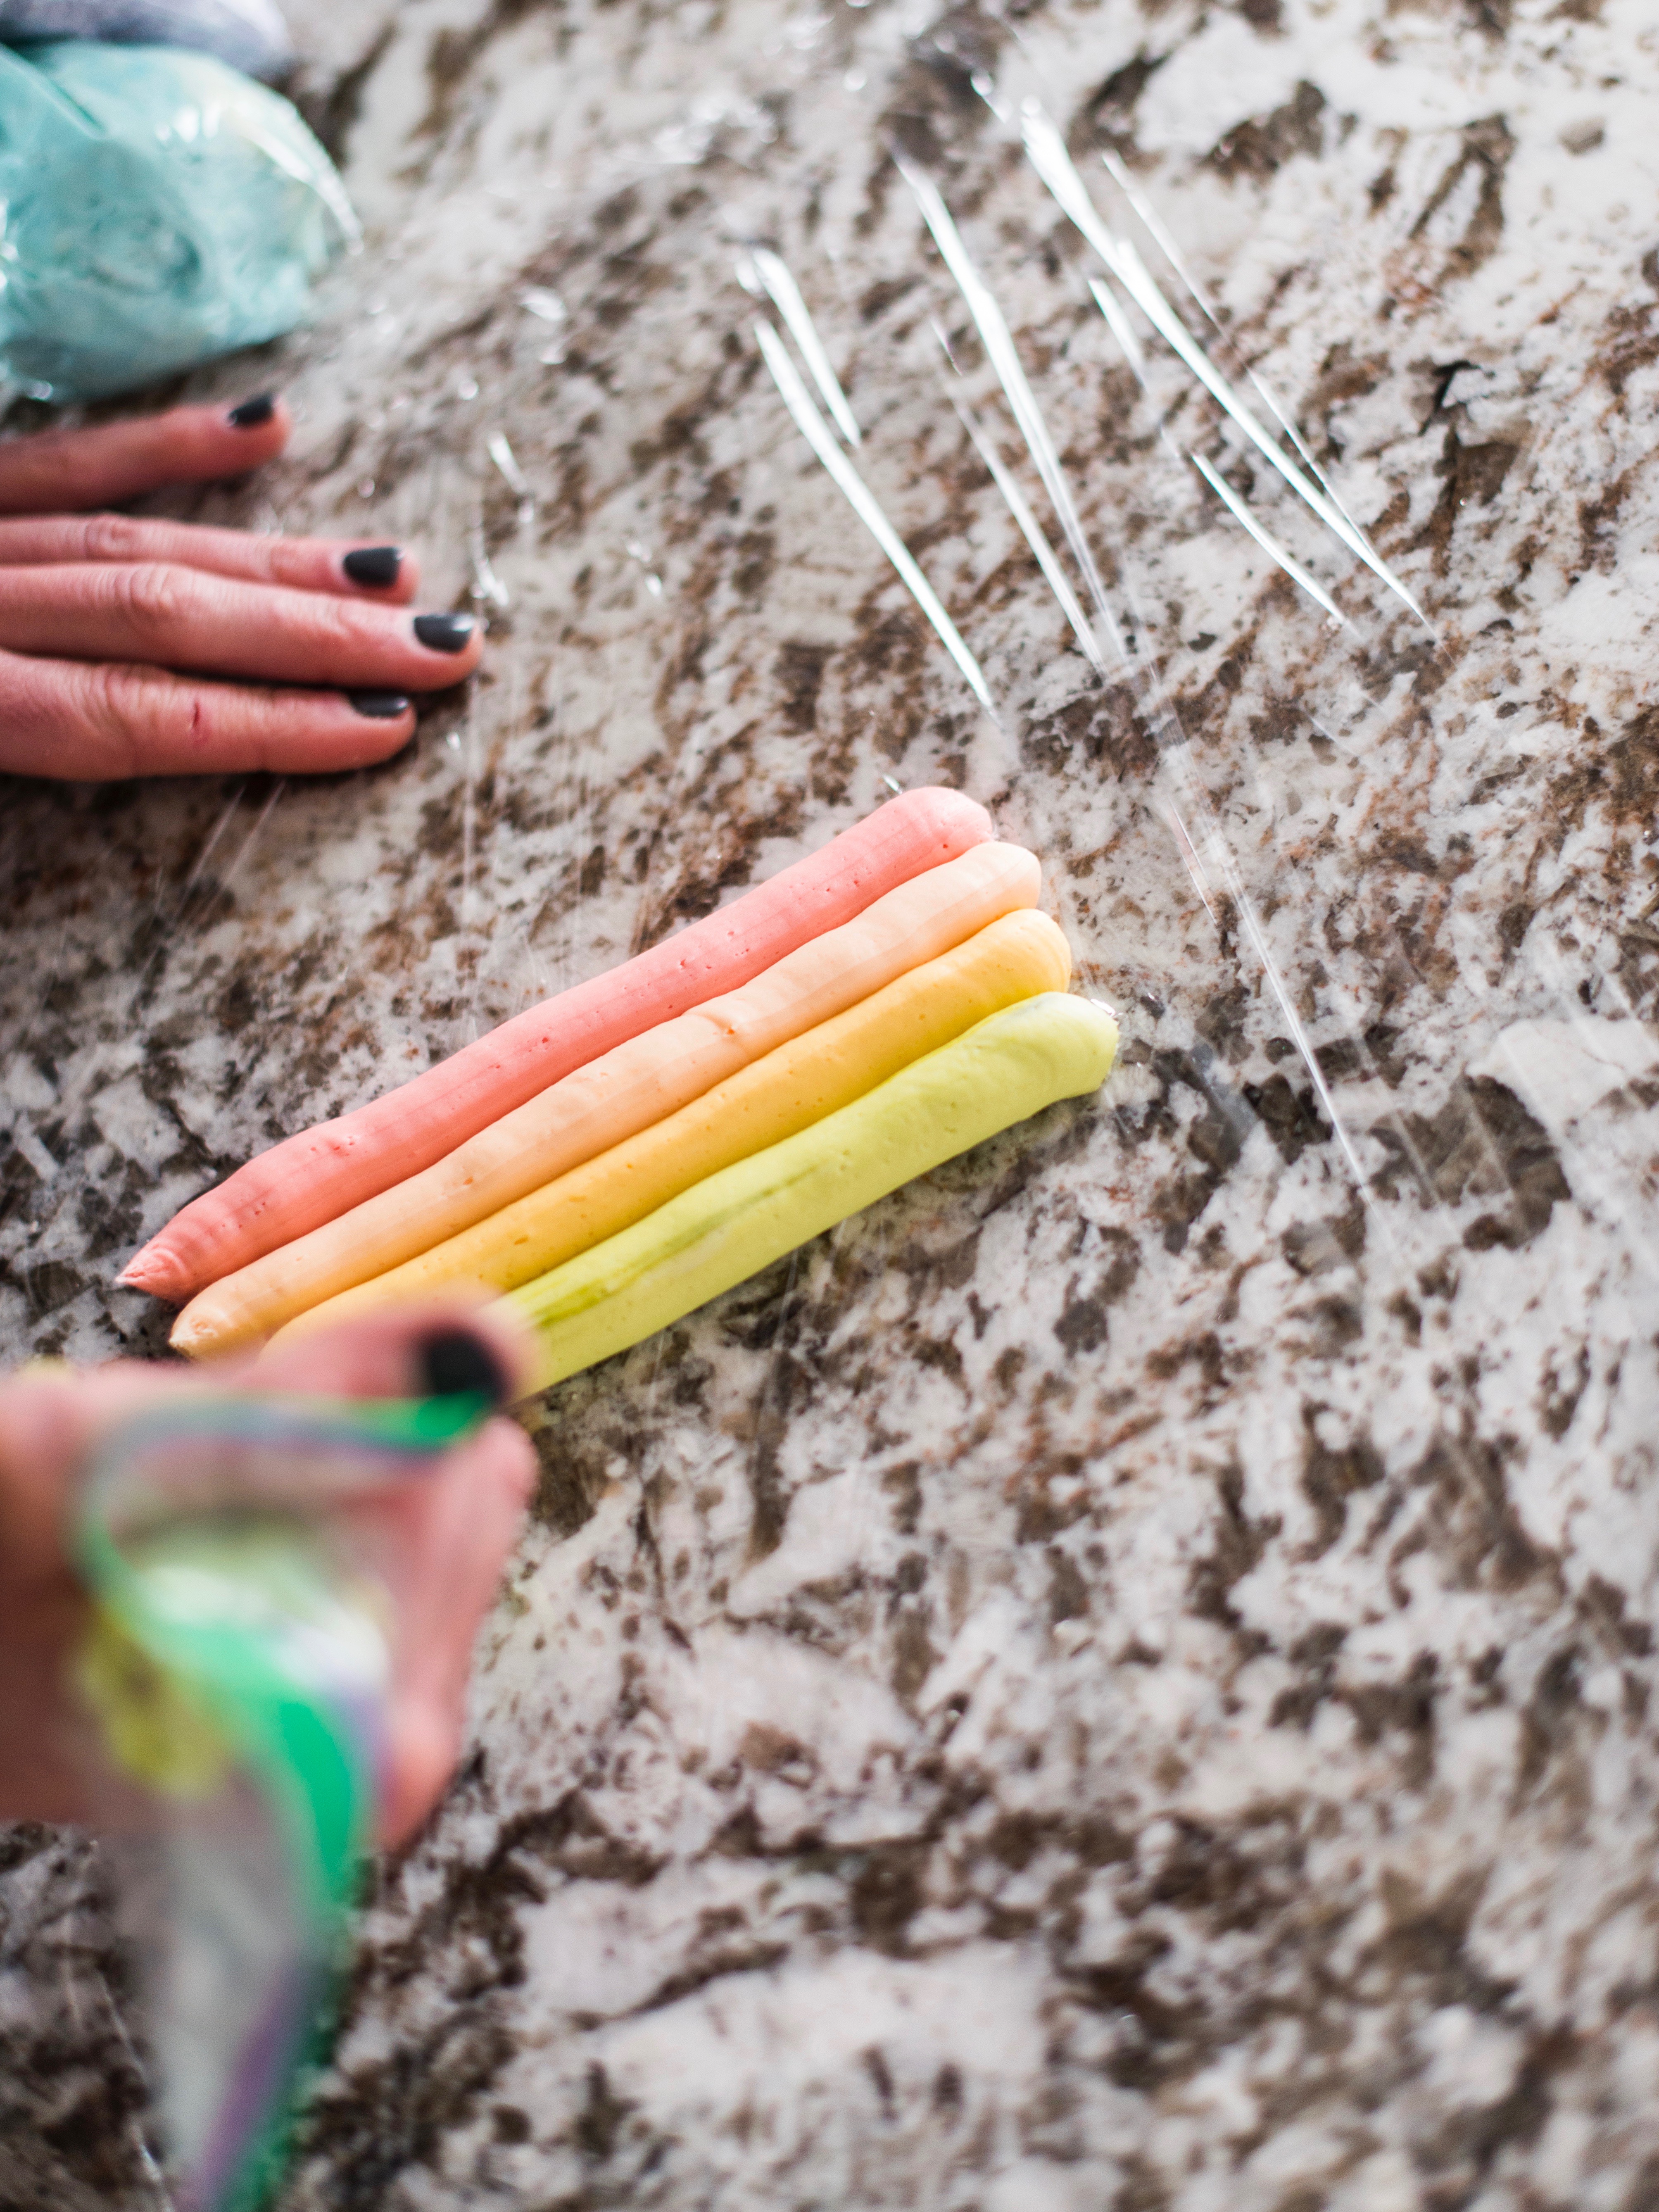
After you’ve piped all six colors, take the end of one side of the plastic wrap and begin to lift it up.
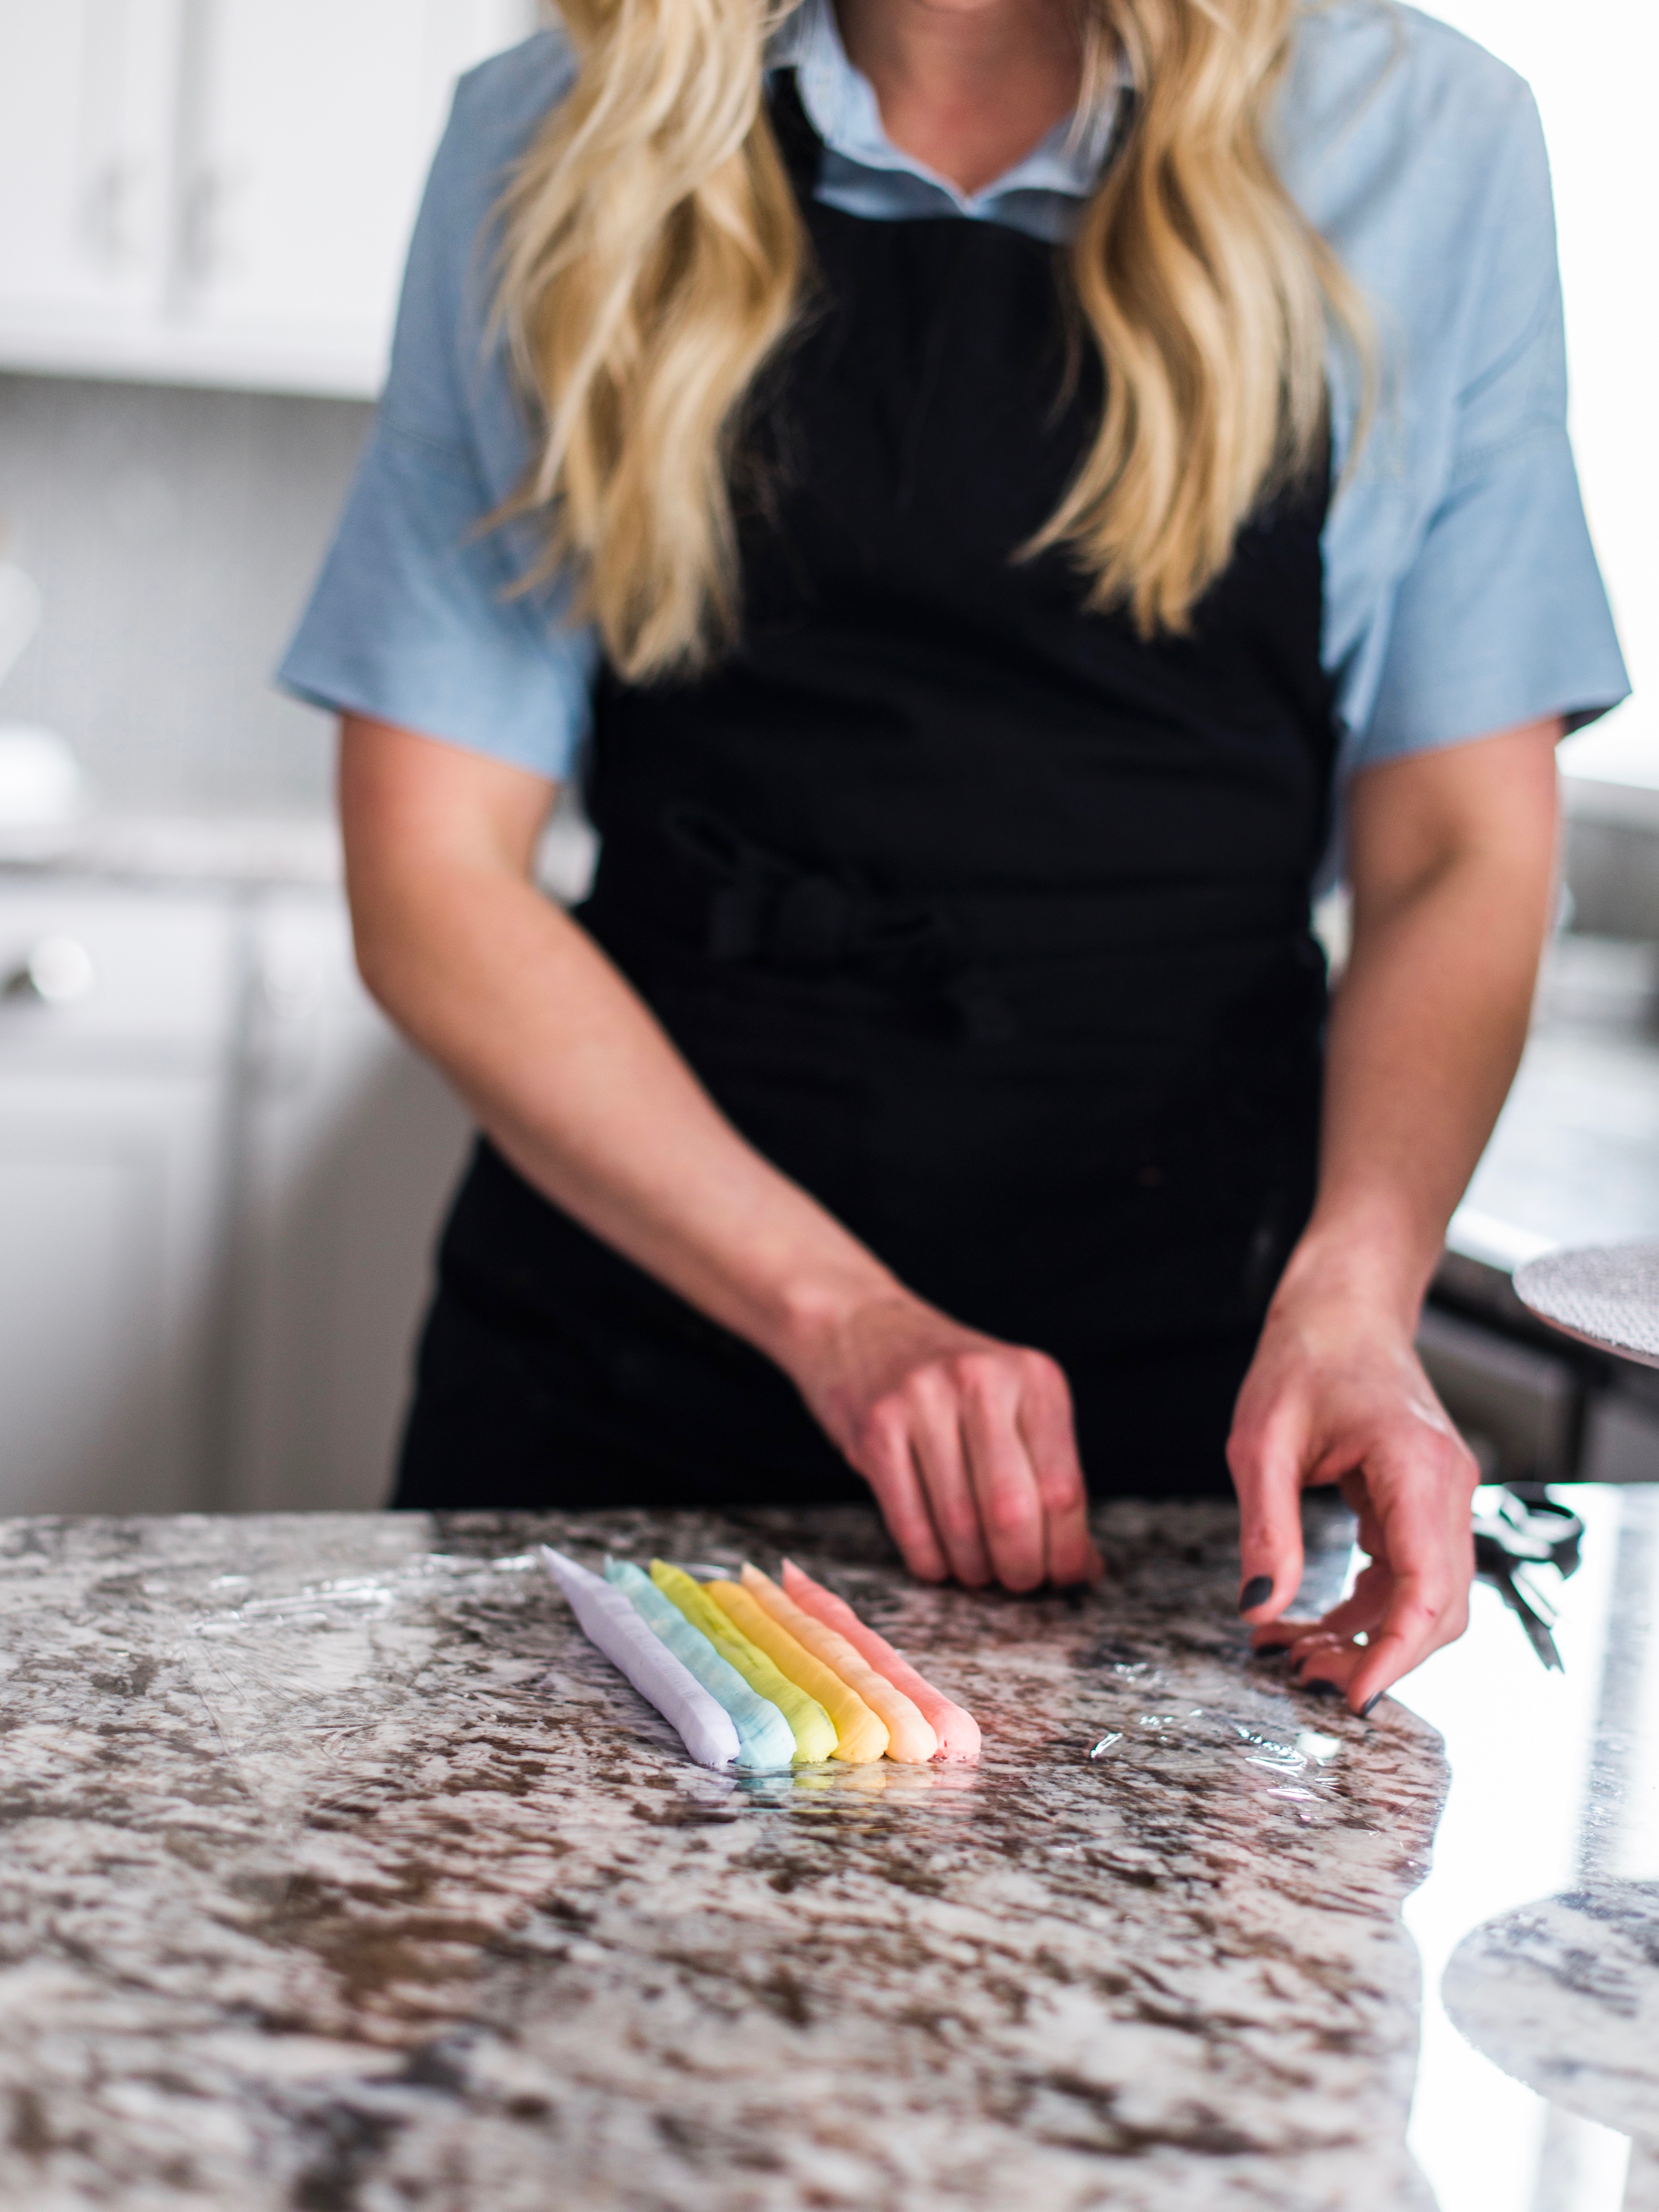
Carefully fold the plastic wrap and buttercream to create a circle of colors.

Be gentle as you fold the buttercream over so that you don’t smash the frosting and create uneven lines.
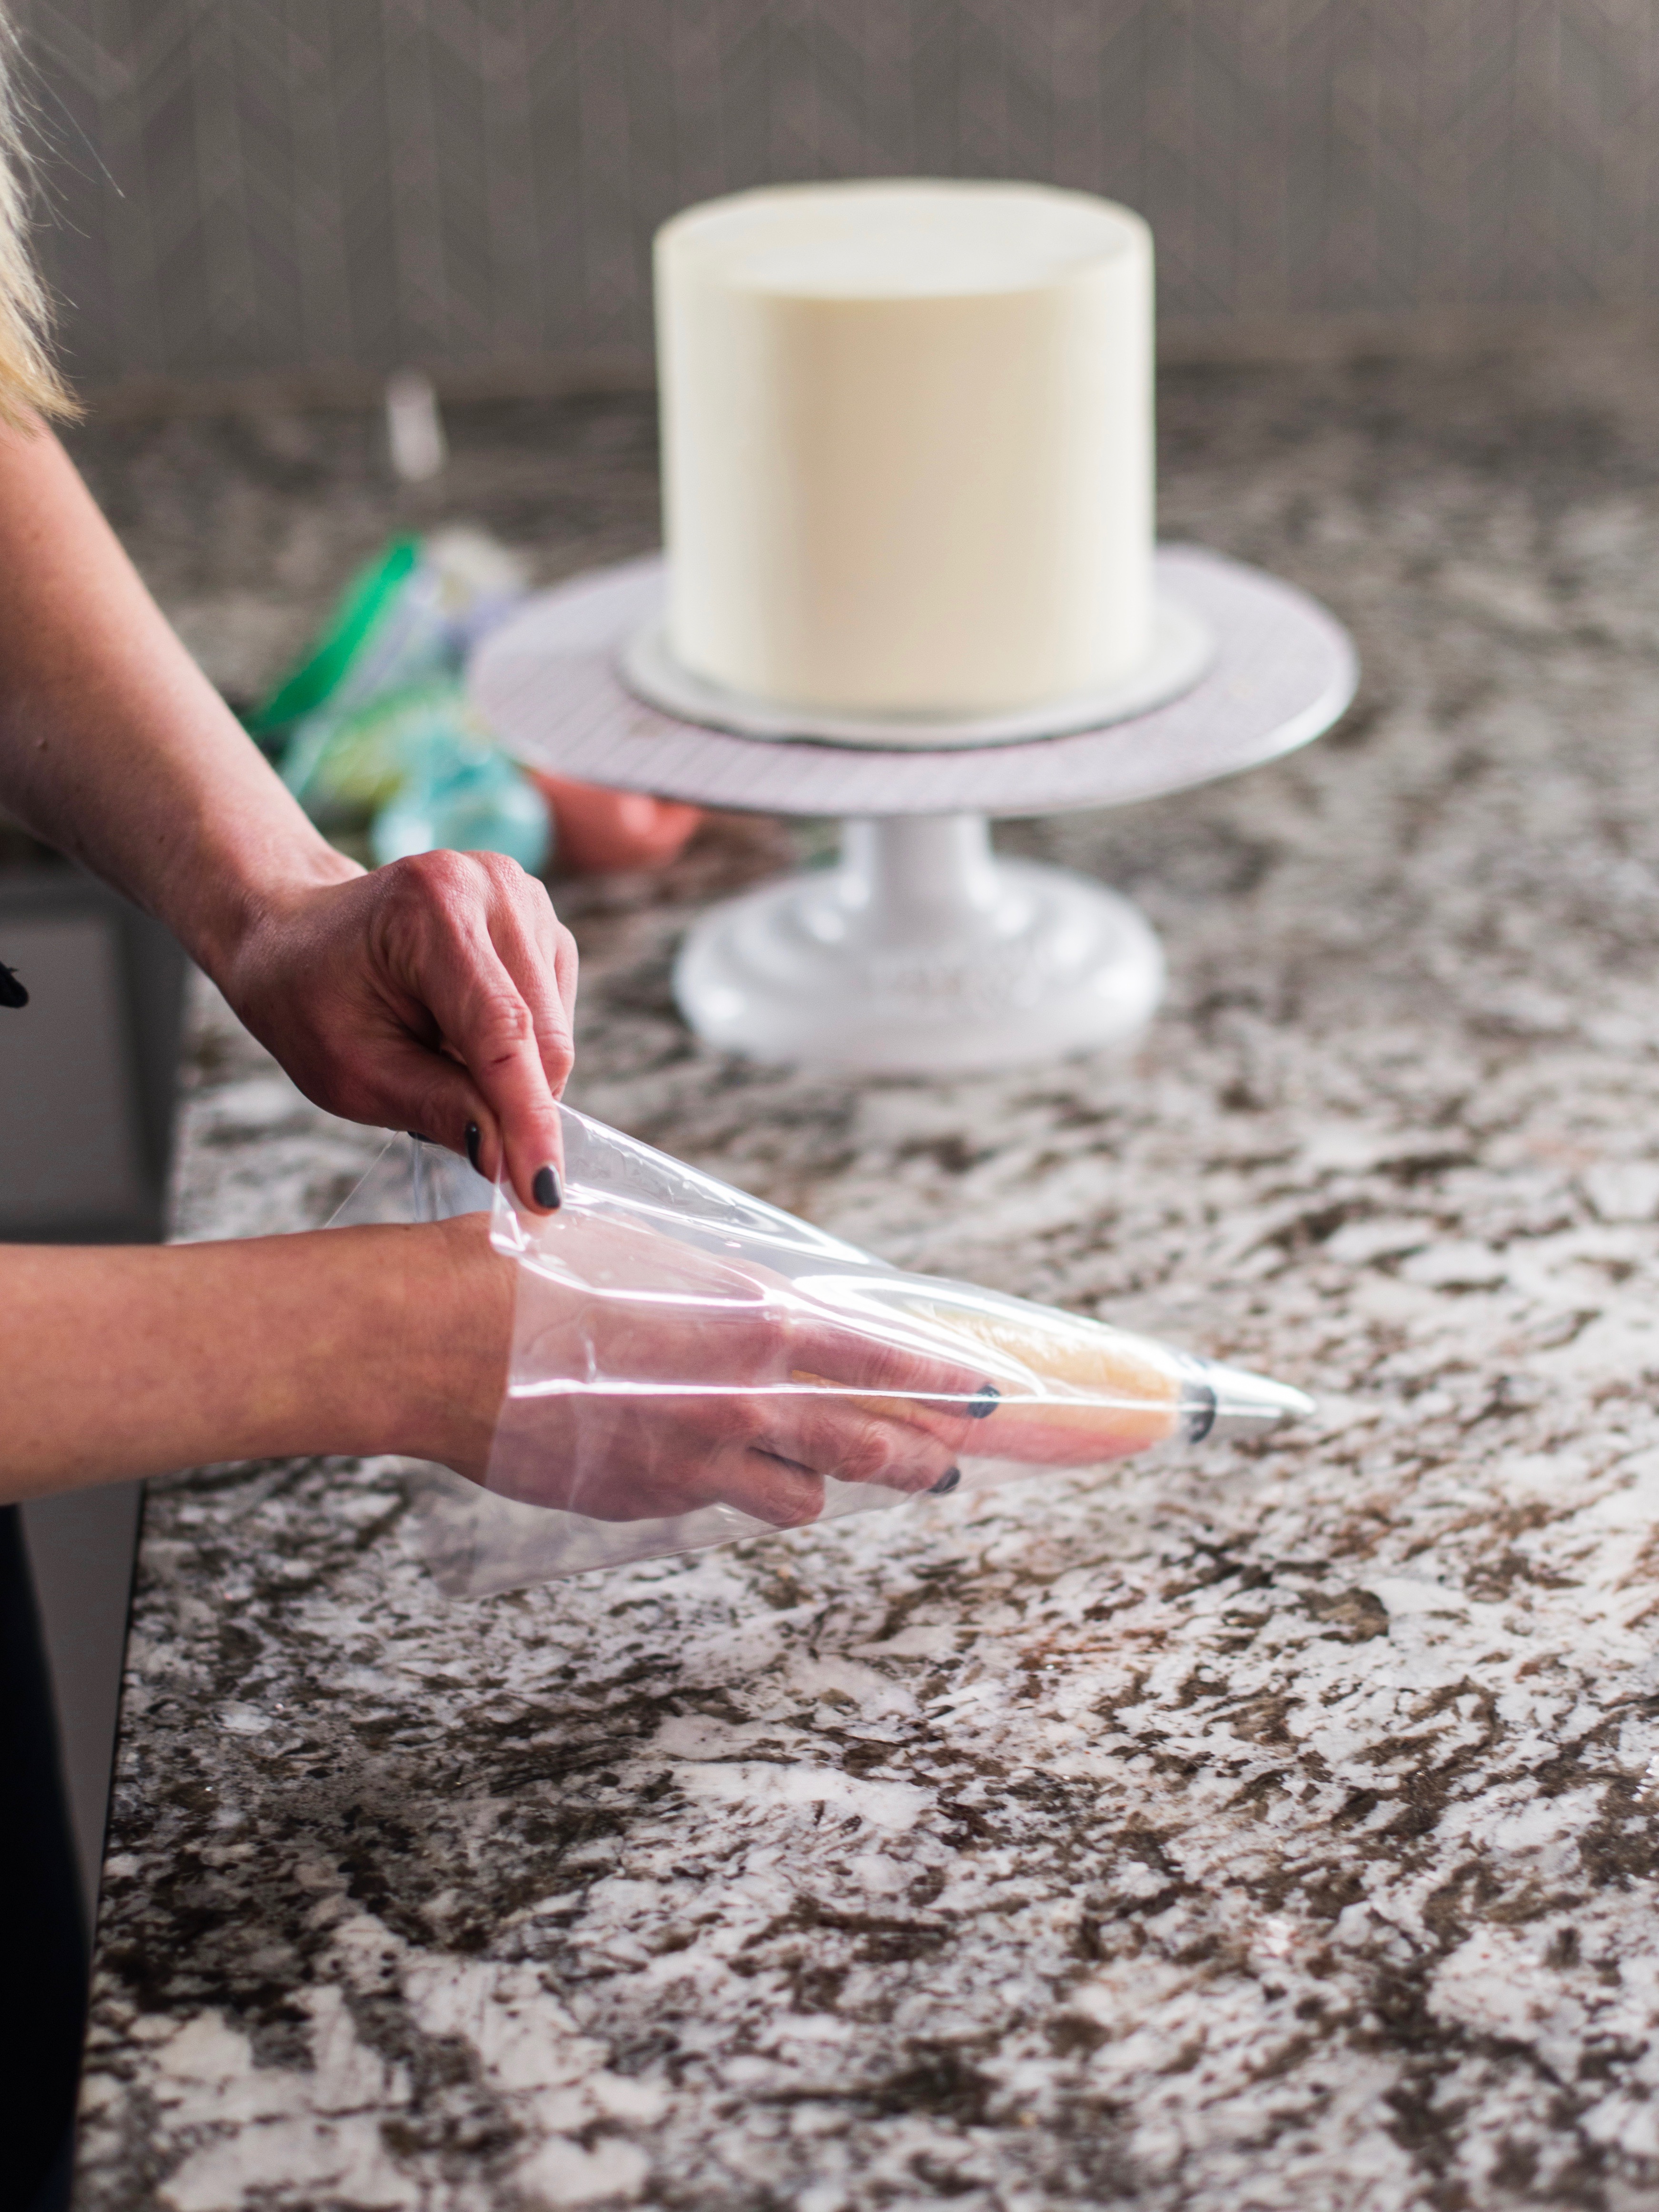
After you’ve wrapped the buttercream, twist one end of the plastic wrap so the buttercream doesn’t come out. On the other end, cut the plastic wrap close to the buttercream. You’ll then place the wrapped buttercream into the piping bag fitted with the Wilton 1M tip.
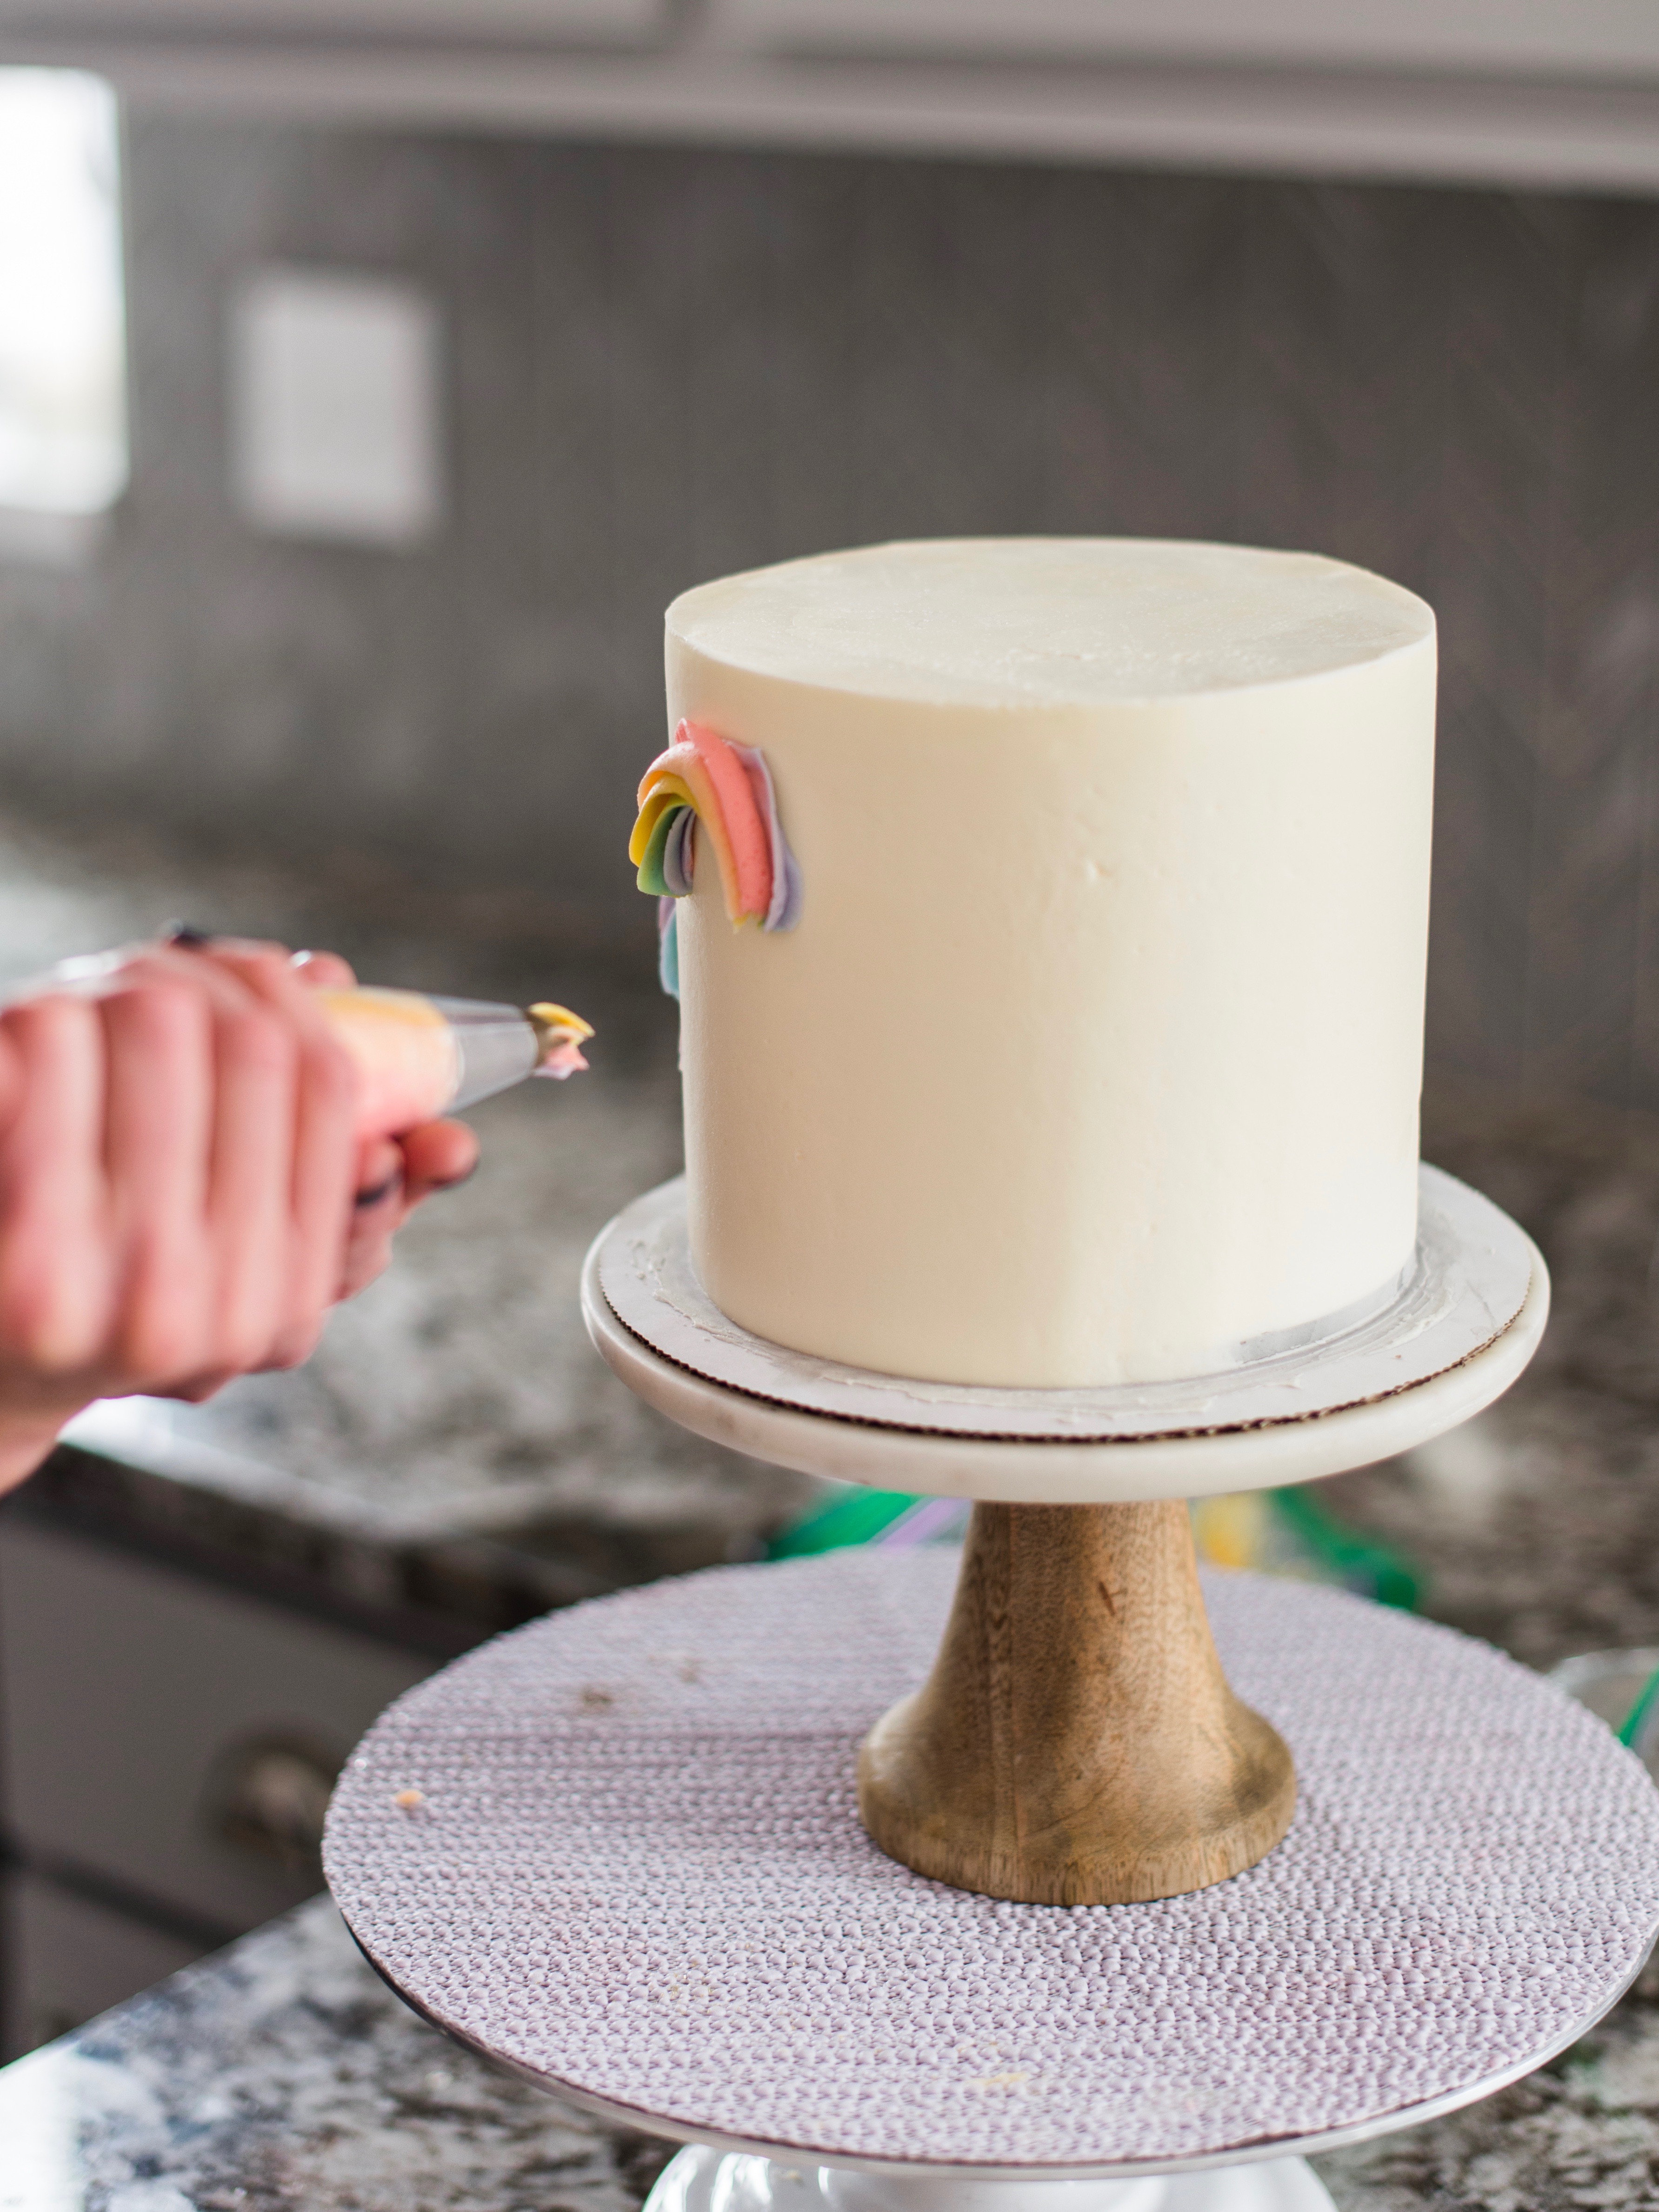
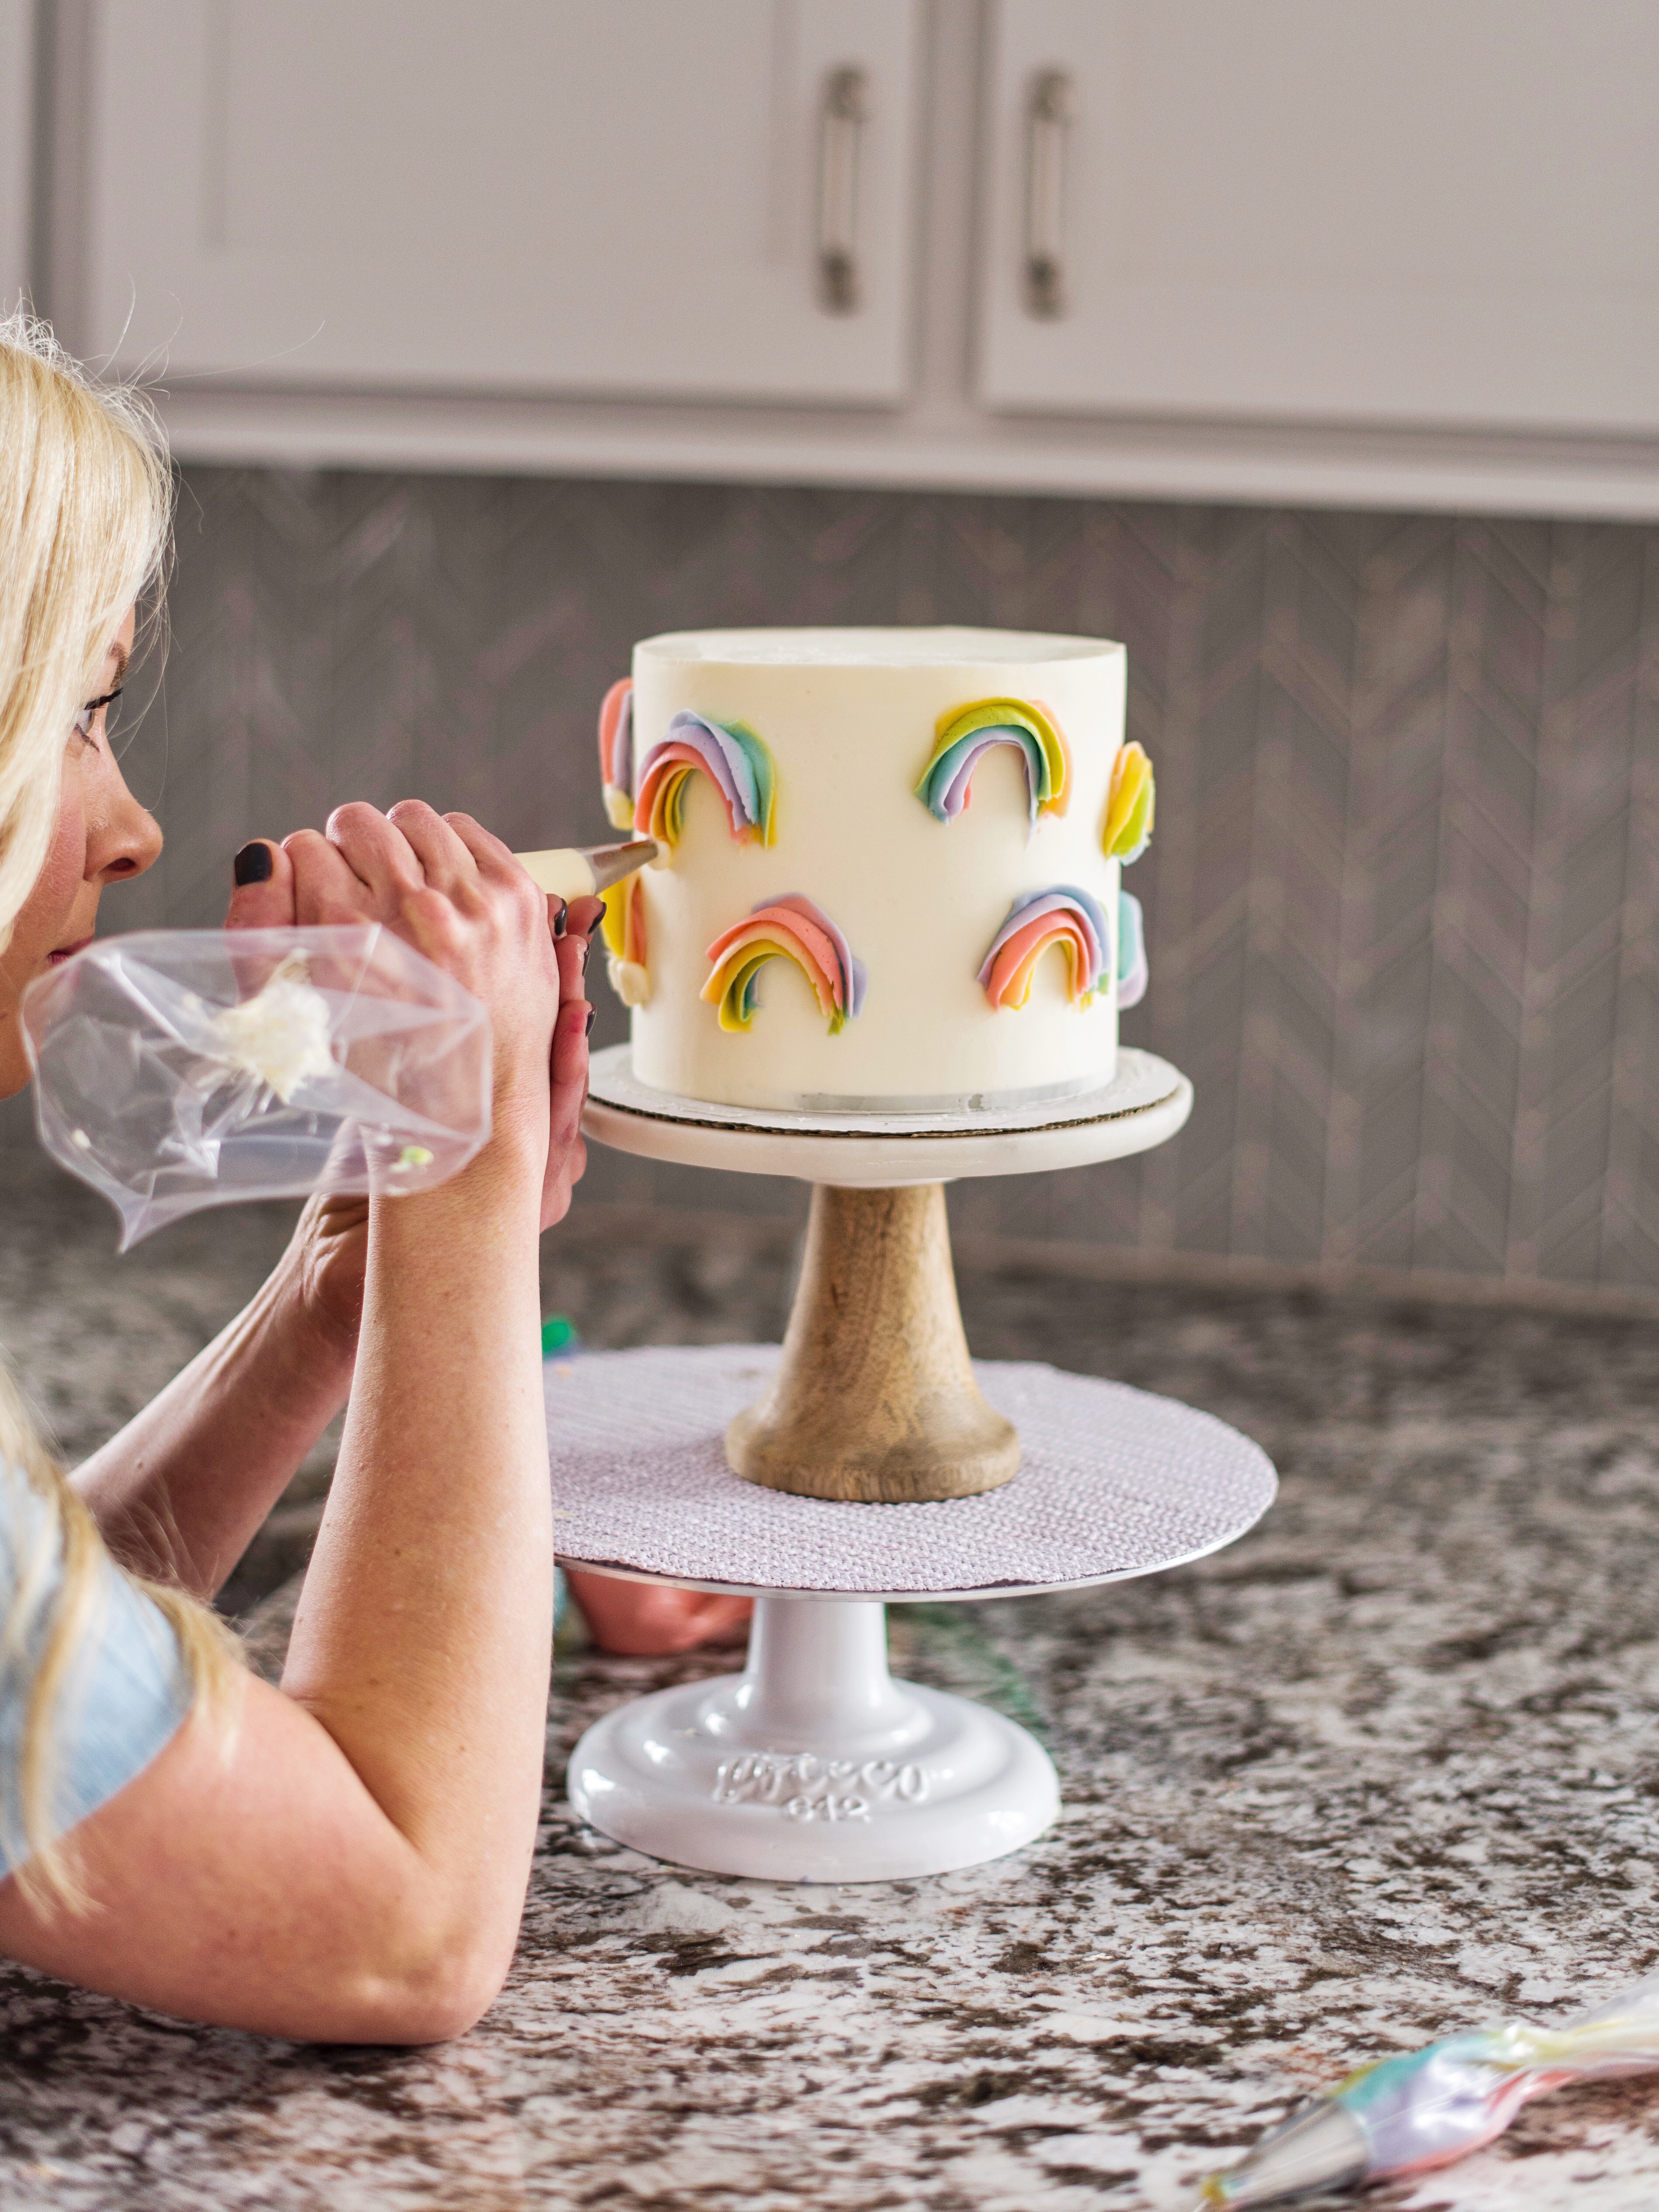
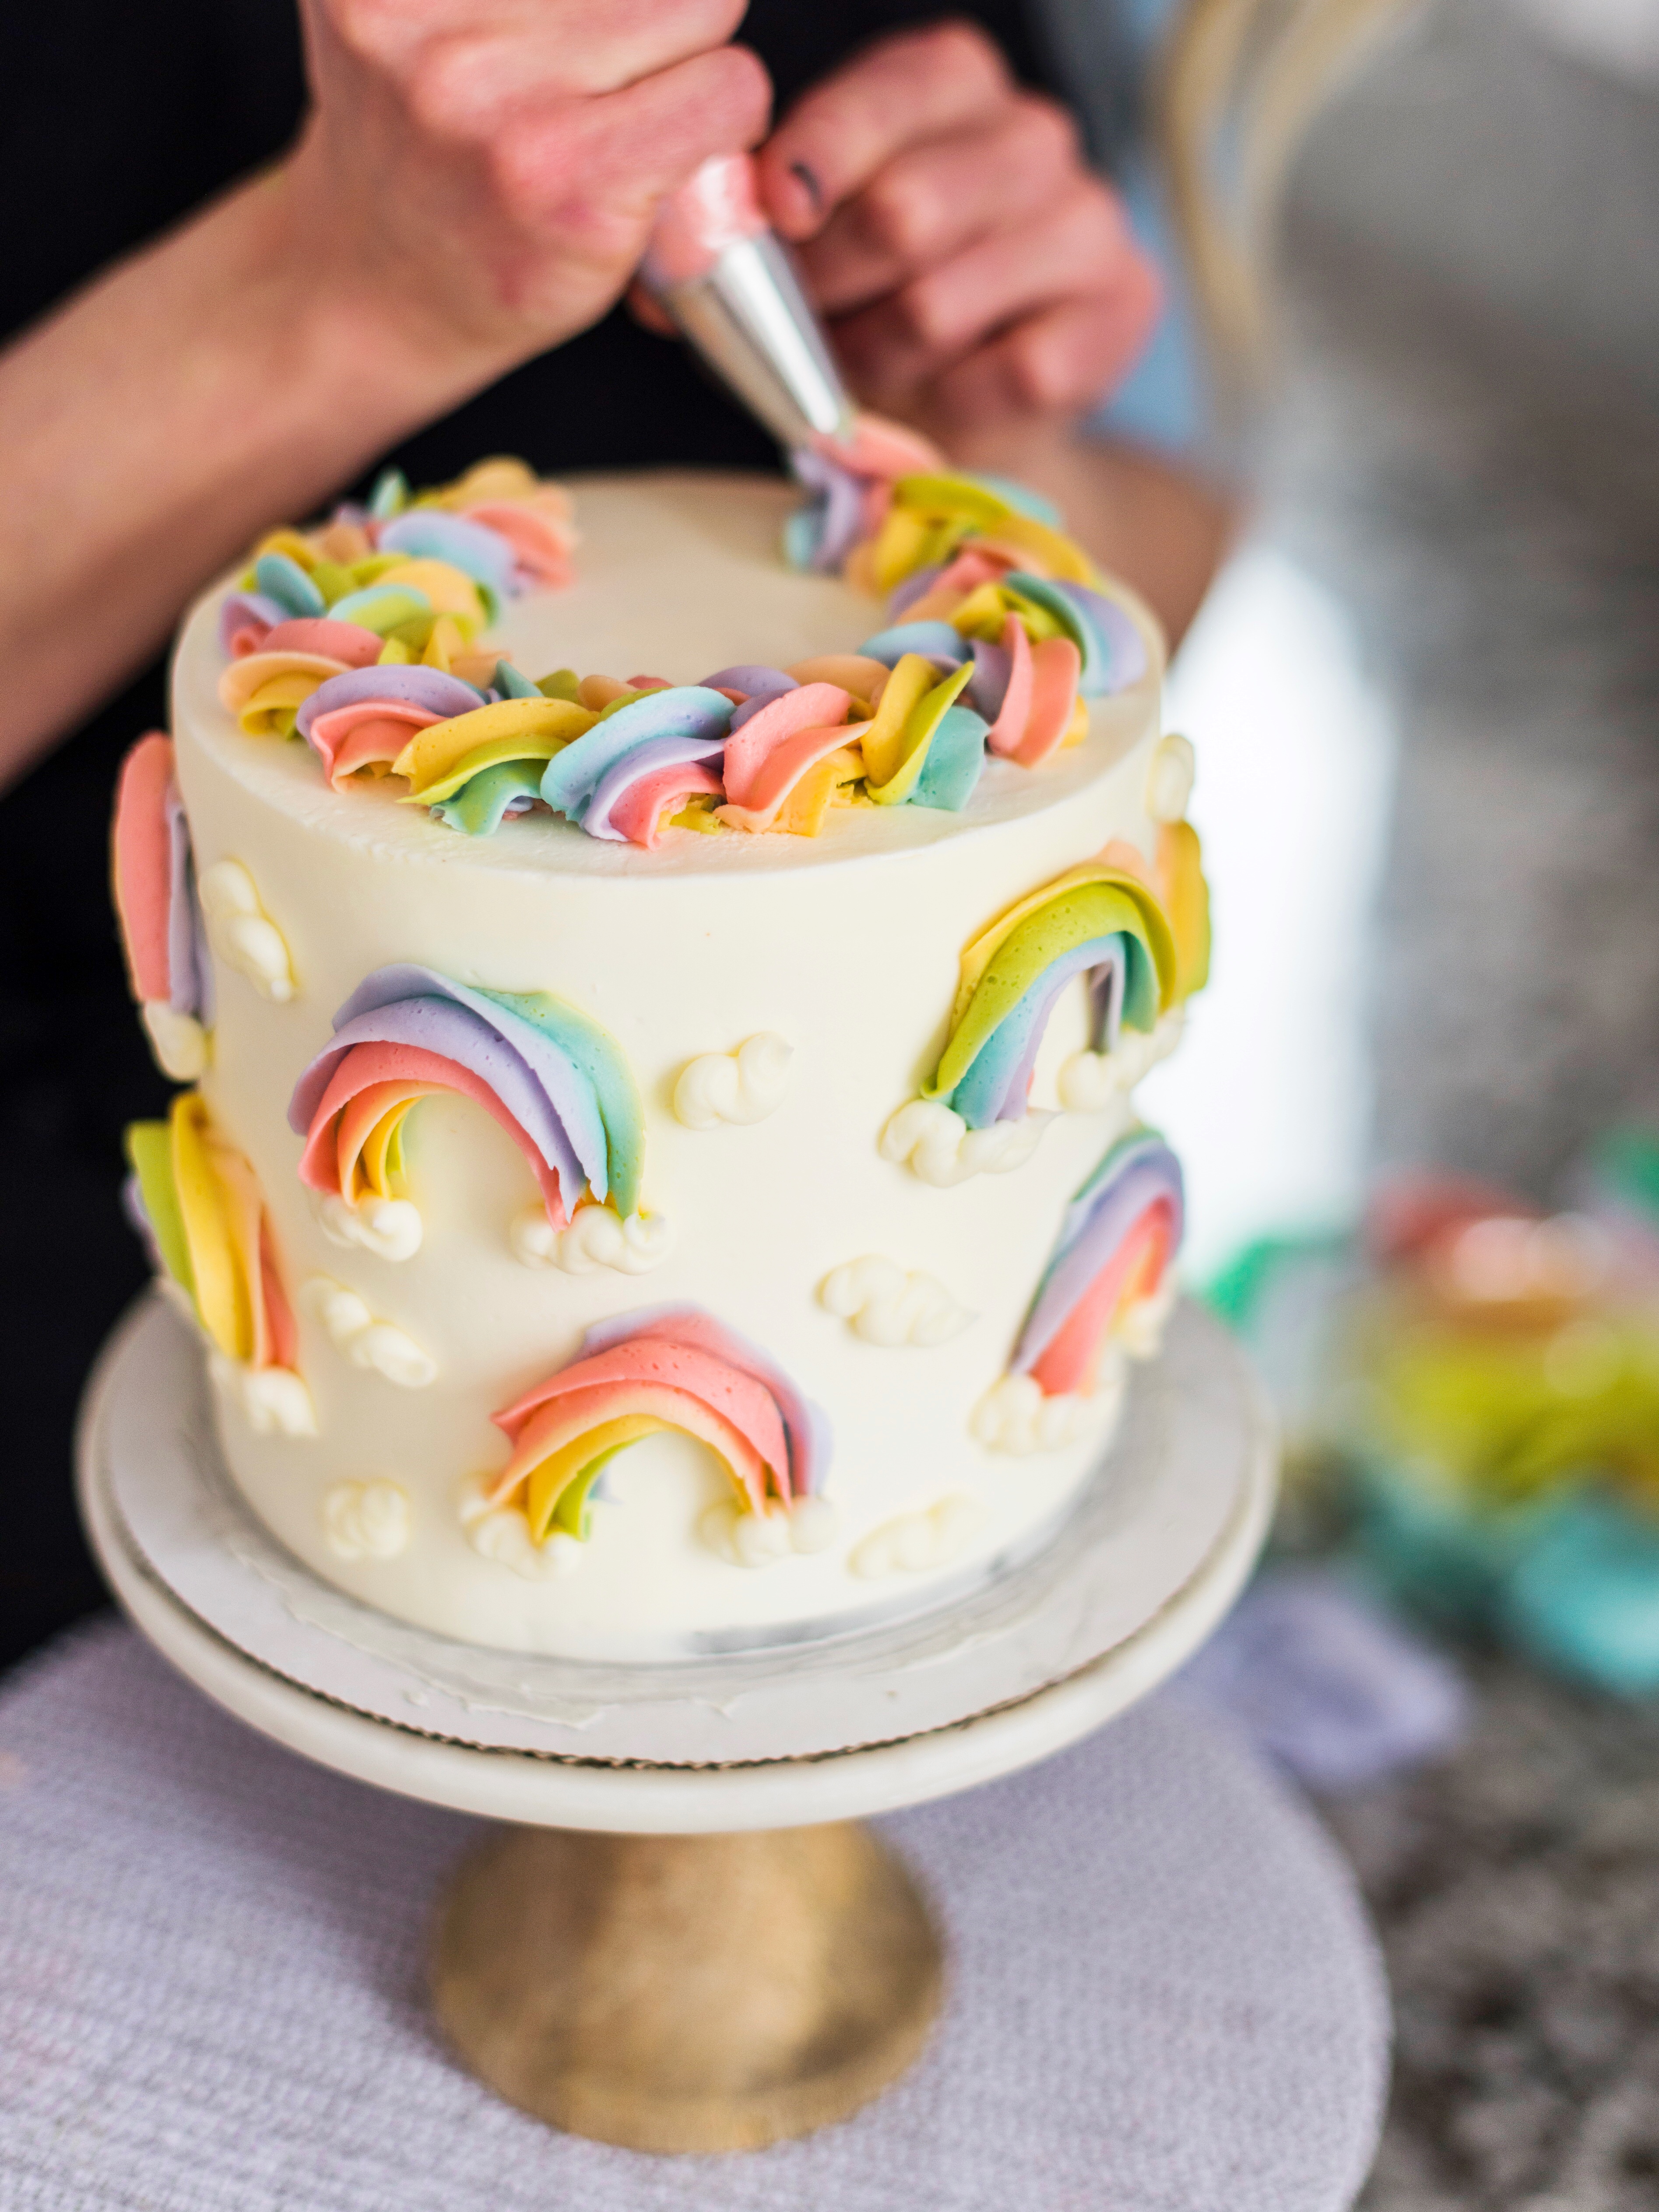
Piping Rainbows
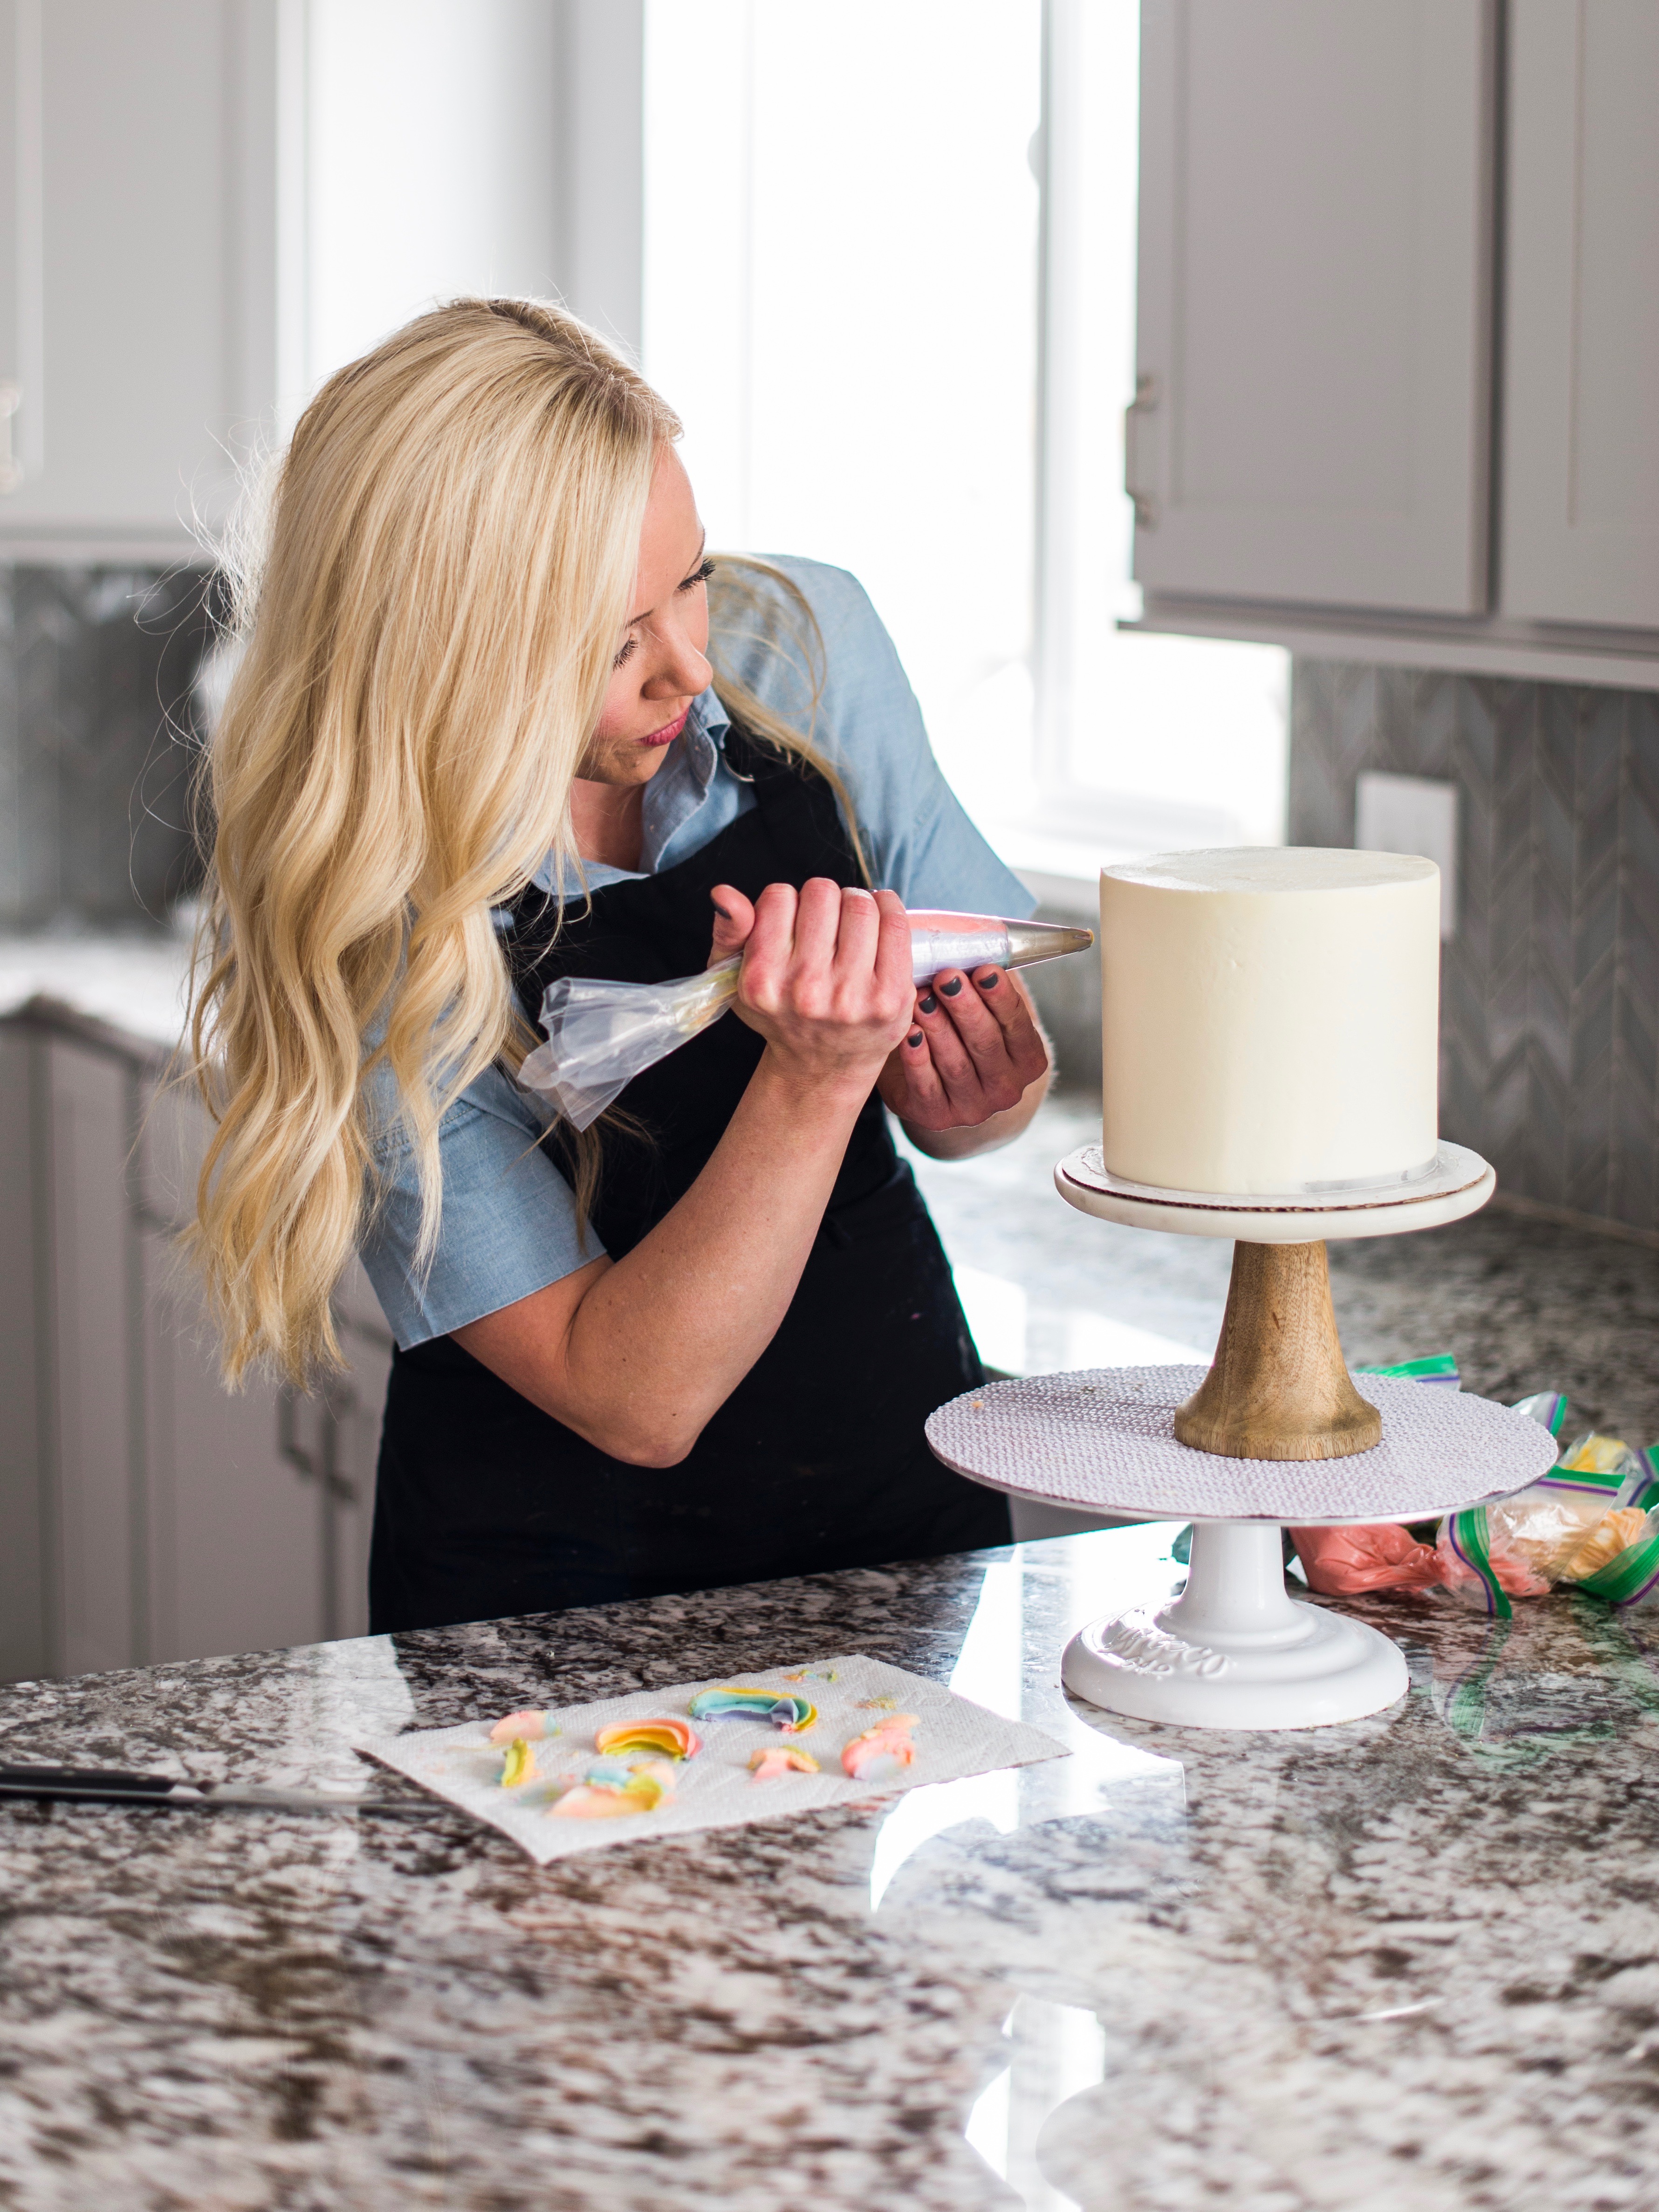
To create the rainbow, simply pipe a half circle onto a frozen or chilled cake. For best results, place your cake on a tall cake stand and the place the cake stand on your turn table. It will be much easier for you to pipe if you’re as close to eye level with the cake as possible.
After you’ve piped all the rainbows onto the side of the cake, it’s time to pipe the clouds. Place your white frosting into a piping bag fitted with the Wilton #10 tip.
Again, positioning yourself as close to eye level with the cake as possible will make it much easier to pipe onto the side of the cake.
To create the clouds, simple pipe a sideways “s” or squished “m.”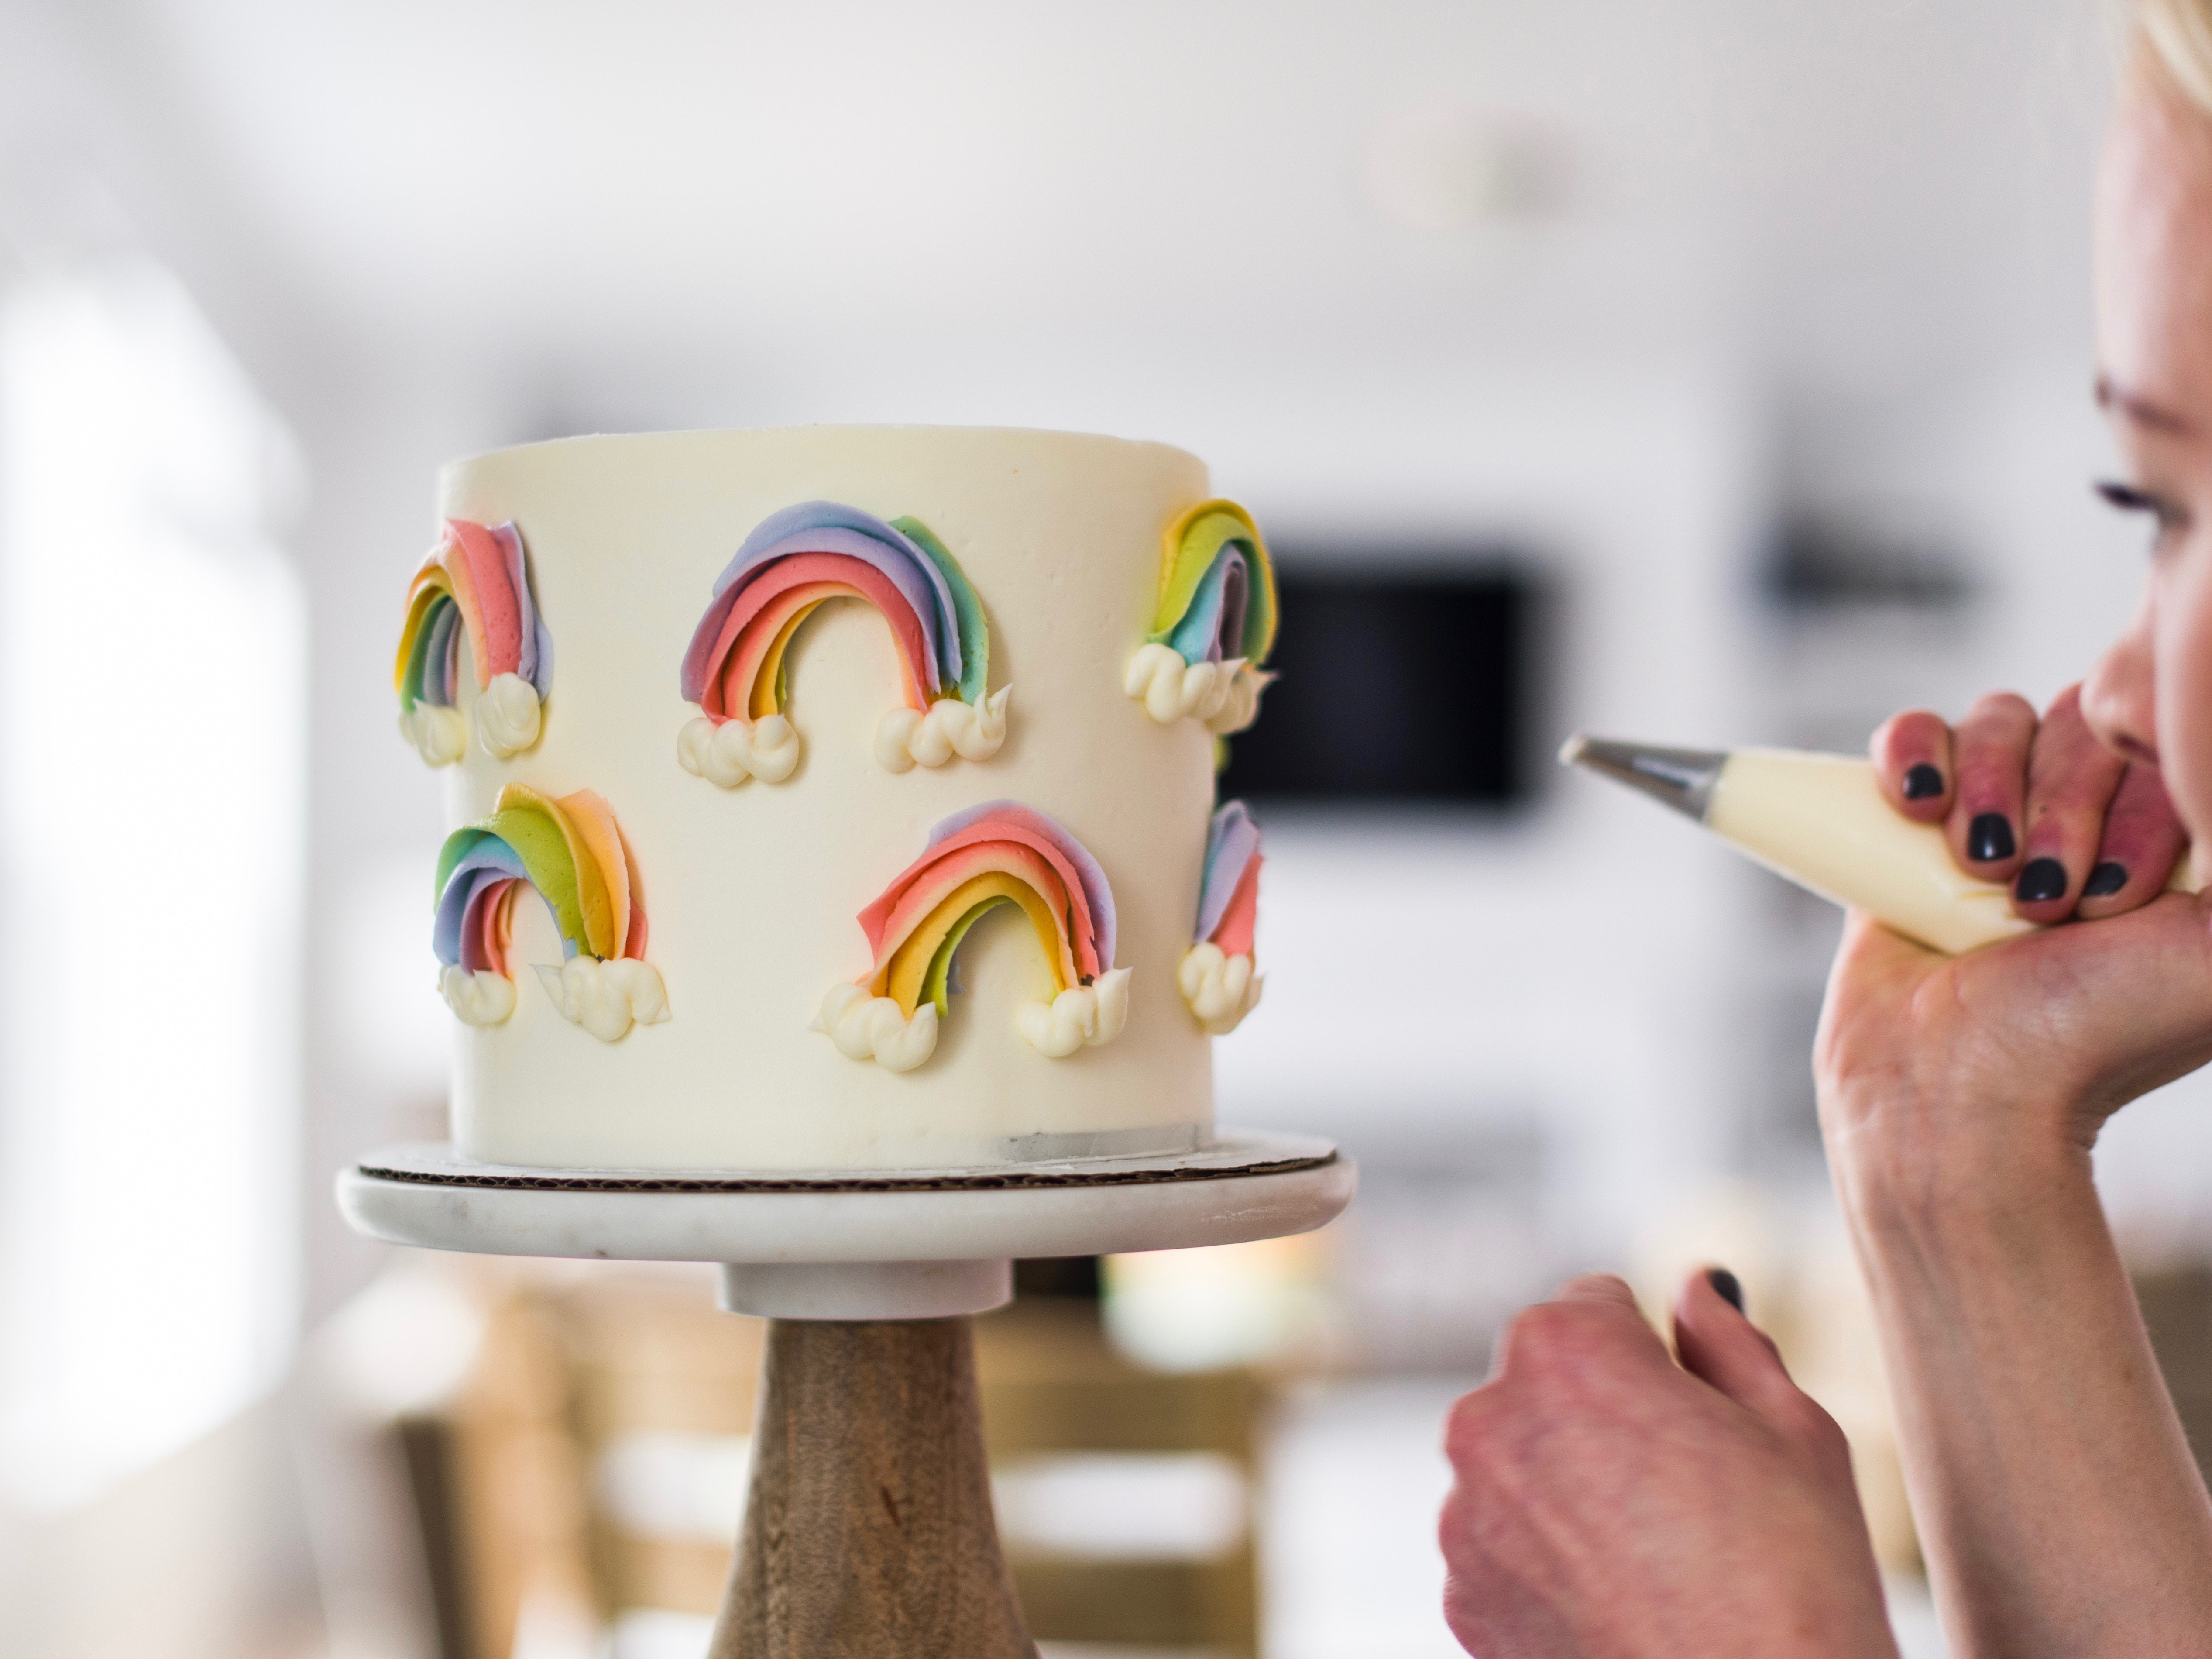
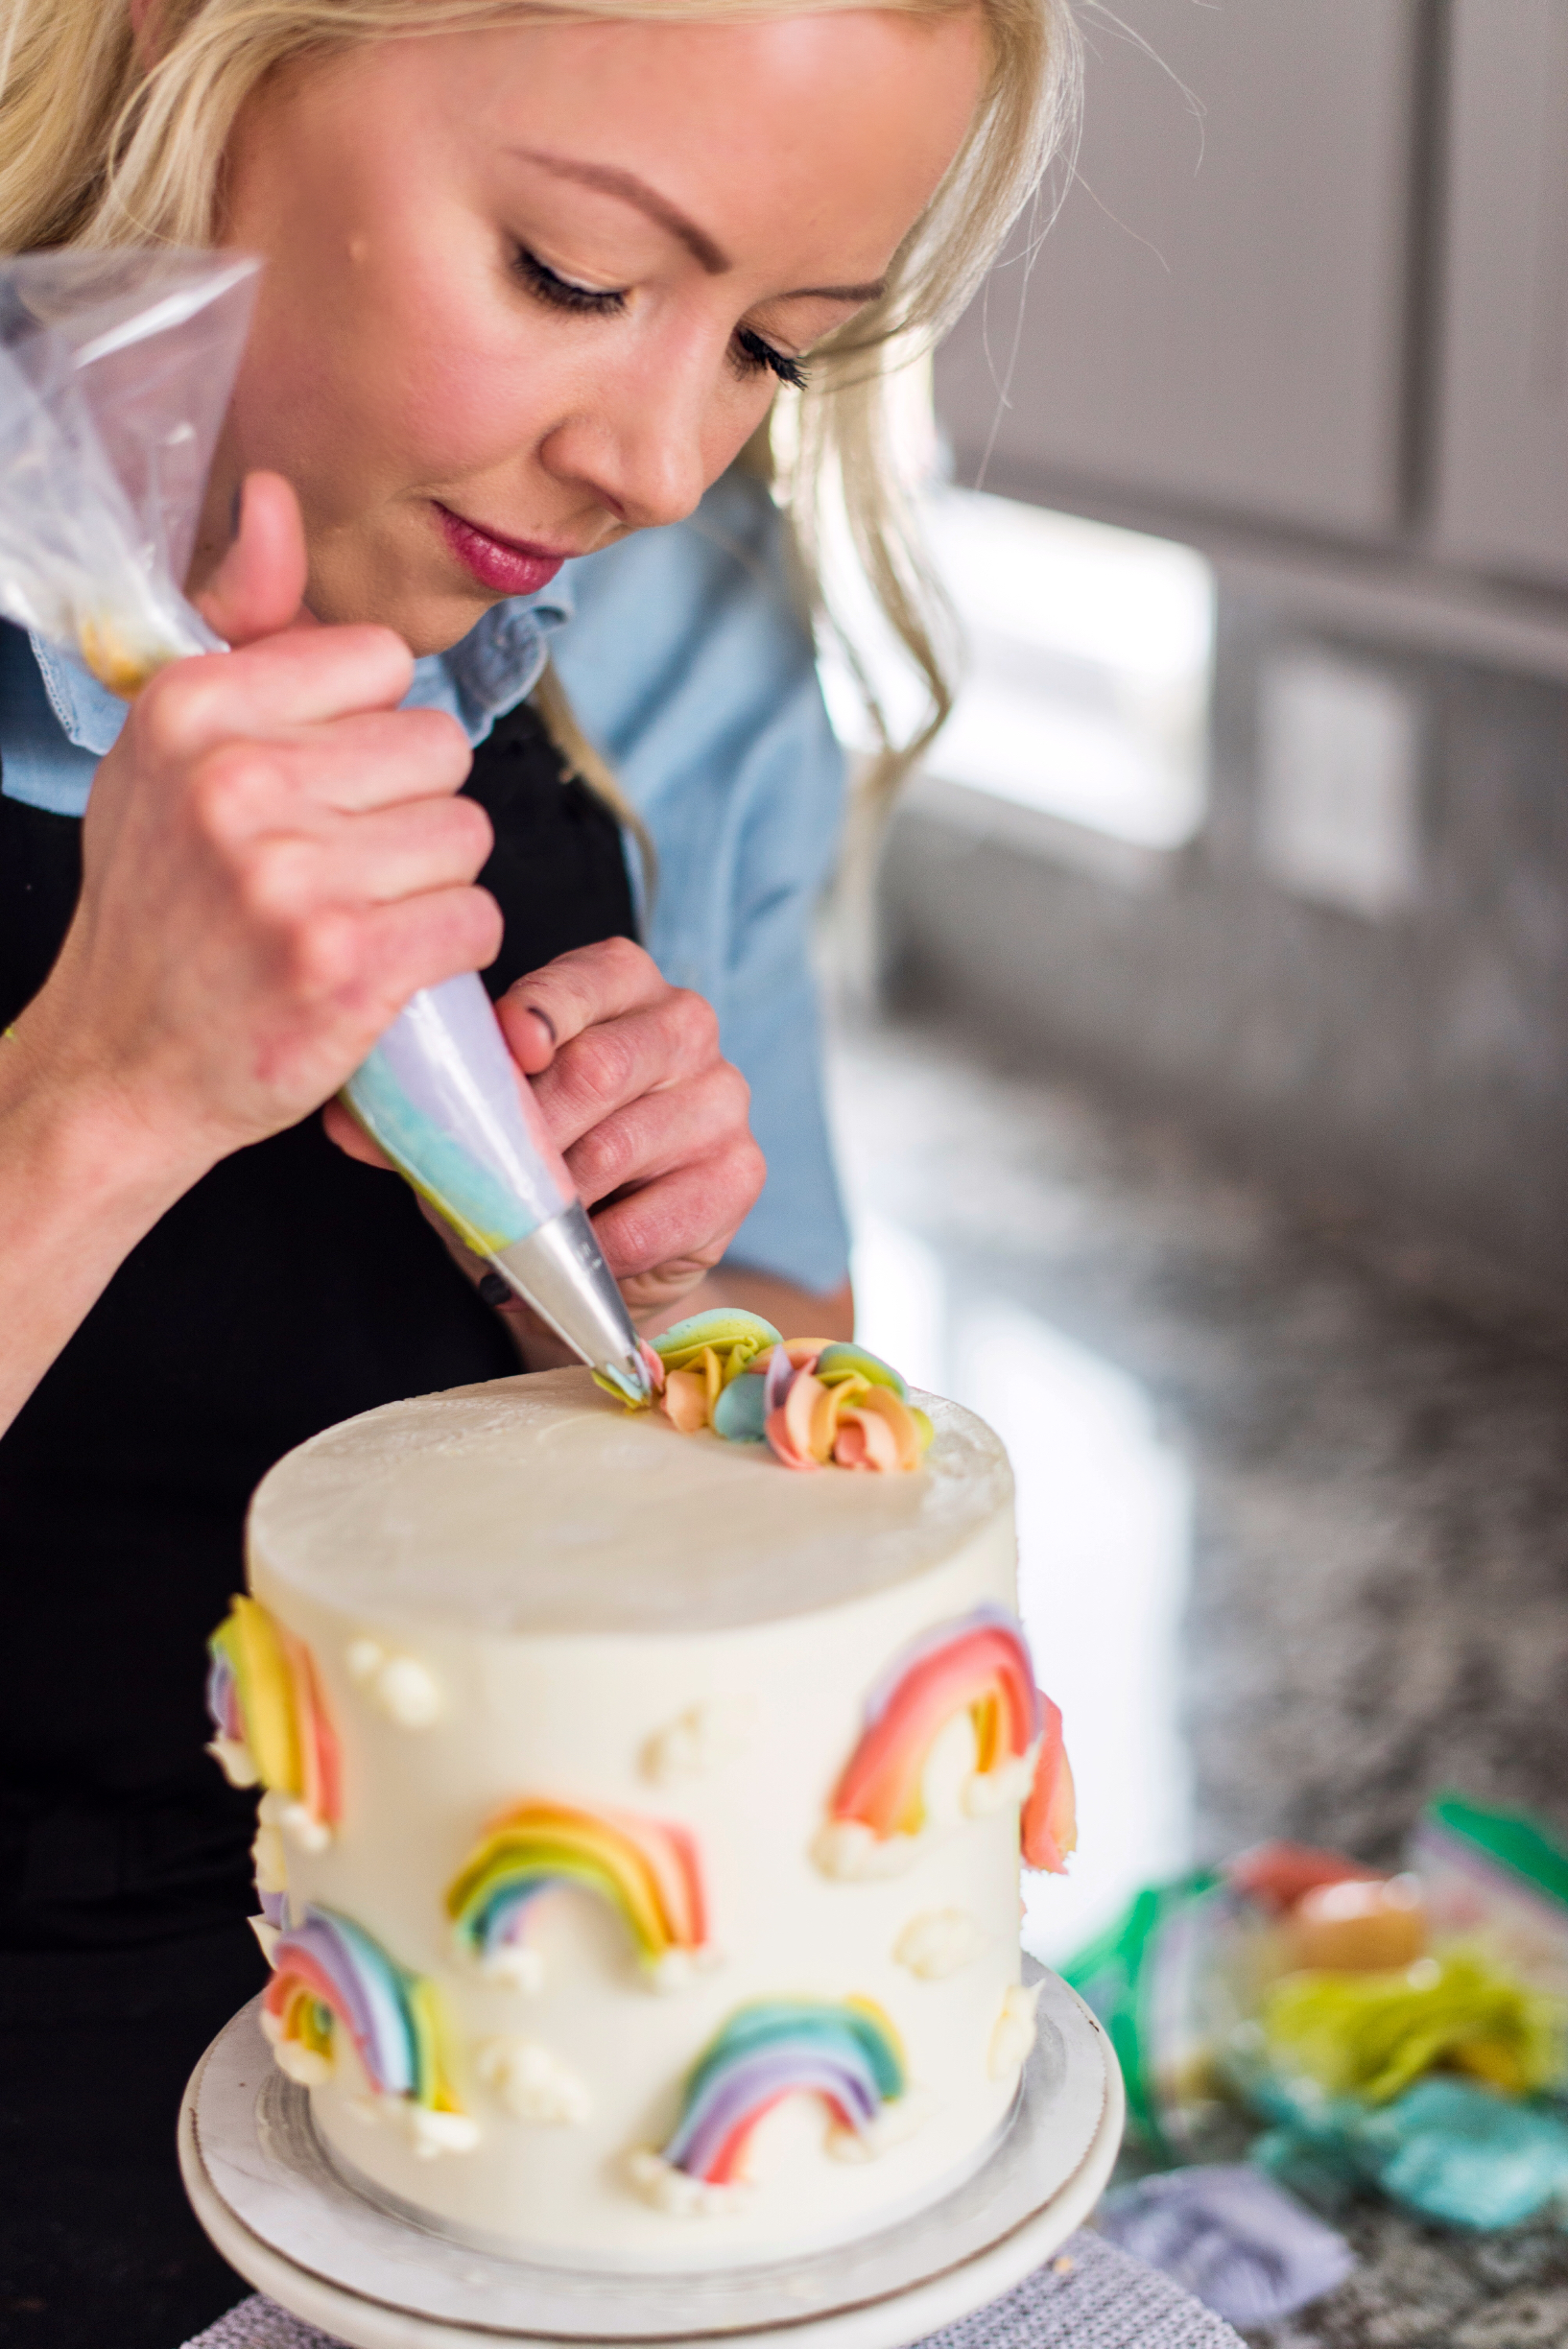
To finish off the cake, grab the rainbow piping bag again and create a braid around the top of the cake. I left about a half inch from the edge of the cake to where I started by the rainbow.
To see a video tutorial of the buttercream braid, take a look at my segment on Fox from December when I used the braid to create a wreath.
And that’s it! Easy peasy, right? Can’t wait to see you give this a try!
Similar Recipes You’ll Enjoy

I hope you can make a video on how did you piped the rainbow on the side. ? is it somehow twisted? ?? I am thinking of making this one on April. Thank you so much!
There are step by step instructions on the post.
Hi! I would love to make this for my niece’s first birthday smashcake next weekend. Could you please tell me what cake recipe of yours you’ve used for this?
Thanks so much!
I love your cakes so much?❤️
Thank you!
Hi did you whiten your original buttercream for the cake ?
No.
May I ask what size cake did you make & how many layers!?
4 layer 6 inch cake.