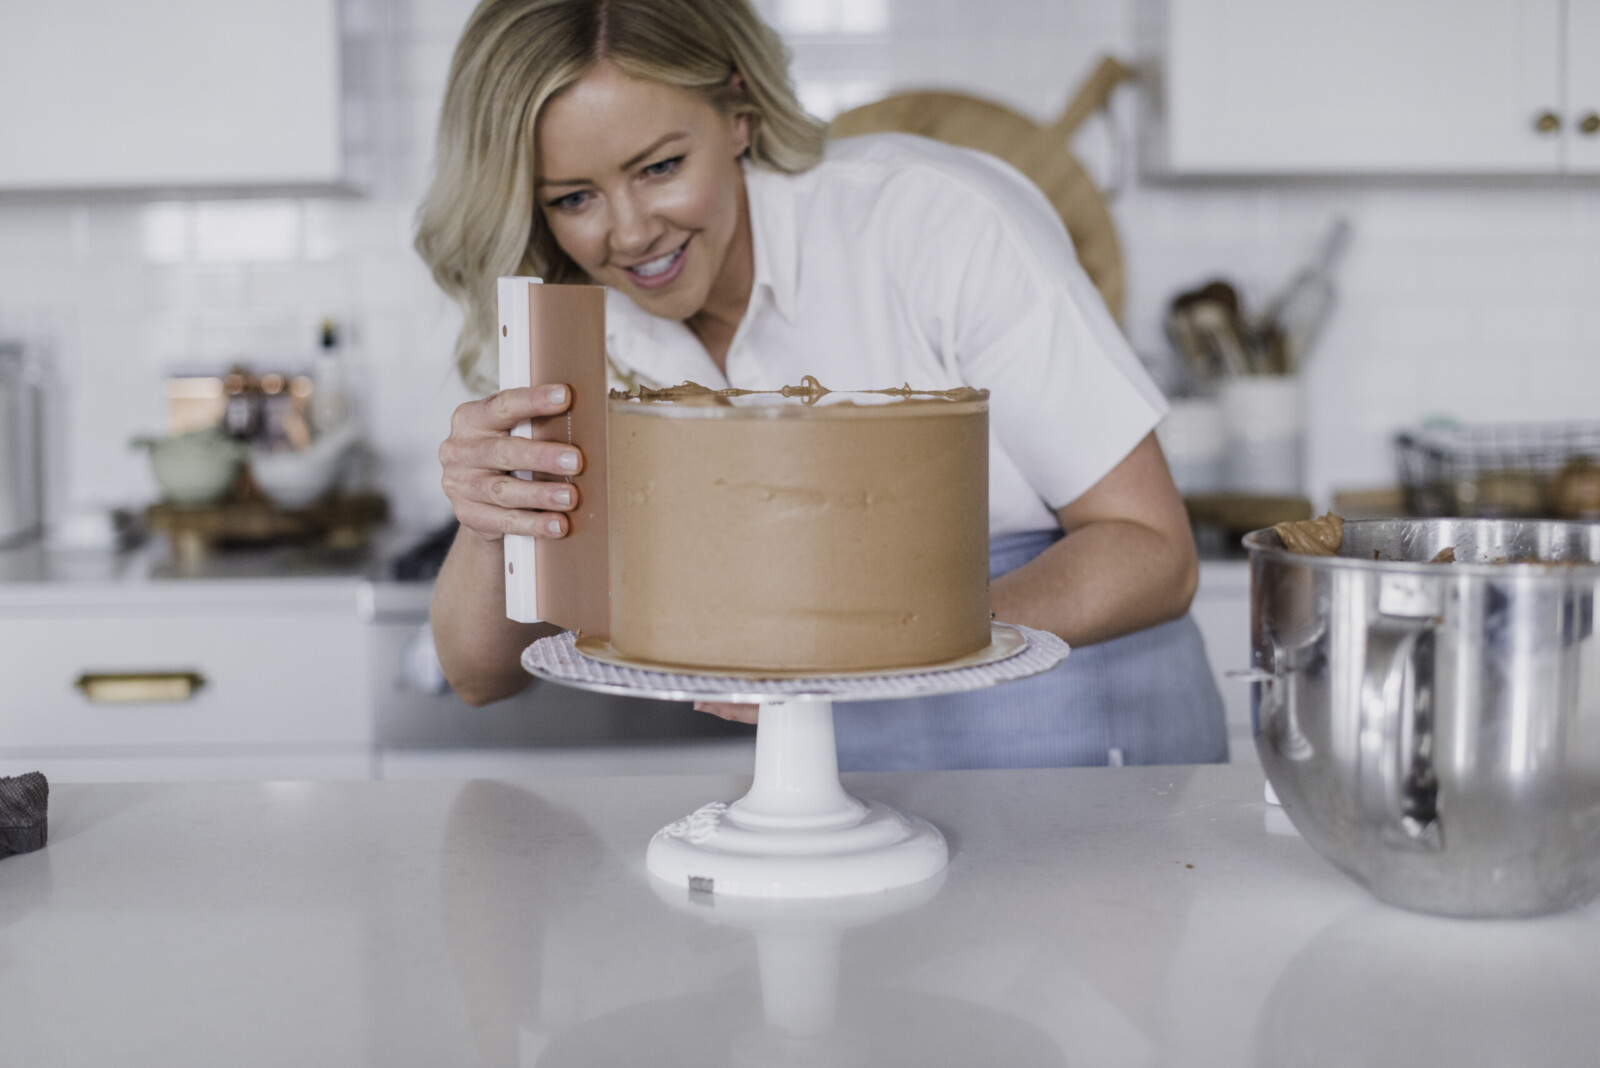
Baking a three-layer cake can seem daunting, but with the right approach and a few handy tips, you can achieve a stunning and delicious creation with ease. Whether you’re preparing for a birthday, anniversary, or any special occasion, here’s a step-by-step picture and video guide to help you stack and decorate a three-layer cake stress-free.
Step 1: Bake and Cool Your Cake Layers
- Choose Your Recipe: Start by selecting a reliable cake recipe – any on my site will work 😉 . Ensure you have enough batter for three layers (generally 16 ounces per pan, which you’ll find is the case on most of my recipes).
- Prep Your Pans: Spray your pans with nonstick spray, line the bottom with parchment paper and spray again to prevent sticking.
- Even Layers: Use a kitchen scale to divide the batter evenly among the pans. Bake according to the recipe’s instructions and always use room temperature ingredients.
- Cool Completely: Allow the cakes to cool in the pans for 10 to 15 minutes, then turn them out onto wire racks to cool completely.
- Level the Tops: If necessary, use a cake leveler or a serrated knife to trim the domed tops off each cake layer. This step ensures your layers are flat and will stack evenly.
- Chill: For best results, wrap each layer in plastic wrap and chill them in the freeze for at least an hour.
Step 2: Prepare Your Frosting
- Choose Your Frosting: Buttercream is a popular choice for its smooth texture and versatility. Whip up a batch of your favorite frosting recipe. I love this one.
- Set Up Your Workspace: Have all your tools ready—offset spatula, piping bags, cake turntable (if you have one), and any decorations you plan to use.
Step 3: Assemble the Cake
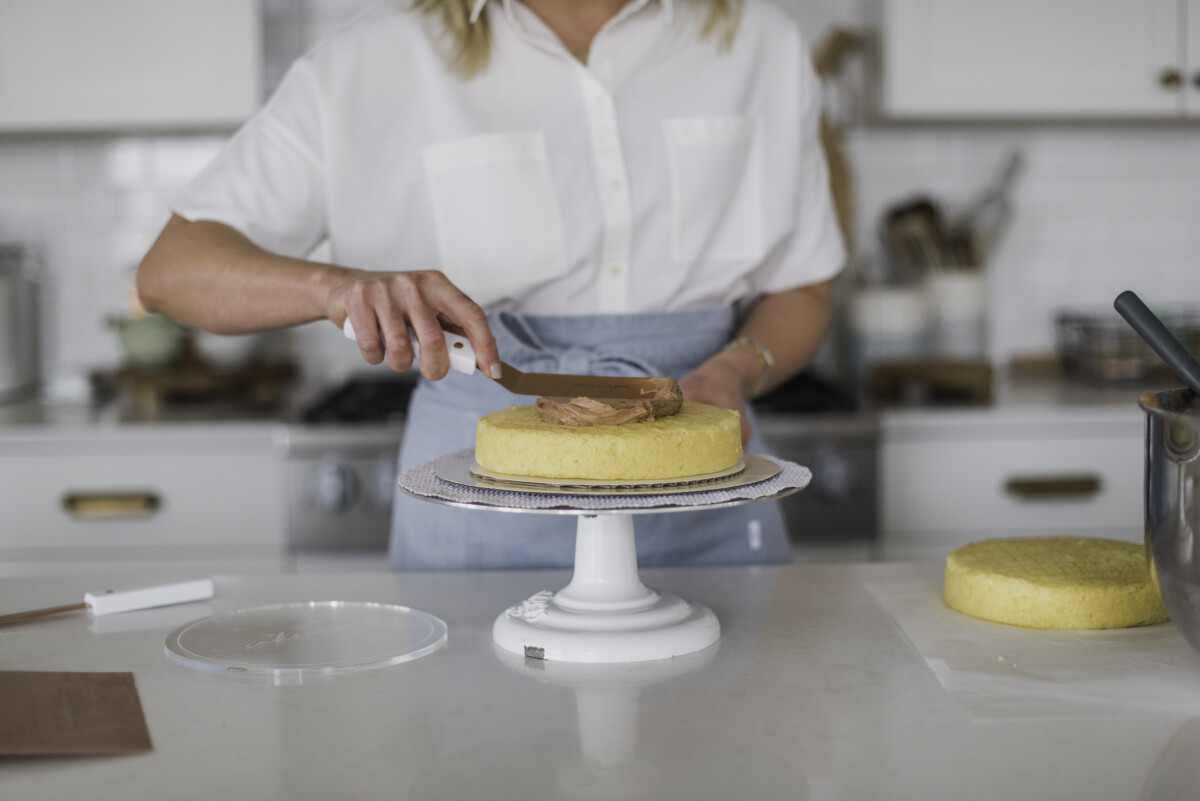
- Start with a Dab of Frosting: Place a small amount of frosting in the center of your cake board or serving platter to secure the bottom layer.
- First Layer: Place the first cake layer on the board. Spread a generous amount (about 1 cup) of frosting on top, using an offset spatula to spread it evenly.
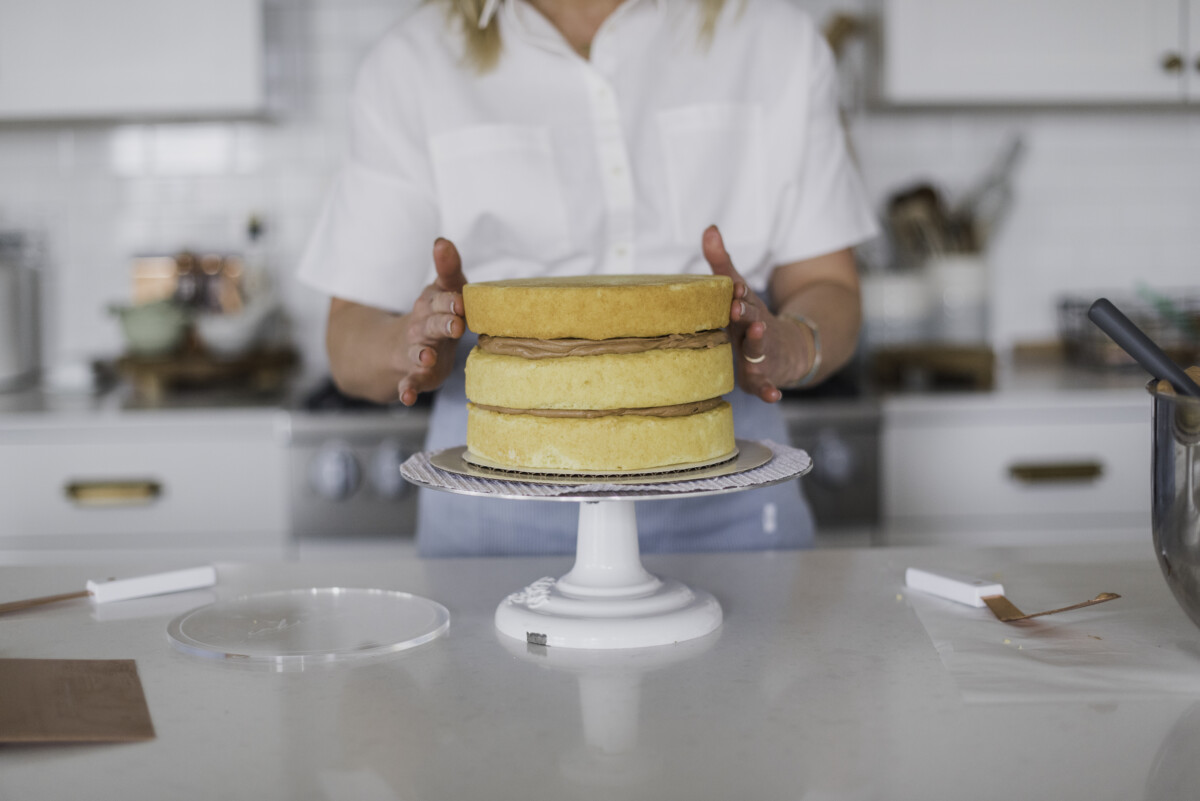
- Repeat: Add the second layer, pressing gently to adhere. Spread more frosting on top.
- Top Layer: Place the final layer , top side down, to give a flat top surface. Apply a thin layer of frosting all over the cake to create a crumb coat. This seals in crumbs and creates a smooth base for the final layer of frosting.
- Chill the Cake: Freeze the cake for 10 to 15 minutes to set the crumb coat.
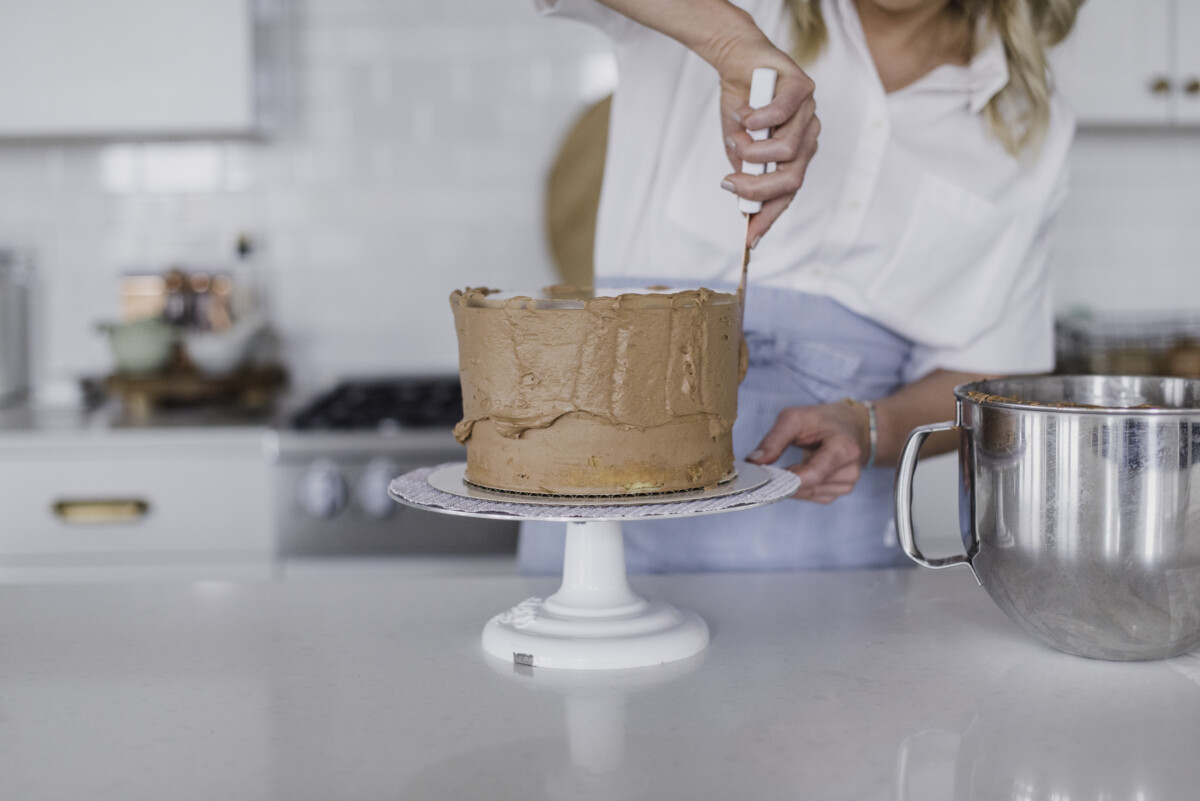
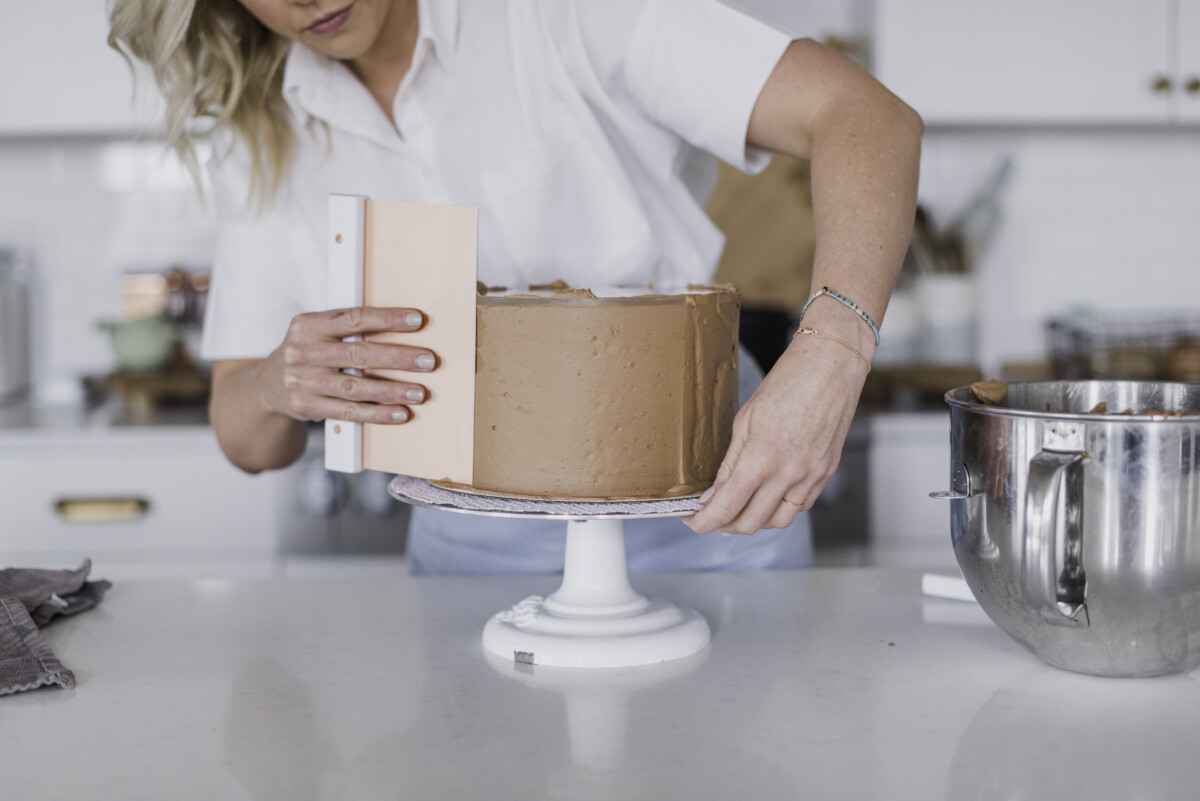
Step 4: Final Frosting and Decorating
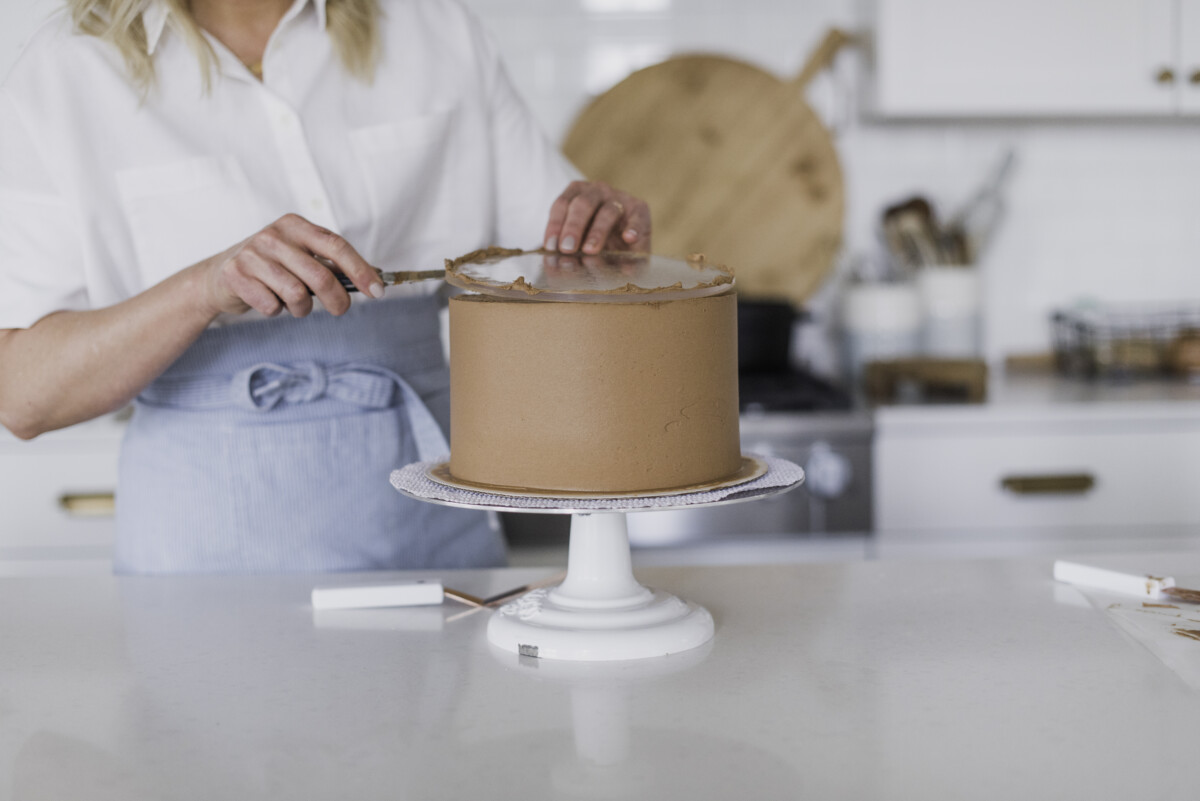
- Final Coat: Apply a thicker layer of buttercream, smoothing it out with your spatula. Use a cake scraper for an even finish.
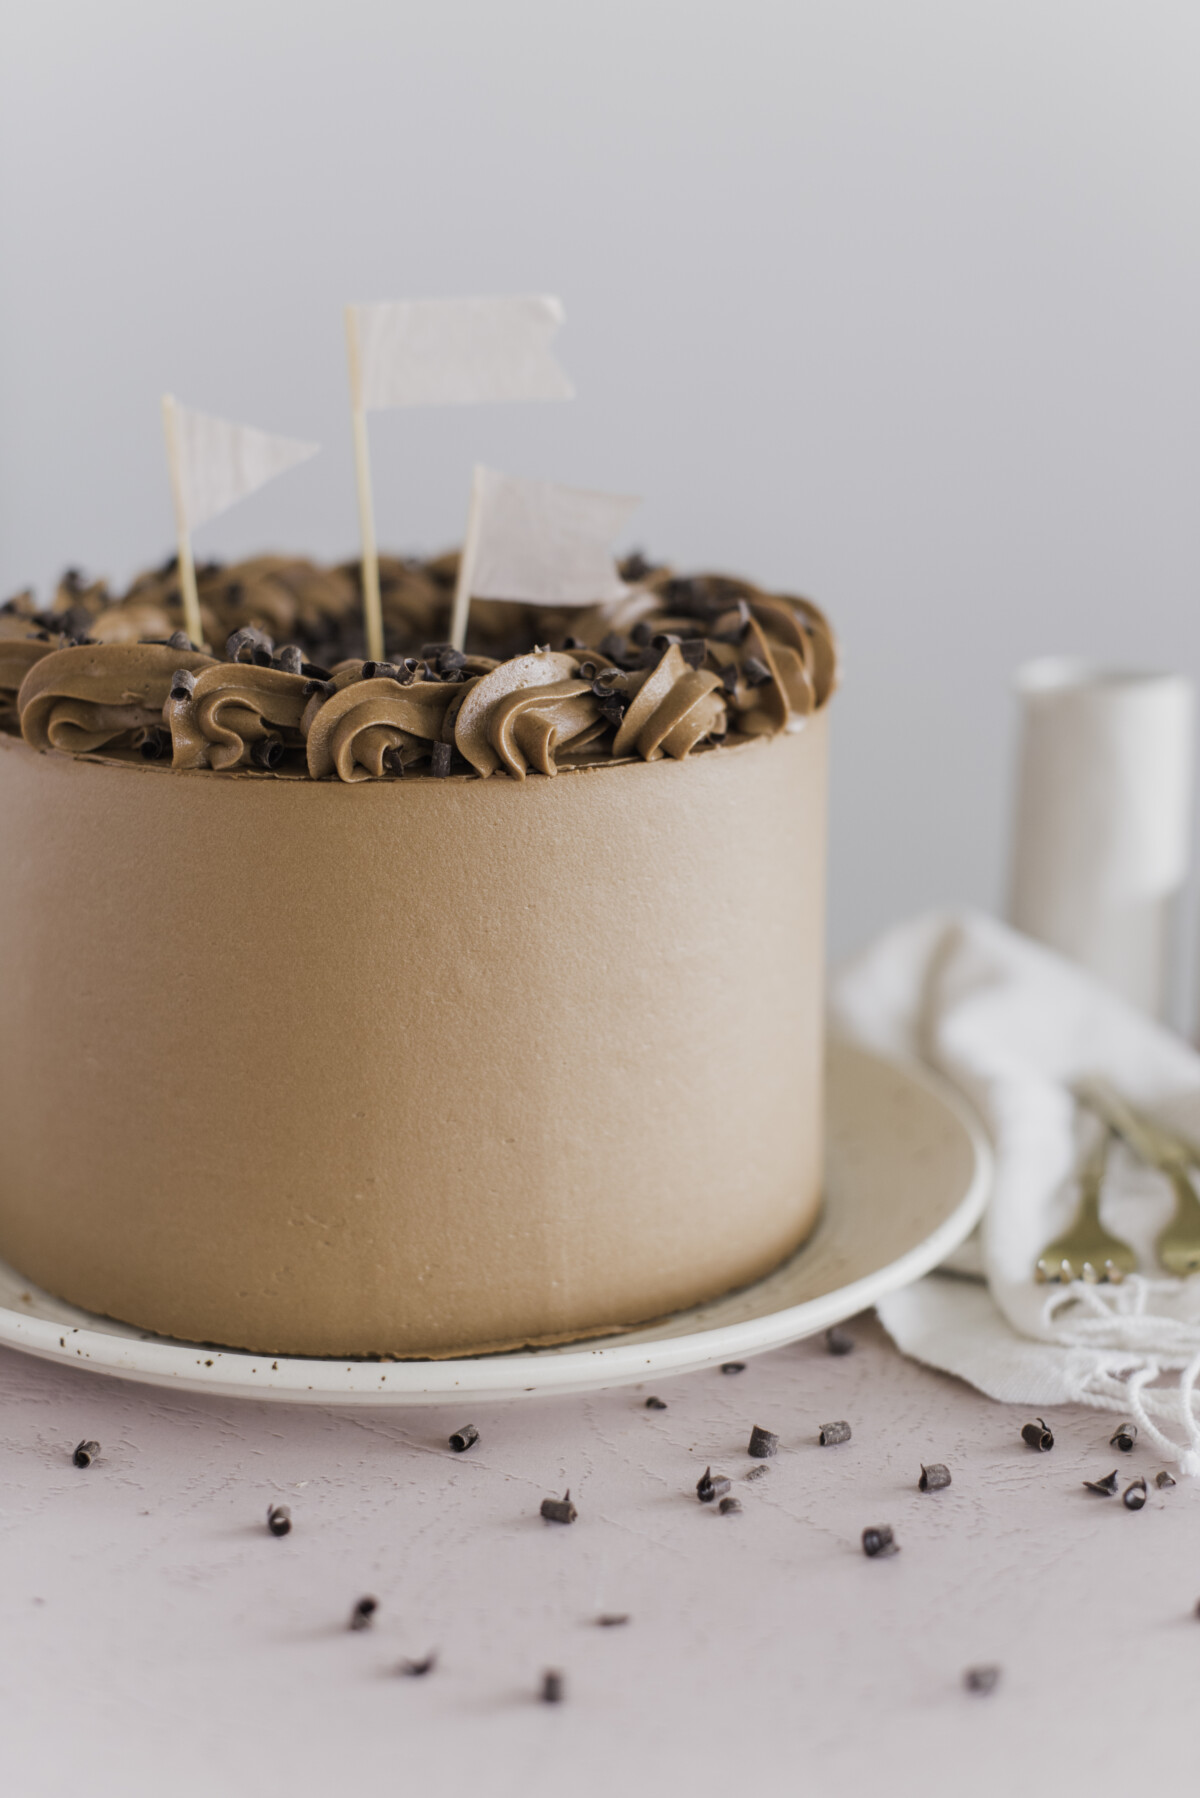
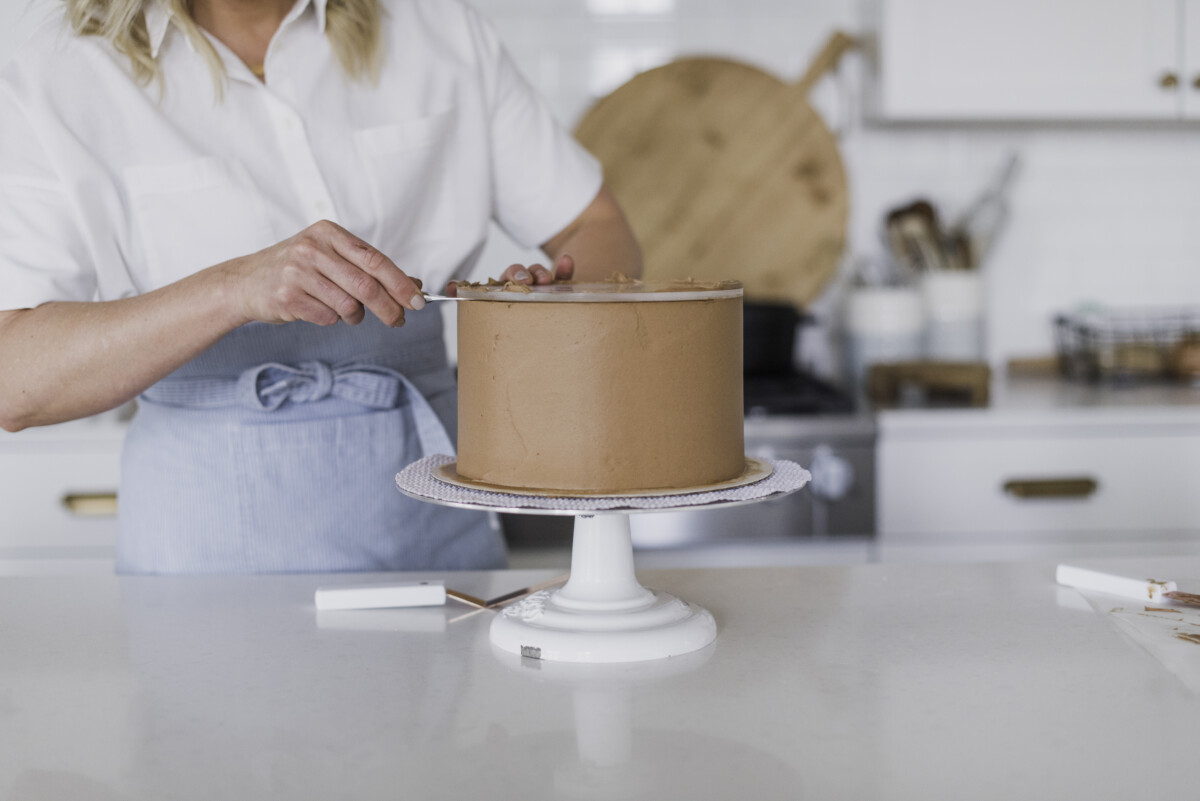
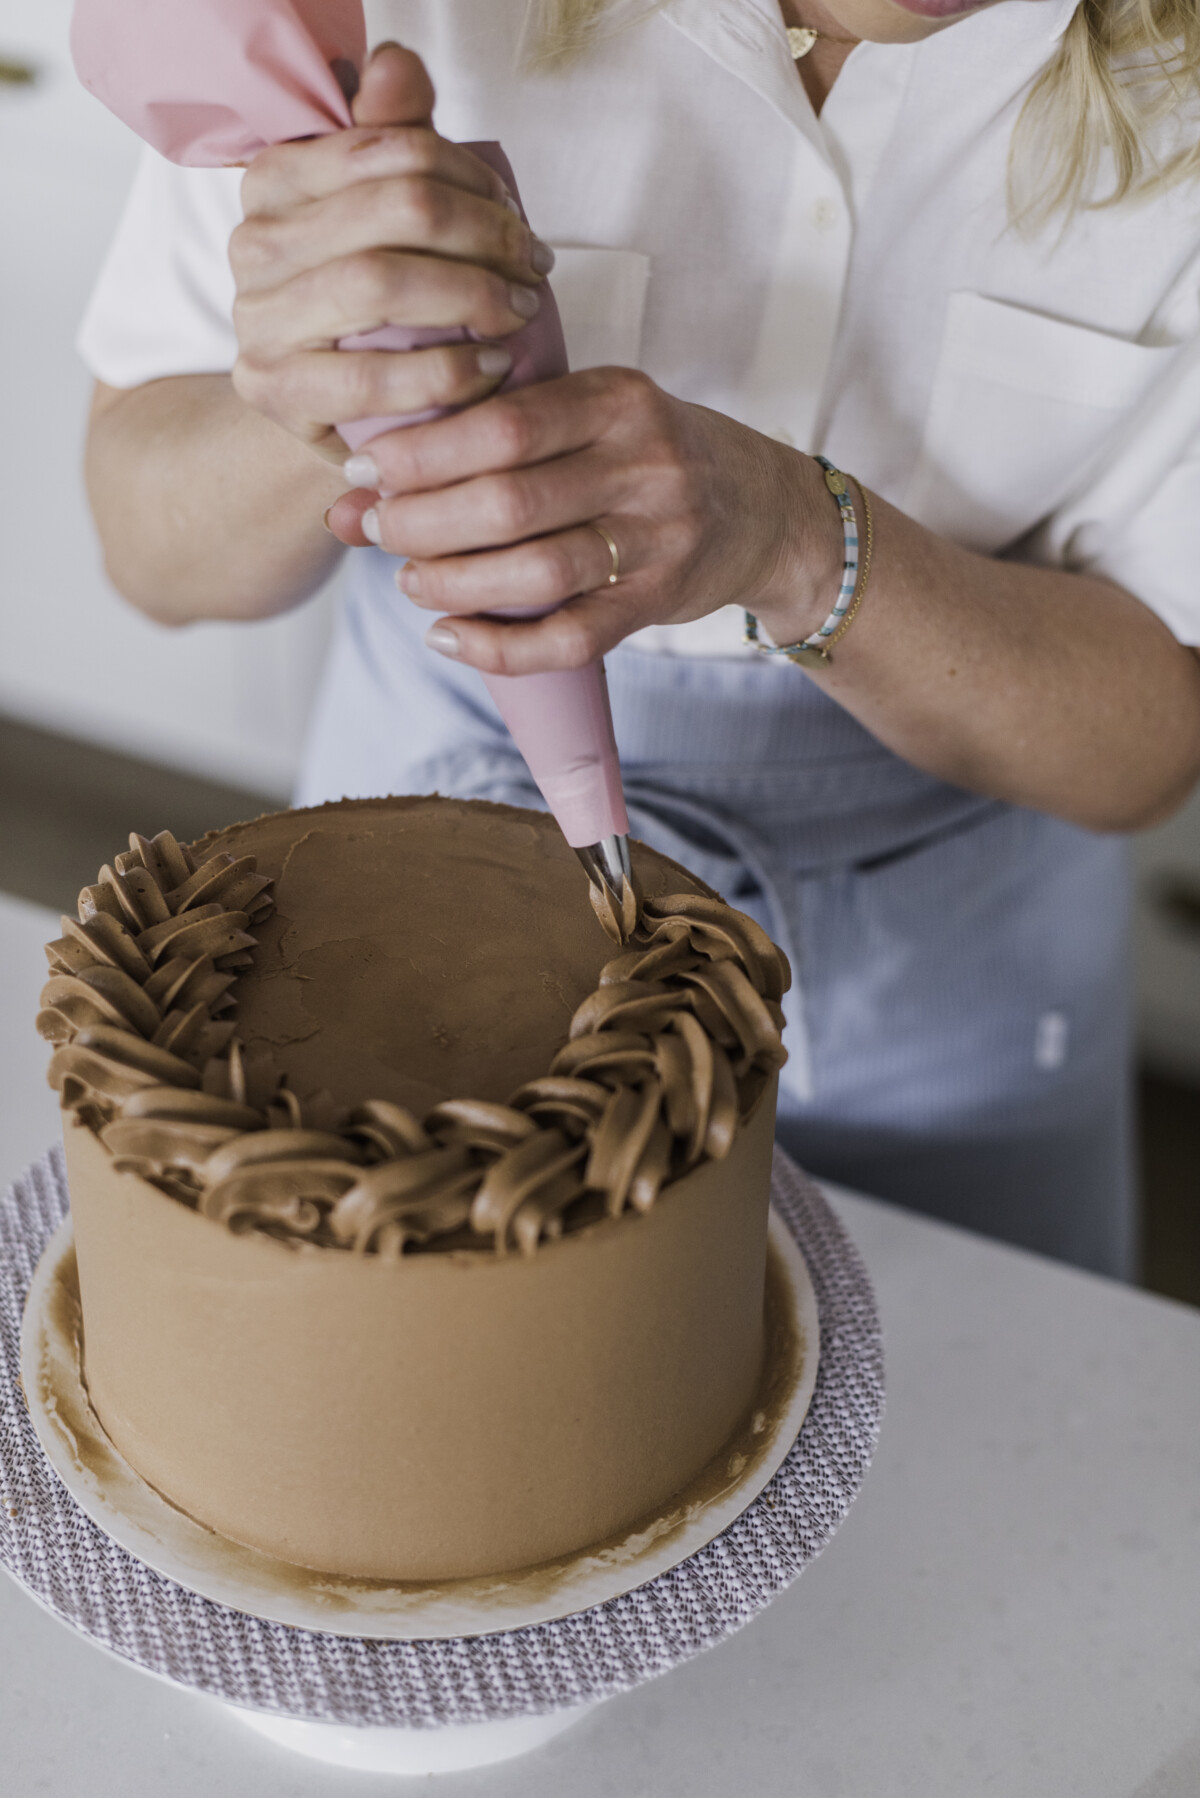
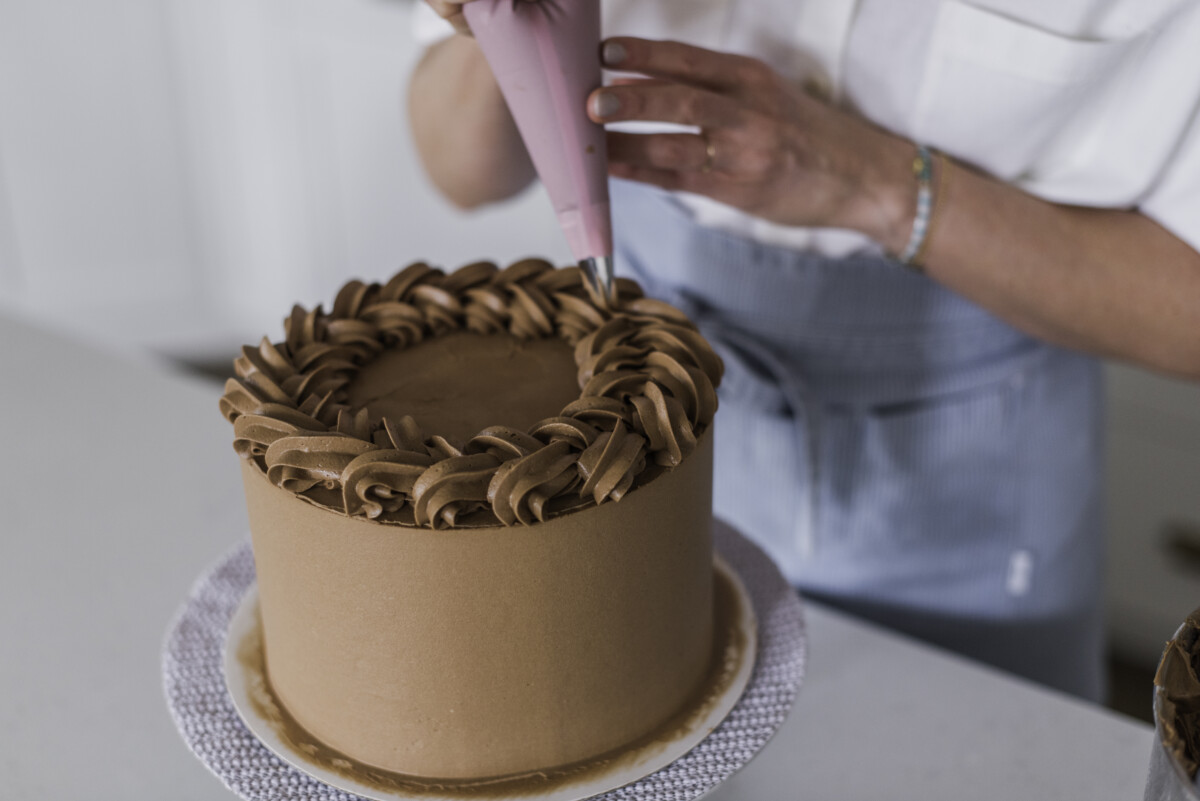
- Decorate: Here’s where you can get creative. Add piped borders, fresh fruit, sprinkles, or any decorations you like. For a professional look, consider using a rotating cake turntable.
- Pro Tip: Check out my video below to see how I use an Acrylic Disk to get sharp edges and straight sides on my cake.
Video Tutorial
Tips for a Stress-Free Experience
- Plan Ahead: Bake your cake layers a day in advance. Chilling them overnight makes assembly easier.
- Stay Organized: Have all your tools and ingredients prepped and within reach.
- Take Your Time: Rushing can lead to mistakes. Give yourself plenty of time to stack and decorate.
- Practice Patience: If your frosting isn’t smoothing out perfectly, don’t stress. Imperfections add character!
- Embrace Simplicity: Sometimes, less is more. Simple designs can be just as stunning as intricate ones.
With these steps and tips, stacking and decorating a three-layer cake becomes a manageable and enjoyable process. Remember, practice makes perfect, and each cake you create will be a delicious success. Happy baking!

