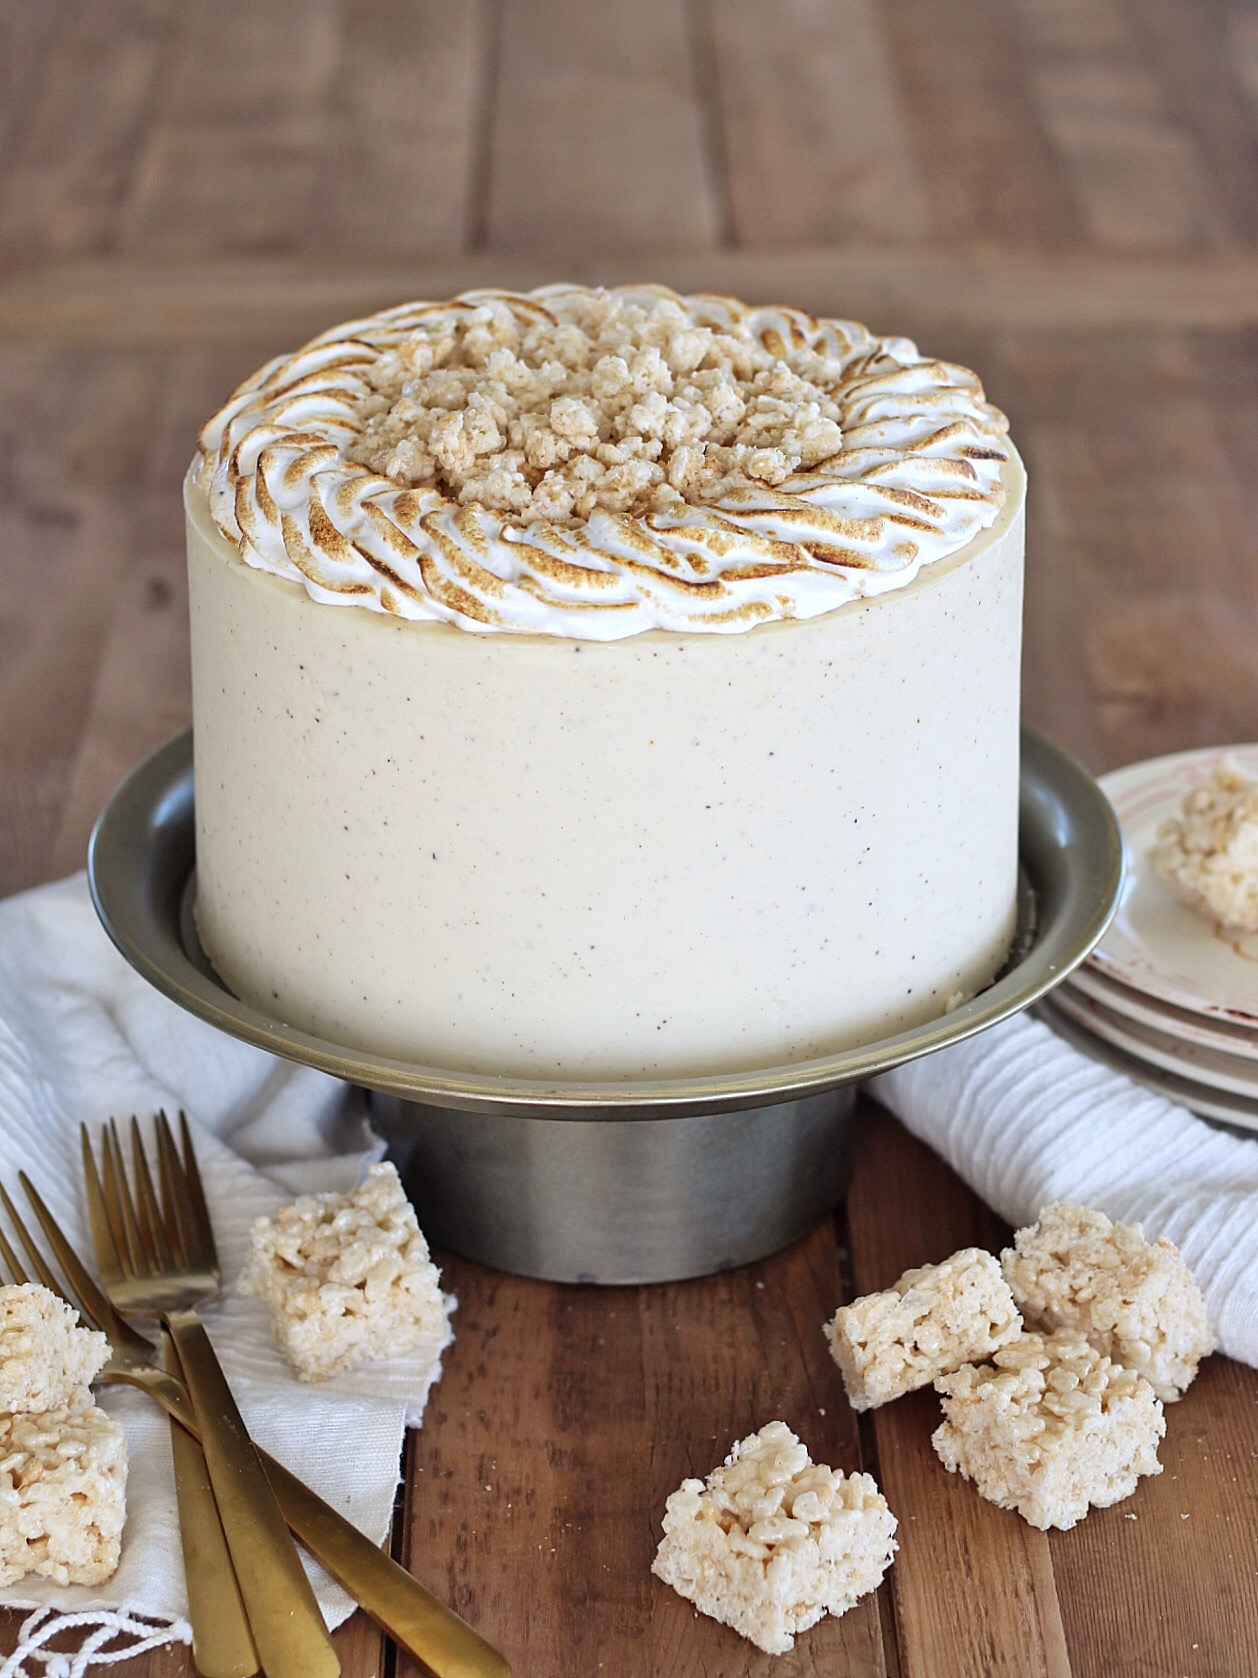
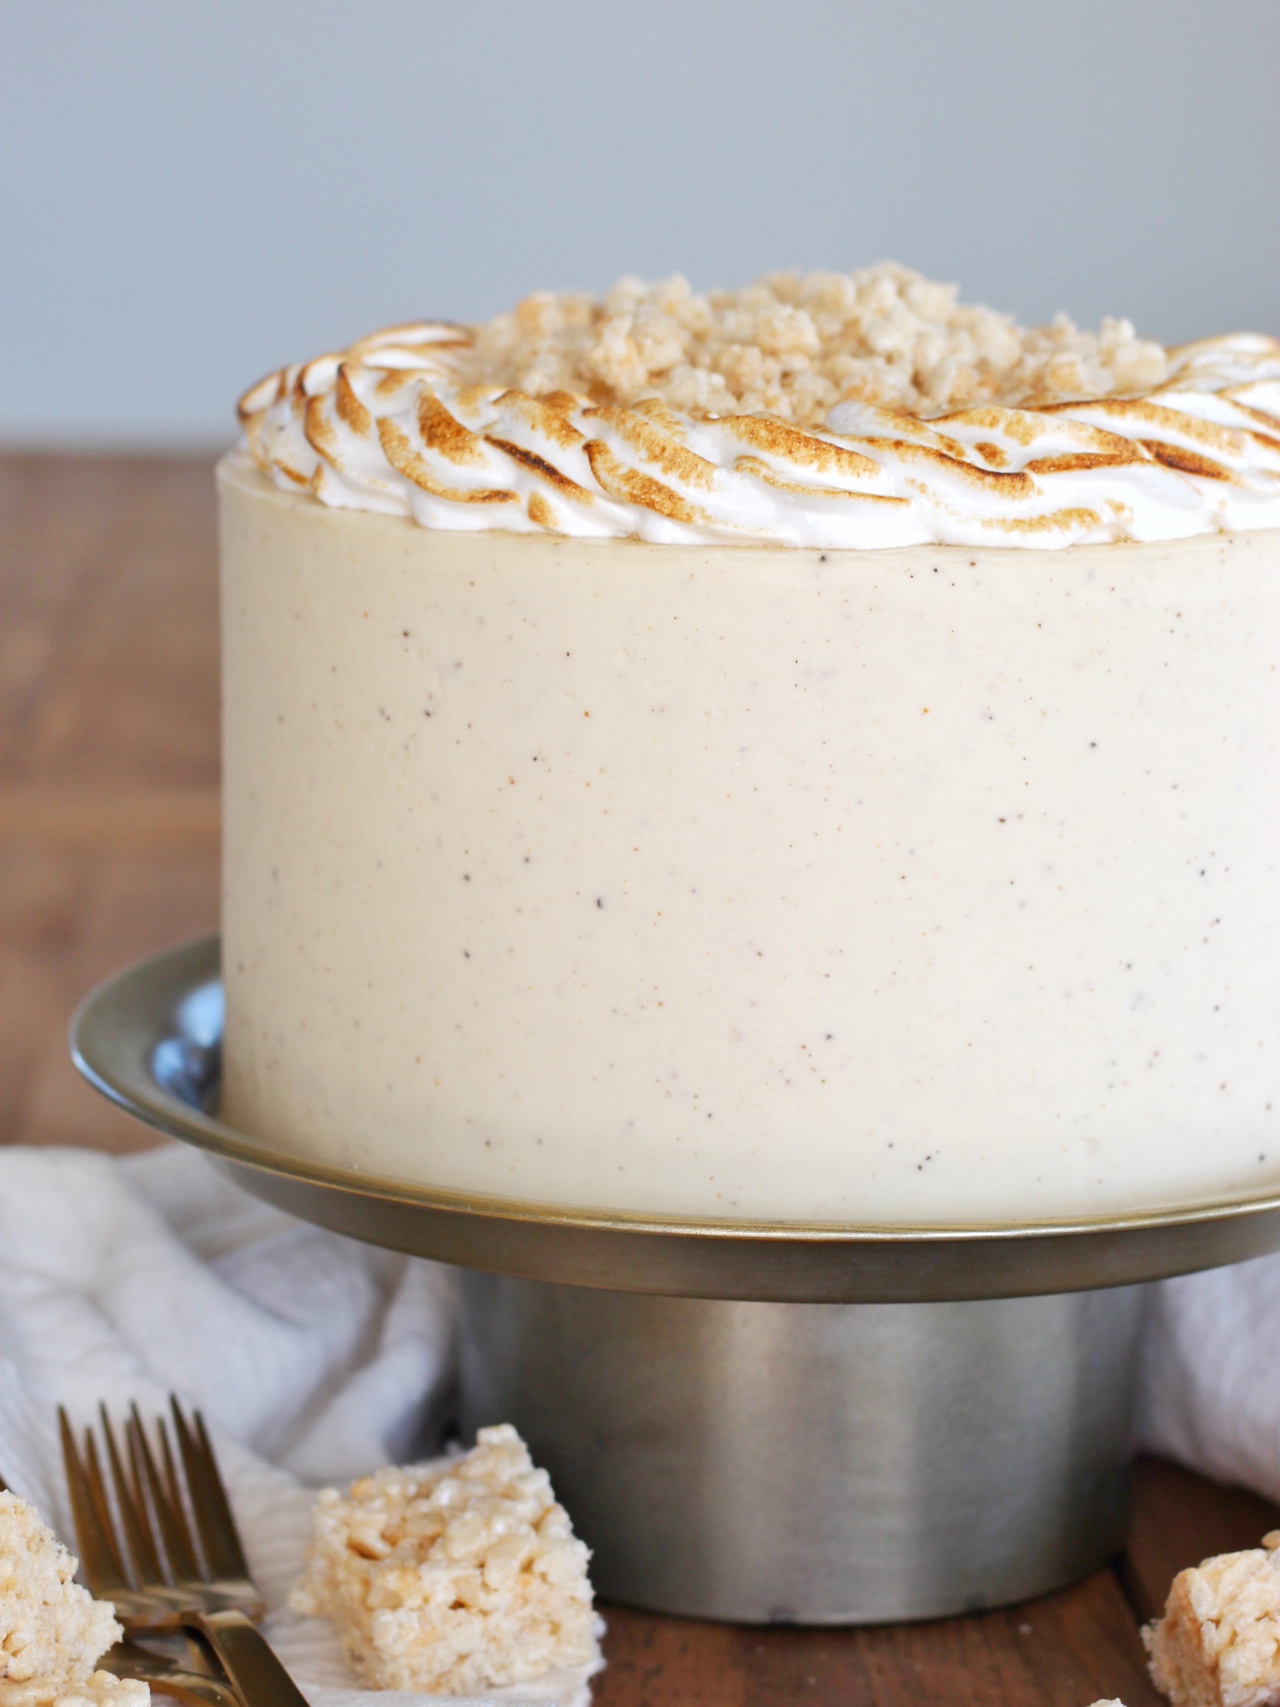
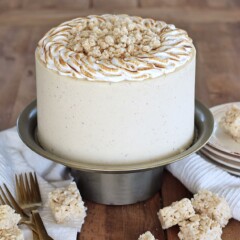
Brown Butter Rice Krispie Treat Cake – brown butter cake layers, brown butter frosting, marshmallow fluff and Rice Krispie Treats.
End of the Year Planning
Believe it or not, I’ve planned my entire cake calendar for the rest of the year! I’ve been patting myself on the back all week because I’m so happy about it. I feel like summer always puts me in a bit of a tizzy. I do my best to plan my work schedule around activities with the kids, but it never goes quite as I plan.
Anyway, as school kicked off last week, I felt like it was the perfect time to get myself back into a routine and structure just like I’m doing with the kids. I now have two full-time students! It’s like there’s all of a sudden more hours in my day. Haha! Ok, not really. But I fully intend to make the best use of my time while Westin and Avery are at school each day. And to make sure I do that, having a calendar of events, classes and even which cakes I’m going to bake helps me feel a little more on top of things. (I love lists! I love to check things off my list even more!)
Cake Brainstorming
As I was in the midst of planning out my cakes the other day, my mom called to catch up. Naturally, we started to talk about my list of cake flavors. As we chatted, we started to brainstorm more ideas. She quickly suggested I do a Rice Krispie Treat cake.
I have loved the idea of a Rice Krispie Treat cake for a while now, but I haven’t done one because I couldn’t quite nail down a unique spin. I didn’t just want layers of Rice Krispie Treats stacked on top of one another or layers of the cereal treats between my cake layers. Plus, I wanted to make sure I paired this classic treat with just the right flavors.
My mom quickly threw in the idea of using brown butter as an element with the Rice Krispie Treats. As soon as she said brown butter, my blood starting pumping faster and faster, and I knew exactly what I wanted to do!
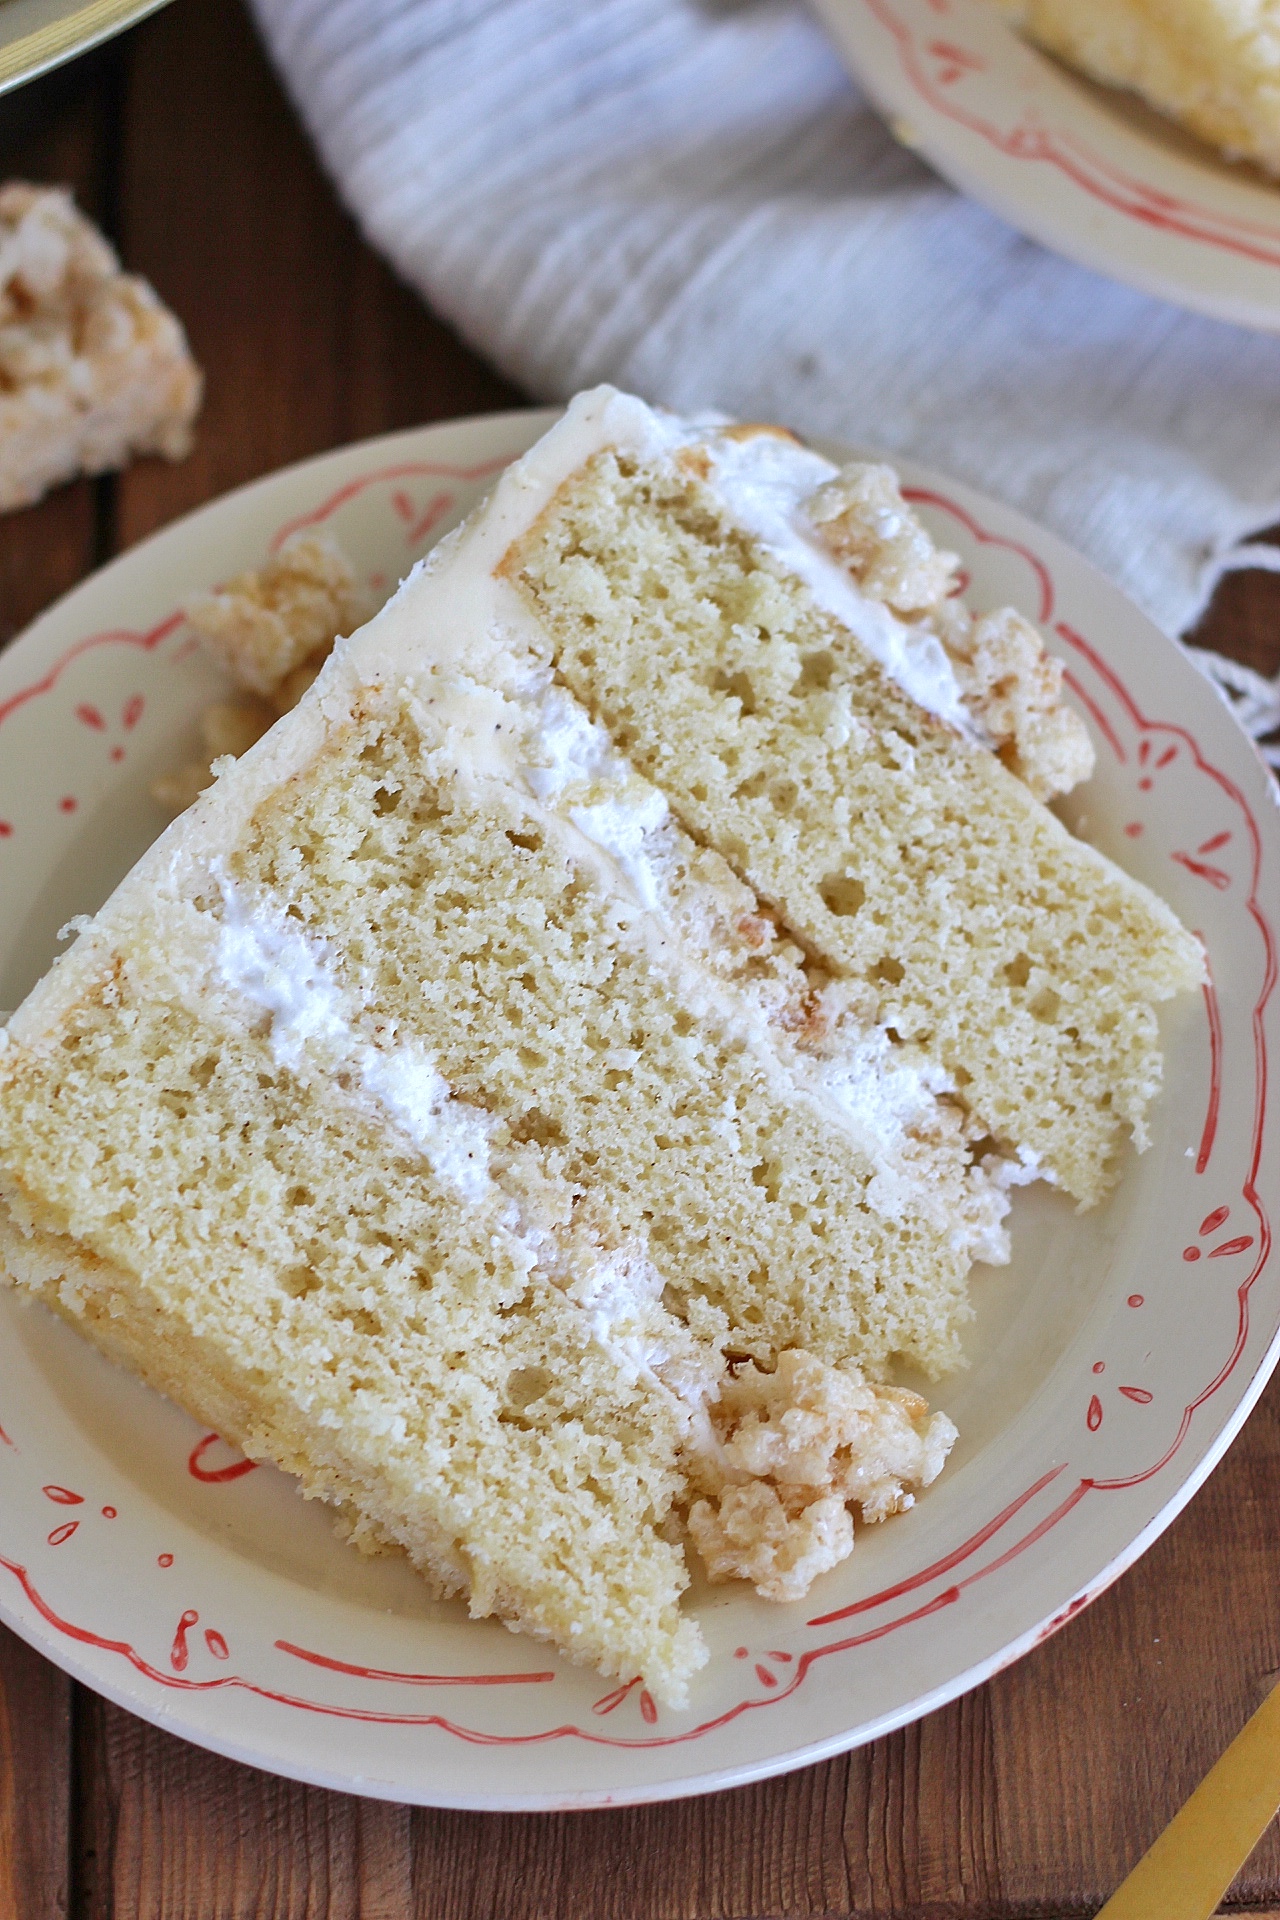
It came to me in seconds: brown butter cake, brown butter frosting, homemade marshmallow fluff from my Ultimate S’mores Cake, and Rice Krispie Treats crumbled between the layers. I was instantly so excited about this cake that I added it to my cake calendar and got to work the next day!
Brown Butter Rice Krispie Treat Cake
First thing the next morning, I browned my butter. This is a great step to do ahead of time. As you’ll see in the recipe instructions, you basically just cook the butter (without stirring) until it starts to foam and there’s a smell of cooked butter filling the air. You can add the butter as a liquid to the cake batter, but you definitely want to let the butter for the frosting firm up again. Remember, we like cold butter for our buttercream! So plan to do this step the day before you make your cake and frosting.
Brown Butter Cake
For the cake, you’ll use one cup brown butter just like you would with regular butter. I’m using my vanilla cake as a base for this cake, but you won’t use vanilla bean paste. Instead, we want the brown butter flavor to stand out, so we’re only using a teaspoon of vanilla extract.
As you bake the cake layers, remember to check the centers of the cake with a toothpick. The cake is done when a toothpick inserted into the center of the cake comes out with a few moist crumbs on it.
Brown Butter Frosting
For the frosting, you’ll be using two cups of butter, but we’re only browning one cup. I felt like a full two cups of brown butter would be a bit overwhelming. One cup is perfect. You get an awesome flavor that compliments the cake and fillings beautifully.
Marshmallow Fluff
The filling is the marshmallow fluff we add to the top of my Ultimate S’mores Cake. It’s so yummy and quite simple to make. This one requires egg whites, sugar, corn syrup and a few other basic ingredients.
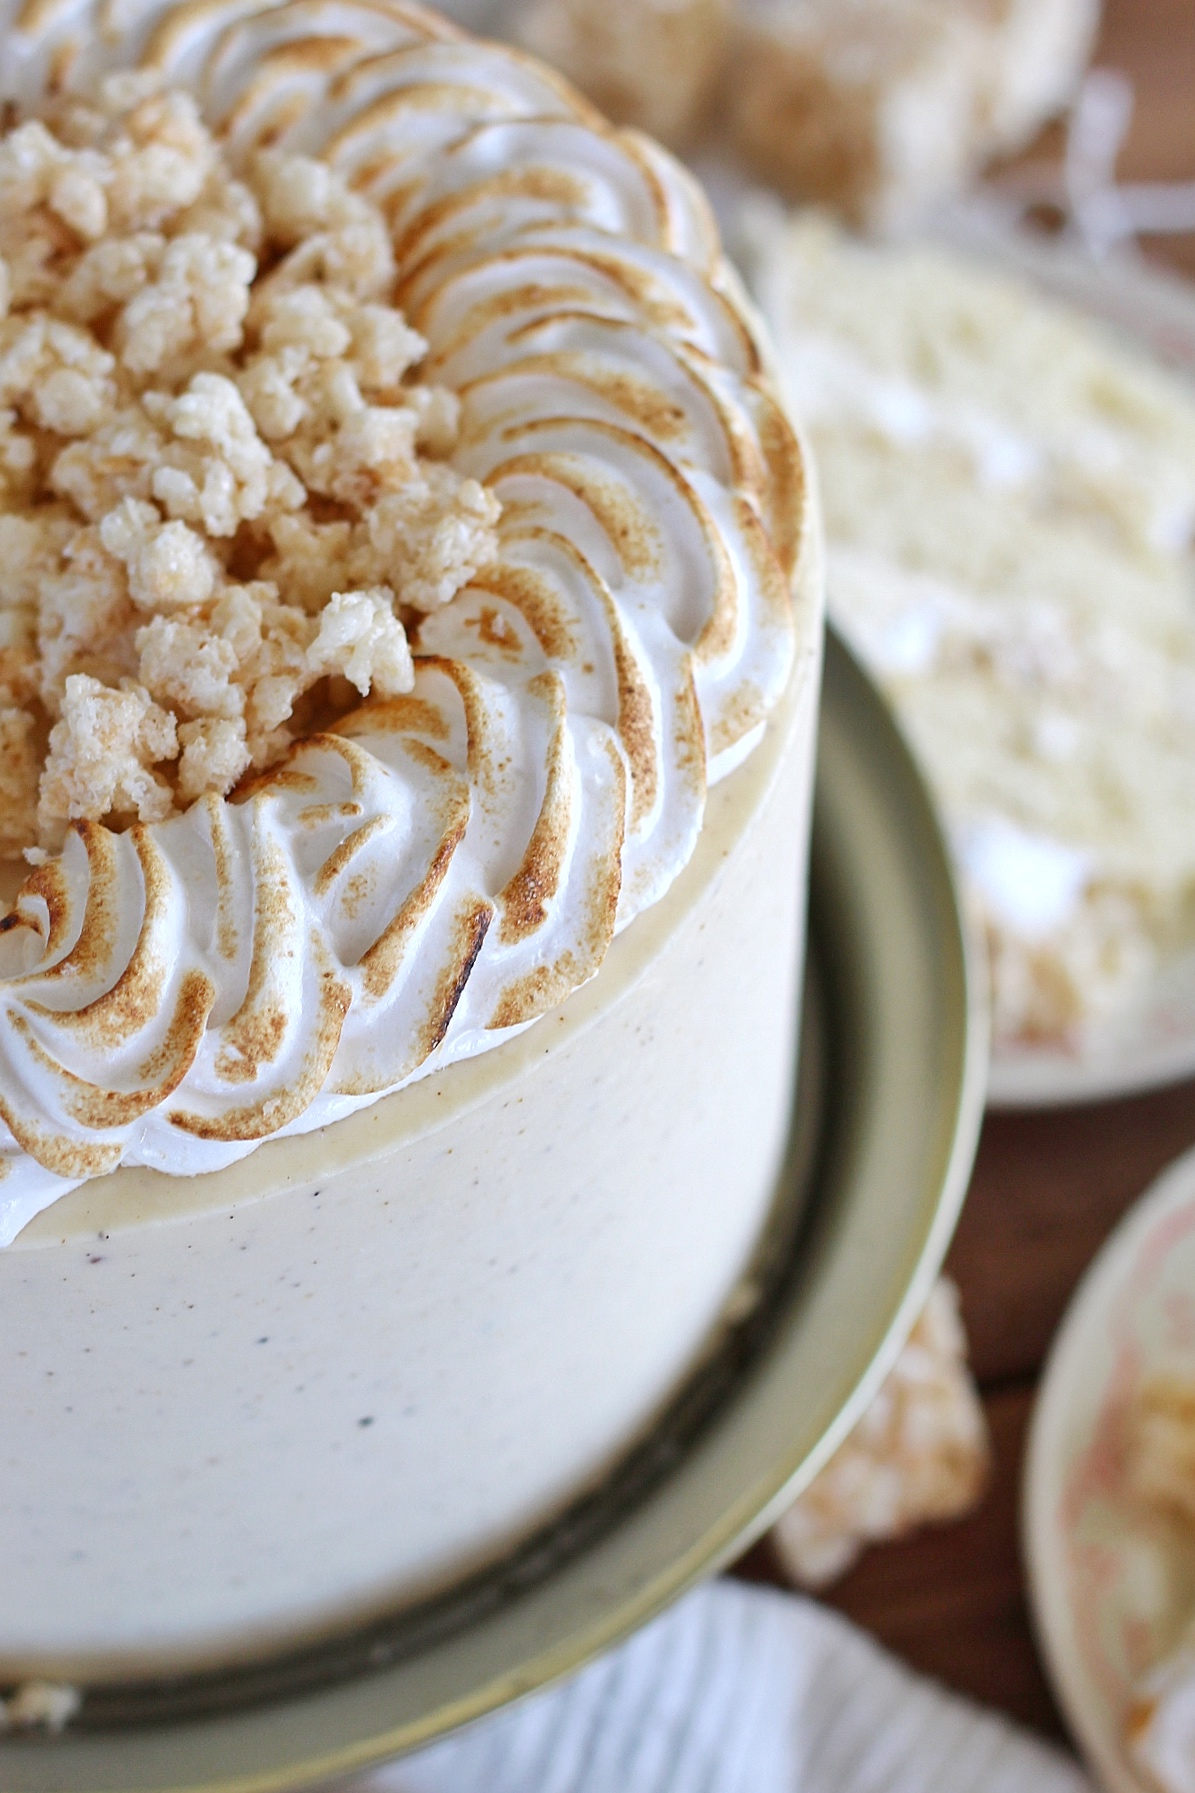
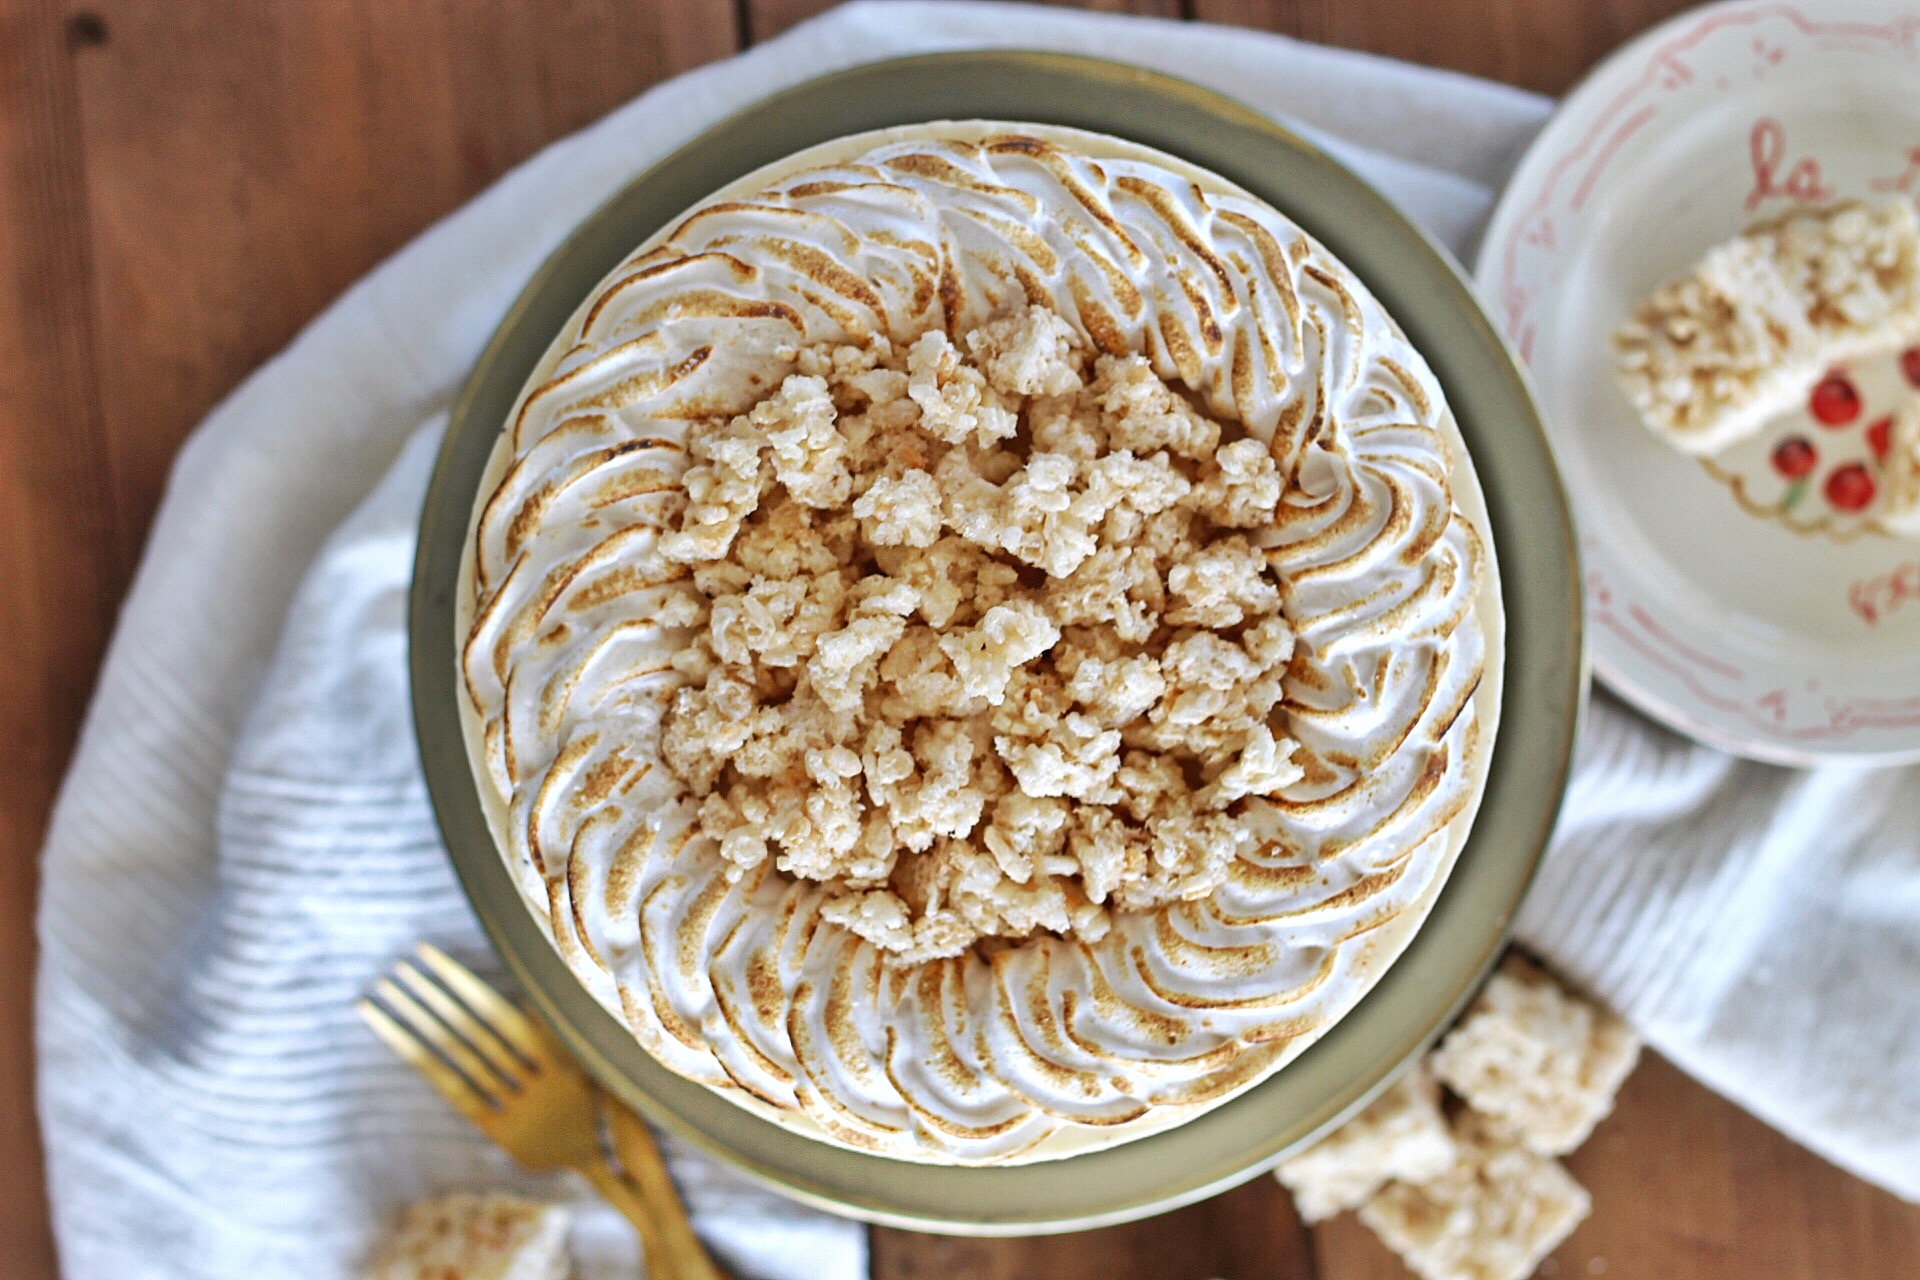
One note about this filling – it’s a soft filling. This means you’ll need to pipe a rim of frosting around the edge of the cake layers as you stack. It also means that it won’t hold it’s shape on it’s own if you’re using it to pipe on the top of the cake. This is why I used my kitchen torch to brown the marshmallow fluff. I have THIS torch.
Rice Krispie Treats
The Rice Krispie Treats are done exactly how you’d expect and just like you’ll find on the side of the cereal box. These can be made ahead of time and stored in an airtight container.
I do suggest, however, that you let them sit out for a while without a cover. We want the Rice Krispie Treats to get hard and crunchy so we have an awesome texture when we bite into the cake.
Also, and this is very important, do not assemble this cake too far in advance. In fact, I wouldn’t assemble this cake until a couple of hours before you want to serve it. If you assemble the cake too far in advance, the Rice Krispie Treats will lose their crunch.
However, if you need to make this one ahead of time, you can make the cake without adding the Rice Krispie Treats. Then, freeze and store the cake just like you would with my other cakes. When it’s time to serve the cake, crumble Rice Krispie Treats on each slice of cake.
Helpful Tips
- Make the brown butter ahead of time.
- Your cake is done when a toothpick inserted into the center of the cake comes out with a few moist crumbs on it.
- Use cold butter for your frosting.
- Torch the marshmallow fluff if you add it to the top of your cake.
- Do not assemble this cake until the day you want to serve it. The Rice Krispie Treats will lose their crunch if you assemble too far in advance.
Other Recipes You’ll Love
Brown Butter Rice Krispie Treat Cake
Ingredients
For the Cake
- 1 cup (226 g) unsalted butter
- 1 3/4 cups (350 g) granulated sugar
- 1/3 cup (72.6 g) vegetable oil
- 3 large eggs (whole eggs) room temperature
- 3 large egg whites room temperature
- 3 cups (345 g) cake flour
- 2 teaspoons (8 g) baking powder
- 1 teaspoon (5.6 g) salt
- 1 cup (240 g) buttermilk room temperature
- 1 teaspoon (4.2 g) vanilla extract
For the Marshmallow Fluff
- 3 egg whites room temperature
- 1/4 teaspoon (1.4 g) salt
- 1/3 cup (66.6 g) sugar
- 1 cup (300 g) light karo syrup
- 2 tablespoons (29.5 g) water
- 1 teaspoon (4.2 g) vanilla
- *This will make enough to fill the layers and pipe some on top of the cake
For the Rice Krispie Treats
- 1 bag 12 oz marshmallows
- 2 tablespoons (28.25 g) unsalted butter
- 6 cups (720 g) Rice Krispie cereal
For the Frosting
- 2 cups (452 g) unsalted butter slightly cold, divided
- 6 cups (750 g) powdered sugar measured and then sifted
- 1 teaspoon (4.2 g) vanilla extract
- Pinch of salt
- 1/3 cup (77 g) heavy whipping cream
Instructions
For the Cake
- Preheat the oven to 350 degrees F. Prepare three 8-inch or four 6-inch round cake pans with non-stick spray, parchment paper on the bottom of the pan, and another coat of spray. Set aside.
- In a medium sauce pan, cook the butter over medium heat. There’s no need to stir. Let the butter melt and then cook. It will boil and then start to foam a little. Once you see the foamy layer, swirl the butter so you can see if it’s turned a light brown and has brown specks in it. You’ll be able to smell the brown butter as well. At this point, pour it into a liquid measuring cup and let it cool. You can do this step ahead of time and refrigerate the butter until you’re ready to use it.
- In a medium size bowl, whisk together the cake flour, baking powder and salt. Set aside.
- In the bowl of a stand mixer, fitted with the paddle attachment, beat the brown butter, oil, and sugar on medium-high for about 3 minutes.
- Add the eggs and the egg whites, one at a time, to the bowl and beat on medium until well incorporated.
- Turn the mixer on low and add 1/3 of the flour mixture to the butter mixture and mix until fully incorporated. Then add half of the buttermilk and blend well, followed by another 1/3 of the flour mixture, the second half of the buttermilk and lastly, add the remaining flour mixture and mix until incorporated.
- Add the vanilla extract and beat on low until incorporated. Scrape down the sides of the bowl and mix on low for another 30 seconds.
- Evenly distribute the cake batter among the three 8-inch pans, about 16 ounces in each or 12 ounces in each 6-inch pan, and bake for 20 to 25 minutes, until toothpick comes out with just a few moist crumbs on it.
- Remove cakes from the oven and let cool in pans for 10 minutes before inverting onto cooling racks.
- When cakes are completely cooled, I like to wrap each cake layer individually with plastic wrap and stick it in the refrigerator or freezer until I’m ready to frost. The cake will be easier to work with if it’s cooled a bit. If I’m making the cake a day or two before I actually need to frost it, I put it in the freezer to ensure freshness. If I’m frosting same-day, I’ll just put it in the refrigerator to chill until needed.
For the Marshmallow Fluff
- In the bowl of a standing mixer, whisk the eggs and salt until fluffy and frothy.
- Meanwhile, heat the sugar, corn syrup, water and vanilla extract. Heat over medium heat until the sugar is dissolved and just simmering, about 5 minutes.
- With the mixer on medium speed, add a tiny bit of the hot sugar mixture to the egg whites at a time. (Temper the eggs – don’t scramble the them)
- Eventually, all of the sugar will be added and then turn the mixer up to high. Beat the mixture on high for about 5 minutes or until very stiff and shiny.
- Best used right away.
For the Rice Krispie Treats
- This step can be made ahead of time, but should not be added to the cake layers until the day you plan to serve the cake. The Rice Krispie Treats will soften and lose their crunch if you assemble this cake too early.
- Spray a 9×13″ pan with nonstick spray. Set aside.
- In a microwave safe bowl, combine the butter and marshmallows and microwave for about one minute. You’re looking for the marshmallows to get big and fluffy.
- Stir the marshmallows and butter well.
- Gradually add the cereal and stir to evenly coat the cereal with the marshmallows.
- Pour and pat the cereal into the 9×13″ pan. Let sit for several hours to harden.
For the Frosting
- In a medium saucepan, cook only 1 cup of the butter over medium heat. There’s no need to stir. Let the butter melt and then cook. It will boil and then start to foam a little. Once you see the foamy layer, swirl the butter so you can see if it’s turned a light brown and has brown specks in it. You’ll be able to smell the brown butter as well. You’ll want to do this step ahead of time and refrigerate the butter to get it back to a solid, cold consistency before you use it in the frosting.
- In the bowl of a stand mixer fitted with the paddle attachment cream the one cup brown butter and the one cup of regular butter on medium speed for about 3 minutes, until the mixture is light and fluffy.
- With the mixer on low speed, slowly add the powdered sugar, followed by the heavy cream, vanilla, and dash of salt.
- Continue to beat the frosting on medium-high speed for an additional 5 minutes.
- Before frosting your cake, mix the frosting by hand with a wooden spoon to push out the air pockets.
Assembly
- Spread a dollop of frosting on a cake board or cake plate to act as “glue” to hold your first cake layer in place.
- Place the first cake layer, top side up, in the center of the cake board or cake plate. Apply a rim of the brown butter frosting around the edge of the cake. This will act as a barrier to the marshmallow fluff and will help to support the cake layers as you stack.
- Add about one cup of the marshmallow fluff and spread evenly within the frosting barrier.
- Sprinkle Rice Krispie Treats over the marshmallow fluff and pat into place. If you’re not serving your cake right away, omit the Rice Krispie Treats in between the layers and serve on top of the cake slices as you serve to your guests.
- Place the second cake layer, top side up, on the fillings. Repeat steps with the frosting barrier, marshmallow fluff and Rice Krispie Treats.
- Place the final cake layer, top side down, so the smoothest and straightest side is on top.
- Apply a thin layer of frosting around the entire cake. This is the crumb coat. Freeze the crumb coated cake for about 10 to 15 minutes to set the frosting and crumbs in place.
- After the crumb coat is set, continue to frost the cake with the remaining frosting.
- Use the remaining marshmallow fluff and Rice Krispie Treats to decorate the top of the cake.
Notes

Is the 1 teaspoon in the ingredients for the Frosting, vanilla?
Yes, just fixed it 🙂
I noticed that the frosting is missing vanilla in the ingredient list… it says “1 teaspoon”, but not of what. Because I read the instructions I know it’s vanilla, but I thought you’d like to correct the typo! 🙂
thanks!
I haven’t tried this one yet, but every recipe of yours that I try has been incredible. This one sounds amazing and I can’t wait to taste it. The combo sounds out of this world. Keep doing what you’re doing, your recipes make me look like a great baker 😉
In the video you spread a thin layer of buttercream on each layer and THEN do the rim to hold the fluff in, but in the instructions it just says to do a rim of buttercream plus fluff in the middle. I’m assuming you really should frost each entire layer, right?
A little bit of buttercream
Why not brown all of the butter for the buttercream?
You don’t need that much and you need more stable butter for the buttercream.
My daughter wants me to make this cake for her 6th birthday, but she wants the cake to be a teal/turquoise color. I can’t tell by the pictures if this frosting is white or if it’s a beige color. Can I add food coloring to the frosting or will it make a nasty color?
It’s a little tan. You can try!!
Can I use all purpose flour instead of cake flour?
Not for this one