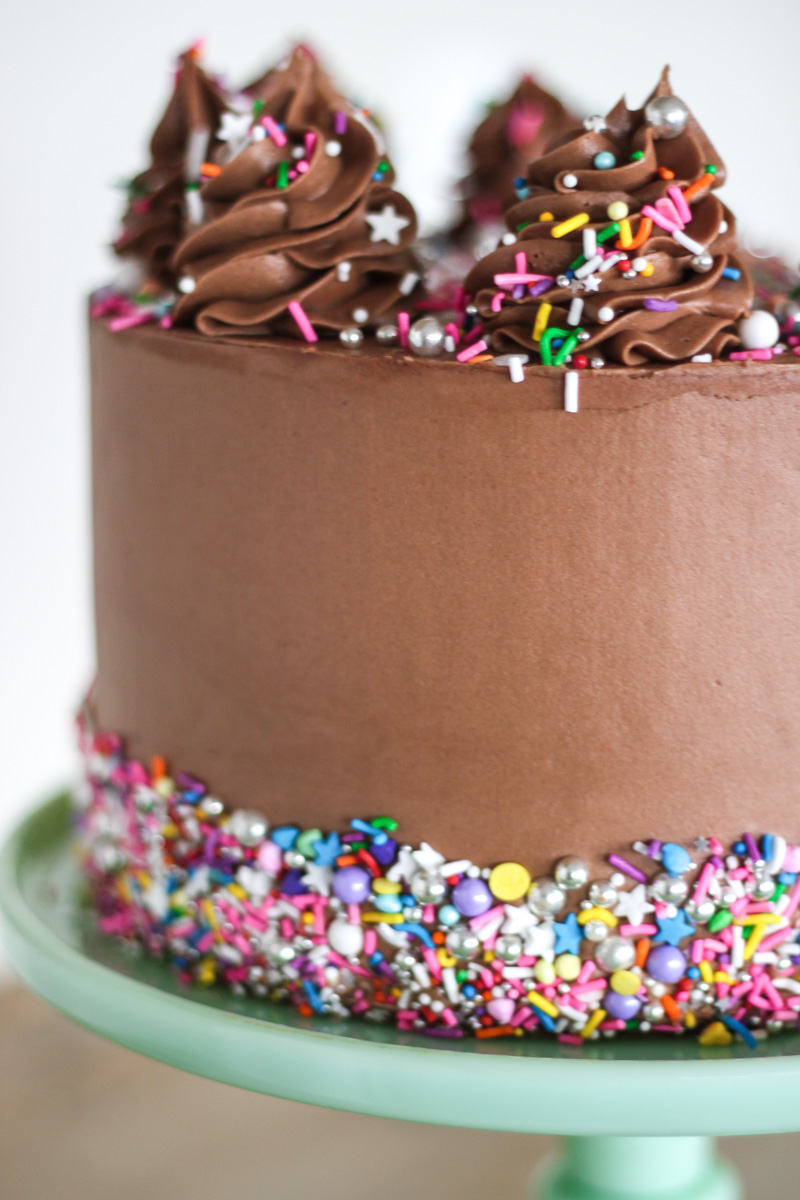
Step-by-step tutorial for using a cake board – how to get a sharp edge on your buttercream frosted cake.
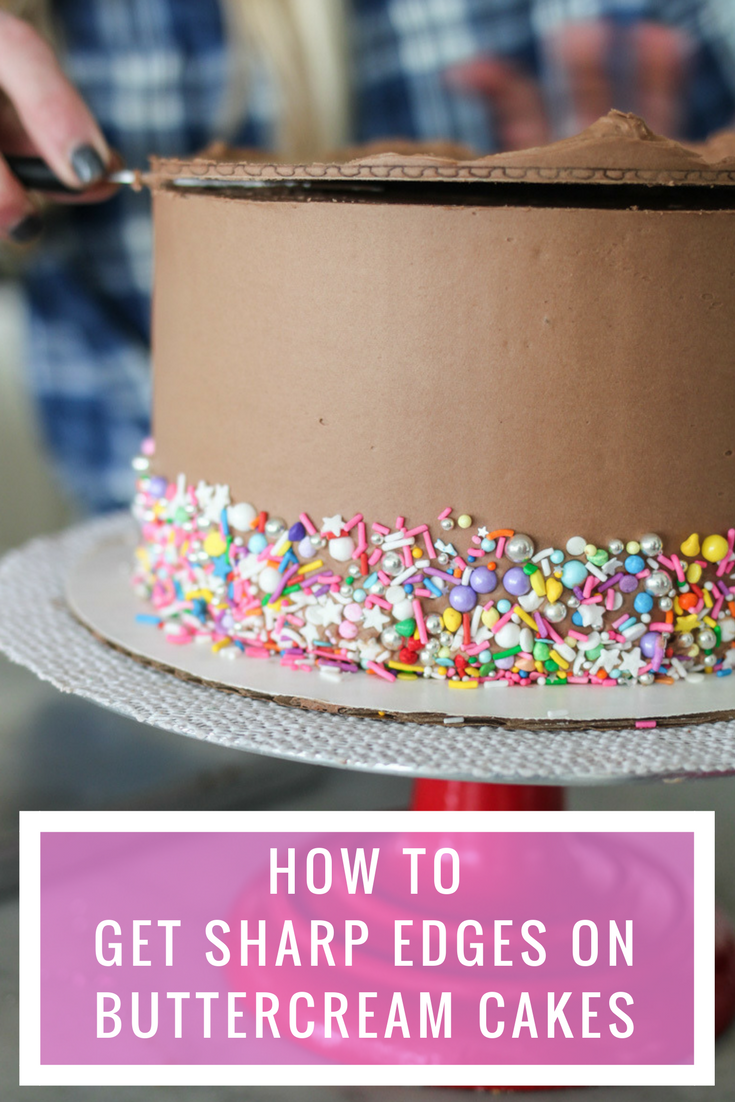
I’ve been working on this technique for a while and am so excited to finally share with you a step-by-step tutorial on using a cake board and how to get a sharp edge on your buttercream frosted cake.
Best Tips for Getting Smooth Buttercream Frosting for Cake
Before we even get to the cake… we need to start with the frosting. If your frosting is stiff or full of air pockets, frosting your cake will be a nightmare, no matter how hard your try. So, to start you off on the right foot, here are a few of my tips for getting a smooth and spreadable frosting.
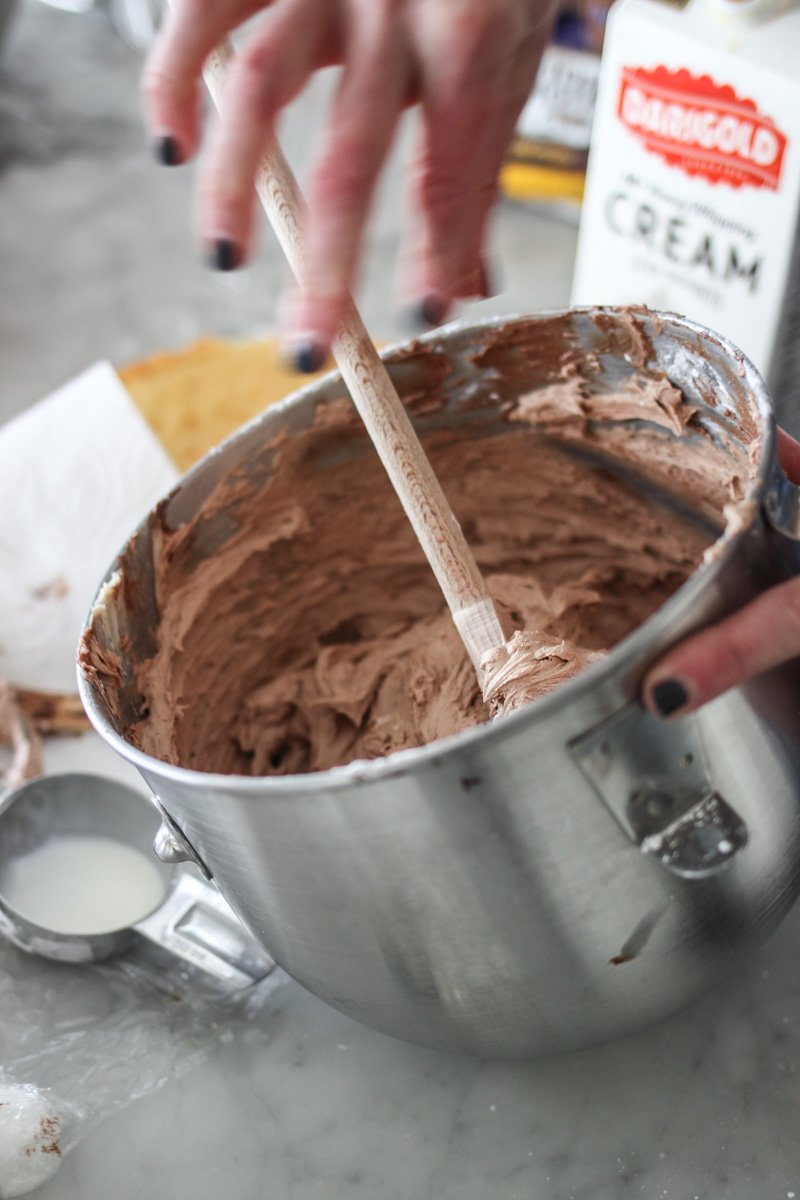
- Tip #1 – Add a couple of tablespoons of heavy whipping cream. I do this with every American Buttercream I make. I think a couple of tablespoons of whipping cream helps to lighten the texture and flavor of the frosting, as well as create a smooth and silky consistency.
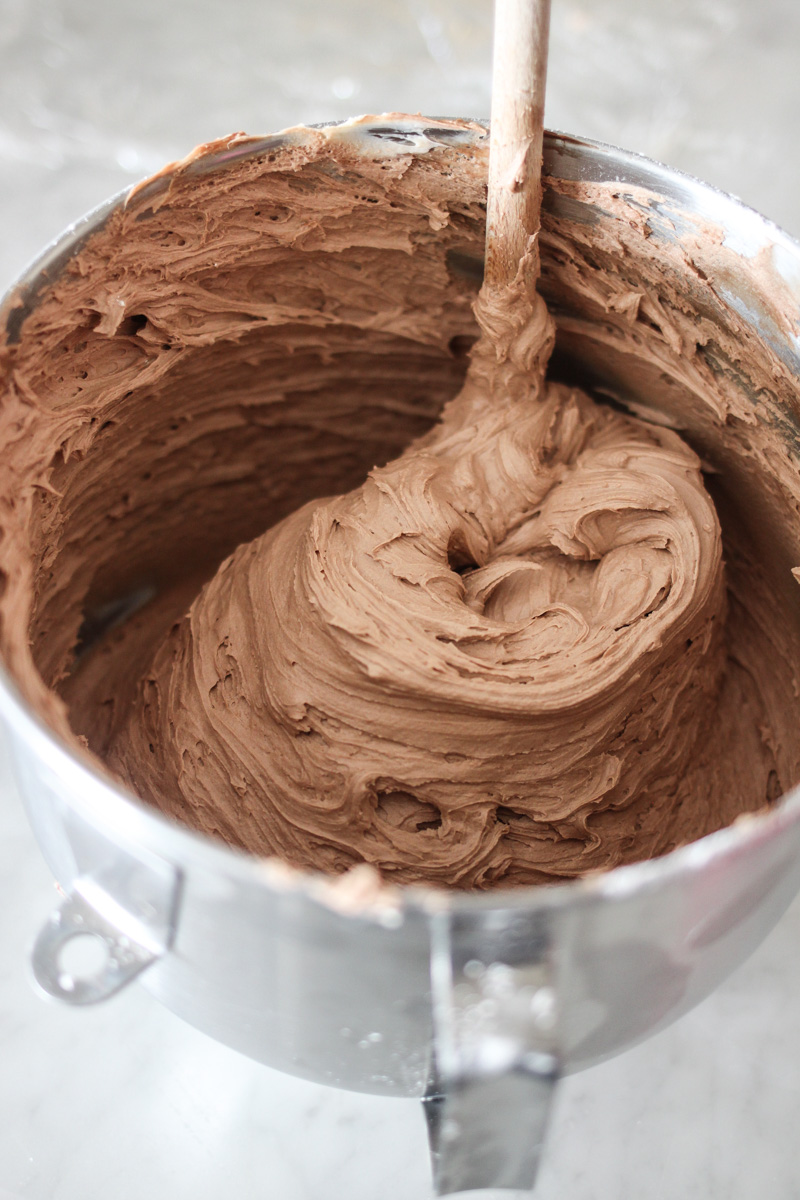
- Tip #2 – Turn your mixer to medium-high and beat the frosting for 5 minutes. Once you’ve added the whipping cream, turn your mixer’s speed up and let it beat the frosting. This transforms a dense, buttery-tasting frosting to a lighter, creamier consistency, which I think makes frosting the cake much easier.
- Tip #3 – Use a wooden spoon to mix the frosting by hand. After using a stand mixer to beat the frosting, I remove the bowl from the mixer and use a wooden spoon to mix the frosting by hand for a couple of minutes. This step is not to be forgotten! It completely changes the consistency of your frosting by pushing out all those pesky air pockets and creating a really silky texture.
How to Get a Sharp Edge on Your Buttercream Frosted Cake
Now that you have beautiful, silky smooth frosting, we’re ready to frost the cake.
Sharp Edge Buttercream Frosted Cake:
Step #1
To start, you’ll want to stack your cake on a cake board the same size as your cake. I’ve used an 8-inch cake board for my 8-inch cakes (that have naturally shrunken just a tad, so now there’s about a quarter of an inch rim around the cake). Apply a thin layer of frosting around the entire cake to create a crumb coat. This coat of frosting does not need to look perfect, by any means. The crumb coat is simply done to lock in the crumbs so they don’t get in the way of your actual frosting.
Sharp Edge Buttercream Frosted Cake:
Step #2
After you’ve applied the crumb coat, set the cake in the freezer for about 10 minutes. This allows the frosting to set just enough to lock in the crumbs but doesn’t get the cake too cold that it changes the consistency of the new frosting you’re about to apply.
Sharp Edge Buttercream Frosted Cake:
Step #3
Now that the crumb coat is set, use another cake board (the same size as the one you used on the bottom of your cake) for the top of your cake. You’ll place the cake board, plastic side down, on top of the crumb coat. You DO NOT need to add frosting between the crumb coat and the cake board. We’ll do that later.
Sharp Edge Buttercream Frosted Cake:
Step #4
Using an icing spatula, apply frosting around the top half of the cake, making sure to cover the top cake board. This helps to hold the board in place. Once you have an even layer of frosting around the top half of the cake, go ahead and frost the bottom half of the cake, also covering the bottom cake board.
Sharp Edge Buttercream Frosted Cake:
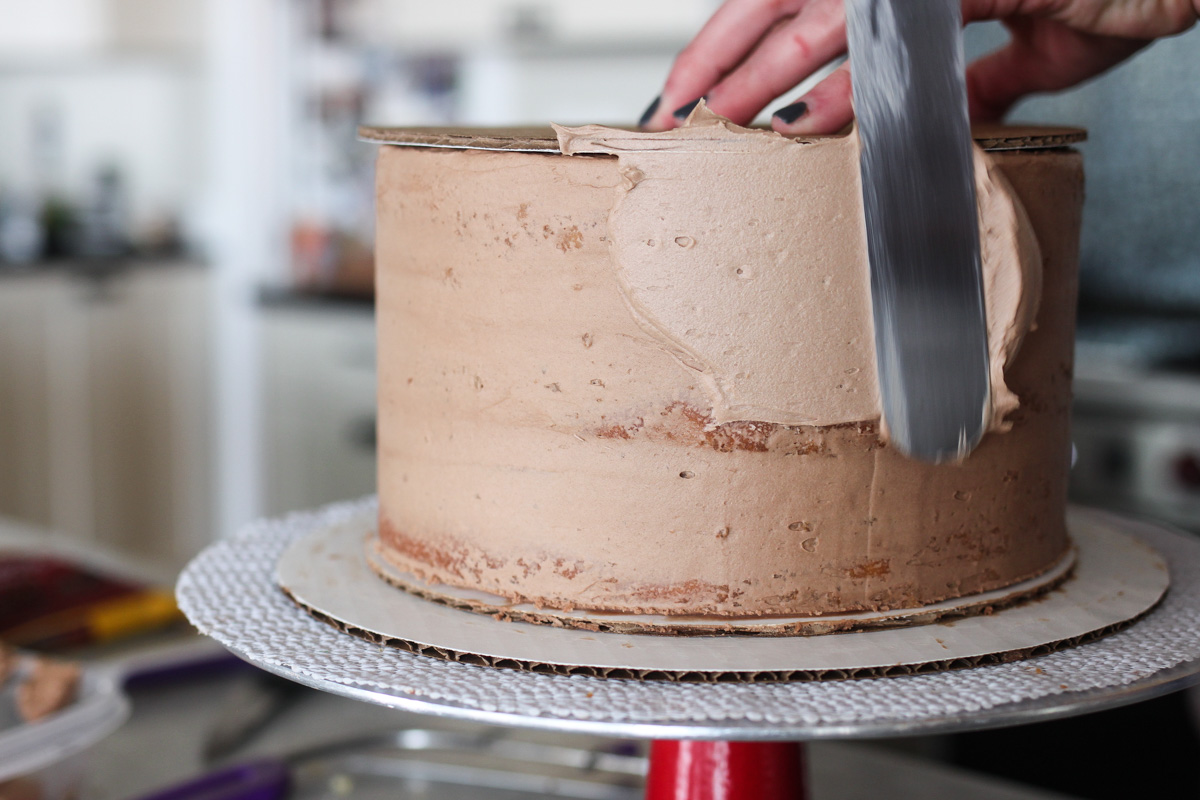
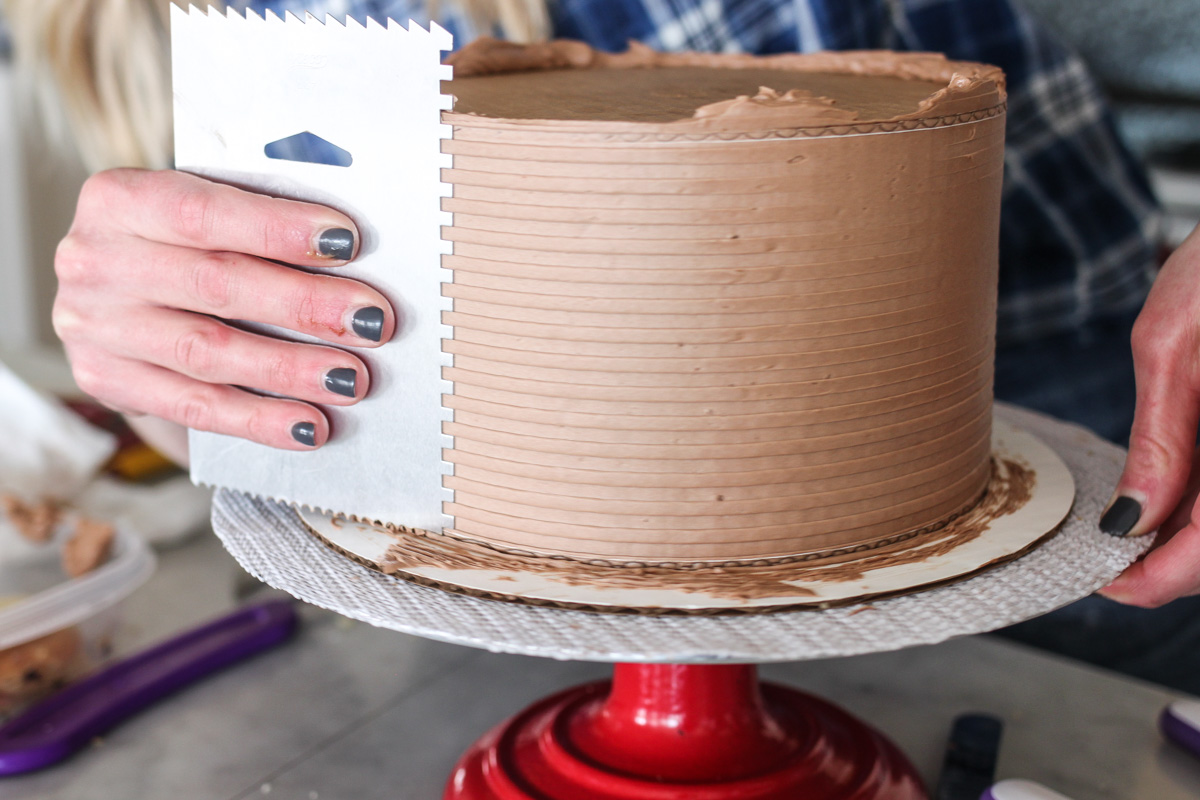
Step #5
With a fairly even layer of frosting on the cake, you’ll then take your cake scraper to smooth all those spatula marks.
I hold my cake scraper really close to the cake, at about a 45-degree angle, so that as I pull the cake scraper around the cake, the excess frosting I’m pulling away from the cake actually fills in any air pockets I may have left.
As you’ll see in my video below, your frosting won’t look perfectly smooth after one scrape. The first scrape helps you see how even or uneven your coat of frosting is. You’ll then add more frosting to areas that look bare or places that have holes. After you’ve filled in these areas, you’ll scrape the cake again, and maybe again after that.
Sharp Edge Buttercream Frosted Cake:
Step #6
If you plan to add any texture or sprinkles to the cake, this is the time you’d want to do that… before it goes back in the freezer.
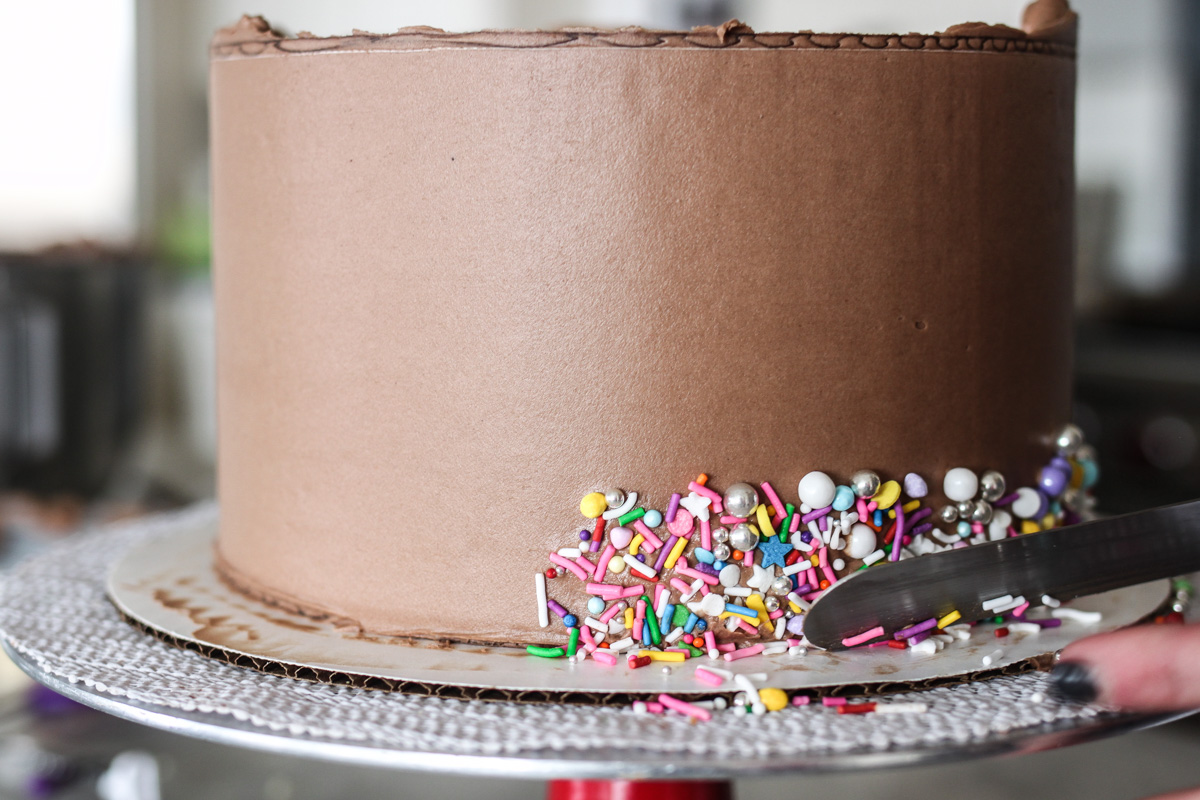
After you’ve finished smoothing or decorating the sides of your cake, place it back in the freezer for 20 to 30 minutes to solidify your frosting.
Sharp Edge Buttercream Frosted Cake:
Step #7
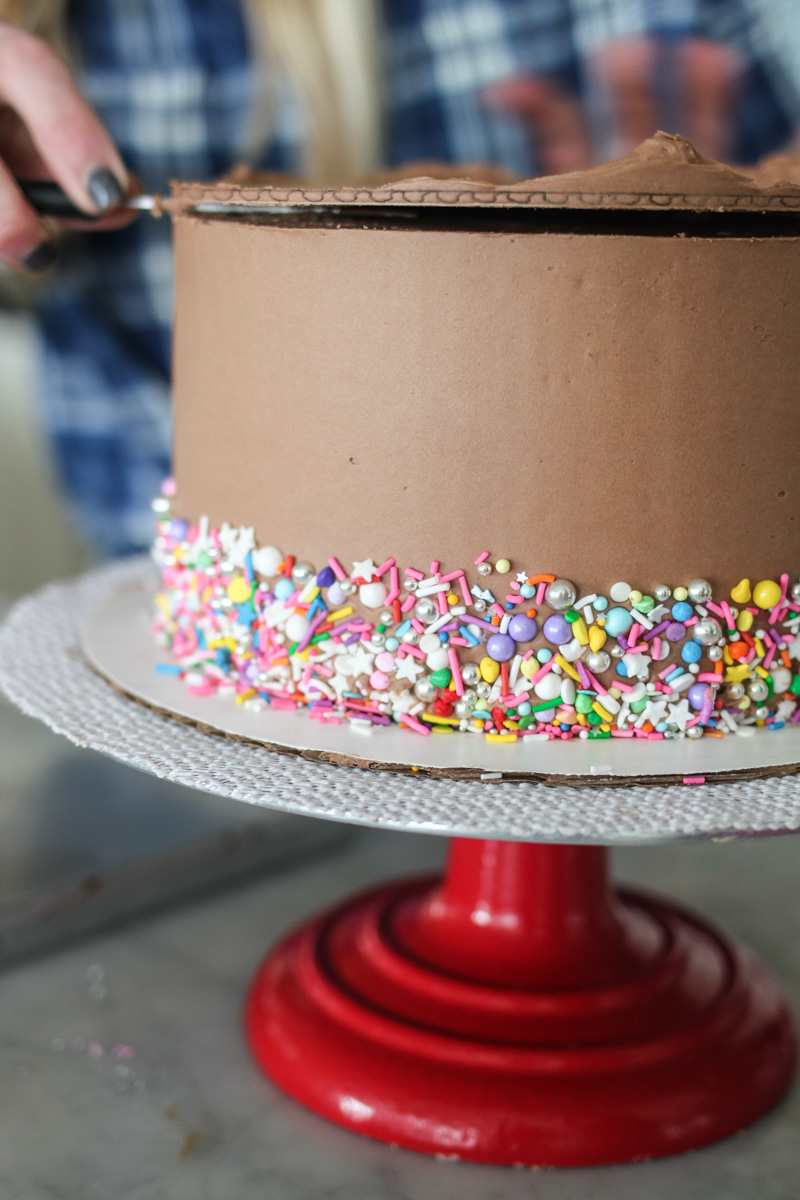
Once this time is up, take your cake out of the freezer and grab a sharp paring knife. Gently slide the paring knife under the edge of the cake board, and while softly holding the cake board with your other hand, gradually move the knife around the cake to cut off the cake board.
Sharp Edge Buttercream Frosted Cake: Step #8
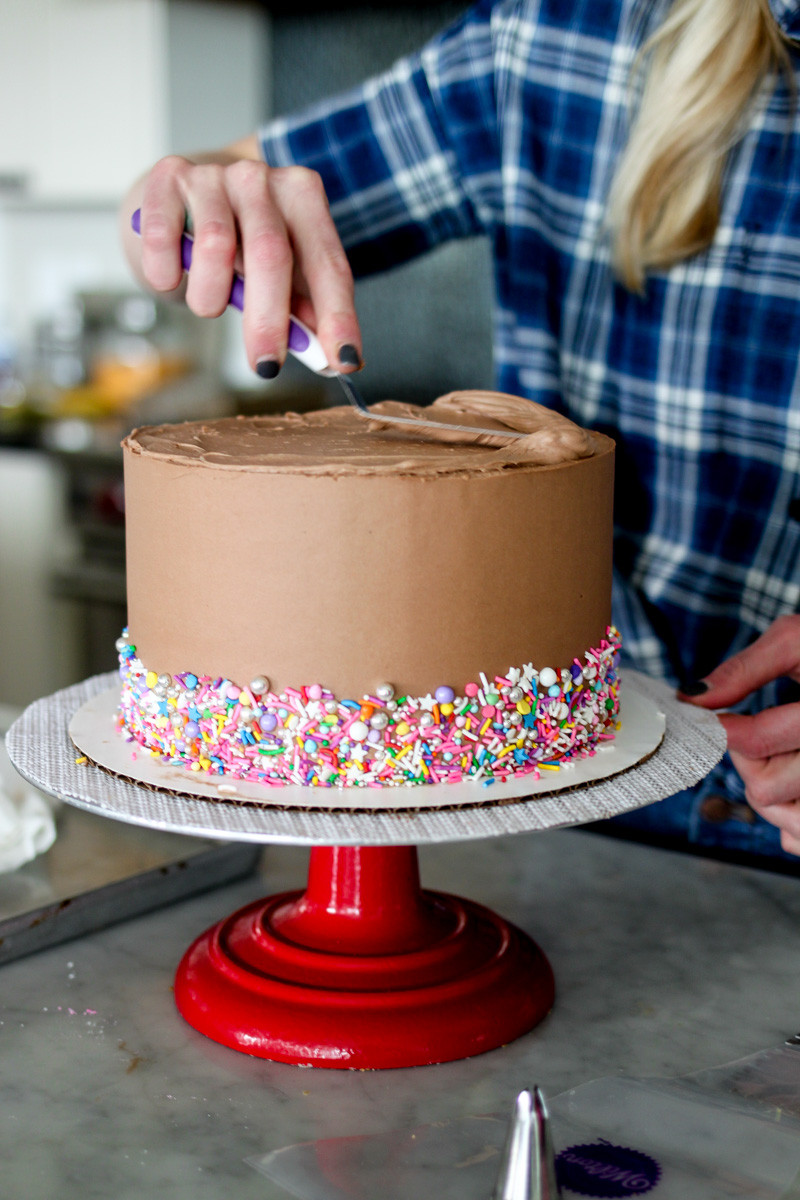
You’ll have some space to fill on the top of your cake, so you’ll just apply a dollop of frosting in the center of the open space and smooth it out to create an even, flat surface.

I push my frosting all the way to the edge of the cake, going over the edge just a little. Then, as you’ll see in the video, you’ll clean up the edges with your icing spatula and have a nice, sharp edge to your cake.
To guide you through this a little more, I’ve put together a video tutorial as well. I hope this tutorial on how to get a sharp edge on your buttercream frosted cake has been helpful! For more tips and recipes on all things cake, follow me on Instagram @cakebycourtney.
And a huge thanks to Brooke Eliason of FemaleFoodie.com for all the images!
Other Tips & Recipes You’ll Love
What type of pan are you using to bake your cakes?
I like the Fat Daddio brand the best.
I do not think that my cakes would fit in the freezer. Will it work just as well if I refrigerate them?
The freezer is really a game changer. The refrigerator would take so much longer and it tends to dry out cakes. Can you remove a few things for just 10-15 minutes to set the crumb coat and then again for another 20 minutes to set the final coat>
Wow! My husband has been asking me for a while, when are you going to get those smooth edges on your cake? The answer is now! I did this today, and it really worked! It’s rather time consuming, but got the look I wanted. How neat!
Great tutorial!
Thank YOU!! This tutorial helped me immensely! By far the best edge I’ve ever had on a cake! I also used your suggestions for putting sprinkles on the cake side. I make cakes for friends and family…nice to find tips and tricks like this to step up my game! Thanks again!!
Thanks for the tutorial it was really helpful .
When you use the cardboard rounds, does it ruin them? Or can you use them multiple times for getting sharp edges? I’m trying to decide if I want to use cardboard rounds or acrylic disks. Thanks!!
They will need to be tossed after one use. Acrylic disks are wonderful for that reason! You can use them over and over.
I read all of your directions for sharp edges. I can’t find a video. Is it in a separate post?
check out this video
https://youtu.be/2UblqF6fKGw