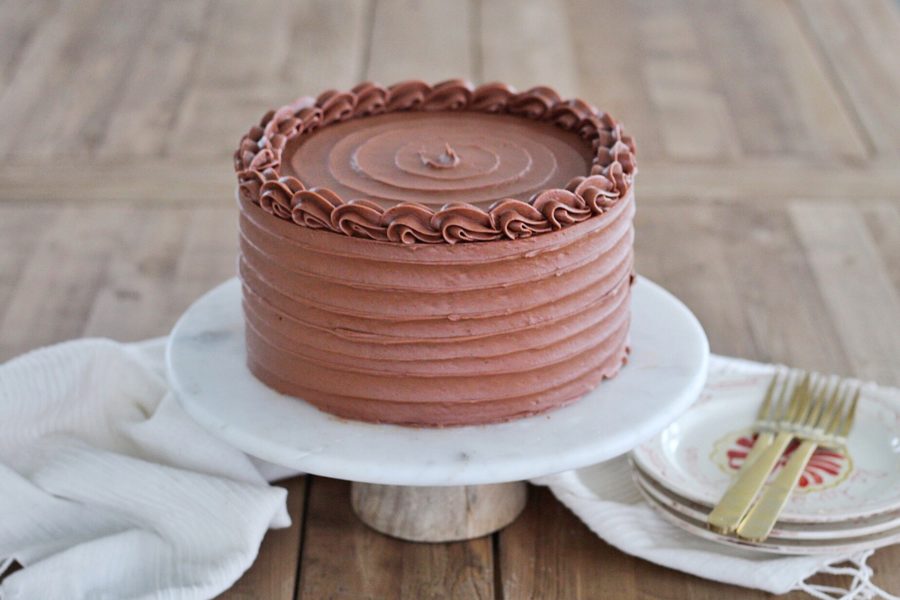
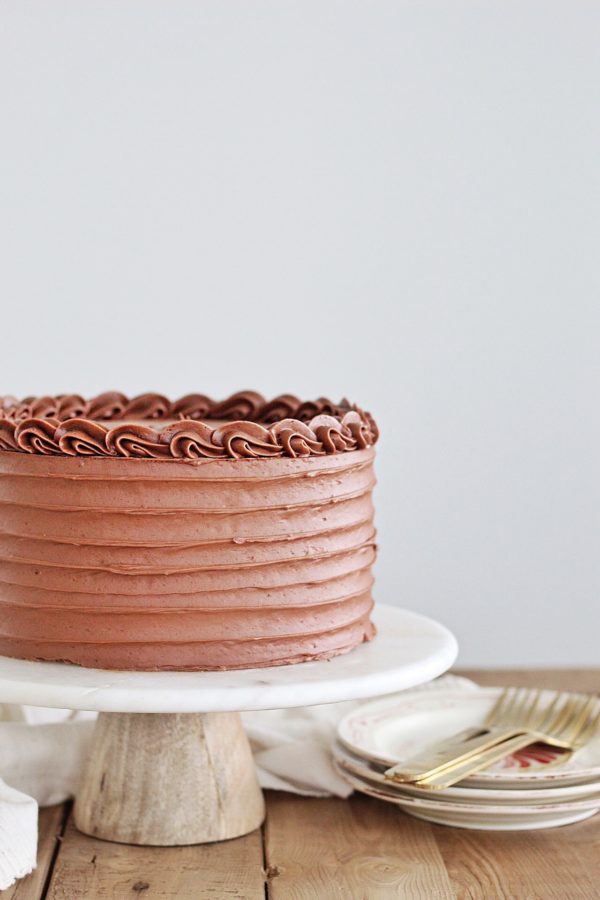
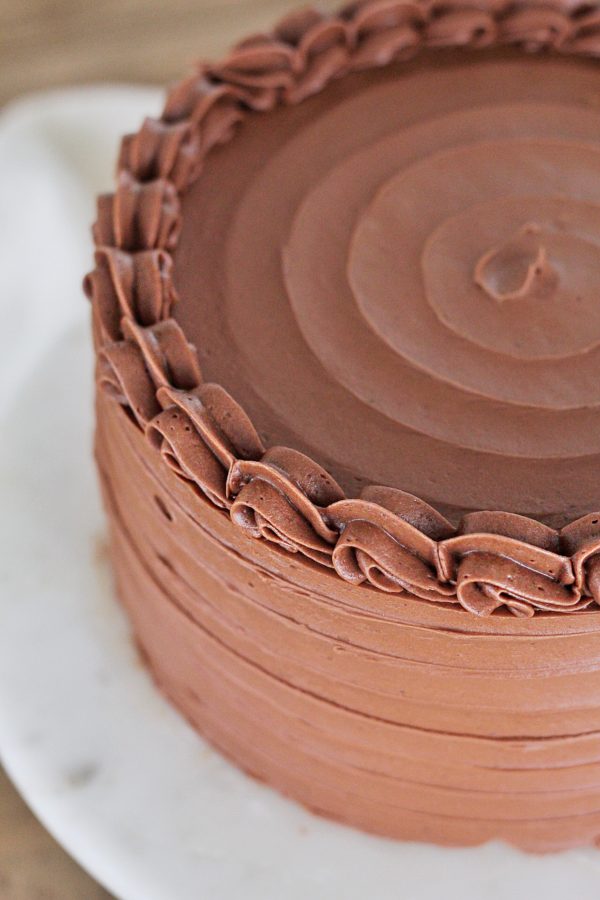
Red Velvet Cake with Chocolate Sour Cream Frosting – A new spin on the traditional red velvet cake. Made with red velvet emulsion, toasted marshmallow filling and chocolate sour cream frosting.
Red Velvet Addict
I have a confession to make. Red velvet cake used to be my top favorite cake. It was all thanks to the red velvet cupcake and cake at Susie Cakes which was about five blocks from my house in Santa Monica. Honestly, I think I got a red velvet cupcake every week. No joke! Well, leave it to overindulgence to turn you off from something. Up until two years ago, I hadn’t touched red velvet anything since those Santa Monica days (nearly a 5-year span).
The Reintroduction of Red Velvet Cake
I’m not sure why I decided to revisit this classic southern cake (which actually was first served in NYC but later became a southern favorite), but when the idea popped into my head a couple of years ago, I knew I wanted to make it count when I put this recipe on my blog. I wasn’t just going to offer up any ol’ red velvet cake. It needed to be something special, something light and fluffy. I know how polarizing this cake flavor is (my husband isn’t a fan at all). You either love it or hate it.
In researching red velvet cake recipes, I saw a lot of cakes that were bright red, like a crayon. I’ll be honest, the artificial color of these cakes was totally off-putting. A lot of these recipes used a large amount of red food coloring (more than just a toothpick inserted with the dye) to achieve this color – one of the reasons many of you don’t like this cake and won’t make it.

Recipe Testing
The first recipe I worked with was the Red Velvet cake by Tessa Huff from her cookbook, “Layered.” Her recipe seems more like a traditional red velvet cake (based on my personal research), which is similar to a basic chocolate cake recipe, but with only three tablespoons of cocoa powder. Her recipe also uses red food gel for the cake batter, instead of a liquid dye. I also liked that her cake had a cup of buttermilk – a good sign it would be nice and moist – and it was!
The second cake I simply couldn’t resist trying was from another one of my cake heroines, Rosie from Sweetapolita. What caught my eye about Rosie’s cake was that the ingredients were very different from most of the other recipes I read through. Rosie’s wet ingredients call for butter mixed in a large bowl with granulated sugar and brown sugar. She also uses a mix of all-purpose flour and cake flour, as well as a combination of buttermilk and mayonnaise. I was also intrigued by her recipe because instead of copious amounts of red food coloring, Rosie uses just one teaspoon of food gel and gets her color and flavor from red velvet flavoring (a link to the brand I used can be found in the ingredients list below).
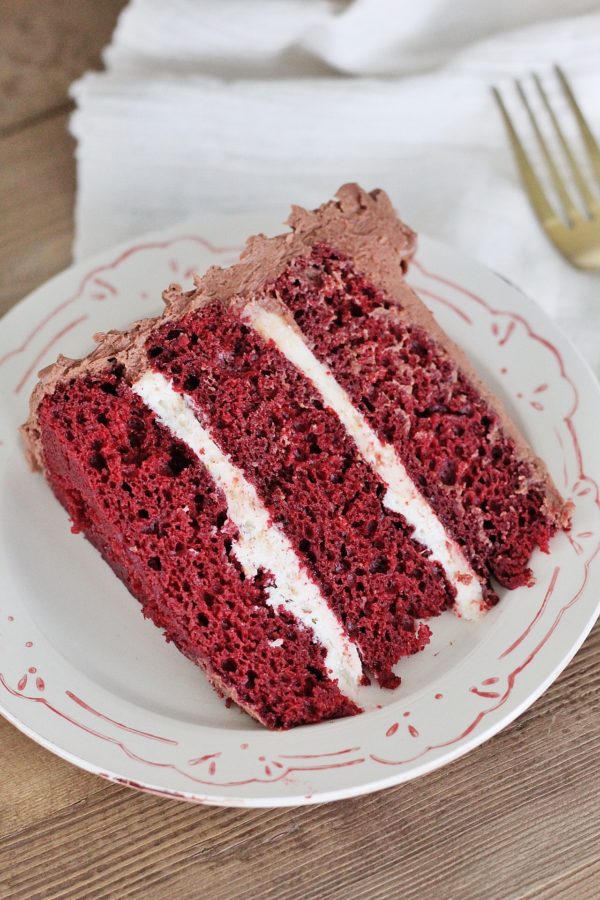
The red velvet emulsion adds the slightest hint of citrus to the cake, which sounds strange for red velvet, but I promise you, it’s the best surprise of this cake – especially when it’s paired with a tart chocolate sour cream frosting.
My Take on Red Velvet
In the end, both cakes were super moist and flavorful, but I personally love Sweetapolita’s version the best. So, as I worked on creating my own version of this cake, I used Rosie’s cake as inspiration. I love the red velvet emulsion and think it packs a powerful flavor and color. In fact, I see no need for additional food coloring, so I left that out of my recipe. I also use a little more cocoa powder, no cake flour, sour cream instead of mayo, less butter, and less brown sugar. The result is a super moist and fluffy red velvet cake with the slightest hint of cocoa and citrus. When paired with the toasted marshmallow filling and chocolate sour cream frosting, the combination is utterly delightful!
Video Tutorial
Enjoy!
Other Recipes You’ll Love
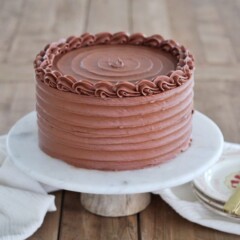
Red Velvet Cake with Chocolate Sour Cream Frosting
A new spin on the traditional red velvet cake, made with red velvet emulsion, toasted marshmallow filling and chocolate sour cream frosting.
Ingredients
FOR THE CAKE
- 1/2 cup (113 g) unsalted butter at room temperature
- 3/4 cup (165 g) light brown sugar, packed
- 1 cup (200 g) granulated sugar
- 2 tbsp red velvet emulsion (I use LorAnn Oils Emulsions)
- 3 large eggs, at room temperature
- 2 1/4 cups (270 g) all-purpose flour
- 2 tbsp (14.75 g) cocoa powder
- 1 tsp (6 g) salt
- 1 1/2 cups (360 g) buttermilk, at room temperature
- 1/4 cup (60 g) sour cream, at room temperature
- 1 tbsp (14.37 g) vinegar
- 1 1/4 tsp (5 g) baking soda
FOR THE FILLING
- 20 large white marshmallows
- 2 cups (250 g) powdered sugar measured and then sifted
- 1 cup (226 g) unsalted butter slightly cold
- 1/2 tsp (2.1 g) pure vanilla extract
- 1 jar (200 g) marshmallow fluff
FOR THE BUTTERCREAM
- 1 1/2 cups (339 g) unsalted butter, slightly cold
- 5 cups (625 g) powdered sugar, measured and then sifted
- 1 teaspoon (4.2 g) pure vanilla extract
- Pinch of salt
- 8 oz (150 g) good quality dark or semi sweet chocolate, chopped, melted and cooled slightly
- 1/2 cup (120 g) sour cream
- Pinch of salt
- *This buttercream recipe makes enough to cover your cake. If you want to add additional piping you’ll want to make an extra 1/2 batch.
Instructions
FOR THE CAKE
- Preheat the oven to 325 degrees F. Spray the bottom and sides of three 8-inch or four 6-inch round cake pans with nonstick spray, line the bottom with parchment paper, and spray again with the nonstick spray. Set aside.
- In a stand mixer fitted with the paddle attachment, combine the butter, granulated sugar, brown sugar, and red velvet flavor. Beat the ingredients on medium-high speed for about 5 minutes, until the mixture is light in color and slightly increased in volume.
- Lower the speed and add the eggs, one at a time, mixing until each egg is incorporated before adding the next. Continue to beat on medium-high until smooth and nearly double in volume.
- In a separate bowl, whisk together the flour and cocoa powder. Sprinkle the salt on top of the dry ingredients and whisk until combined.
- With the stand mixer on low speed, alternately add the dry ingredients and the buttermilk into the butter mixture, beginning and ending with dry ingredients. Mix until just incorporated. Fold in the sour cream.
- In a small bowl, combine the vinegar and baking soda until it fizzes and then add to the batter. Stir until blended.
- Divide the batter evenly between the prepared pans (about 16 oz. of batter in each 8-inch or 12oz in each 6-inch).
- Bake for 25 to 30 minutes, or until a toothpick inserted in the center of the cake comes out with a few moist crumbs on it.
- Let pans cool on wire rack for about 10-15 minutes before inverting the cakes onto racks. Let cool completely.
- Level cakes if needed. Chill the cakes for at least an hour before using. Can be stored the freezer for up to one month wrapped well in plastic wrap and foil.
FOR THE FILLING
- Place the marshmallows on a cookie sheet lined with parchment paper and sprayed with nonstick cooking spray. Place on the middle rack of the oven, and broil the marshmallows until golden brown on top, about 30-60 seconds. Keep your eye on them!
- Remove the pan from the oven and gently turn the marshmallows over and broil them again until they are golden brown on the other side.
- In the bowl of a stand mixer fitted with the paddle attachment, combine the butter and powdered sugar and beat on low until blended. Add the vanilla and mix on medium speed for about three minutes
- With the mixer on low speed, add the marshmallow cream and (cooled) toasted marshmallows, and mix for about one minute.
FOR THE BUTTERCREAM
- In the bowl of a stand mixer fitted with the paddle attachment, beat the butter for about 2 minutes on medium-high speed.
- Turn the mixer to low speed and slowly add the melted, slightly cooled chocolate.
- Gradually add the powdered sugar, vanilla and pinch of salt. Add the sour cream.
- Turn the mixer to medium-high speed and beat the frosting for about 5 minutes.
- Before frosting the cake, use a wooden spoon to mix the frosting by hand to push out air bubbles and create a smooth and silky texture.
ASSEMBLY
- On an 8-inch cake board or cake plate, smear a small amount of frosting on it. Place your first cake layer top-side up. Pipe a rim of chocolate frosting around the edge of the cake layer. Inside the chocolate circle, pipe or spread half of the marshmallow filling.
- Place the second cake layer top-side up and repeat with the frosting and filling. Place the final cake layer bottom-side up. Crumb coat the cake with a thin layer of chocolate frosting. Freeze the cake for about 10-15 minutes to set the crumb coat.
- Continue to frost and decorate the cake with the remaining chocolate frosting.
- You can refrigerate this cake, covered, for a day and it will stay moist, or freeze it, covered, for up to a week. Serve at room temperature.

I have been looking for the perfect red velvet cake Recipe and I have finally found it. This recipe is amazing! I made it for a coworkers, baby shower and everyone raved about it and said how incredibly moist it is. Fabulous recipe and thank you so much for sharing.
This makes me so happy! Thank you!
I have made this recipe and love it! Wondering if it can be made into cupcakes or needs to be adjusted? Thanks
It can be easily!!