Everything You Need to Know About Buttercream Frosting
How do you feel about buttercream frosting? For me, I absolutely love it. (But you probably would have guessed that.) I just can’t get over how it tastes incredible AND can make a cake look amazing too. I’ve had a lot of fun with buttercream over the years, so I thought it was about time that I made a post on everything you need to know about buttercream frosting.

In the post, I’ll go over the best types of buttercream frosting and then a few tips on how to use it when creating unique designs for cakes. Once you make buttercream a few times, it’s usually pretty simple to do every time after! It especially makes it easy when you have the right tools to make it (that goes for baking cakes too). You can check out my post here on the tools that I recommend for baking! I promise the right tools make all the difference.
You can always sign up for my cake course too, where I can teach you how to properly use the tools, which will save you a lot of time and frustration! It can be challenging to use cake tools, especially if they’re new to you. I’d love to show you a thing or two with them, so you can have the best baking experience each time!
The Best Buttercream Frostings
#1: The Best Buttercream Frosting for Cookies
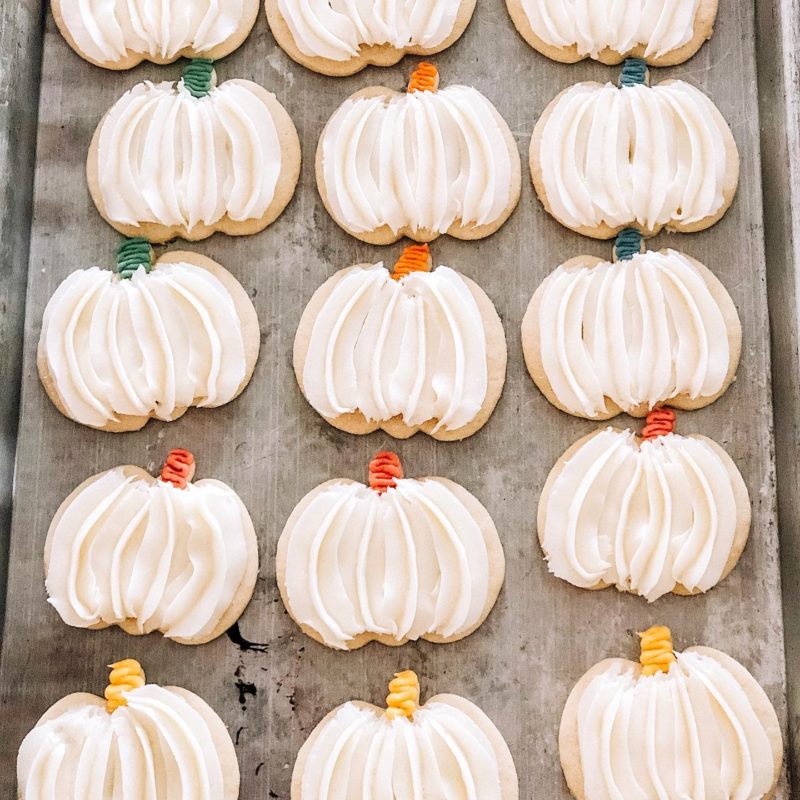
I love this buttercream frosting for cookies. It’s so light and fluffy, making it easy to frost with. Decorating sugar cookies is always a family affair in our home. It’s such a kid-friendly activity (if you don’t mind a little mess) and some of the best memories can be made during this time.
Go ahead and have the cookies baked beforehand, or you can buy unfrosted sugar cookies. That way you can enjoy the fun of frosting without the worry of baking them first. With Christmas right around the corner, this would be a fun thing to do and maybe it could even become a family tradition!
#2: The Best Vanilla Buttercream
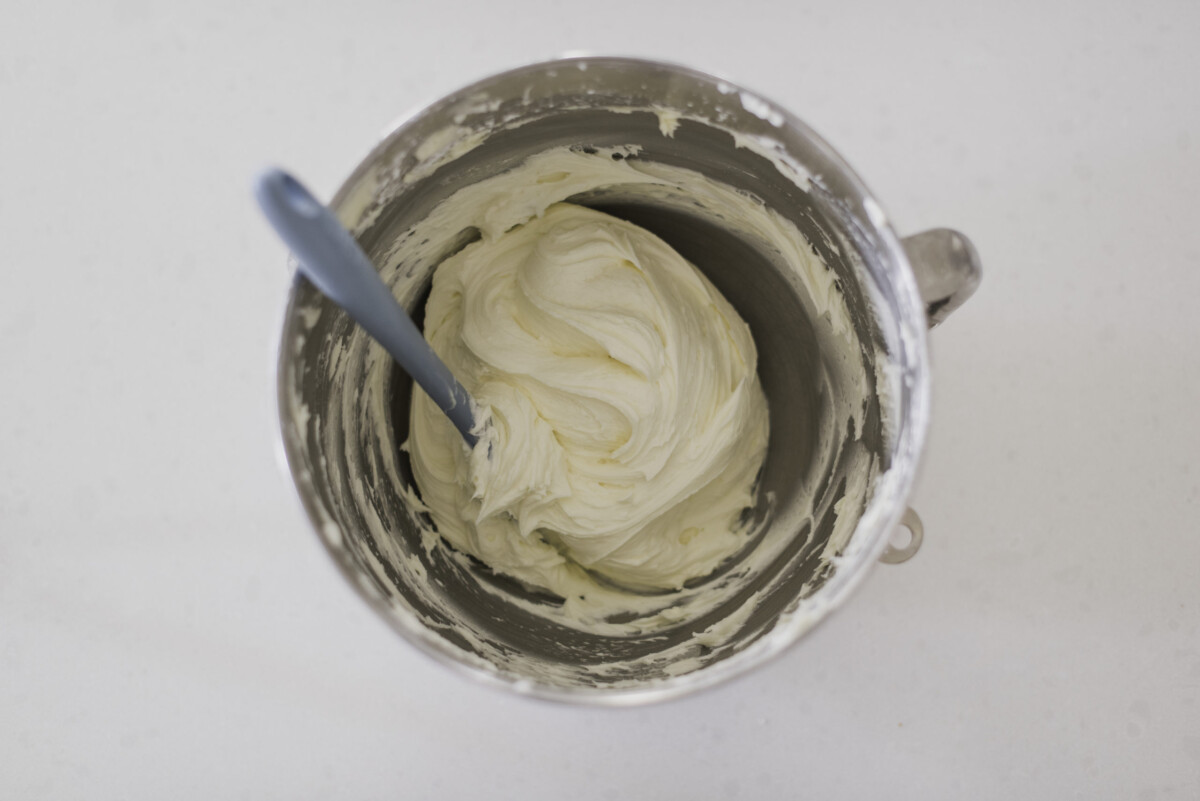
OK, I know this is the same recipe as the buttercream frosting for the cookies, but I wanted to keep them separate because they focus on different things. This vanilla buttercream frosting is the best because of the steps. It’s the HOW that makes this buttercream so silky smooth! Every single step is important because those are what give you the best consistency for frosting cakes. Check out the post linked above if you want to know the breakdown of how to get the best buttercream!
#3: The Best Chocolate Buttercream
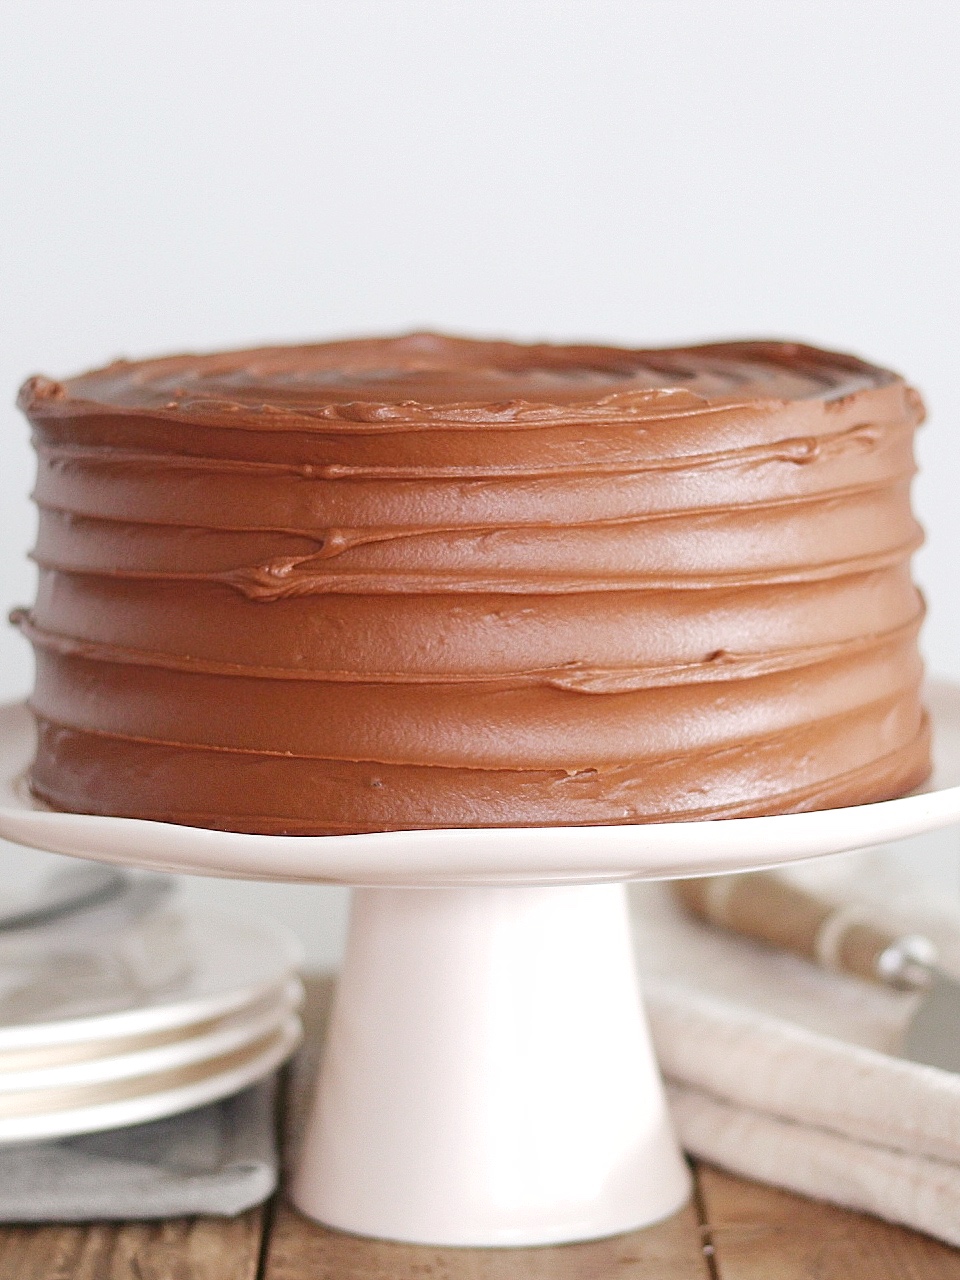
Doesn’t my chocolate cake do such a good job of showcasing the best chocolate buttercream? Making this chocolate buttercream frosting is similar to how you make the vanilla, except for a few key steps. For instance, remember to heat the cream and chocolate together first and mix it into a ganache before adding it to the butter. This makes such a huge difference! You can click on the link above for the full recipe.
5 Quick Tips for Decorating with Buttercream Frosting
Here are a few quick tips for decorating with buttercream frosting. If you want more detailed tips and tutorial videos, you can try my cake course. You’ll learn so much and you’ll leave feeling like a much more confident baker. I promise!
Buttercream Tip #1: Sometimes two piping bags are better than one.
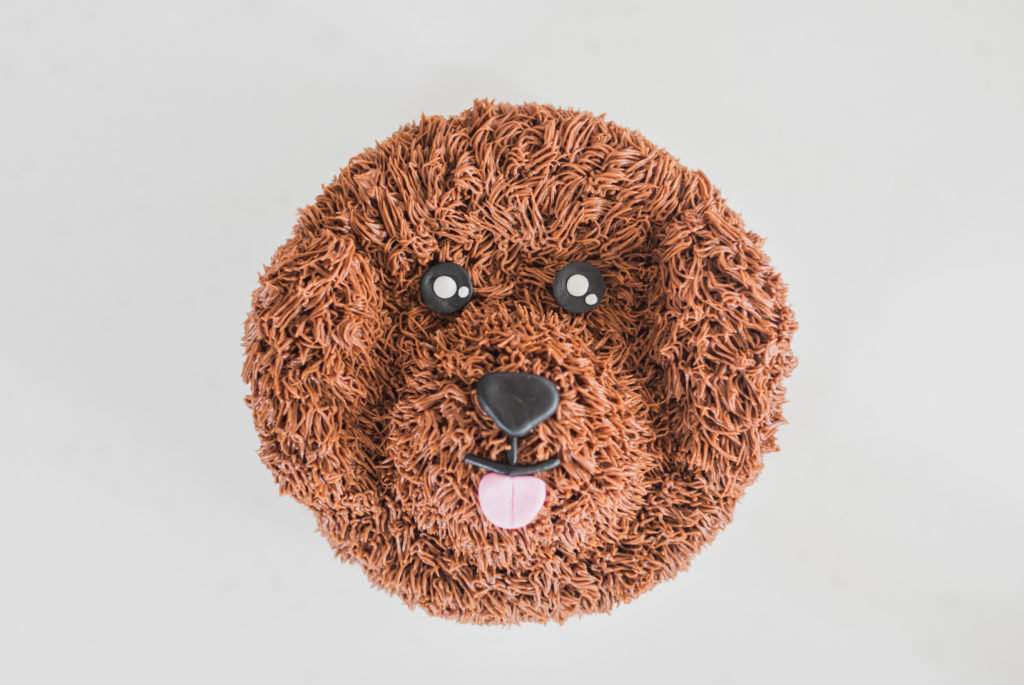
Isn’t this such a fun cake? This buttercream dog cake was specially made for my daughter, Avery, per her request on her 8th birthday. When piping an entire cake, it’s better to prepare two piping bags and alternate them. Because you’re holding the piping bag for so long, the buttercream will start to get warm from your hand.
When you notice it starting to get warm, put it in the fridge to get back to the cool temp you want. While that one is cooling, you can use your second piping bag to continue your cake decorating. Cold buttercream is much better to work with because when it gets too warm it’s too runny and makes the design look sloppy.
Buttercream Tip #2: Prep the buttercream design before you put it on the cake.
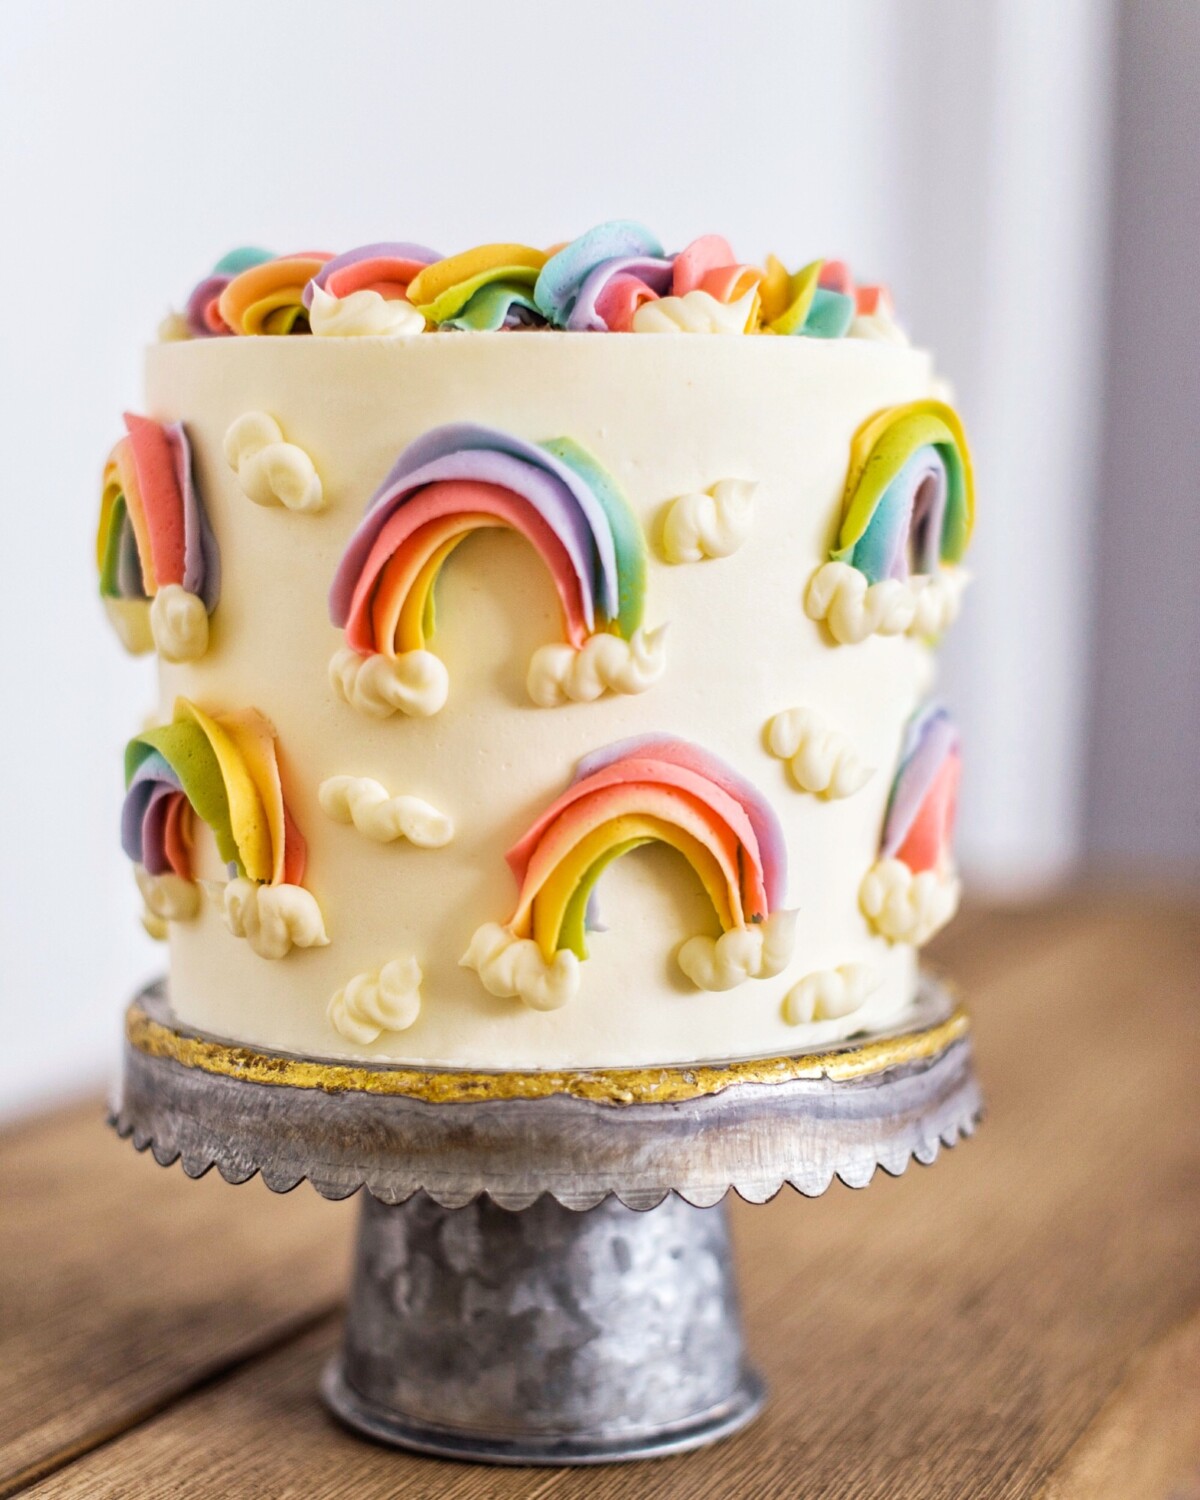
At first glance, this buttercream rainbow cake looks harder than it actually is. But if you walk through the steps, you’ll see my secret and then you’ll be piping these cute little rainbows in no time! When piping with multiple colors in one bag and tip, it’s much easier for you to pipe the colors right next to each other on plastic wrap and then carefully fold them into your piping bag. Check out my step-by-step tutorial to see how I did it.
Buttercream Tip #3: Timing is key for dyed buttercream.
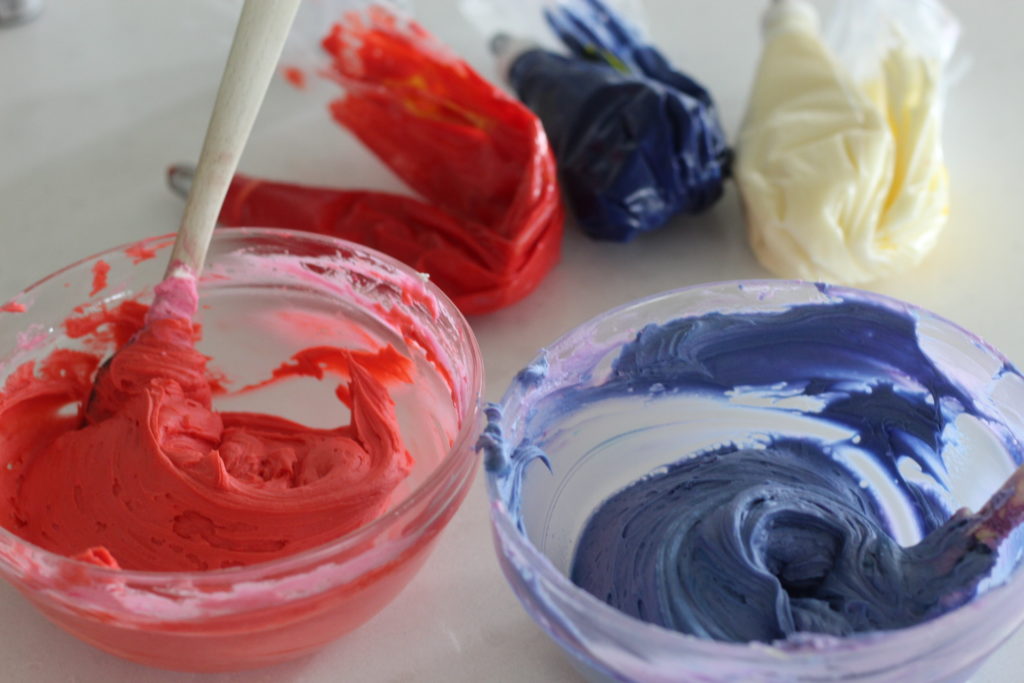
Sooner or later, bakers have to figure out how to make colored or dyed frosting that won’t stain your teeth. Did you know if you leave your dyed buttercream frosting out for several hours (or even overnight) the color will become more saturated? This works best if you first give your buttercream a base color using gel food coloring, and then add the liquid food coloring afterward to help it become the true color you’re wanting. Check out my post for the full tutorial!
Buttercream Tip #4: Use a cake board to get sharp edges for a buttercream-frosted cake.
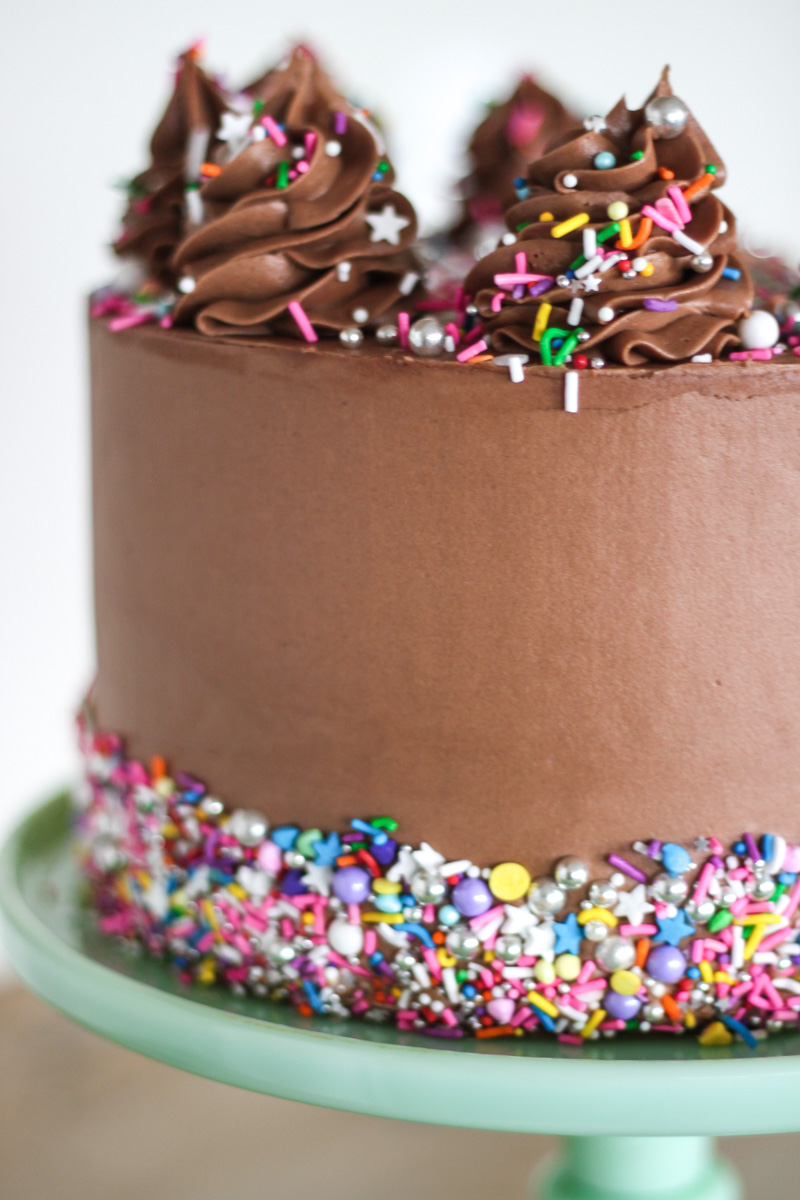
I guess this tip has more to do with using the right tools when decorating your cake, but it still connects to using buttercream! To get nice, sharp edges on your buttercream-frosted cake, you’ll want to use a cake board that is the same size as your cake. In my sharp-edged chocolate buttercream cake example (pictured above), I use an 8-inch cake board for my 8-inch cake that has naturally shrunken a little bit after being baked, making the board stick out around the edges just the right amount.
Placing the cake board on top of the cake makes it so much easier for you to frost the side of your cake without messing up the top of your cake. After freezing the cake for 20-30 minutes, you will carefully cut the cake board off and then add a dollop of buttercream frosting to the top and smooth it out. Click here for the full tutorial.
Buttercream Tip #5: Use a cake scraper to make buttercream stripes.
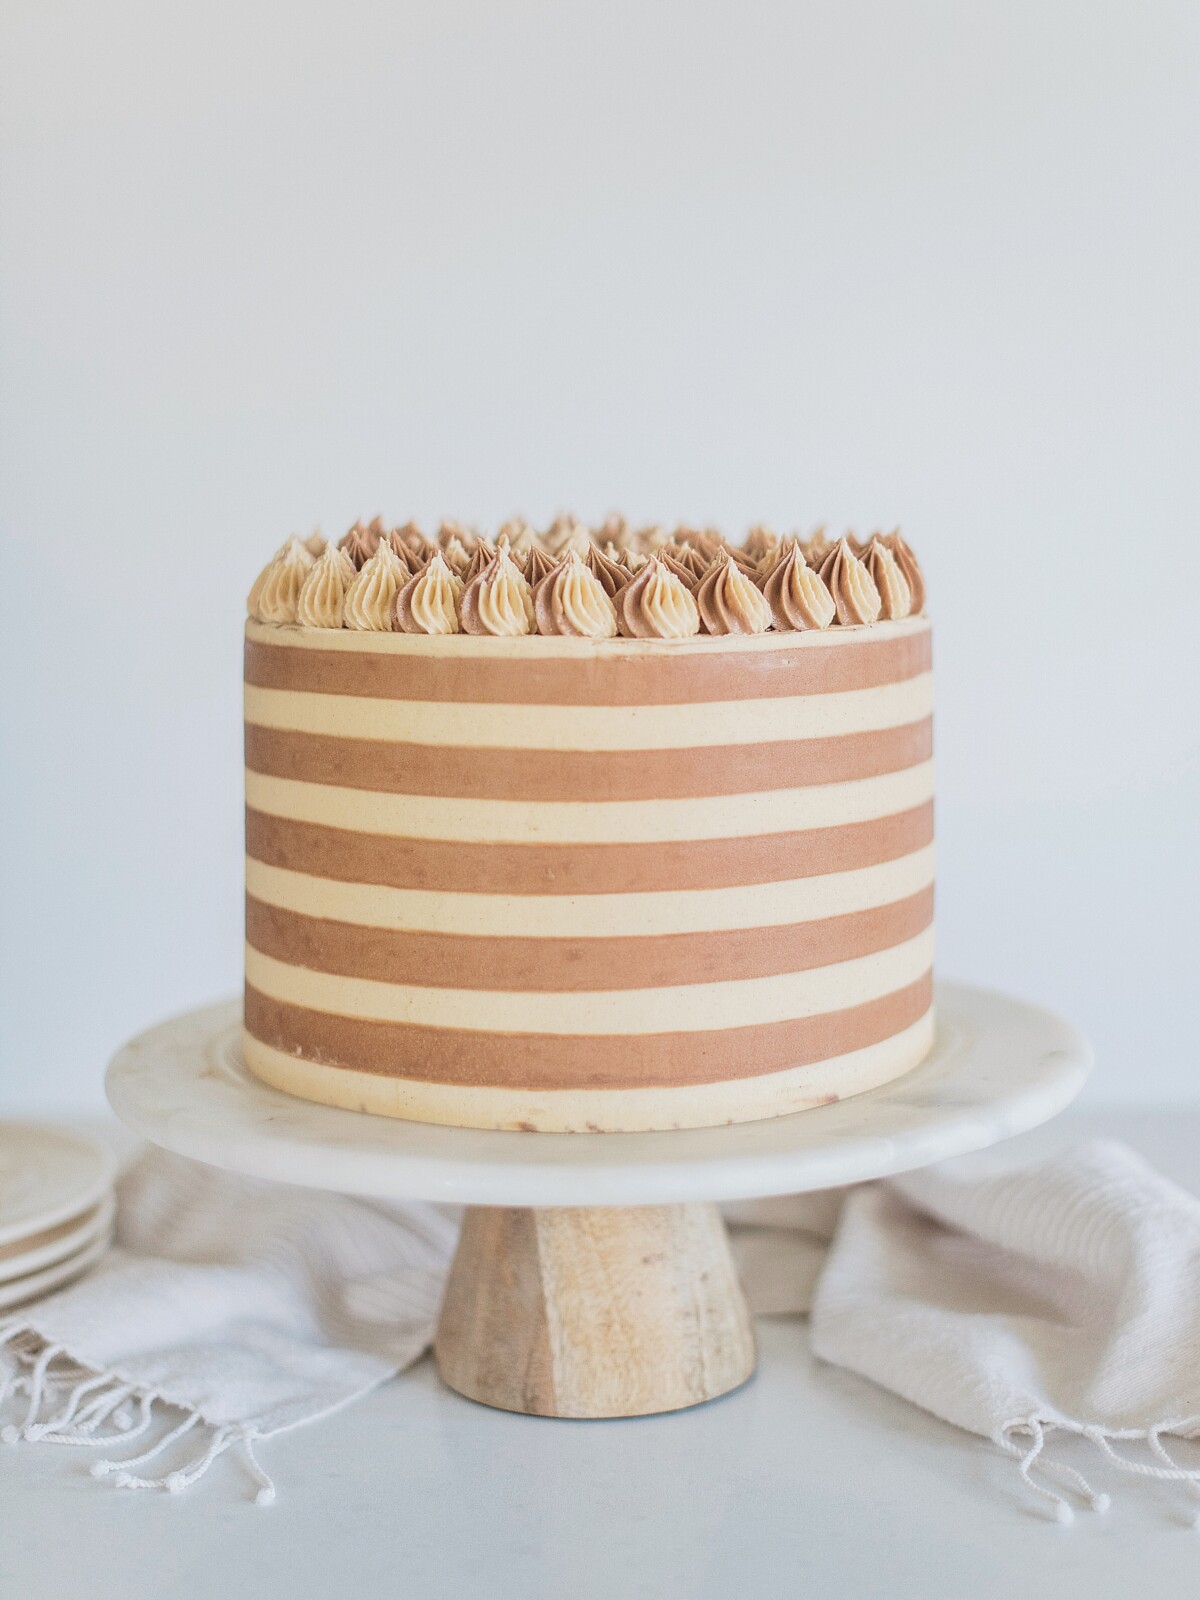
I get asked all the time how to make cute stripes on a cake with buttercream frosting. It’s actually pretty easy. To start, cover the entire cake with one of the two buttercream frostings you’re planning to pattern stripes with. (I recommend covering it with the darker of the two frostings first.) Next, use your cake scraper to smooth it out, as you would normally. Put the cake in the freezer for a bit to help that layer settle.
Once you pull it out of the freezer, pipe the second colored buttercream frosting on to create the stripe effect. Use the cake scraper to smooth it out until you reach your desired effect. This will take longer than you think it will, trust me. But the end result is worth it! Check out my full tutorial here, along with a video on how to do it.
Everything You Need to Know About Buttercream Frosting
I’ve learned so much from working with buttercream over the years. While I may not be able to truly fit everything you need to know about buttercream frosting into one post, these are my best tips and recipes. You’ll want to use them over and over again! I hope you have fun trying these out and I’d hear about it soon. You can follow me on Instagram @cakebycourtney for more tips and tricks on all things cake.
Other Tips You’ll Love

Hi Courtney,
Would you have any idea how many cupcakes this would frost?
about 2 dozen
Hi,
I am making cupcakes and going to use this buttercream recipe. Can I ice the cupcakes and freeze them for 2 days? If not, should I freeze the buttercream for a few days before using it?
Thanks!
I would wait to frost until the day of! Buttercream can be kept in the fridge.
How long can your buttercream frosting
( the heavy whipping cream) sit out at a wedding. I know different temperatures are different amounts of time.
Give a few examples please.
Thank you
Ps. Won’t be over 75 degrees
It should be fine to be out for the whole reception. Keep in fridge before that.